Design
Rooms
Bathroom
Bedroom
Kitchen
Living Room
All Rooms
Styles
Bohemian
Desert
Farmhouse
Midcentury
All Styles
all design stories
Spotlight
How To
Topics
DIY
Cleaning
Home Hacks
Outdoors
Organizing
Paint
Repair
Spotlight
Lifestyle
Topics
Entertaining
Food
Wellness
Real Estate
Travel
Spotlight
News & Shopping
Topics
News
Shopping
Spotlight
Features
Series
Tours
Architects of Impact
The Hometeliers
Neighborhood Watch
More Features
Spotlight
Join Our Newsletter
Home
DIY
DIY
By
Chris Deziel
Expert Reviewed
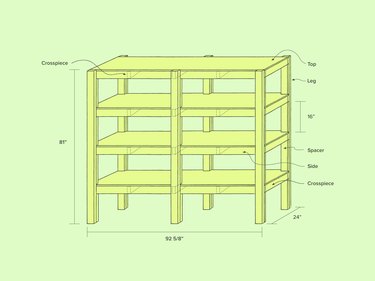
How to Build Basement Storage Shelves
DIY
By
Kaelin Dodge
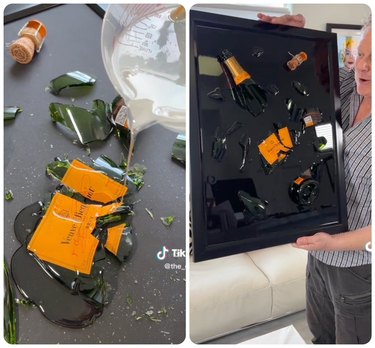
This DIY Smashed Bottle Art Looks Like It Costs $5,000
DIY
By
Kaelin Dodge
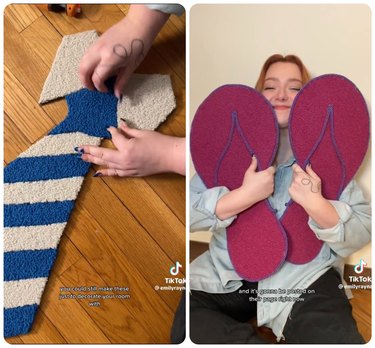
It's Surprisingly Easy to DIY a $5 Cat Scratcher You'll Actually Want in Your Home
DIY
By
Caroline Burke
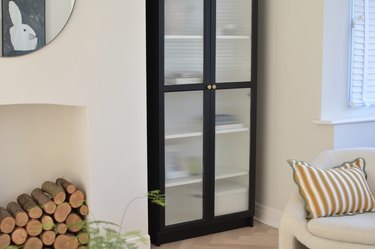
Add Chic Reeded Glass to the Popular IKEA Billy Bookcase
DIY
By
Trisha Sprouse
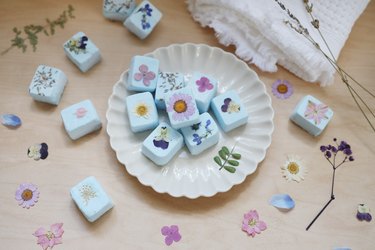
Create These Lovely Sage Green Floral Cupcakes
DIY
By
Trisha Sprouse
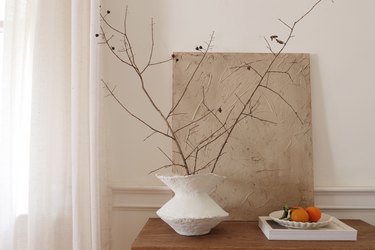
Easy-to-Make Artisan Paper Mache Vase
DIY
By
Alice & Lois
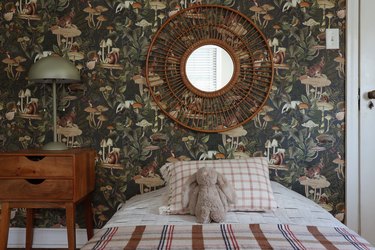
Transform an IKEA Nightstand Into a Bedroom Beauty
DIY
By
Caroline Burke
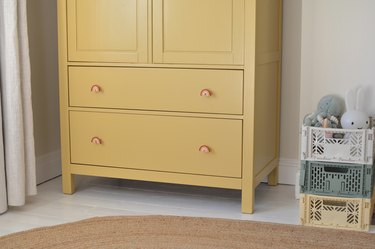
DIY Rainbow Furniture Knobs for Kids
DIY
By
Alice & Lois
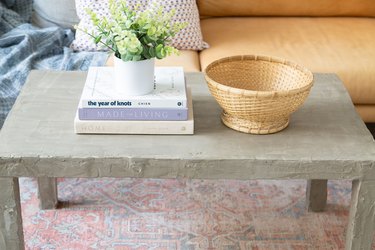
Transform an IKEA Lack Coffee Table Into a Concrete Table
DIY
By
Trisha Sprouse
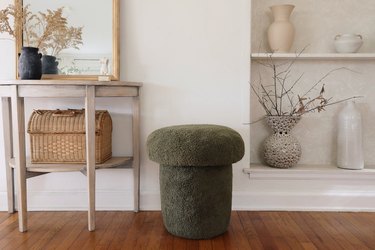
DIY Mushroom Stool (and Storage Container)
DIY
By
Caroline Burke
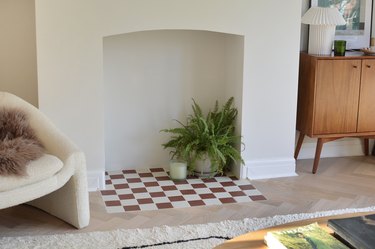
How to Tile a Decorative Fireplace Hearth
DIY
By
Trisha Sprouse
These DIY Shower Steamers Make Bathrooms Feel Like a Spa
DIY
By
Trisha Sprouse
IKEA Pax Pantry Hack
DIY
By
Laurie Gunning Grossman
The Very Best IKEA Hacks of 2022
DIY
By
Trisha Sprouse
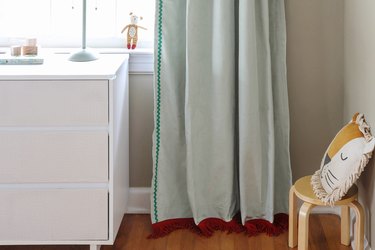
Add Decorative Trim to Your Curtains (No Sewing Required)
DIY
By
Alice & Lois
Create Vintage-Inspired Holiday Ornaments Using Baking Soda
DIY
By
Caroline Burke
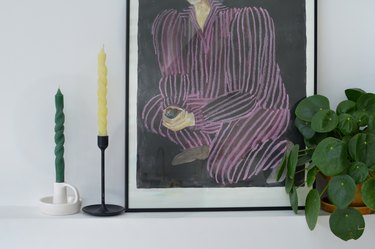
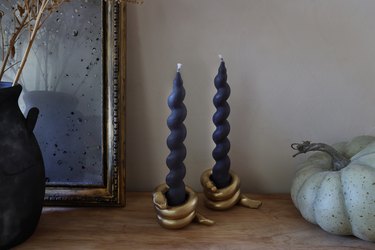
Transform Plain Candles Into Twisted Beauties
DIY
By
Trisha Sprouse
Transform an IKEA Kallax Shelf Into a Fluted Beauty
DIY
By
Alice & Lois
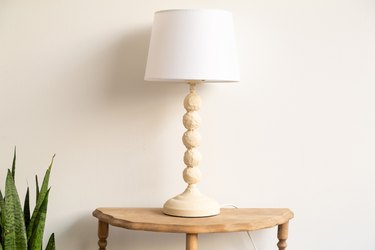
Make a Spindle-Inspired Lamp Using Spackle
DIY
By
Alice & Lois
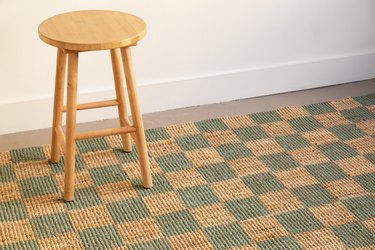
Transform an IKEA Jute Rug Into This Checkerboard Beauty
DIY
By
Trisha Sprouse
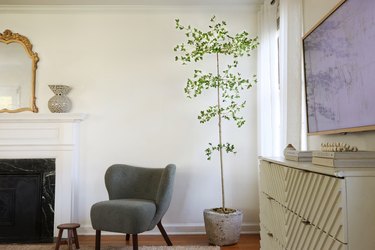
DIY Faux Shady Lady Olive Tree
DIY
By
Trisha Sprouse
Turn Regular Wallpaper Into Peel-and-Stick
DIY
By
Trisha Sprouse
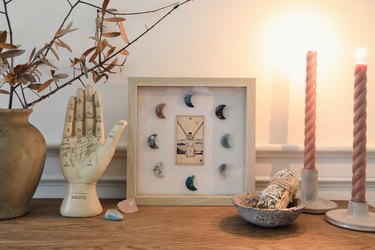
DIY Fortune Teller Shadow Box
DIY
By
Alice & Lois
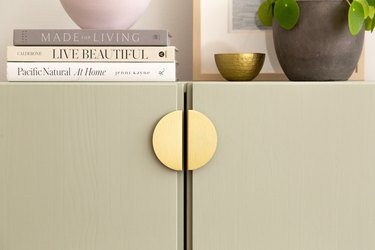
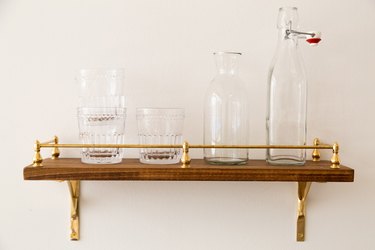
DIY Brass Rail Gallery Shelf That Radiates Charm
DIY
By
Alice & Lois
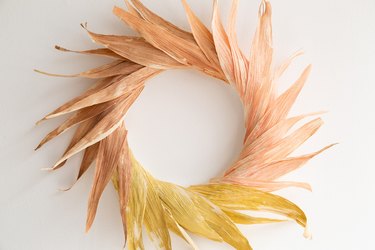
Use Natural Corn Husks to Create This Autumnal Wreath
DIY
By
Alice & Lois
These DIY Linen-Covered Pumpkins Are So Charming
DIY
By
Trisha Sprouse
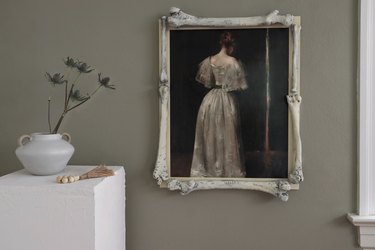
DIY Hauntingly Chic Plaster Bones Picture Frame
DIY
By
Alice & Lois
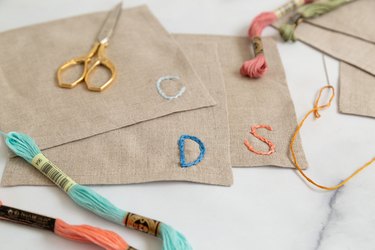
Chain Stitch Embroidery Technique Anyone Can Do
DIY
By
Alice & Lois
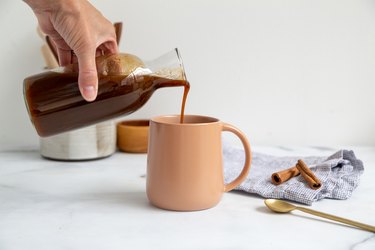
Prepare Your Coffee: This Pumpkin Spice Syrup Recipe Has Arrived
DIY
By
Trisha Sprouse
DIY Spooky Chic Serpent Candleholder
DIY
By
Trisha Sprouse
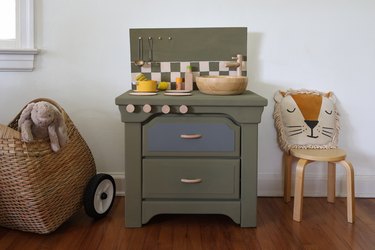
Turn a Nightstand Into a Cute Play Kitchen
DIY
By
Trisha Sprouse
Install Picture Frame Molding in Any Room With Our Easy DIY
DIY
By
Alice & Lois
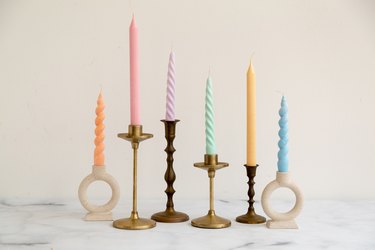
Cute, Creative Taper Candles to DIY
DIY
By
Alice & Lois
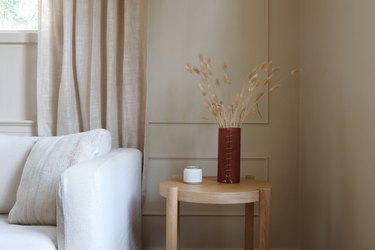
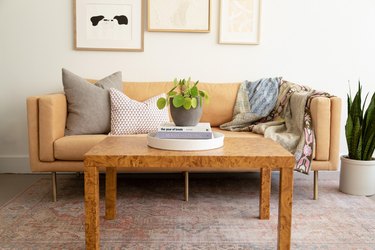
Turn an IKEA Lack Table Into a Burlwood Beauty Using Contact Paper
DIY
By
Stephanie Valente
Style a Backyard Barbecue That’s Pure Summer Fun
DIY
By
Helen Sidebotham
How to Turn Your Next At-Home Gathering Into an Epic Game Night
DIY
1
2
3
4
5
>
Report an Issue
Contact*:
Severity*:
High
Normal
Low
Description*:
Screenshot loading...
Cancel
Submit
By creating an account you agree to the Hunker
Terms of Use
and
Privacy Notice