Transform An IKEA Lack Coffee Table Into A Concrete Table
We may receive a commission on purchases made from links.
IKEA hacks are such a wonderful way to create high-end looking furniture for your home on a budget. You can easily use popular IKEA pieces like the Lack coffee table or Billy bookcase to create a stunning new style for your living room, bedroom, and kitchen.
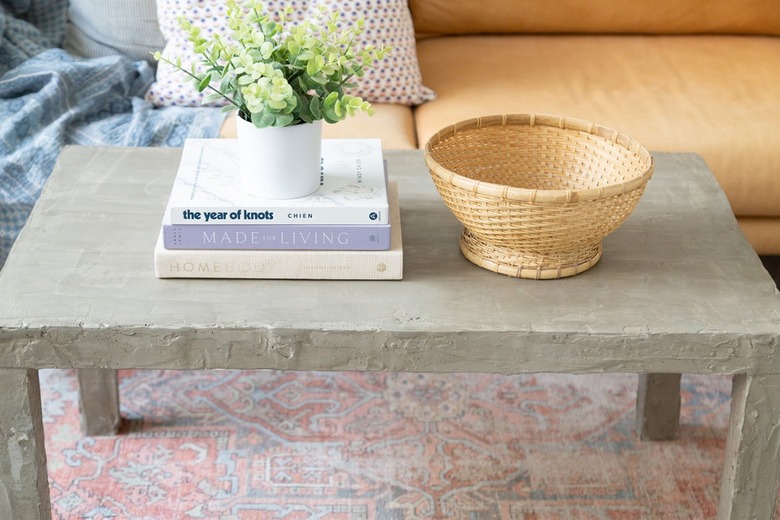
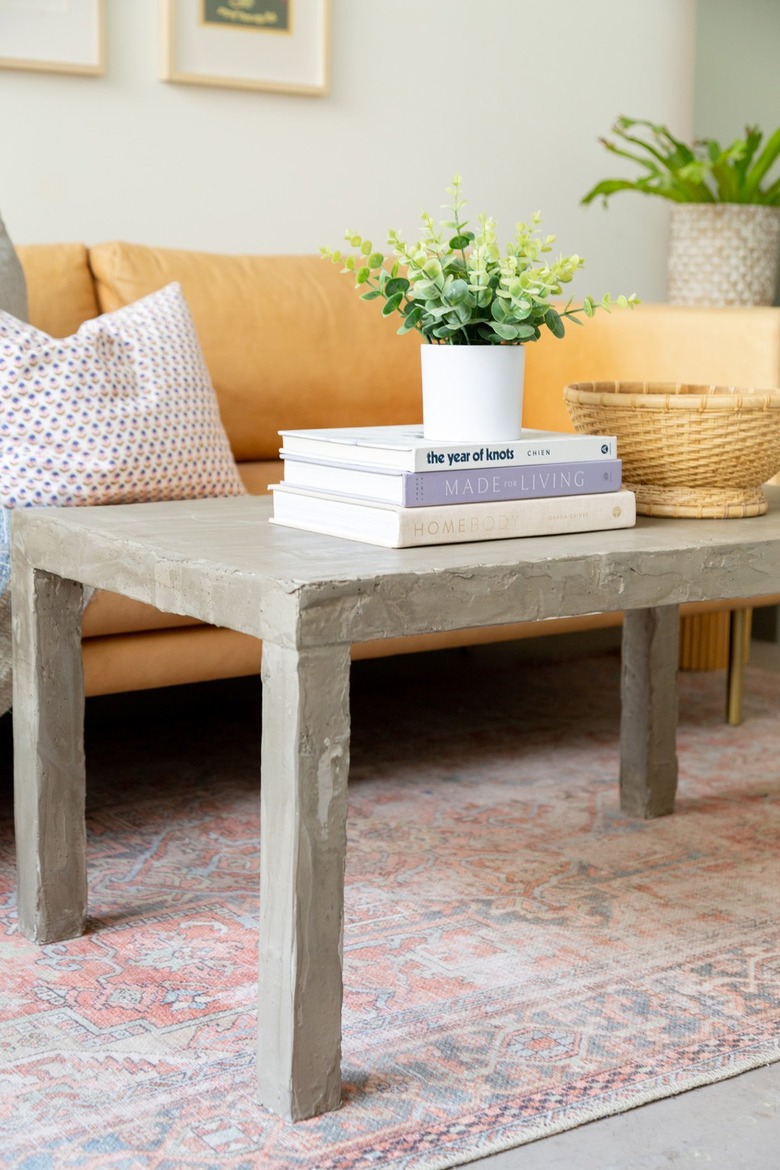
For this project, we transformed an IKEA Lack coffee table into a concrete beauty with some simple materials and a few tools. This is a DIY that anyone can try.
 Sara Albers
 Sara Albers
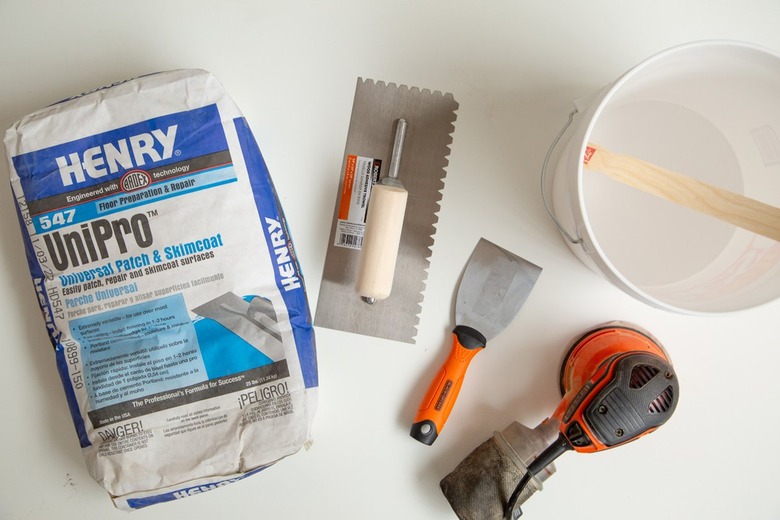
Things Needed
-
IKEA Lack coffee table
-
Concrete (cement based skim coat) we used Henry's feather finish
-
Mixing stick or paint mixer bit (for drill)
Step 1
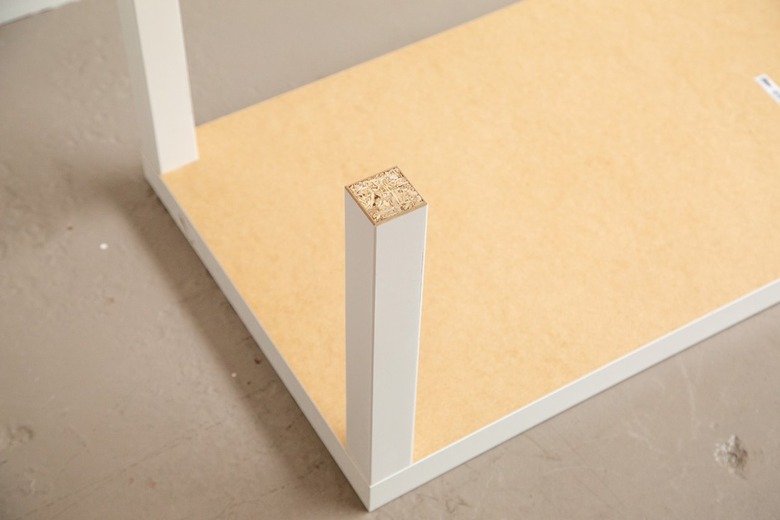
Using 120 grit paper, lightly sand the table top and legs.
 Sara Albers
Step 2
Assemble the LACK coffee table according to the directions. (We did not use the bottom shelf of the table.)
 Sara Albers
Step 3
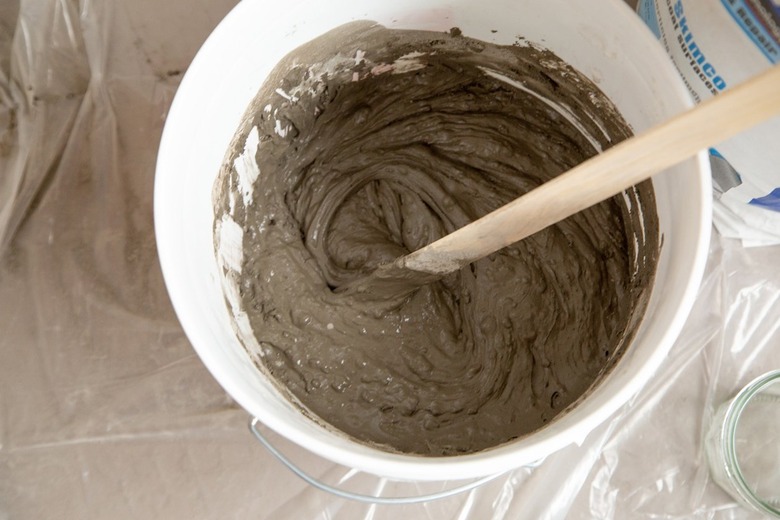
Mix the feather finish cement per the directions.
 Sara Albers
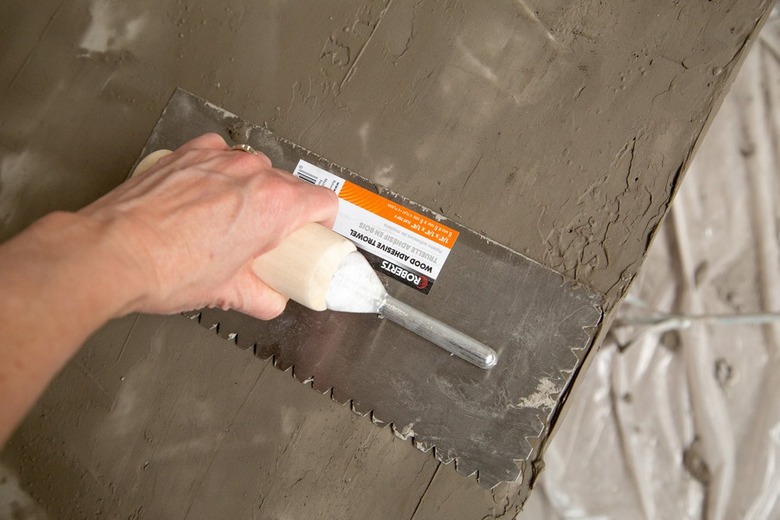
Step 4
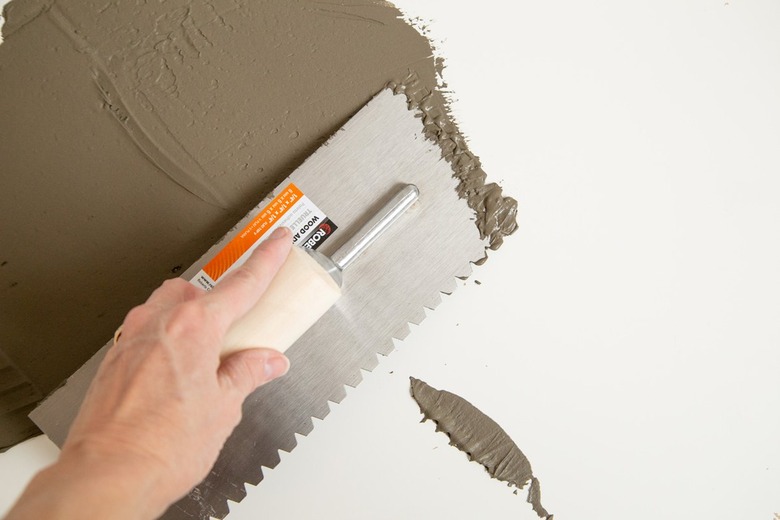
Apply the cement to the table using a trowel.
 Sara Albers
Tip
When applying the cement, you will first spread a thin coat onto the table. Once applied, use the trowel to smooth out as much as possible. This will make sanding much easier when dried. We recommend doing two coats of cement. Allow the cement to dry overnight before applying a second coat.
 Sara Albers
Step 5
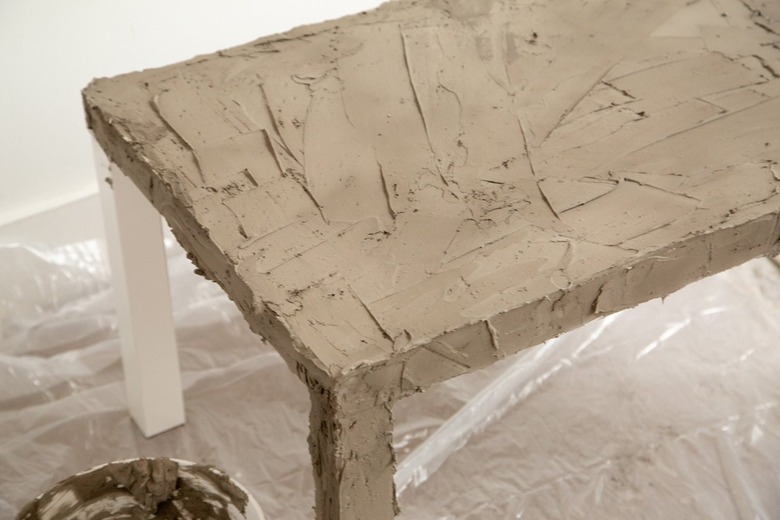
Apply a second coat of cement. For the table legs, it's easiest to use a putty knife to apply and smooth out the cement.
 Sara Albers
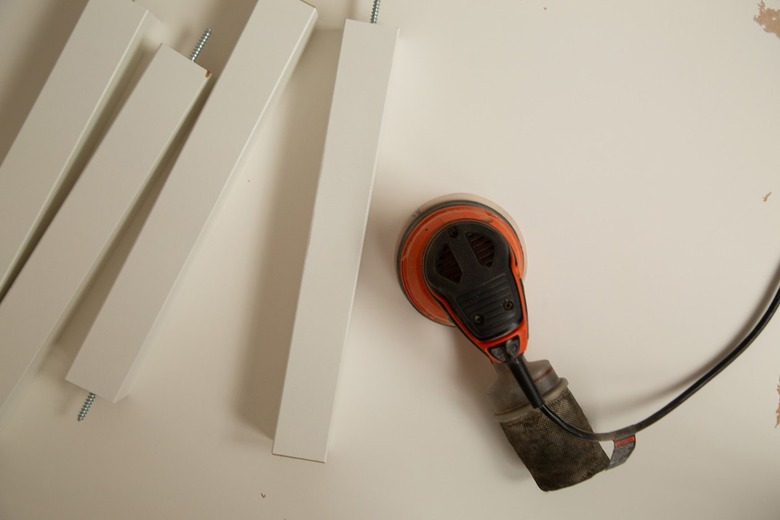
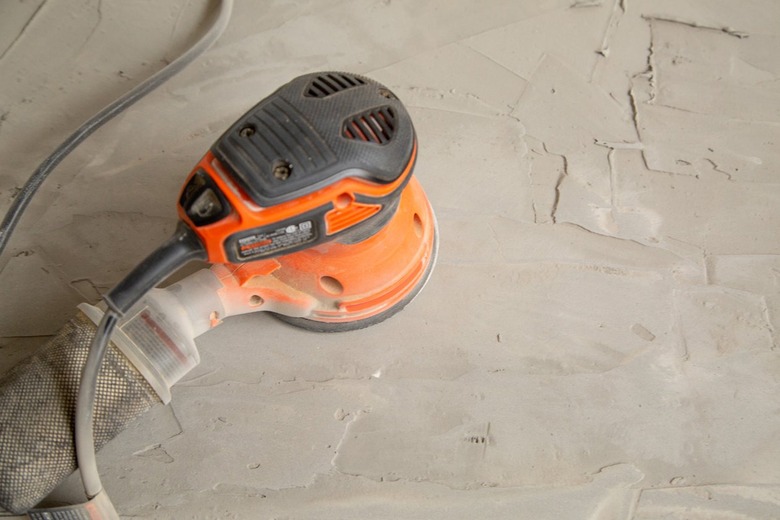
Step 6
Use a power sander with 80 grit sand paper. You will want to do the sanding outside as the cement dust gets everywhere! Wear a mask as well.
 Sara Albers
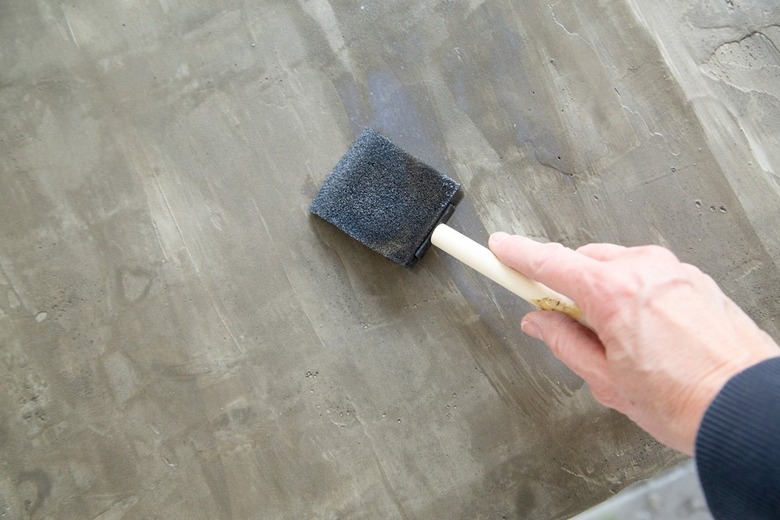
Step 7
Time to seal the table. Apply sealant with a sponge or bristle brush. We recommend applying two coats.
 Sara Albers
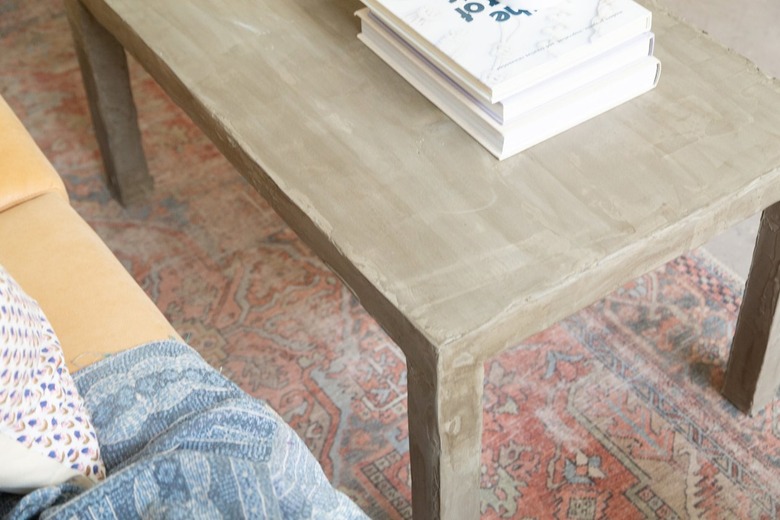
Allow time to dry and then your table is ready to be styled.
 Sara Albers