Turn An IKEA Lack Table Into A Burlwood Beauty Using Contact Paper
We may receive a commission on purchases made from links.
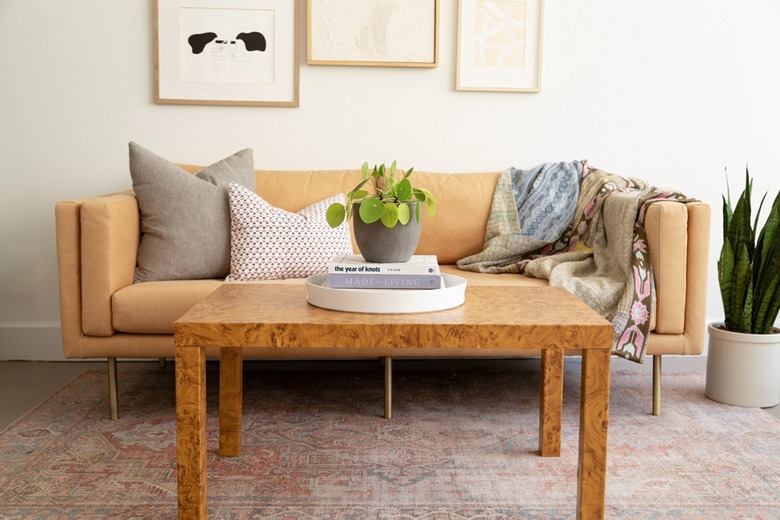
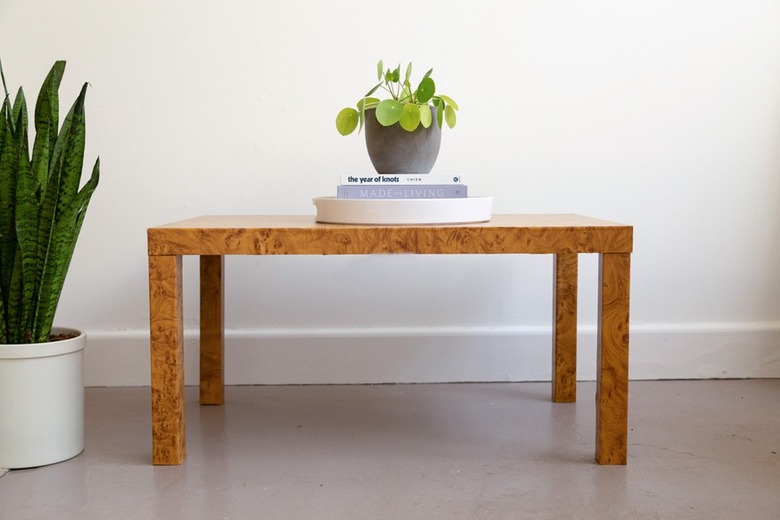
Have you been noticing burlwood furniture lately? We're seeing it with console tables, coffee tables, and even desks—burlwood is everywhere! It goes so well as a complimentary piece to black, white, marble and more in your home.
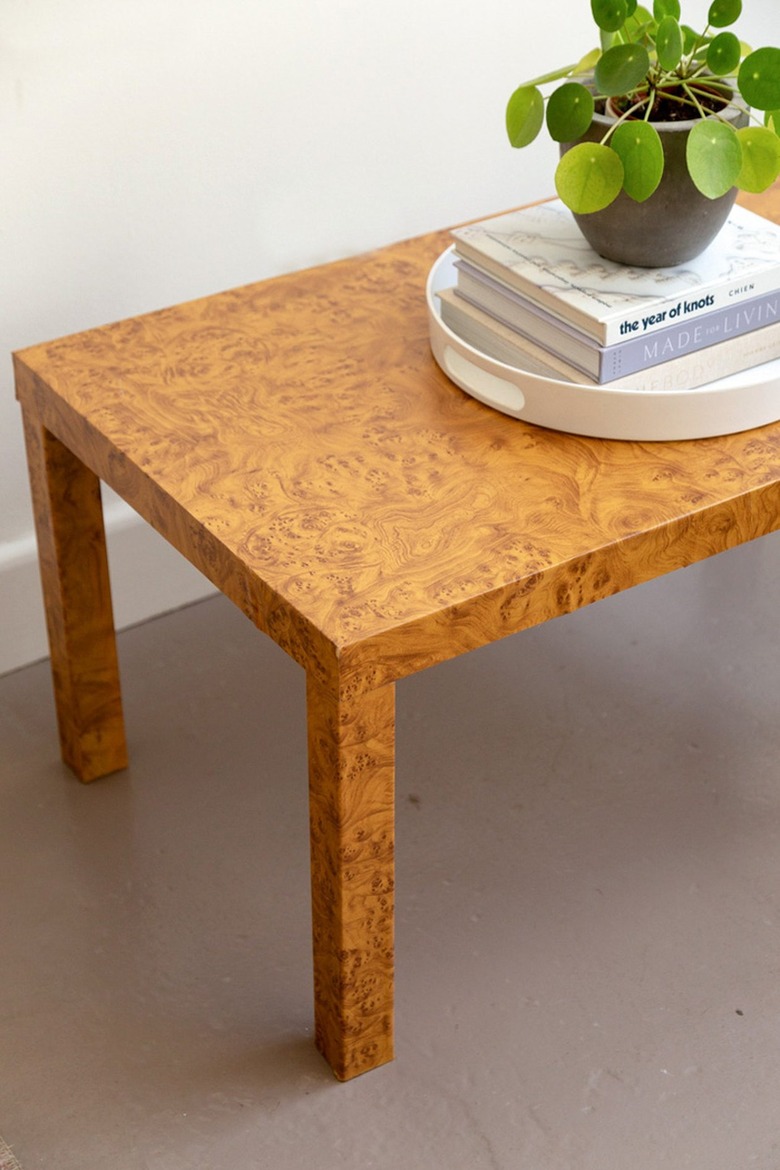
What is burlwood? A burl is a deformity of sorts on a tree. The burl on the outside of the tree gives a fascinating pattern on the inside. This is a rare occurrence, thus why real burlwood is expensive.
We are sharing how to get the burlwood look without breaking the bank. The IKEA Lack coffee table is the perfect base for burlwood-inspired contact paper. You know that we love a good IKEA hack and tutorial! See how we made it below.
 Sara Albers
 Sara Albers
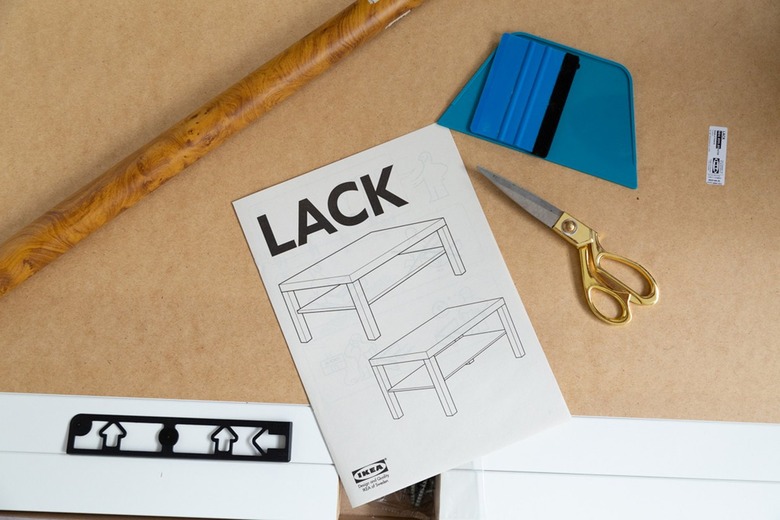
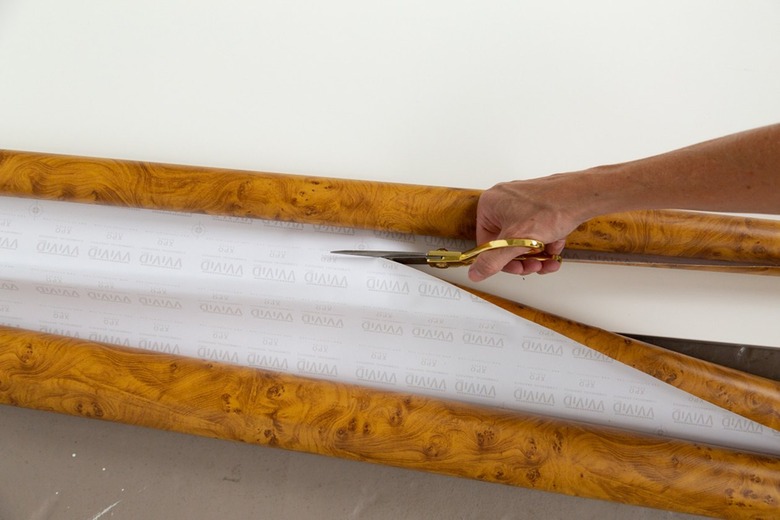
1. Measure and Cut Contact Paper
Lay the tabletop upon the contact paper. You will want enough paper to wrap onto the edges of each side of the table. Leave about an inch extra on each side.
 Sara Albers
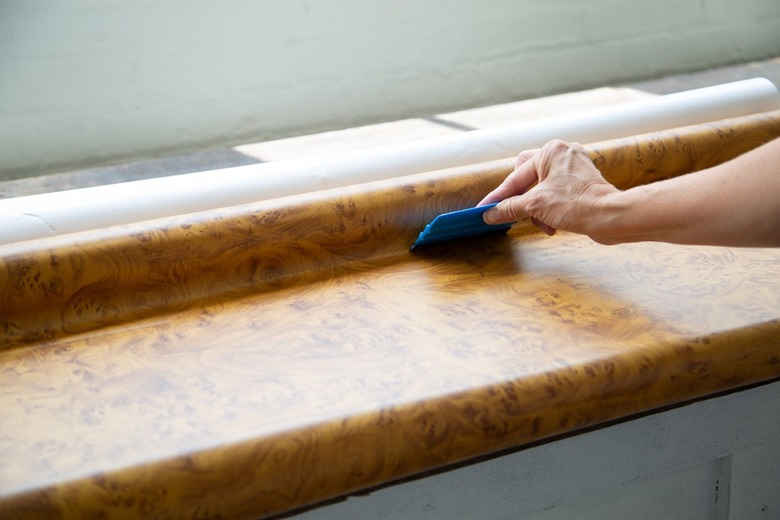
2. Apply Contact Paper Tabletop
Smooth out any bubbles using a squeegee. You will "peel as you go" to get a smooth finish.
 Sara Albers
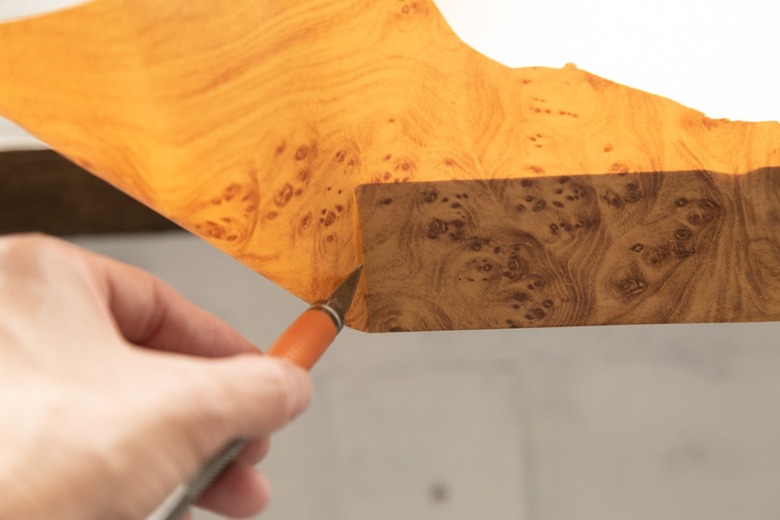
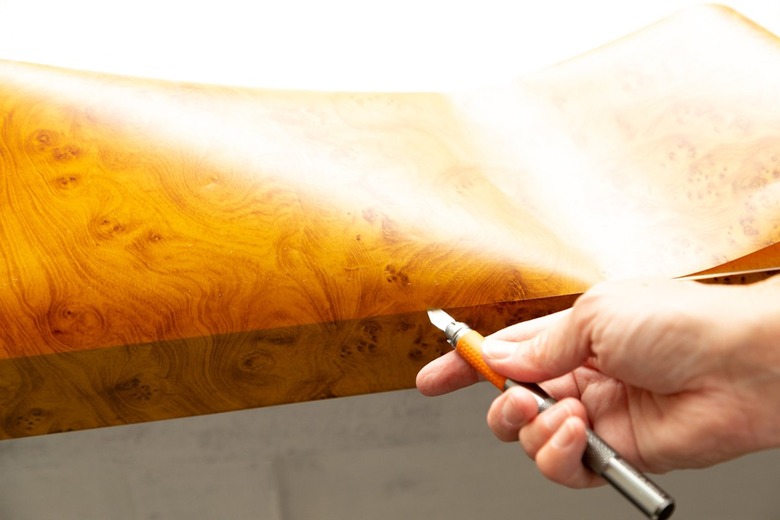
3. Trim Edges
The easiest way to do the edges on a table using peel and stick contact paper is by pressing the contact paper on one side of the table while trimming the edge using an X-ACTO knife. Then press down the next edge/side and repeat.
 Sara Albers
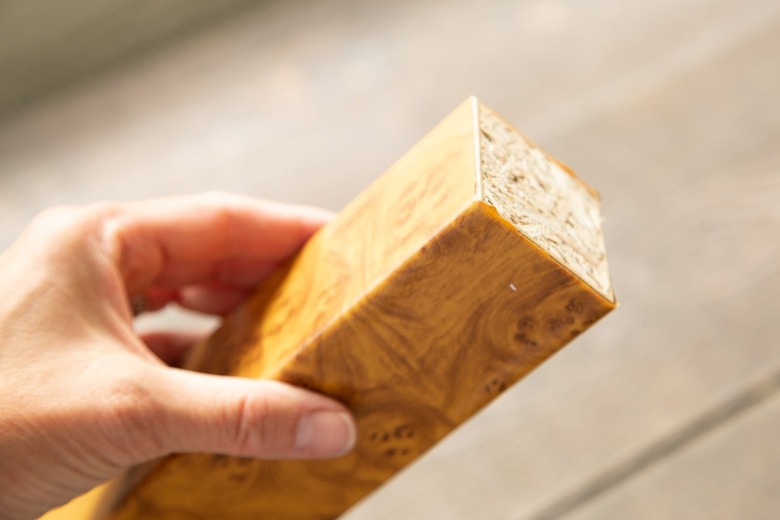
4. Trim Bottom Edges
Trim the contact paper directly at the bottom edges of the table.
 Sara Albers
5. Wrap Legs in Contact Paper
Wrap the legs with the contact paper and them trim at the edges using the knife. Screw the legs onto the bottom of table.
 Sara Albers
You're done! Really, it's as easy as that. How beautiful does this look? It's living room ready!
 Sara Albers