Watch An IKEA Nightstand Easily Transform Into A Modern Side Table
We may receive a commission on purchases made from links.
Let the record show that we are quite fond of our IKEA hacks. Like, really, really, really fond of them. And we're always up for trying our hand at hacking a new project.
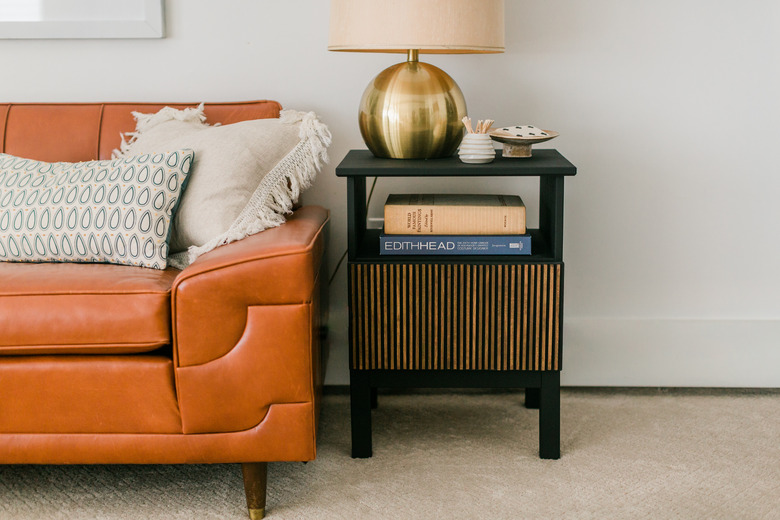
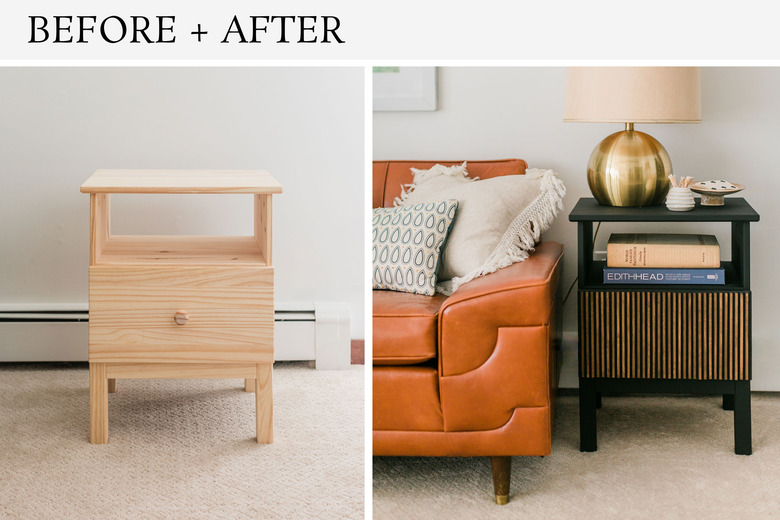
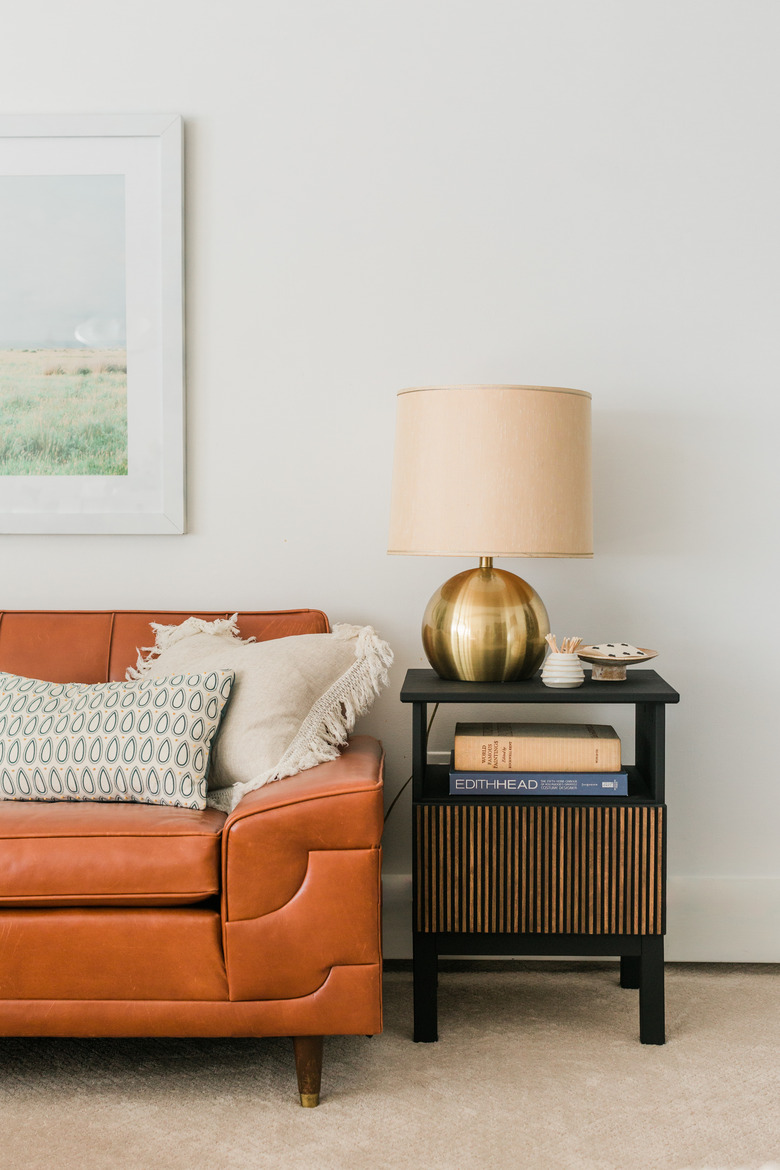
So for this DIY, we decided to turn a simple unfinished IKEA nightstand into a one-of-a-kind modern side table using practically nothing but paint and wood dowel rods. The result? A new decor darling.
 Carrie Waller
 Carrie Waller
Things Needed
-
Paint (we used KILZ brand paint in the color "Rebel")
-
Paint rollers and brushes
-
Painter's tray
-
Drop cloth
-
Painter's tape
-
Measuring tape
-
Pen or marker
-
Hand saw
-
180-grit sanding block
-
Rags
 Carrie Waller
Step 1
Assemble the IKEA side table using the instructions that came with the piece.
 Carrie Waller
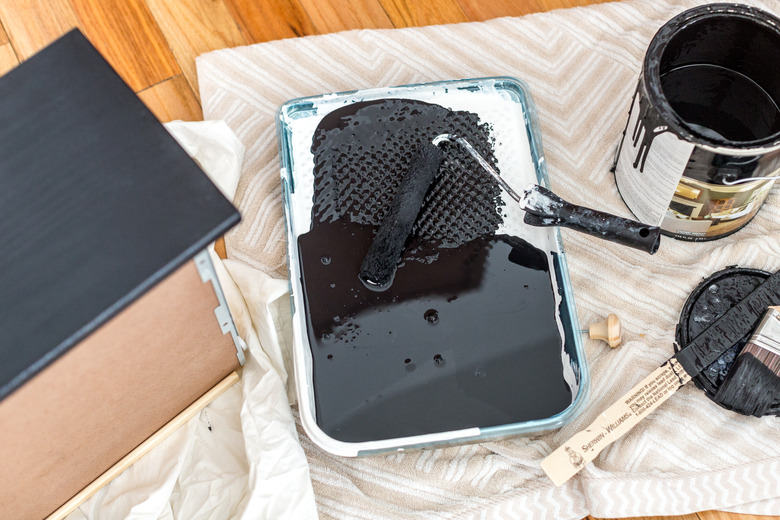
Step 2
Paint all visible surfaces of the side table using paint, a paint roller, and brushes. Allow the paint to dry for two to three hours, and then add another coat of paint if needed.
 Carrie Waller
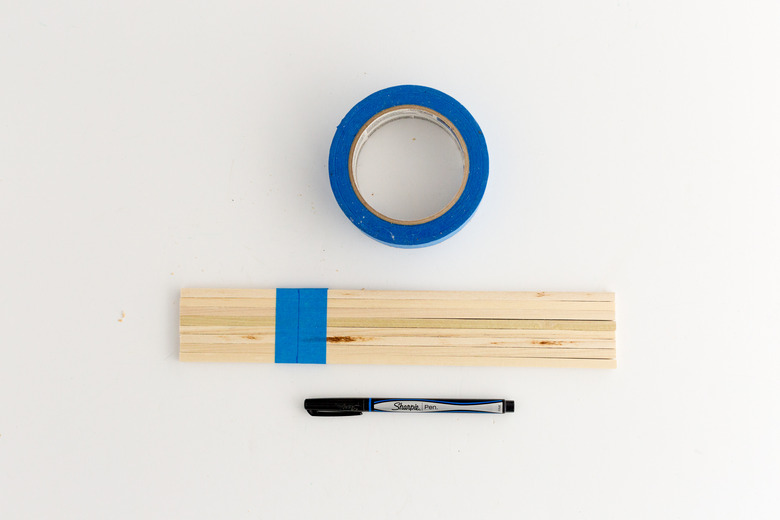
Step 3
Once the painted side table is completely dry (allow at least 24 hours for this, especially if you needed to do more than one coat), measure the height of the drawer front. Bunch eight to 10 dowel rods together with their tops and bottoms lined up, and tape the rods together with painter's tape. Draw a line on the tape where the rods need to be cut using a pen or marker. Repeat these steps to create several bundles of measured, marked, and taped dowel rods. This is necessary as you'll need to cut the rods down in batches using a saw in the next step.
 Carrie Waller
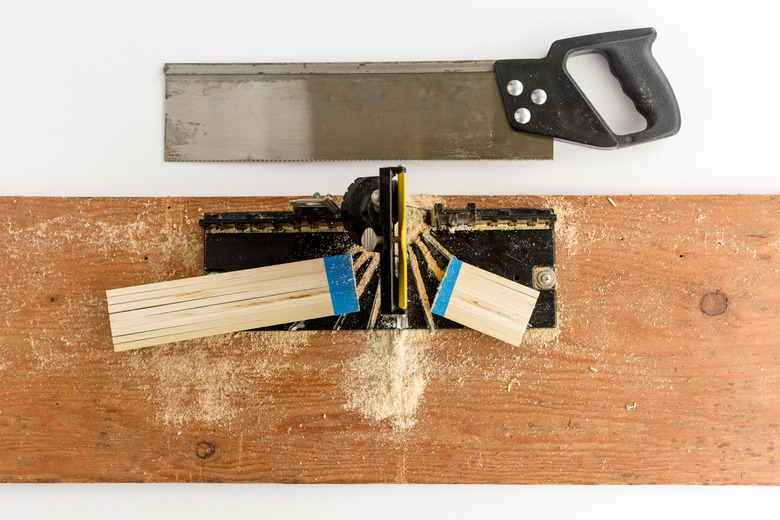
Step 4
Lay your first taped and marked bundle of rods in a miter box, and then using a hand saw, cut it down to size where you marked it. Cut each bundle until you have a full set of rods to cover your drawer front. We used about 35 rods on our finished table, but you'll want to cut and stain extras to have on hand in case some turn out better than others. Sand the rough cut ends of the dowel rods using a sanding block.
 Carrie Waller
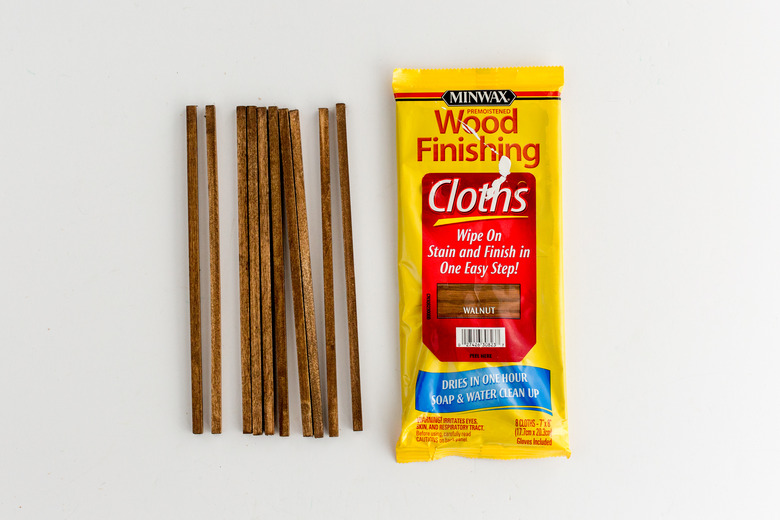
Step 5
Stain the cut dowel rods using wood finishing cloths. Make sure you add stain to the tops and bottoms of the rods, as well as all four sides. Allow the stain to dry and darken for about five minutes, then wipe off any excess stain with a clean, dry rag.
 Carrie Waller
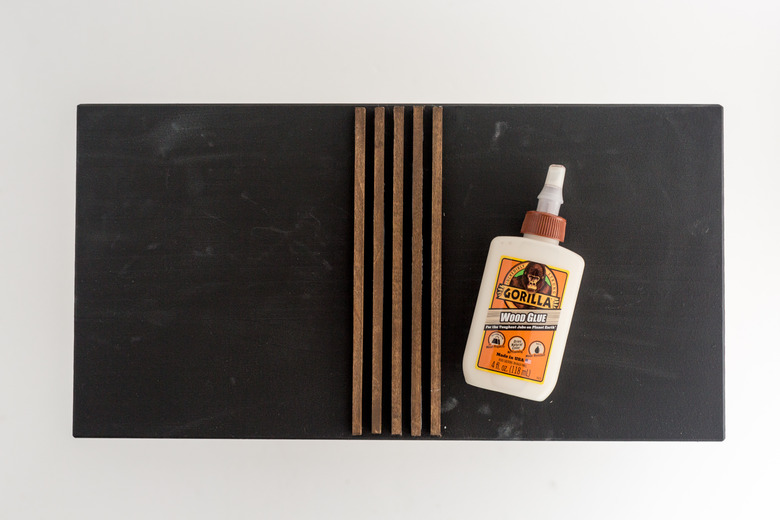
Step 6
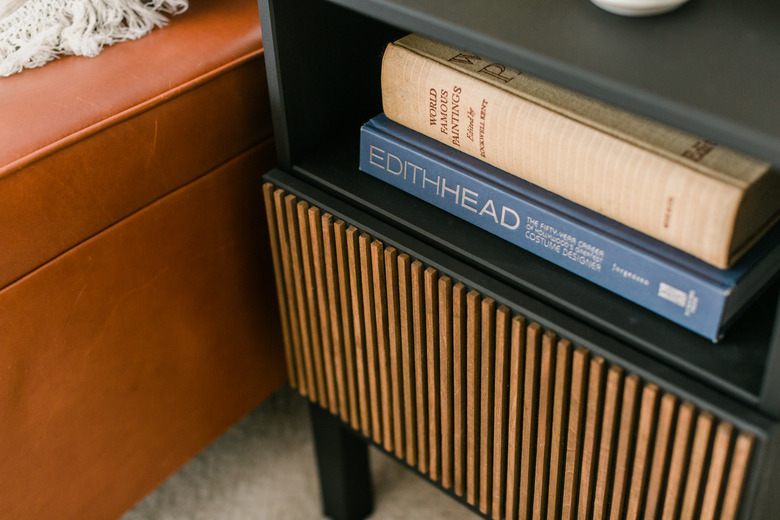
Starting in the middle and working your way out to the ends, glue the dowel rods to the side table's painted drawer front. This particular design allows for the dark painted finish of the table to show through between the stained dowel rods. To achieve this, use extra dowel rods as spacers between each stained rod as you glue them down. Don't glue these extra rod spacers down—simply lay them on the drawer front between the stained rods as you glue those down in order to allow for even blank space between.
 Carrie Waller
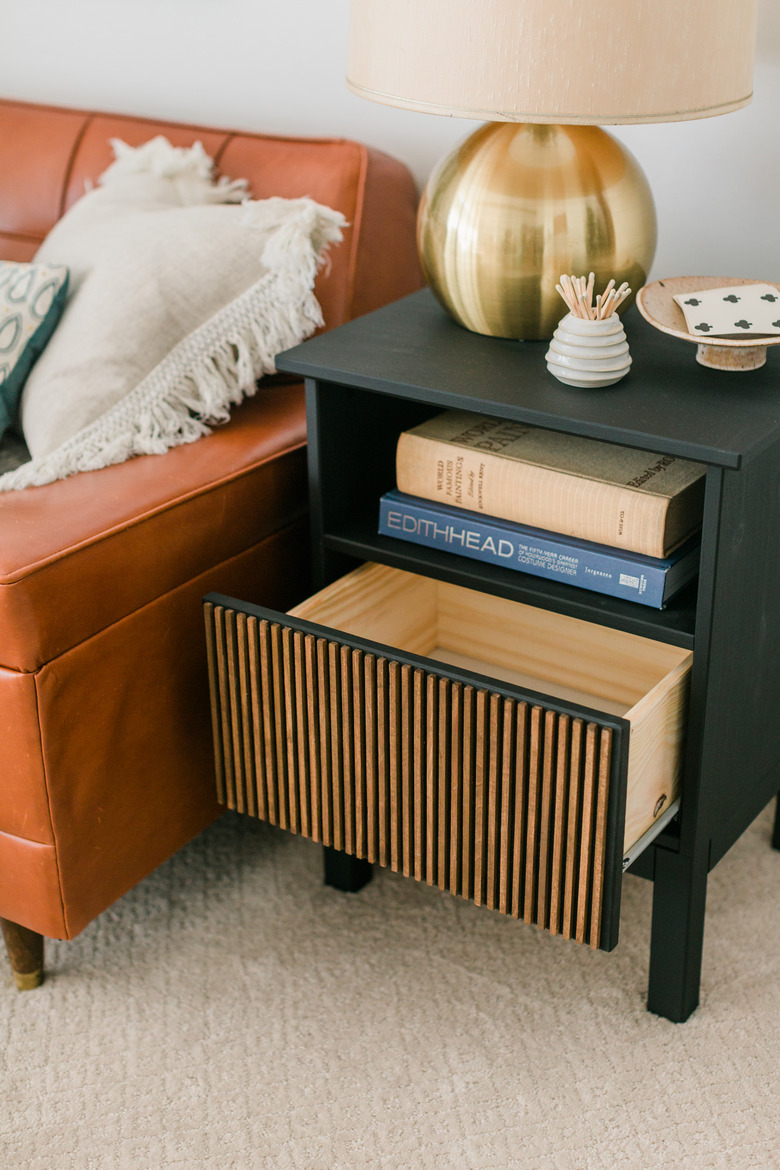
Step 7
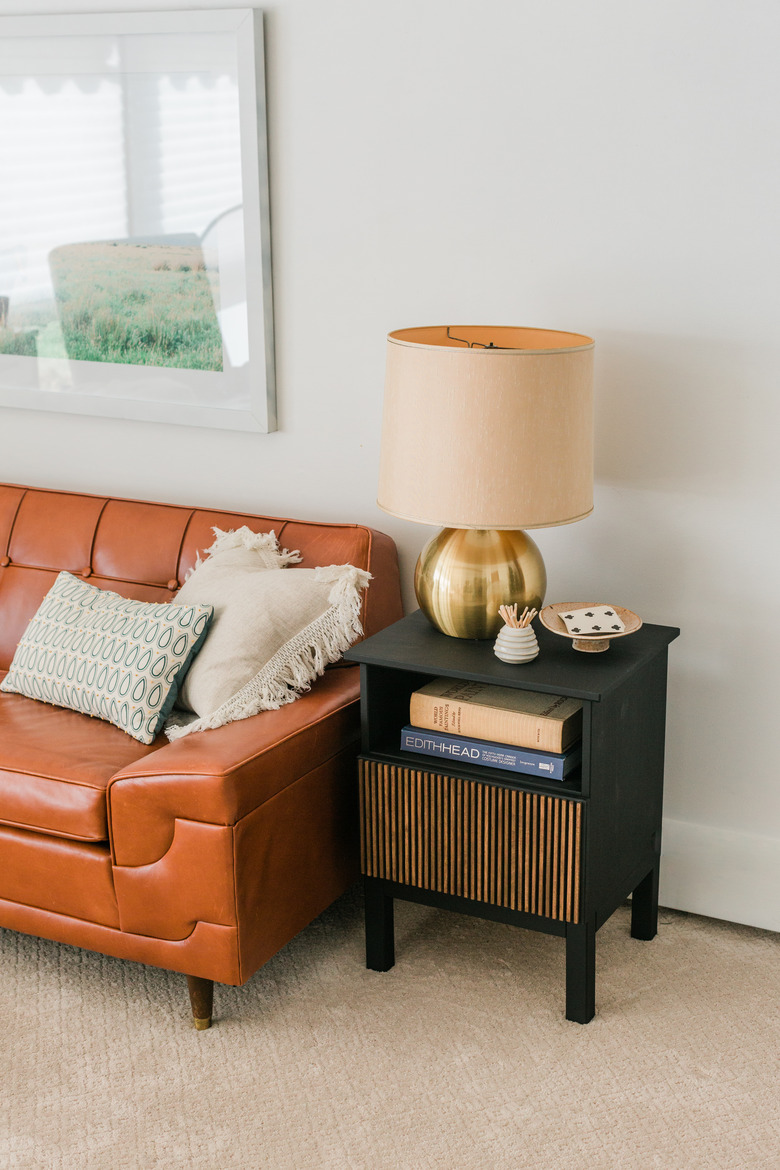
Allow the piece of furniture to dry completely overnight before handling. Once dry, arrange the new table anywhere in your home where you can use and admire daily. (We love it in the living room!)
 Carrie Waller
 Carrie Waller