3 Things To ALWAYS Do When Creating IKEA Hacks
We may receive a commission on purchases made from links.
Whether you're a DIY beginner, expert, or you just like looking at DIY tutorials, chances are you appreciate a good IKEA hack. But we were curious: why do so many people love to use IKEA products in their DIYs? What is it about IKEA specifically? So, we went to a favorite source, expert DIY creator and photographer Trisha Sprouse. Sprouse says, "it's because the IKEA pieces are so affordable. You can pick up pretty much anything within any type of budget there." She goes on to say that the "Scandinavian style is very simple and so it lends itself to being customizable. You know, you can change the look of it super easily because a lot of their pieces are just kind of plain. So, I think that's why a lot of people gravitate towards it: because it's affordable and it's easy to change the look of it.'
However, when creating IKEA hacks, Sprouse recommends three things everyone should do when using IKEA products — especially furniture — in their DIYs. Check out her pro advice below or listen to her on the Being Home With Hunker podcast. Then, keep scrolling for some of our favorite IKEA hacks we've featured here on Hunker, as well as Trisha's recommended top 5 DIY tools to add to your toolbox. Your weekend project awaits!
3 Things to Do When Creating IKEA Hacks
3 Things to Do When Creating IKEA Hacks
#1: Use Primer
 Trisha Sprouse for Hunker
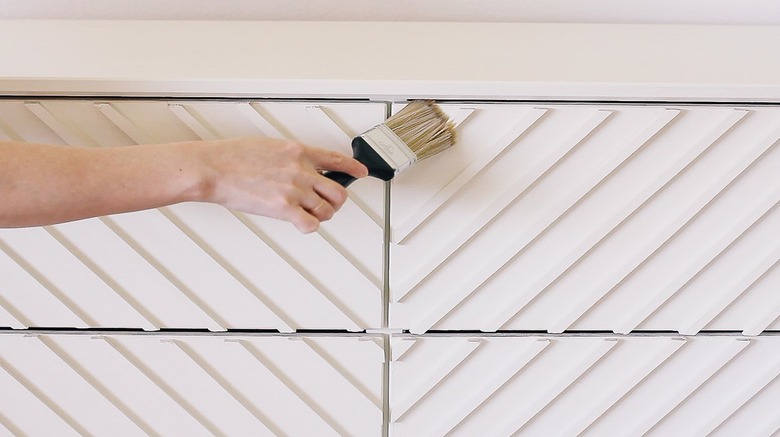
"Number one, definitely prime if you're going to paint any of the IKEA pieces," says Sprouse. "Don't skip that." She says that because a lot of their pieces are made with knotty pine, "those wood knots will bleed through paint if you're painting anything that's like a light color. So, a primer will block those [knots] from bleeding through and give you a nice pretty surface that'll last."
Sprouse goes on to say that many of their laminate pieces are super slick surfaces, and "you definitely can't just slap on some paint and call it a day. You're going to want to take some time a prep the surfaces. A good primer will go a long way. Zinsser is my favorite — I feel like that sticks to anything and let's anything stick to it."
Trisha Recommends: Zinsser Bulls Eye 1-2-3 All Surface Primer, $11.97
#2: Use Sealer
Trisha Sprouse for Hunker
"Seal everything," Sprouse suggests. "If you're going to paint or stain anything, you're definitely going to want to seal that goodness in with a good sealant." Sprouse shares that she puts a sealer on basically any IKEA hack that she creates.
Trisha Recommends: Minwax Clear Polycrylic Water-Based Protective Finish, $56.98
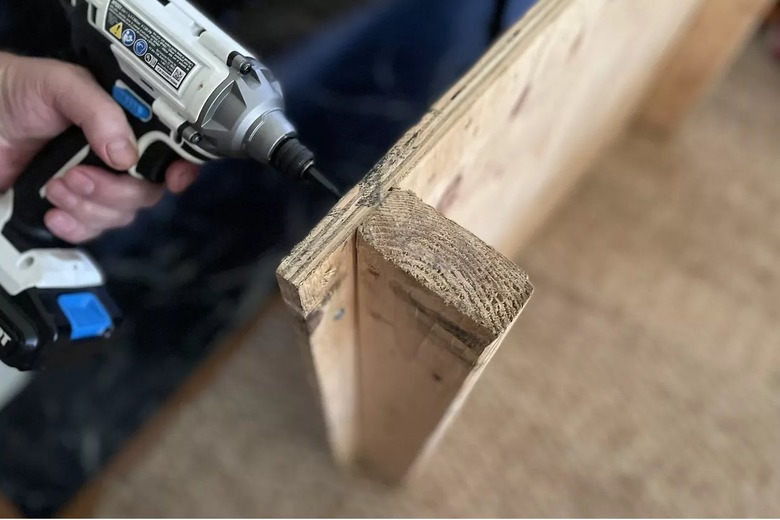
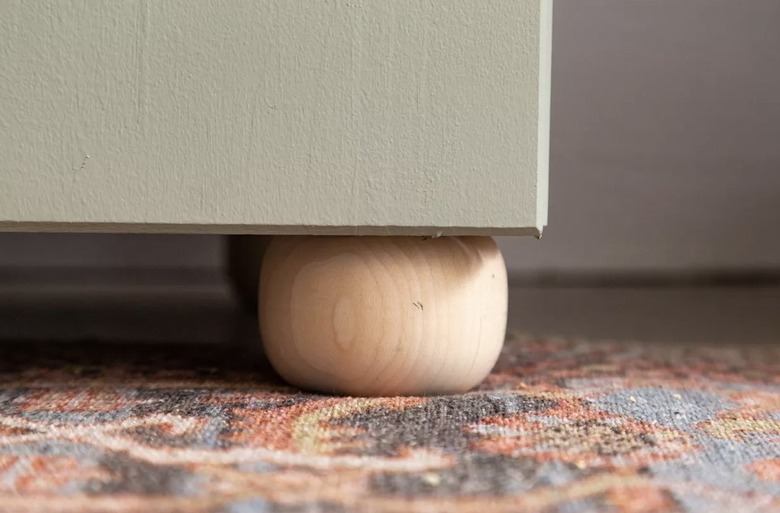
#3 Change Furniture Legs
 Sara Albers for Hunker
"Another thing that is kind of a dead giveaway of an IKEA piece is the furniture legs," says Sprouse. "You know, they're kind of like recognizable. So, that's one thing: if you're going to hack it, definitely consider changing the legs. There's so many options on Amazon, Etsy ... there's that company Pretty Pegs, where you can find legs for any IKEA piece to change the look. And I really think it goes a long way to change the lines of the piece of furniture just by changing the legs."
Trisha Recommends: Pretty Pegs
Try These IKEA Hacks for Your Home Decor
Try These IKEA Hacks for Your Home Decor
1. Transform a Humble IKEA Dresser Into a Gorgeous Bedroom Piece
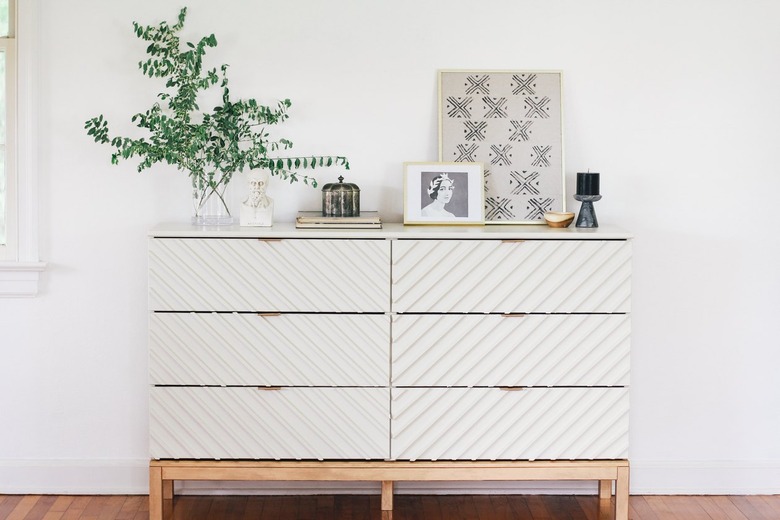 Trisha Sprouse for Hunker
2. IKEA Ivar Cabinet Hack Using This Green Color of the Year
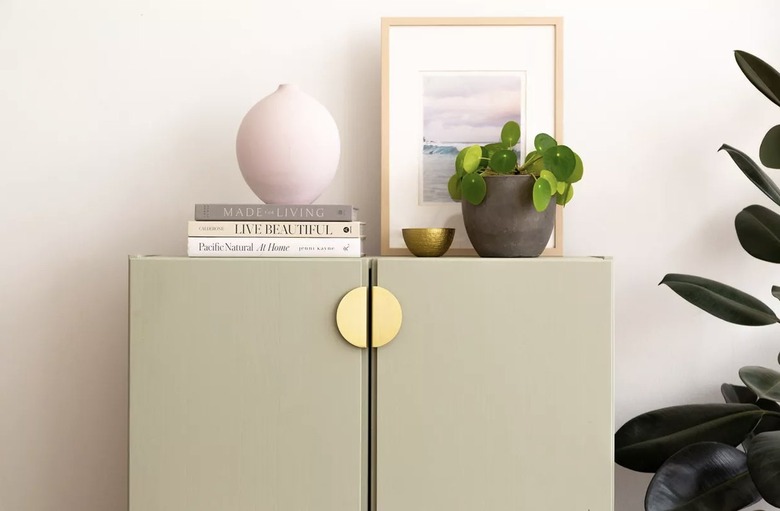 Sara Albers for Hunker
3. Hack This Popular IKEA Kura Bed
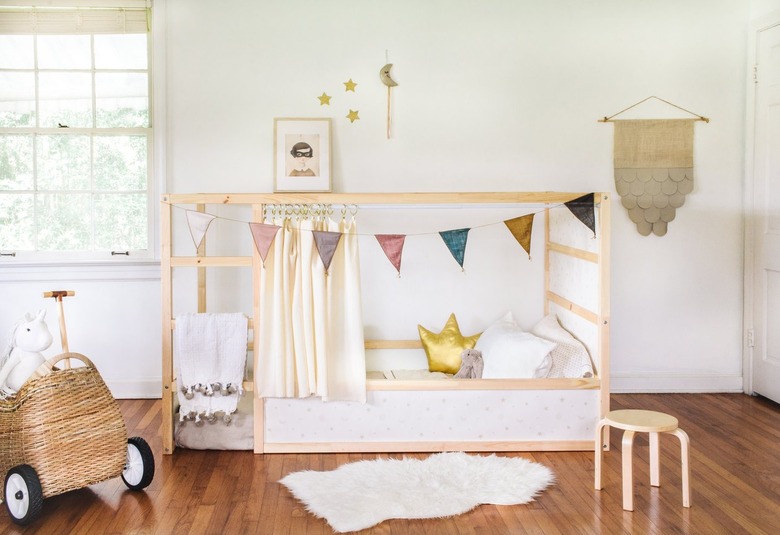 Trisha Sprouse for Hunker
4. IKEA Cabinet Hack Featuring Cane
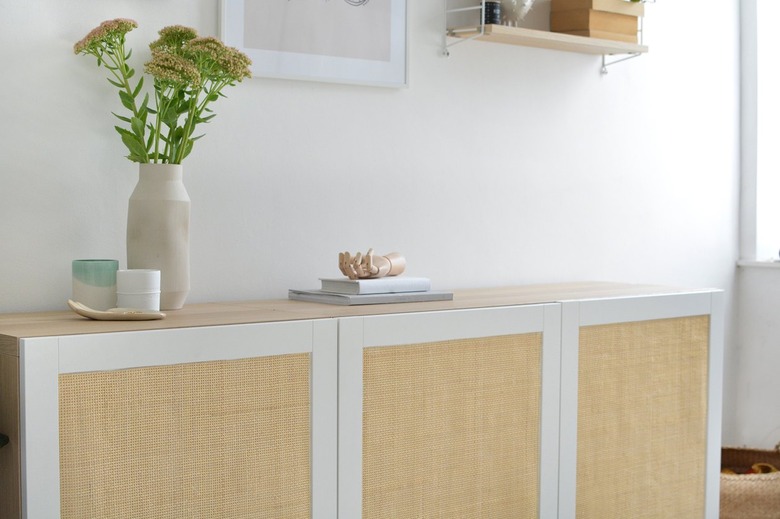 Caroline Burke for Hunker
5. Add Fluting to the IKEA Billy Bookcase
 Sara Albers for Hunker
Listen to Trisha's Expert DIY Advice on the Hunker Podcast
Listen to Trisha's Expert DIY Advice on the Hunker Podcast
Top 5 DIY Tools to Add to Your Toolbox