Easy Tutorial On How To Hack The Popular IKEA Kura Bed

We may receive a commission on purchases made from links.
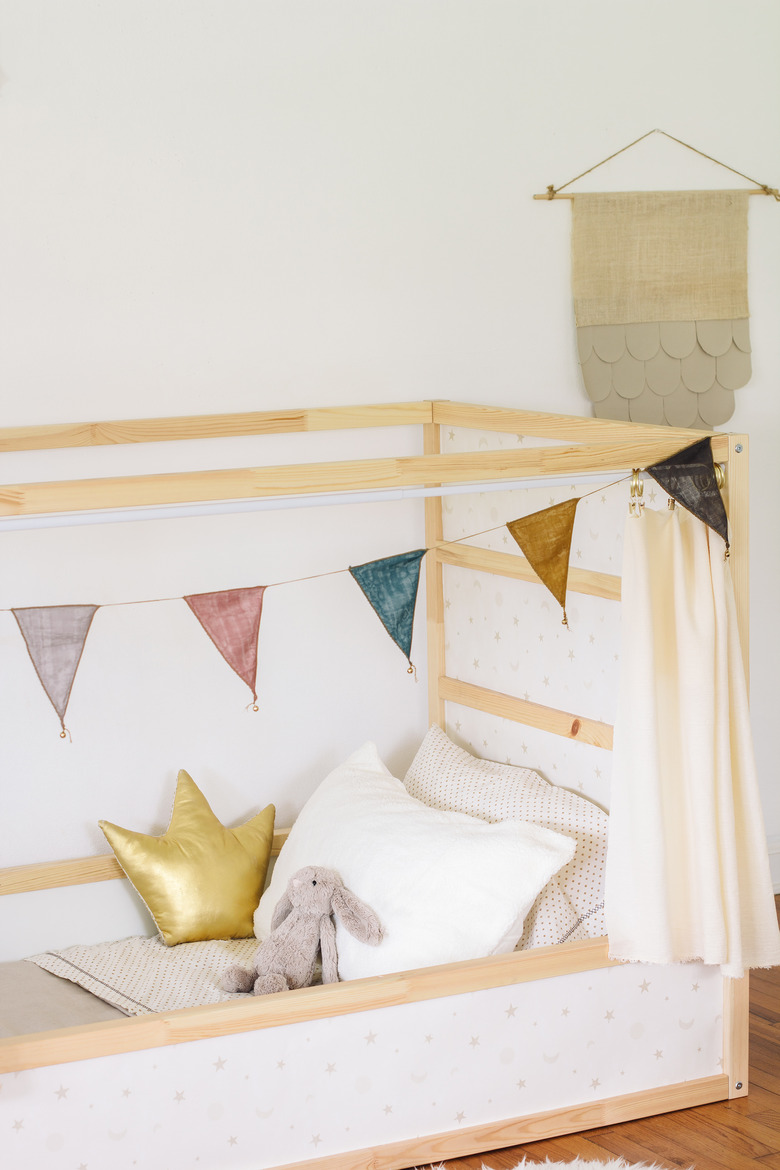
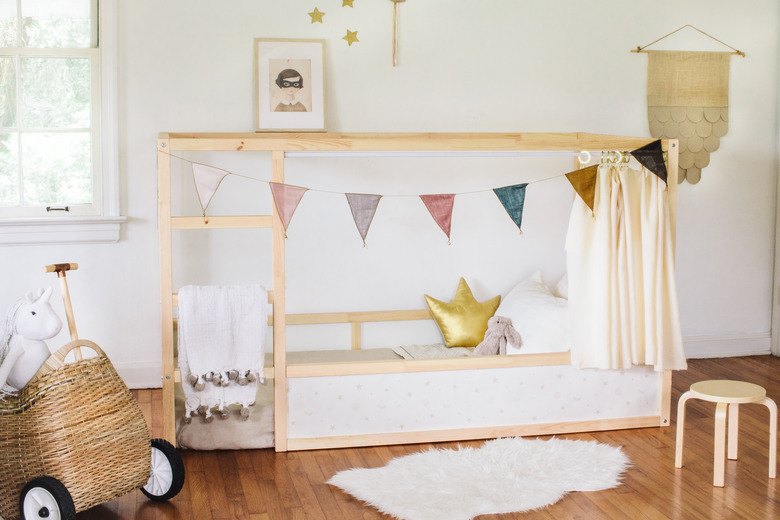
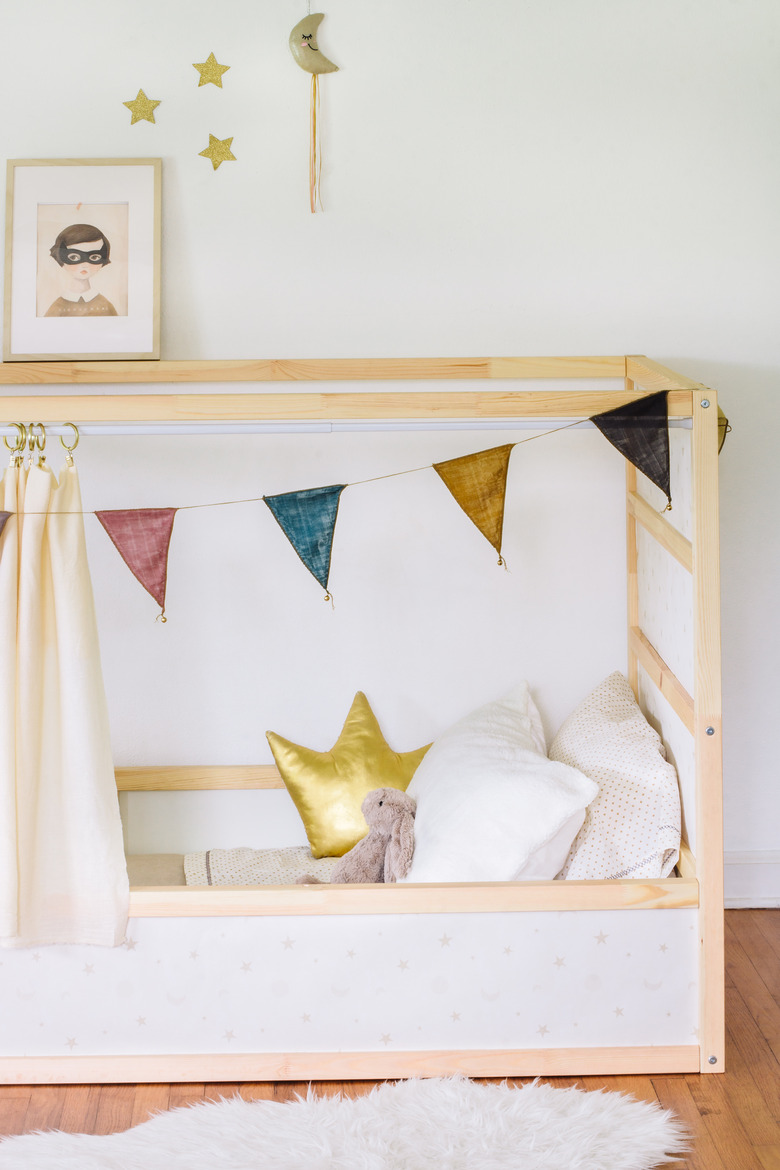
We've featured adorable iterations of IKEA's endlessly hackable Kura bed before, but decided it was high time to hack our own DIY version for you guys. Our goal was to maintain the minimal style for all you Scandi lovers out there, while also infusing charm and childlike wonder into the design. By wallpapering the panels in a subtle moon and stars print, we offer the perfect neutral backdrop to personalize based on your child's style and interests — and the flexibility to change it as they grow. We paired it with gauzy light-colored curtains to give off fun, fort-like vibes. A fabric flag garland strewn across the front adds both color and whimsy, and a pom-pom blanket tucked onto the ladder offers extra coziness. Sweet dreams are most certainly guaranteed.
Things Needed
-
Measuring tape
-
Wallpaper (regular or removable)
-
Scissors
-
Double-sided tape (if not using removable wallpaper)
-
Tension rod (36 inches to 60 inches)
-
Cafe curtains or fabric (we used cotton gauze fabric)
-
Blanket
 Trisha Sprouse
Step 1
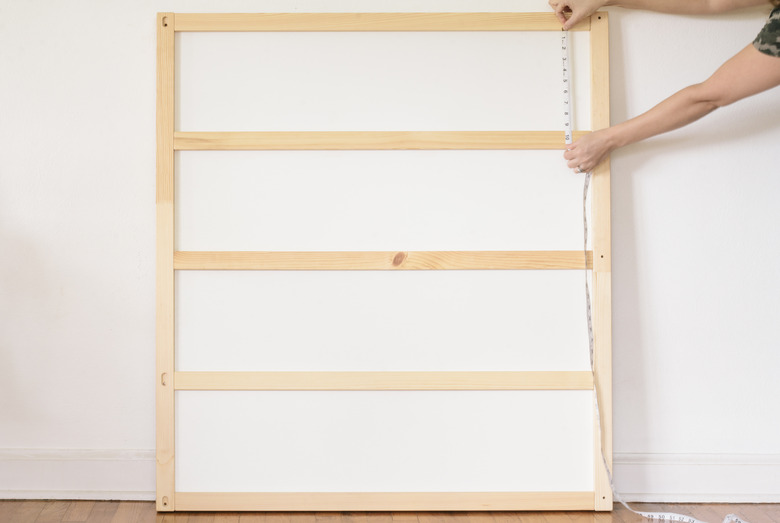
Assemble the four individual sides of the bed, but don't actually put the bed together just yet (this was steps 1 through 10 in our IKEA manual).
Now measure the length and width of each of the white panels that will be covered in wallpaper. For reference, the panels for the head and foot of our bed measured 9 1/4 inches tall by 38 inches wide, the shorter panel for one side of the bed was 9 1/4 inches tall by 59 inches wide, and the longer panel for the other side of the bed was 9 1/4 inches tall by 75 inches wide.
 Trisha Sprouse
Step 2
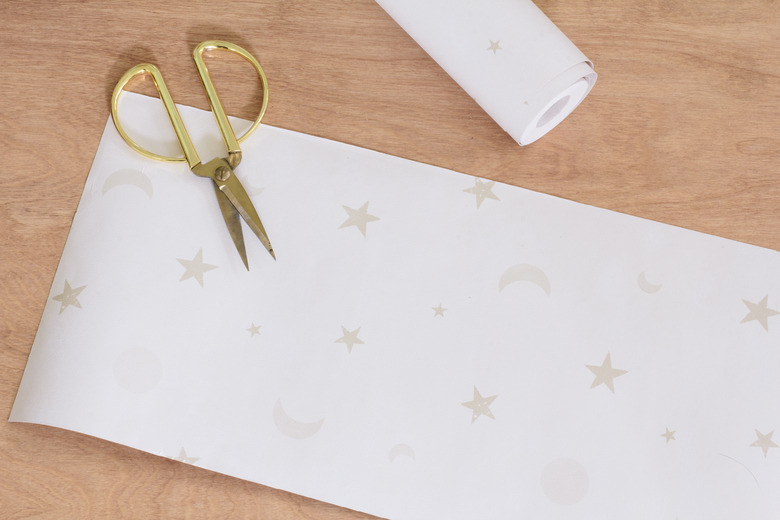
Measure and cut out strips of wallpaper according to the measurements of your panels.
NOTE: Depending on how you plan to position the bed, you may not need to cut wallpaper strips for both sides of the headboard and footboard. For example, if the back of the headboard will be up against the wall, you wouldn't need to cover the back panels in wallpaper. However, if both sides of the headboard will be visible (like ours), then you'll need to cut enough wallpaper strips to cover both sides.
 Trisha Sprouse
Step 3
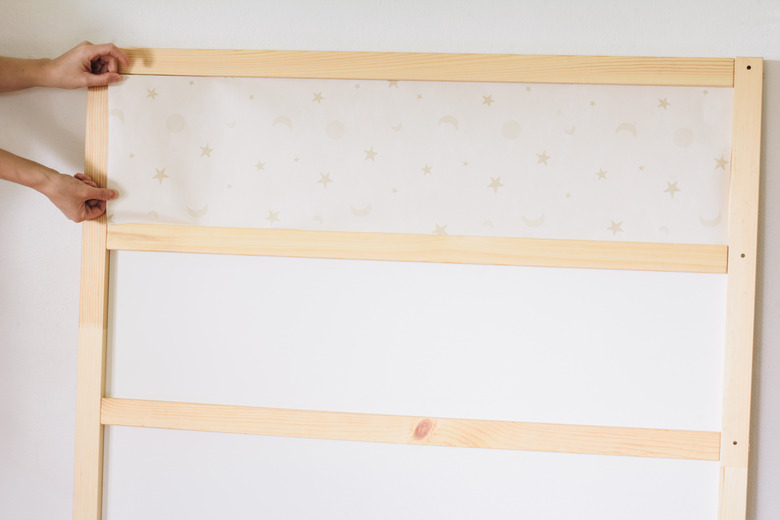
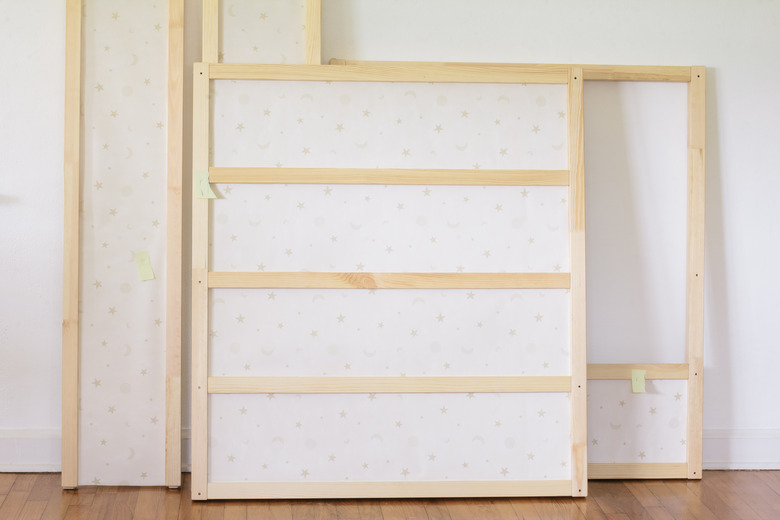
Prior to adhering your wallpaper strips, it's a good idea to check and make sure they fit properly inside the panels.
 Trisha Sprouse
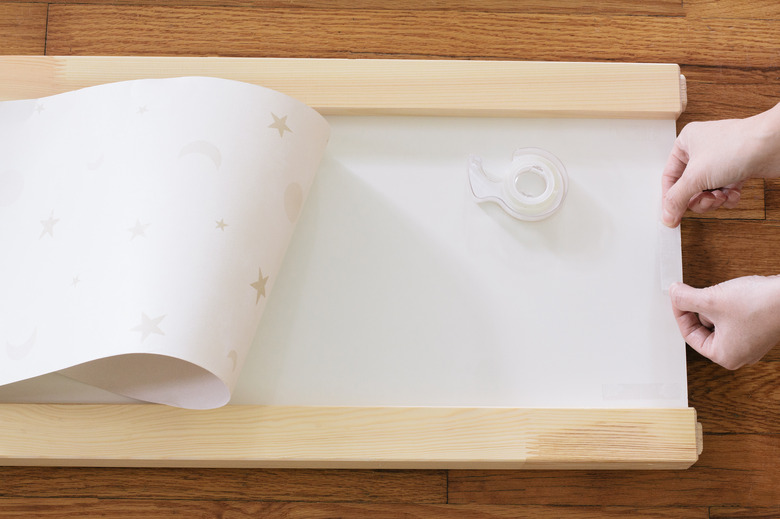
If you're using removable wallpaper, remove the adhesive backing and adhere it to the panels. If, like us, you're using regular wallpaper, adhere it to the panels using double-sided tape. We found it was easiest to adhere it at one end, then the middle, and then the other end. Be sure to smooth out any air bubbles as you go.
 Trisha Sprouse
 Trisha Sprouse
TIP: If you prefer to skip measuring and cutting wallpaper altogether, check out the many KURA bed stickers you can buy online.
Step 4
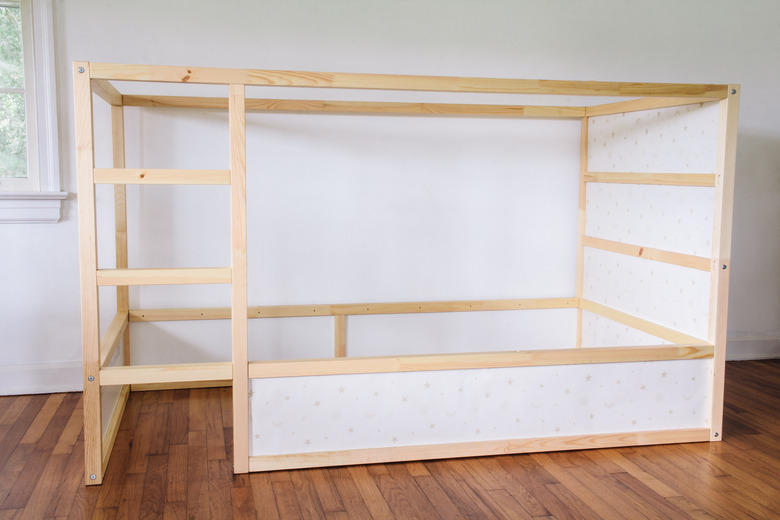
Put the bed together according to the instructional manual. The bed is reversible and can either be a high bed or a low one. Since we designed this bed for a toddler, we opted for the low bed position.
 Trisha Sprouse
Step 5
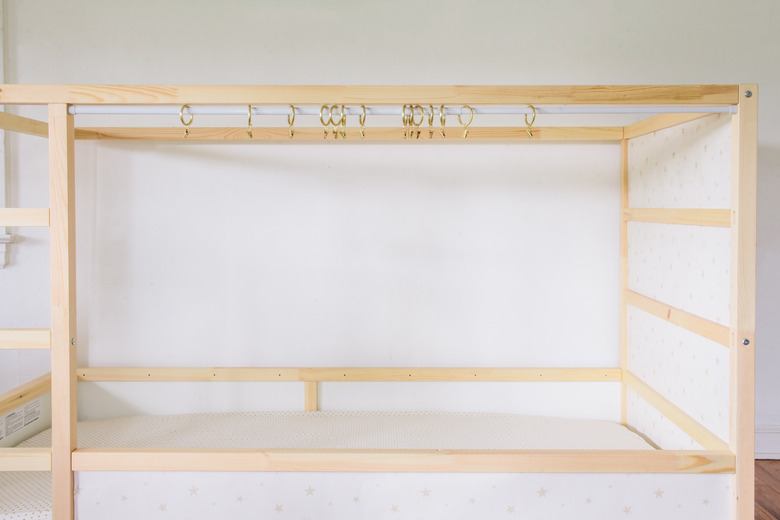
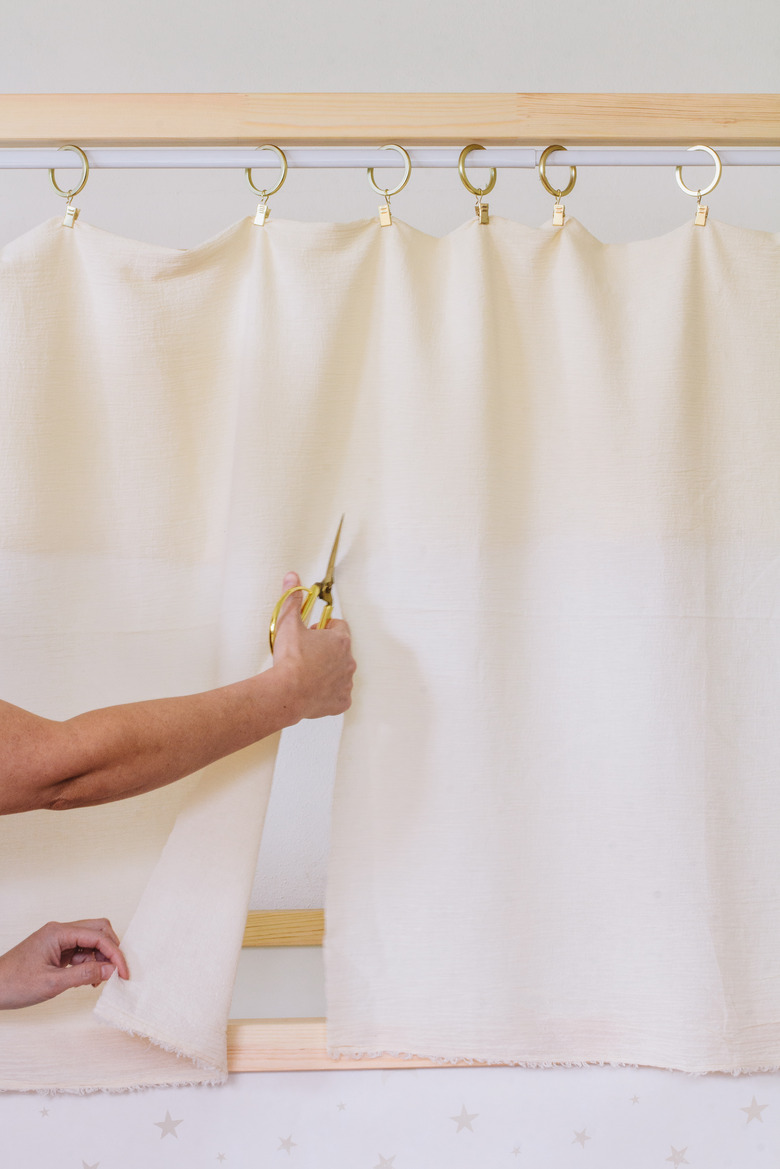
Hang a tension rod with curtain clip rings across the top of the bed, between the ladder and headboard.
 Trisha Sprouse
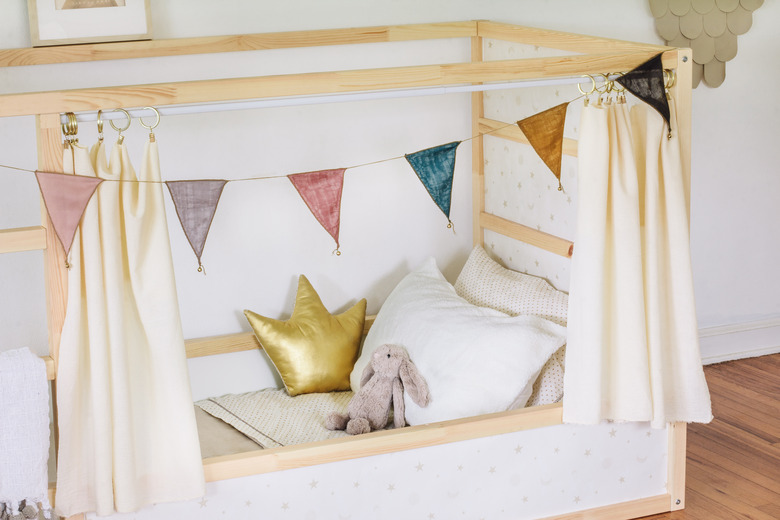
Then, either hang cafe curtains or fabric from the clip rings. We hung two yards of cotton gauze fabric (color: papyrus) and simply cut up the middle to create two curtain panels. We positioned the selvage end on the bottom, and folded the excess fabric at the top to create our desired length. We didn't hem the sides, because the fabric billows when you push them to the side, and you don't really notice the unfinished edges. However, you can certainly hem the sides either by sewing them or using no-sew iron-on adhesive.
 Trisha Sprouse
Step 6
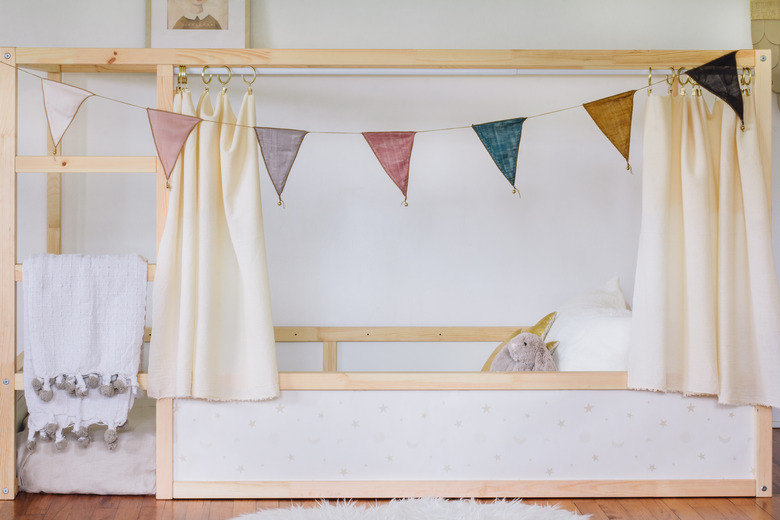
Now for the finishing touches! We hung a colorful fabric bunting flag along the front of the bed (either tape or tie it to the bed posts).
 Trisha Sprouse
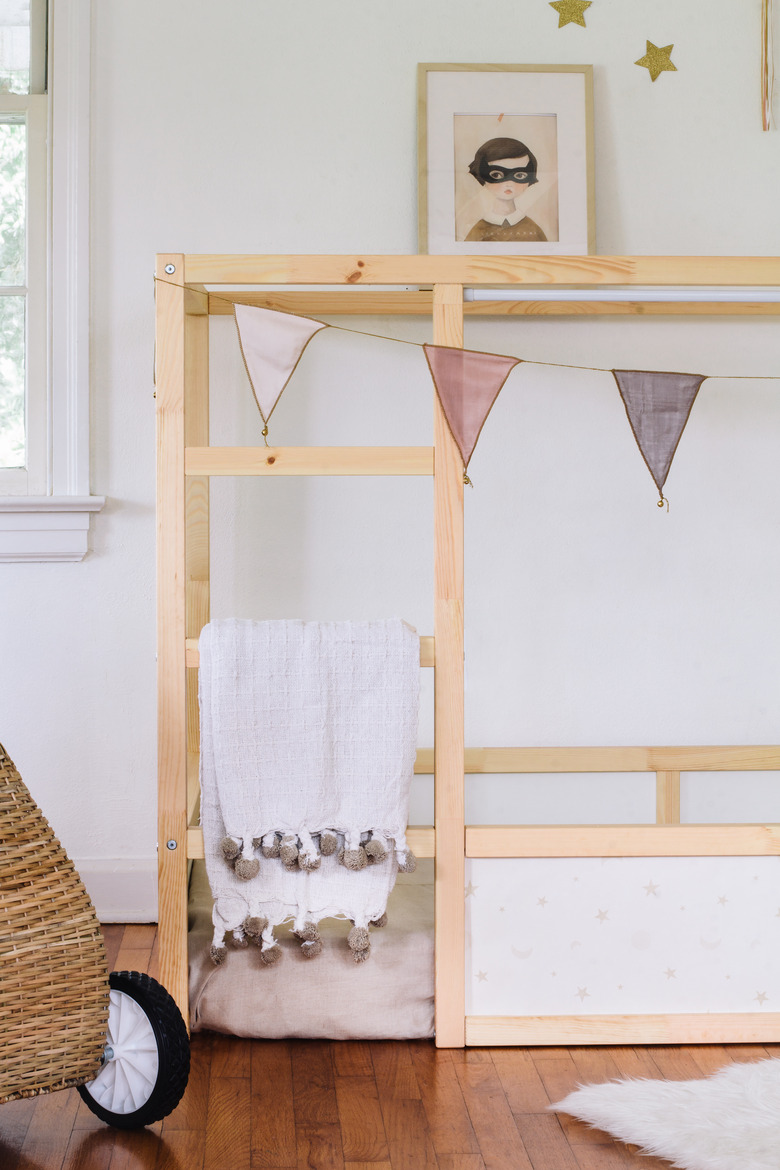
You might think the ladder has no purpose when the bed is flipped to the low position. But it actually makes the perfect blanket ladder — great for storing extra blankets for cooler nights! We tucked an adorable pom-pom blanket onto our ladder.
 Trisha Sprouse
Now add some pillows, bedding and toys, and your little one is all set to drift off to dreamland in their whimsical new bed.
 Trisha Sprouse
GET THE LOOK:
GET THE LOOK:
KURA bed | Moon & stars wallpaper | Fabric bunting flags | Crown pillow | Sherpa pillow cover | Printed cotton sheets | Pom-pom blanket | Bunny | Unicorn | Wall hanging | Kitten bandit art print | Toy basket trolley | Tension rod | Brass curtain clip rings | Cotton gauze fabric | Faux sheepskin rug (similar) | Crescent moon plush (similar) | Adhesive glitter stars | Wooden kids' stool
 Trisha Sprouse
 Trisha Sprouse