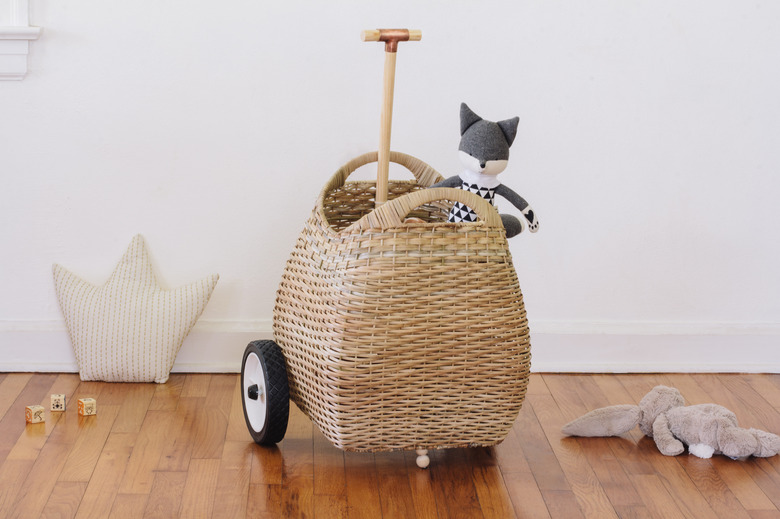
Turn Any Basket Into An Adorable Toy Trolley For Kids With This Easy Tutorial
We may receive a commission on purchases made from links.
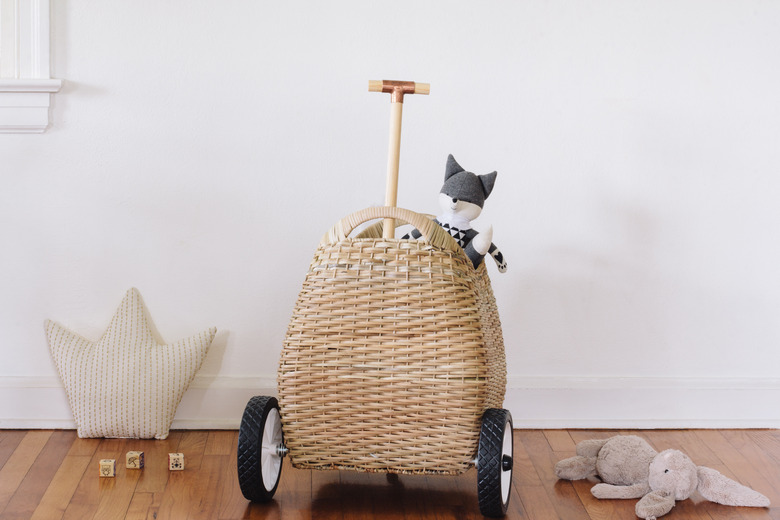
Any parent knows that kids have a tendency to acquire all of the stuff ... toys, books, knickknacks, and so on. While baskets are a stylish solution for corralling their prized possessions, we've got a hack that can turn any basket into an adorable toy trolley. From house to yard, to beach and back, your little ones will love the mobility of this holder, and you'll love not having to lug all of their things. (You might even find yourself borrowing it on laundry day or when you visit the farmers market.) Oh, and did we mention the basket we hacked is from Target and costs less than $40? Wheels up — let's do this!
Things Needed
-
Tall woven basket (we used this one)
-
Power drill
-
Hacksaw
-
1/2-inch washers, (6)
-
7/8-inch-by-36-inch wood dowel
-
3/4-inch copper tee joint
-
Industrial-strength adhesive
-
Zip ties
-
1-inch wood beads, (2)
 Trisha Sprouse
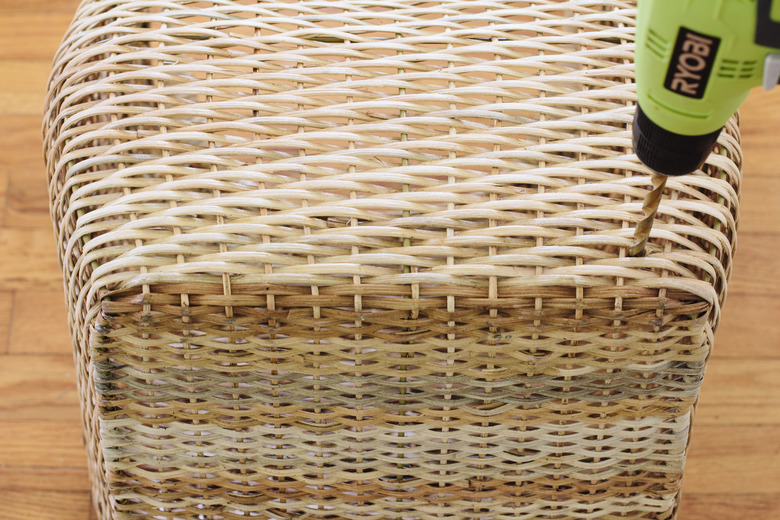
Make the Axle
Step 1
Drill a hole on each side of the basket, about 1 inch up from the bottom and 1 inch in from the back.
 Trisha Sprouse
Step 2
Insert the steel rod through the holes in the basket. You'll need to mark where to cut off the excess length. First, position the rod so that 3 inches are protruding from one side, and then mark where 3 inches ends on the other side.
 Trisha Sprouse
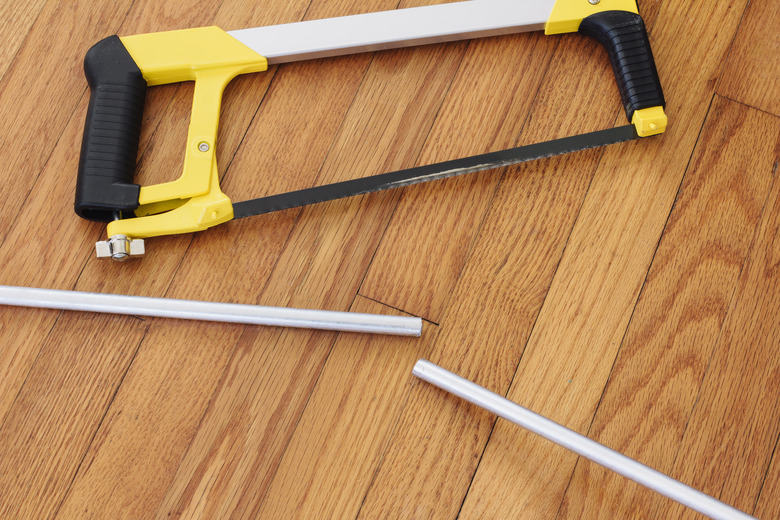
Step 3
Remove the rod from the basket, and use a hacksaw to cut the rod along the mark you made.
 Trisha Sprouse
Step 4
Insert the cut rod back through the holes in the basket. Place three washers on one side of the rod.
 Trisha Sprouse
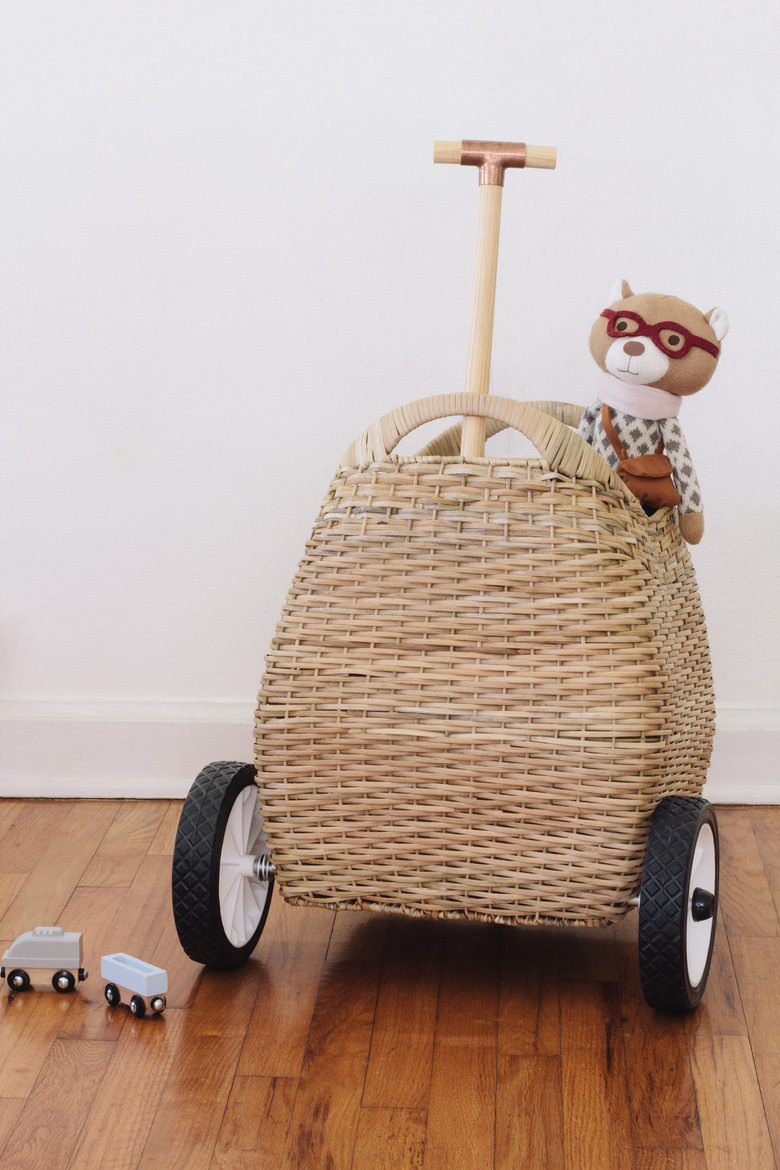
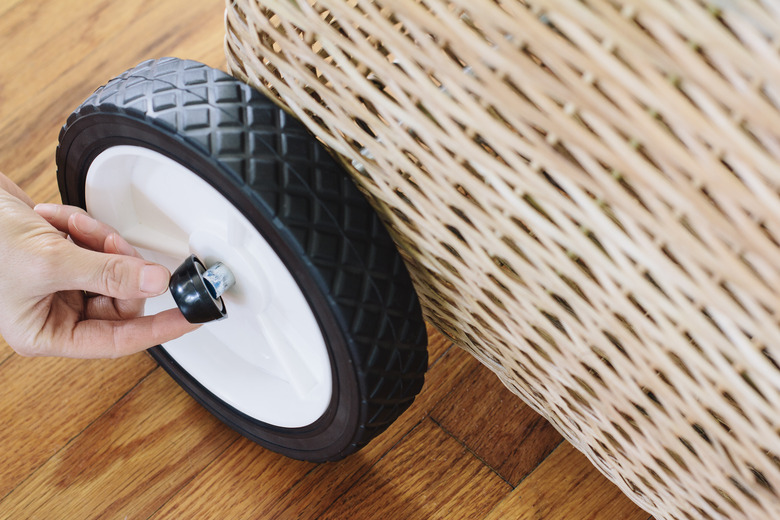
Slide a wheel onto the rod, and then put a hubcap on top.
 Trisha Sprouse
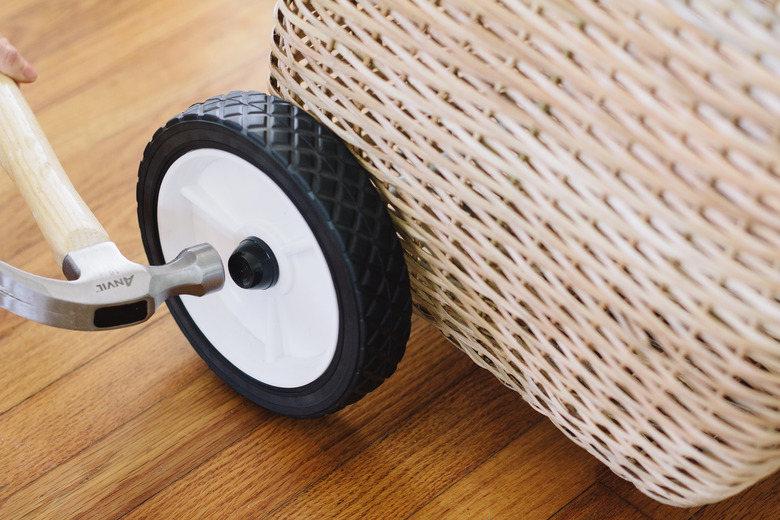
Hammer the hubcap firmly in place on the rod. (The hubcaps have little metal teeth inside that will clamp down onto the rod when hammered.) Repeat on the other side.
 Trisha Sprouse
Make the Handle
Step 1
Place the wood dowel inside the basket and mark the desired height for your handle (based on your child's size).
 Trisha Sprouse
Step 2
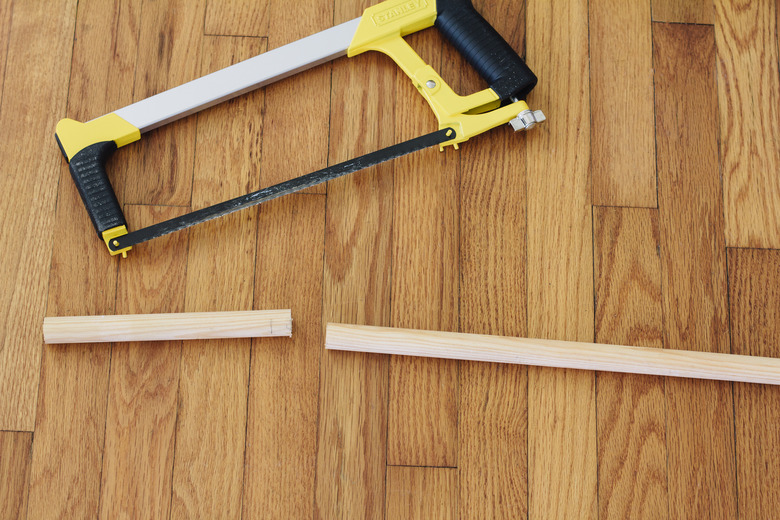
Cut the dowel along the mark you made.
 Trisha Sprouse
Step 3
Glue the cut dowel vertically inside the copper tee joint.
Using the excess you cut off the dowel, cut two pieces that are 2 inches each in length, and glue them horizontally in the copper tee to create a handle.
 Trisha Sprouse
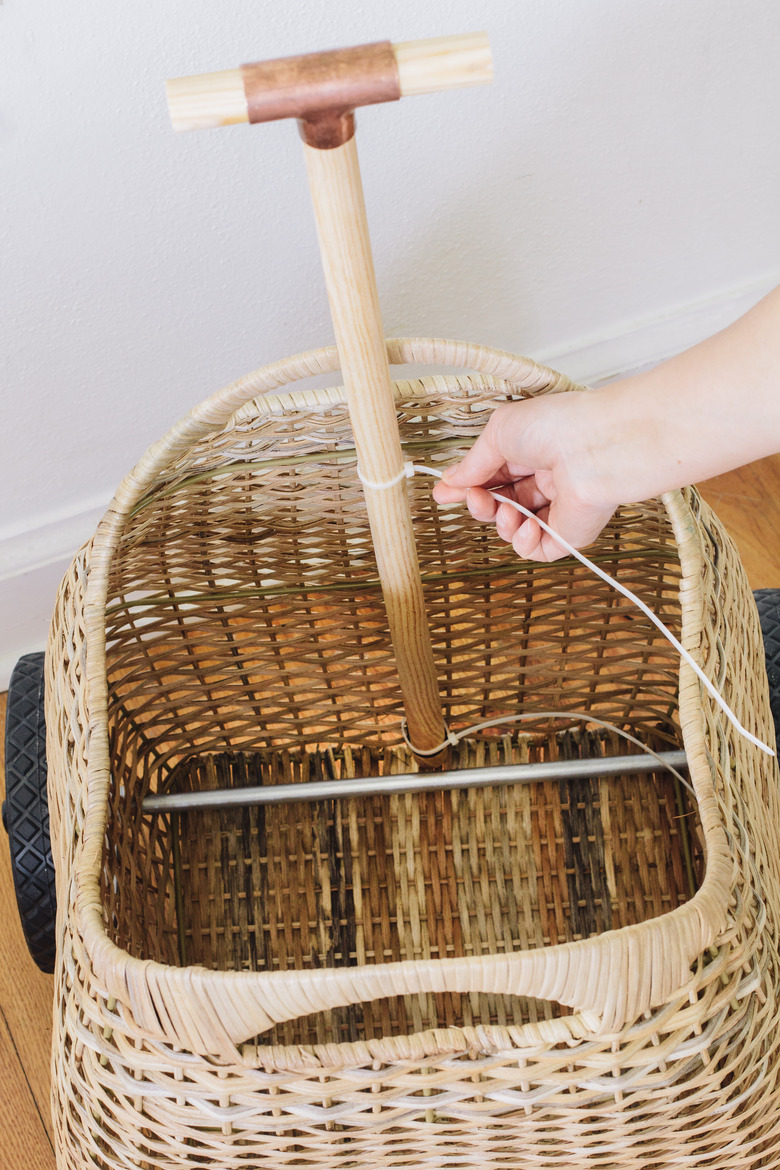
Step 4
Insert the handle upright in the back of the basket, and secure it in place at the top and bottom with zip ties. Cut off the excess length on the zip ties.
 Trisha Sprouse
Make the Kickstand
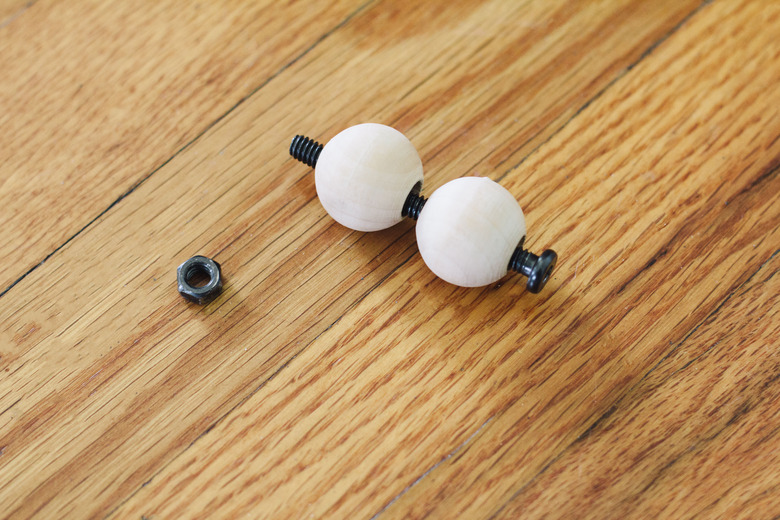
Step 1
You'll need to make a kickstand so the basket can stand upright when not in use. Stack two wood beads together, and insert a carriage bolt through the holes.
 Trisha Sprouse
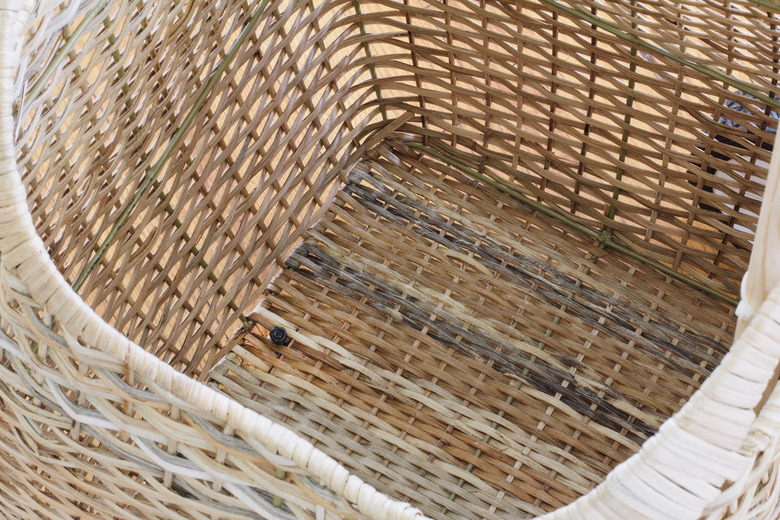
Step 2
Wiggle the bolt up from underneath the basket (make sure it's centered) until it slides through the wicker. Screw the nut onto the bolt to secure it inside the basket.
 Trisha Sprouse
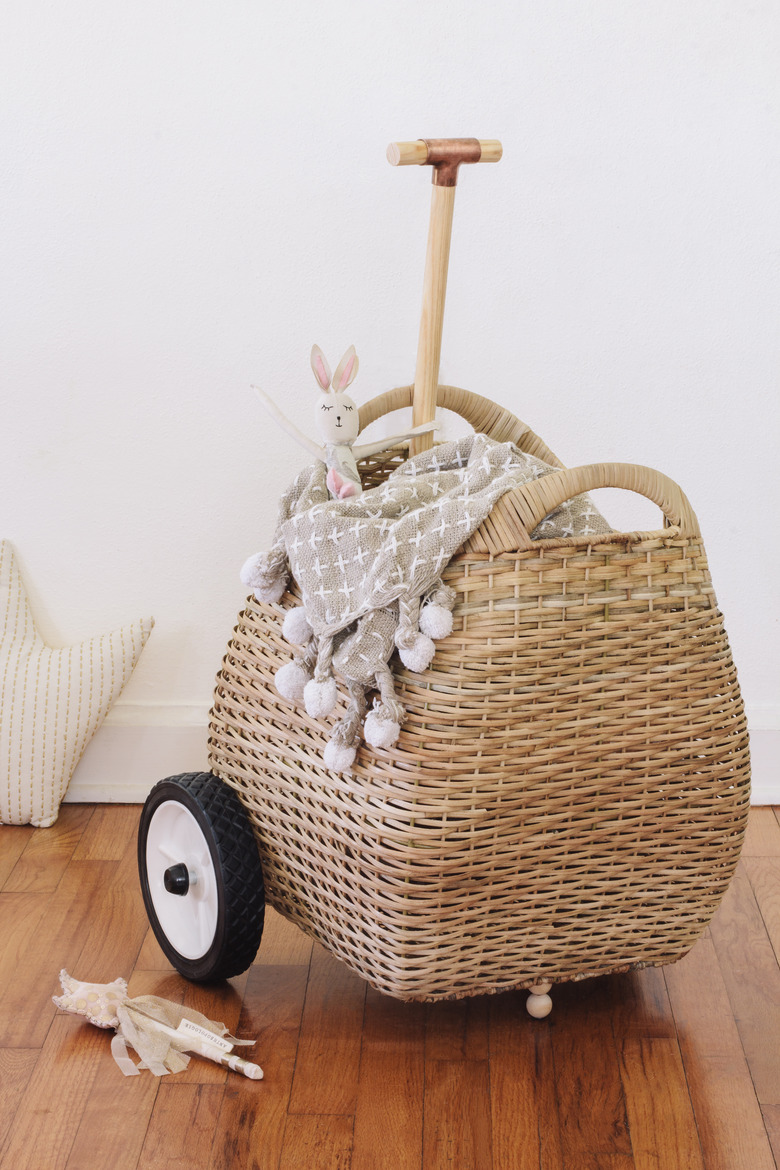
Now your little ones are all set for a wheeling good time.
 Trisha Sprouse
 Trisha Sprouse
 Trisha Sprouse