These 10 Furniture Painting Tips Are All You Actually Need To Know
We may receive a commission on purchases made from links.
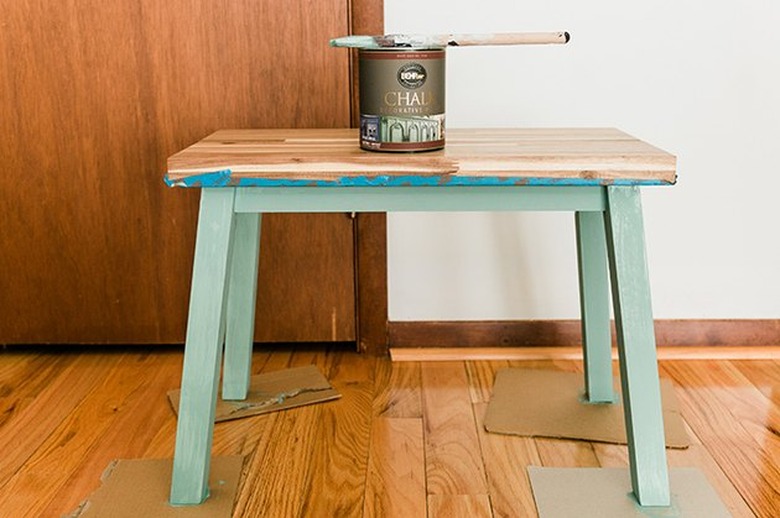
Paint is the easiest way to revive tired furniture with a whole new vibe. (Have you seen our guide to painting with chalk paint?!) But the process is subject to lots of potential error — peeling, chipping, bubbling, and prominent brush strokes, to name a few. Lucky for you, we've painted our fair share of furniture around here, and we've certainly learned some important (OK, at times cry emoji-inducing) lessons along the way. Here we're sharing our best tips to ensure you end up with a pretty paint job every time.
1. Always Wear a Respirator Mask
1. Always Wear a Respirator Mask
Safety first, everyone. Whenever you sand, strip, or paint a piece of furniture, it's good to remember that you're releasing harsh chemicals and particles into the air that will likely get inhaled into your lungs or seep into your skin. Even if you're a daredevil and skip the protective eyewear or gloves, you should always — always — wear a respirator mask. It's so important to protect yourself and work in a well-ventilated area. Also, if you're working with an older piece, keep in mind there is a possibility it could contain lead. When in doubt, use an instant lead test to check before refinishing it.
2. Your End Results Are Only as Good as Your Prep
2. Your End Results Are Only as Good as Your Prep
You'll find lots of products on the market claiming you can skip the prep work, but in reality, your end results are only as good as your preparation. Lest your beautifully painted furniture peel or chip down the road, it's important to start by giving your piece a thorough cleaning to ensure it's free of dirt, dust, and oil. Soap and water are fine for most jobs, but for pieces with heavy grime, either odorless mineral spirits, or a mixture of denatured alcohol with water (50-50 ratio), work great.
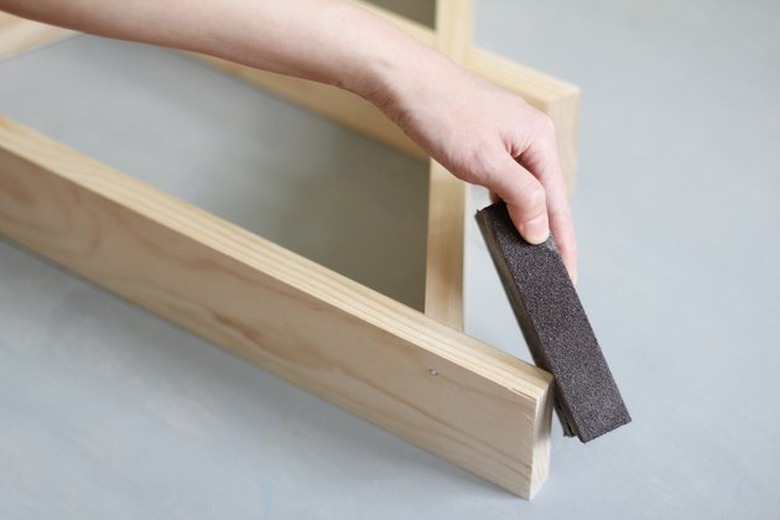
After cleaning, remove the hardware and tape off any edges you don't want painted, such as drawers. Lightly sand the furniture with 150-grit to 220-grit sandpaper using about the same pressure you'd use when wiping your kitchen counters. You don't have to sand down to the bare wood, but you do want to scuff the surface enough to remove any existing sheen or gloss and give the paint something to grip. If there are any areas that are bubbling or peeling, it might require more sanding with a heavier grit sandpaper to smooth out. Also, any areas that are damaged or chipped should be filled with wood filler and sanded smooth when dry. After any type of sanding, always wipe the dust off completely with a tack cloth.
3. The Primer Should Match the Type of Paint You Plan to Use
3. The Primer Should Match the Type of Paint You Plan to Use
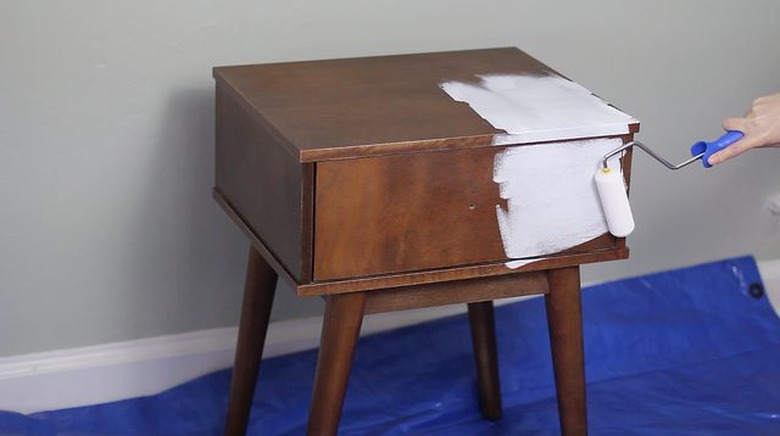
Applying primer will ensure better paint adhesion, a smoother finish, and a more durable surface. It's particularly necessary to use a bonding primer when painting laminate or wood veneer surfaces that have a high-gloss finish to create better paint-sticking power. This is also essential when painting bare wood (especially cedar and redwood), or when painting wood furniture with a light paint color, as tannins in the wood can bleed through the paint.
As for the type of primer, it should match with the type of paint you plan to use. The rule of thumb is you can use water-based paint over oil-based primers, but don't use oil-based paint over water-based primers. Water-based primers are great choices for most wood pieces, but use a shellac-based or oil-based primer for any furniture made with MDF or particle board, as the material absorbs water quite easily and tends to swell with water-based products.
When can you skip primer? Chalk paint, milk paint, and acrylic paint all grip well to most surfaces on their own, so you can technically get away without priming. The only purpose of using a primer with these types of paints would be to block any potential bleed-through if you were to paint wood furniture with a light-colored paint.
4. Not All Paint Is Created Equal
4. Not All Paint Is Created Equal
Latex and acrylic are the main types of water-based paints, which offer faster drying times, are more resistant to discoloration from sunlight, and have less VOCs (volatile organic compounds). But they aren't as durable over time as oil-based paints since they never fully cure to a hard finish. Oil-based paints are known to show fewer brush strokes and offer better durability in the long run, especially for high-traffic furniture pieces, as they dry to a hard finish. However, oil-based paints require longer drying times and additional ventilation due to higher VOCs. Both are available in a wide range of colors and sheens.
For real wood or laminate pieces, you can really take your pick among water-based or oil-based paints, so long as you properly prep and seal your piece. Chalk and milk paint have become very popular for their no-to-low-prep attributes (we love how chalk paint is used in this IKEA hack), and are well-suited for lending a farmhouse feel to painted furniture, particularly if you plan to give your piece a vintage or distressed look. Spray paint (which is often oil-based) works well for painting metal, plastic, or wicker furniture, but the color selection is fairly limited.
5. Always Use a High-Quality Brush or Roller
5. Always Use a High-Quality Brush or Roller
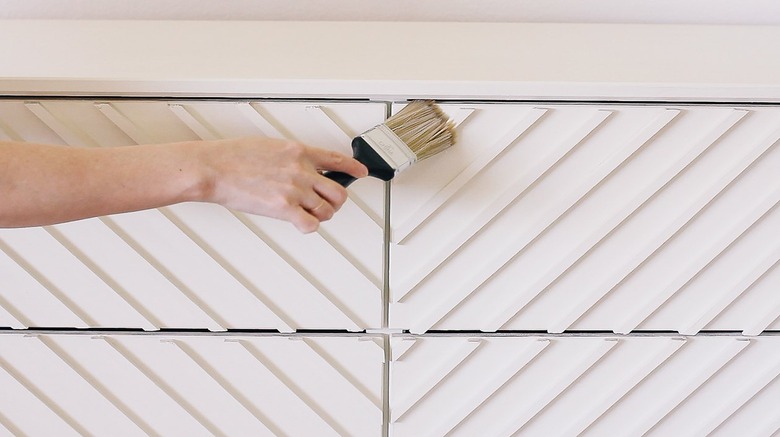
Spring for the pricier paintbrush — seriously. The quality will make or break your paint job. You'll learn quickly just how much those cheap chip brushes can be the bane of your existence once you start seeing all the stray hairs stuck in your paint and the prominent brush strokes left behind. A good quality brush will eliminate those pain points. Synthetic bristle brushes work best with latex/acrylic paints while natural bristle brushes work best with oil-based paints.
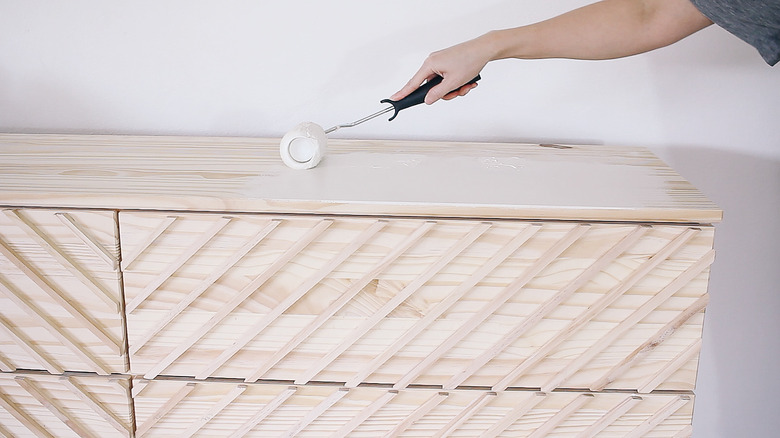
For the smoothest finish possible, a paint sprayer is technically the best tool for the job, but alas something your average DIYer isn't likely to own. Your next best option for a stroke-free finish is to use a good quality paint roller. A good thing to keep in mind with rollers: the lower the nap, the smoother the finish. We recommend a mohair roller with 1/4-inch nap or lower, or a high-density foam roller.
6. Paint in Thin Layers
6. Paint in Thin Layers
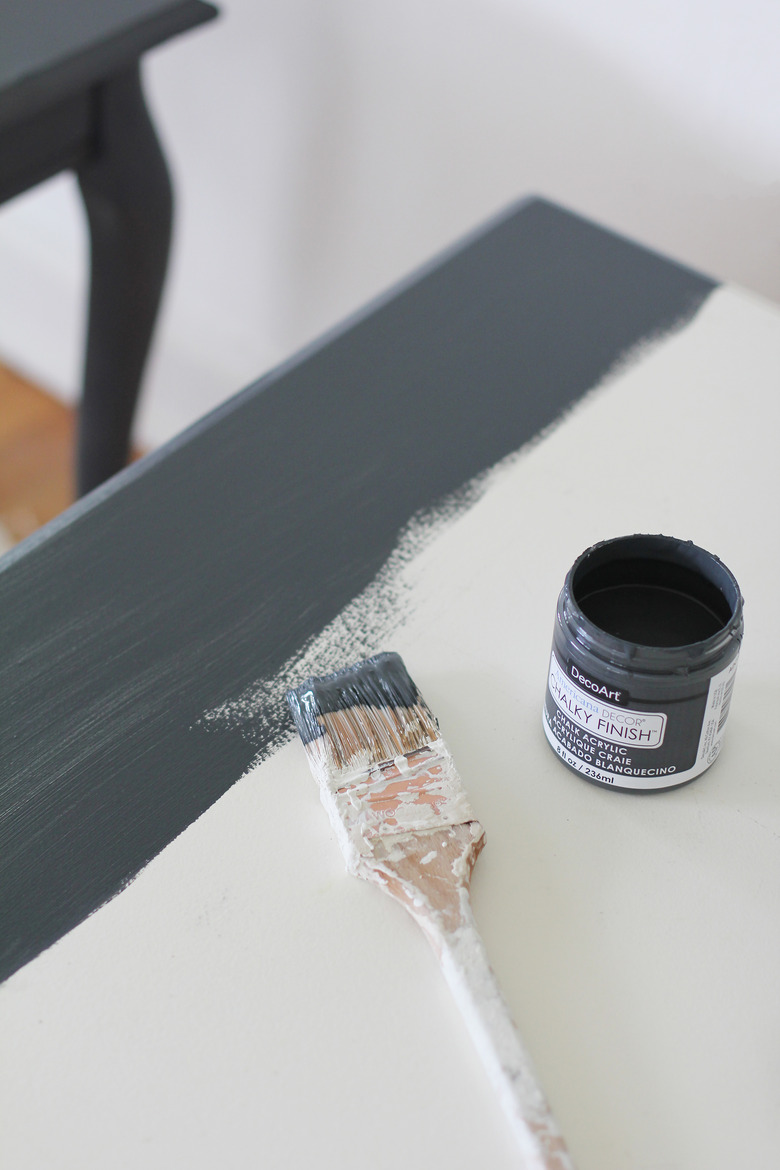
We get it — painting can be a tedious process. And we've definitely been guilty of slathering on thick layers of paint in an attempt to speed up the job. But, trust us, painting thin layers always yields a far smoother finish in the end. It's just worth it. Period. Start at the top, paint in the direction of the grain, and work downward so you can smooth out any drips as you go. Just be sure to apply light pressure with your paintbrush or roller to minimize brush strokes. Keep a wet edge as you work (avoid overlapping wet paint over already dry areas) to eliminate any potential of flashing, which is when some parts of the paint surface appear to be a different sheen from the rest.
What is considered a thin layer? Two to three passes with the brush or roller. Resist the urge to keep painting even if you see noticeable brush strokes, as you need to give the paint time to do its thing and level out. You could also thin the paint out with Floetrol (for water-based paint) and Penetrol (for oil-based paint) for an even smoother finish.
7. Let Paint Dry Fully Between Coats
7. Let Paint Dry Fully Between Coats
Ever touch painted furniture weeks or even months after it was painted only to notice it's still sticky or tacky? Or ever had paint peel or crackle on your furniture? That's likely because the under layer never adequately dried before the top layer was applied. Generally, you should let water-based paint dry at least four hours before applying the second coat, and allow oil-based paint to dry for a full 24 hours before applying a second coat. Keep in mind that poor ventilation, high humidity, and cold weather will significantly affect the drying process and should be factored into drying times as well.
8. Sand Between Coats
8. Sand Between Coats
To create a professional-looking and longer-lasting finish, lightly sand in between each coat of paint (after it has dried, of course) with fine grit sandpaper. If you don't sand the paint to a smooth finish, you could end up with graininess. And no one wants that. Also, be sure to clean off all the sanding dust with a tack cloth before applying the next coat of paint.
9. Seal With a Topcoat
9. Seal With a Topcoat
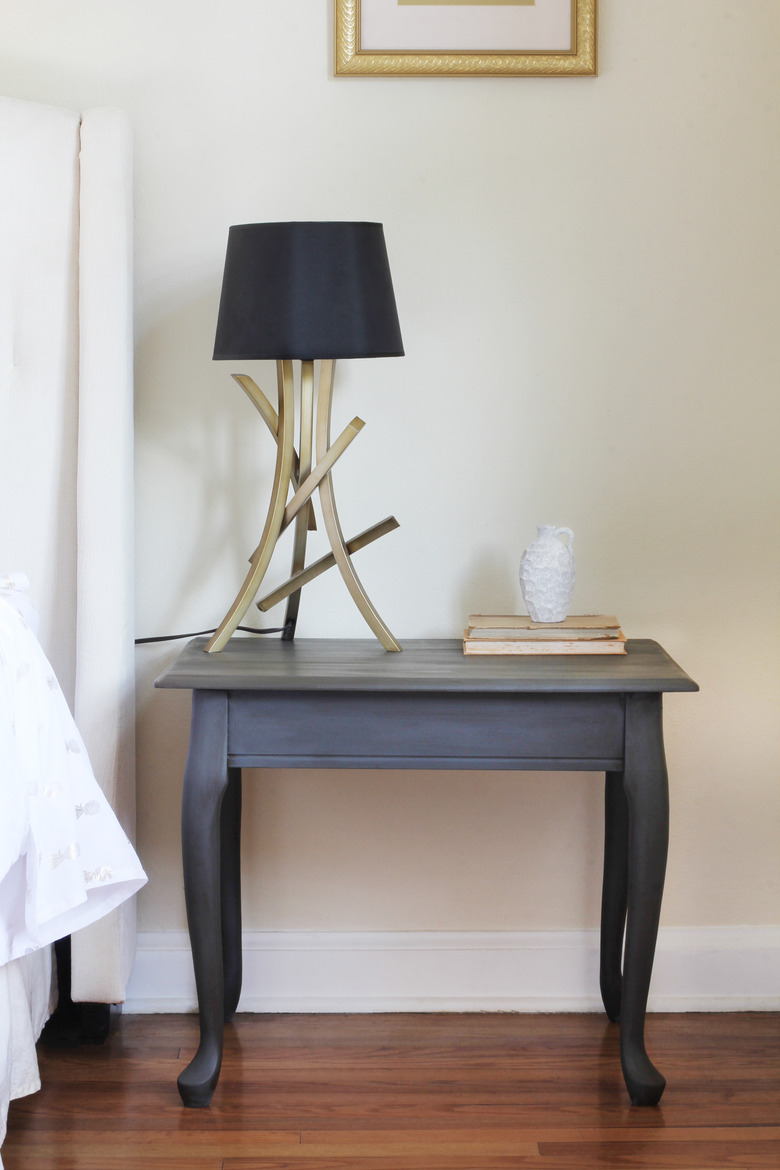
Now that you've spent all that time and energy painting your furniture, you're definitely going to want to protect it against dings, scratches, and spills, especially if it will see a relatively high amount of traffic like a dresser or table. There are a number of clear topcoats to choose from, and they come in an array of finishes, including gloss, semi-gloss, satin, or matte.
Polyurethane is an oil-based topcoat and offers the toughest protection, but it's not great for painted pieces as it tends to yellow over time. Polycrylic is a water-based topcoat that is non-yellowing, so it's a great choice for painted furniture. There are spray topcoats available as well, but those are best suited for pieces that have been spray-painted or smaller pieces like end tables.
Furniture wax is another option, which is well loved for its low-sheen, flat finish, and many people particularly opt for wax to seal chalk-painted furniture. However, wax is not the most durable of the topcoats and will require re-coating further down the road. Now, if you love the look of wax but want the protection of a poly, you could topcoat your furniture with a matte poly first, and then wax on top after it has dried. In this combo, wax should always be your last coat.
10. Let It Cure Completely
10. Let It Cure Completely
Even though paint may feel dry to the touch in as little as an hour, it can take up to one week for oil-based paints and up to 30 days for water-based paints to fully cure and reach their maximum hardness, especially if you live an area with high humidity. So go easy on your painted furniture until it has completely cured. That doesn't mean you have to leave it in your garage for a month. You can place it in its intended spot in the house, but maybe don't place any decorative objects on it for a couple of weeks.
You now have all the know-how you need to paint your furniture with confidence. Happy painting!