How To Use A Paint Sprayer

Not so long ago, a homeowner wanting to take advantage of spray technology had basically two options. One was to rent a compressor and an air spray gun and the other was to rent a large airless sprayer. Neither tool works particularly well for intermediate-size jobs, such as painting walls in interior rooms full of furniture or painting a small porch. Today, one more option is available.
Manufacturers such as Wagner, Graco, Black & Decker, and Ryobi introduced handheld airless sprayers in the early part of the 21st century, and they have refined the design over the years to create homeowner-friendly tools that are inexpensive, easy to use, and which combine the best of air and airless spray technology. Handheld airless guns employ a pump, so you don't need a compressor, and they have nozzles that atomize the paint particles almost as well as an air sprayer. They are suitable for virtually every purpose for which a homeowner needs a sprayer, and they don't take up much space in your tool closet.
Airless sprayers are easy to use, but you have to adhere to some best practices to get great results and to maintain your tool in top condition.
- It's important to thin paint to the proper consistency for spraying and to understand how much paint to apply without overdoing it.
- Proper cleanup after each painting session is crucial if you want your sprayer to ready when you need it.
Mixing Paint for Spraying
Mixing Paint for Spraying
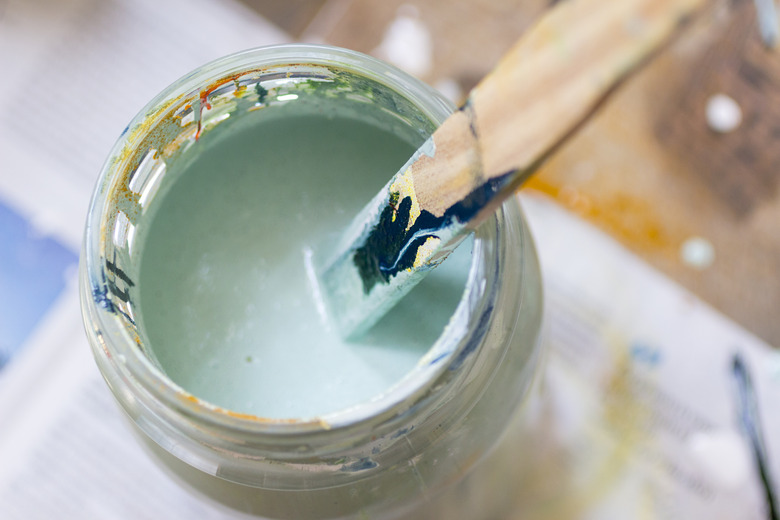
The first thing to remember is to always use fresh paint when spraying with a handheld sprayer. Old paint that has been sitting in your paint shed for too long has probably separated and developed lumps, and even if you can't see them when you stir the paint, the lumps will spit from the sprayer nozzle and deposit a spotty, uneven coat on the surface you're painting.
Even fresh paint can do this, so it's a good idea to thin it before spraying. You don't have to add much water or thinner—you don't want to create a runny mixture that will drip and sag. One part thinner per 10 parts paint will improve the flow just enough to create an even spray. Some materials, such as lacquer and wood stain, don't need thinner, but most paints do. The best strategy is to thin all the paint you need for a particular project at once to ensure a uniform mixture, but if you're careful about using the same proportions, you can thin the paint in the spray cup each time you refill the sprayer.
Developing Good Spraying Technique
Developing Good Spraying Technique
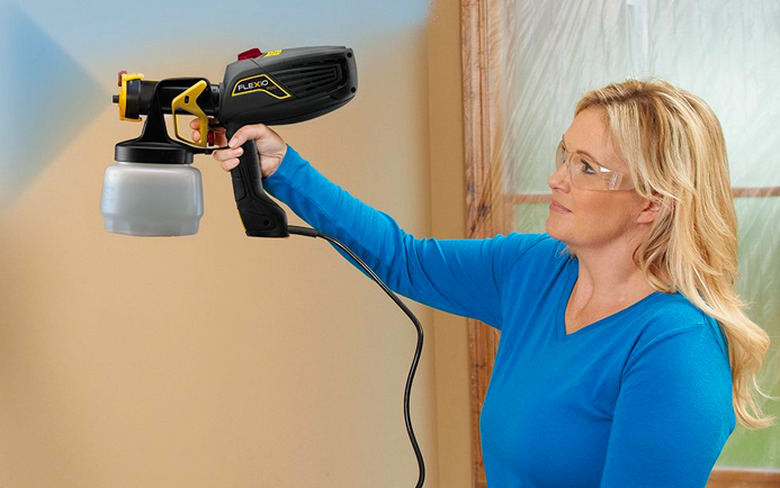
After you've filled the cup of your sprayer about 3/4 full with material, screwed the cup onto the base of the sprayer and plugged it in, it's a good idea to test the spray pattern on a piece of cardboard or scrap plywood. This allows you to check the width of the spray pattern and experiment with the distance from the nozzle to the painted surface, which in most cases should be about 6 to 12 inches. Do a few test passes to determine an optimum speed to move the sprayer to produce good coverage without drips or sags. This is a good practice whether you're using a handheld or a conventional airless sprayer.
When you spray, you can move the gun back and forth or up and down, adjusting the nozzle as needed to produce a pattern that fans out perpendicular to the direction of motion. You adjust the nozzle simply by turning it. When spraying, keep the gun level and the tip pointed directly at the surface you're painting. Avoid arcing away from the surface at the end of each sweep. This leaves the edges "hungry" and in need of an extra pass, which increases the chances of overloading and producing drips. If the edges are hard to reach, arcing may be unavoidable. In that case, there's less chance of drips if you wait a few minutes before spraying the edges. Or, you can do the edges first.
Keep the trigger depressed for each entire sweep. Every time you release the trigger and depress it again is an opportunity for the sprayer to spit small chunks of material that can create a texture remaining visible after the paint dries.
Backrolling to Avoid Streaks
Backrolling to Avoid Streaks
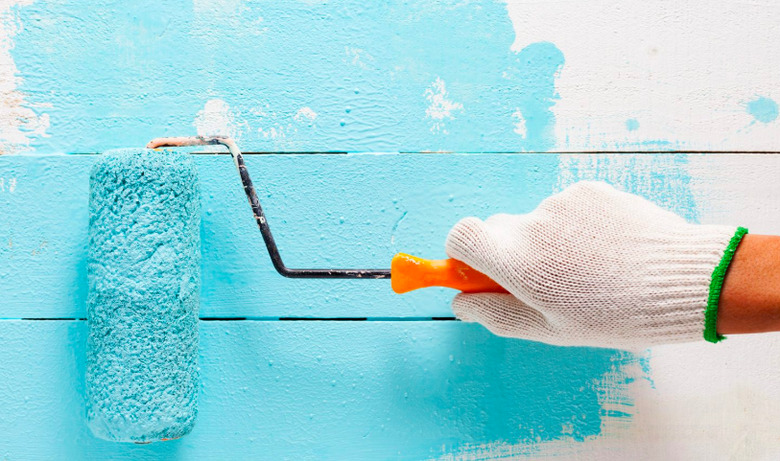
Even the best painters can't always get even coverage on a large surface, such as the side of a house. The sprayer leaves less paint on the edges of the pattern than it does in the middle, and the streaks are visible after the paint dries. For this reason, it's common to keep a paint roller handy and to roll out a surface after spraying. Some painters do this on interior walls, where the mottled texture or a rolled surface might be preferred to a smooth, featureless sprayed surface. It's also a good idea to keep a brush handy to care of drips and sags before they harden and have to be sanded off.
Because streaks often don't show up until the paint has dried, it's important to use a work light, especially when spraying indoors where there isn't much natural light. If you shine it obliquely on the surface you've just sprayed, all the streaks and texture inconsistencies will be visible, and you can fix them before you put away your equipment.
Cleaning Up and Maintaining Your Sprayer
Cleaning Up and Maintaining Your Sprayer
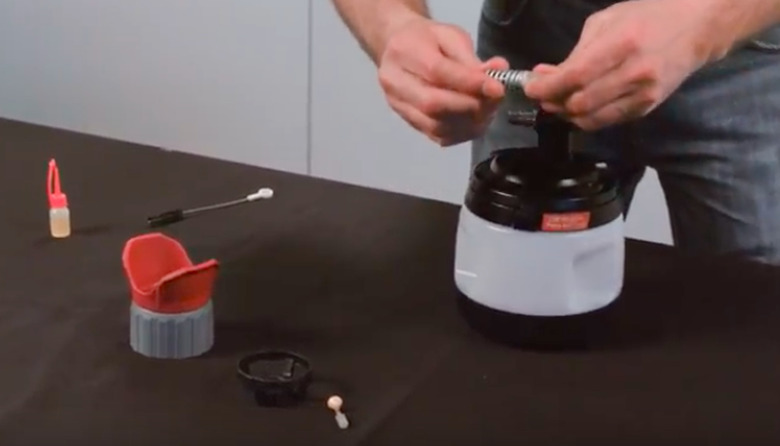
The last thing you want is to have paint dry inside your spray gun. Once that happens, the cleanup can take hours. Avoid this by cleaning the gun thoroughly after each use.
Start by emptying the cup and rinsing it out with thinner. Once it's clean, fill it about 1/4 full of thinner and spray all the thinner into a bucket. If you're using a larger sprayer with an intake rod, dip the rod in a bucket of thinner and spray the thinner into a bucket. This cleans the bulk of the paint out of the sprayer, but you still have to disassemble the gun and clean each individual part with thinner, especially the nozzle and the spray valve. Spray a little lubricating fluid on each part before you reassemble the gun to prevent sticking.