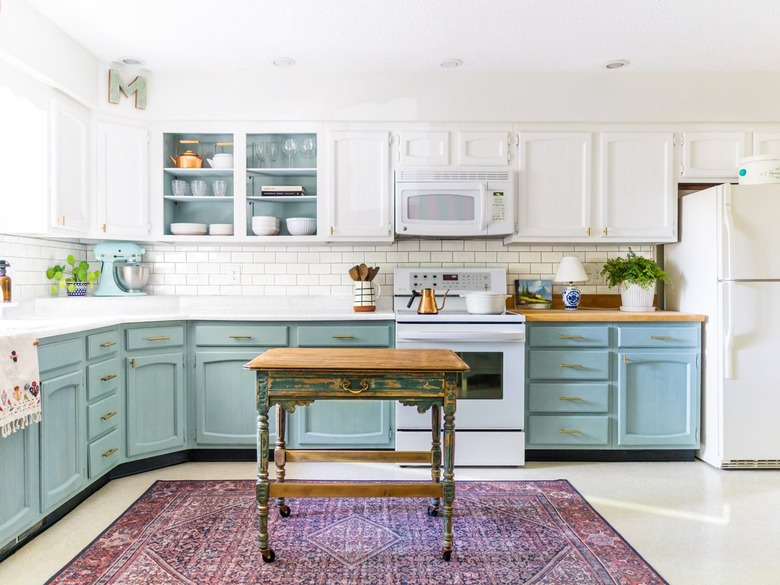
Chalk Paint Kitchen Cabinets: A How-To Guide
We've spoken before about how to use chalk paint on furniture, but have you ever considered this medium for your kitchen cabinetry makeover? In fact, we're sure you've seen a bunch of chalk paint kitchen cabinets popping up all over Pinterest lately. But why is this finish so in demand? This guide will give you the lowdown, from the pros and cons of chalk paint cabinets to a step-by-step tutorial on how to make it happen. Thank us later, preferably from your revamped kitchen, of course!
What is Chalk Paint?
What is Chalk Paint?
Even if you're not a first-time DIYer, you might think chalk paint is just another type of varnish. But the term is actually trademarked by Annie Sloan. Any other iterations tend to be referred to as chalked paint or chalky paint. This pigment is not to be confused with chalkboard paint which is used primarily to create an erasable surface that's perfect for drawing or writing notes. And brands such as Rust-Oleum, Retique It, and Magnolia Home all offer their own versions as well.
This specially formulated flat paint will stick to almost any surface (such as wood, metal, melamine, and even fabric and glass in some instances) without sanding or priming. It has a matte finish and needs to be topped with a sealant wax or water-based protective finish.
Chalk Paint Pros & Cons
Chalk Paint Pros & Cons
Not sure if chalk paint is the right choice for your home decor and kitchen remodel? Here's an extensive list of pros and cons to help you decide.
Pros:
- Chalk paint jobs dries very quickly — no more waiting around for days in between coats.
- You can potentially get away without sanding thanks to the thicker nature of chalk paint, but we still recommend at least a quick sand for the best application.
- You may not need to prime your cabinets first, depending on the material.
- Unlike latex paint, it has a very matte, smooth finish — no shine here!
- It's low on VOCs (volatile organic compounds), meaning it's great for you and the environment.
- Cabinets covered in chalk paint are very easy to clean and touch up when necessary.
- Good paint coverage can be achieved with fewer coats.
- It's thick enough to cover lighter wood grains.
- It can easily be distressed for a rustic look.
- It can be applied with a paint sprayer.
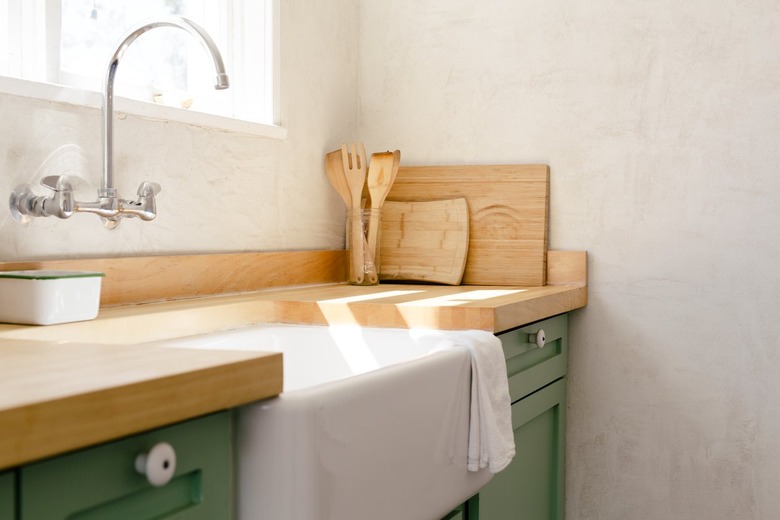
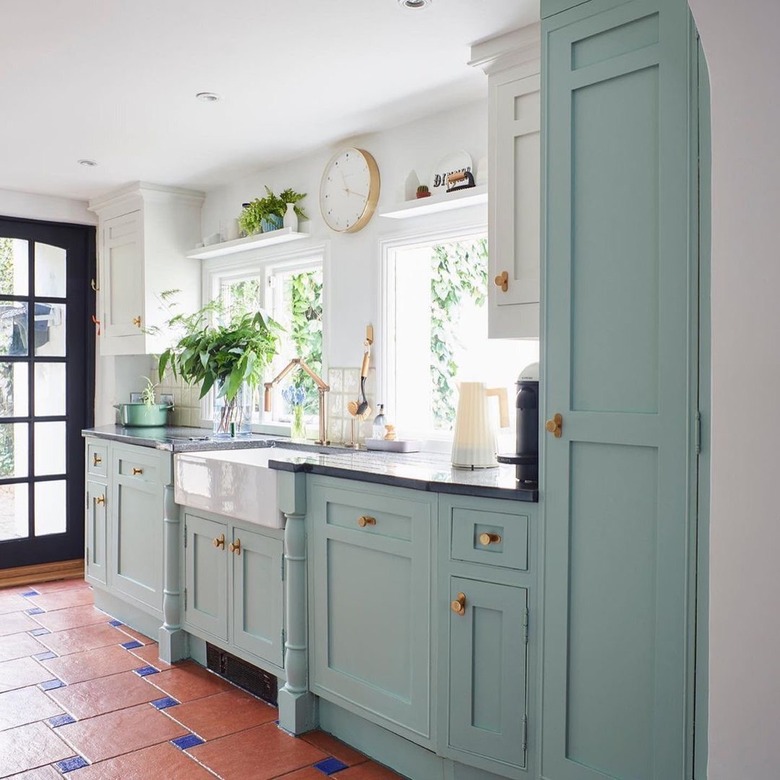
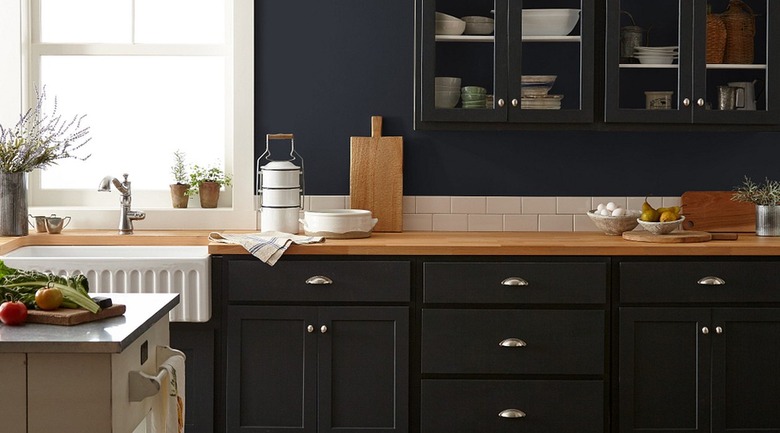
- There are many paint colors to choose between, from pure white to inky blue to emerald green.
Cons:
- You may not realize you need to prime until it's too late.
- Due to the thickness, chalk paint can show brush strokes.
- Chalk paint can be quite expensive, which isn't ideal if you're on a budget.
- Annie Sloan Chalk Paint and most of the other varieties need to be sealed with a top coat.
- You'll likely need to reseal it regularly.
- You can't buy pre-mixed colors from places ike Home Depot (but you can try it at home).
- It's not suitable for teak or oily woods.
- You need to be consistent with layering to avoid marks.
How to DIY Chalk Paint Kitchen Cabinets
How to DIY Chalk Paint Kitchen Cabinets
Looking for the ultimate how-to on painting your kitchen cabinets? You're in the right place.
1. Remove the kitchen doors and knobs.
First thing's first — you need to remove the existing kitchen cabinet doors and hardware. Good preparation is key with any DIY project, especially those that involve painting.
2. Patch up holes and scratches with filler.
Unfortunately, paint won't hide everything, so any untreated cabinet holes or scratches will show up. While patching all the dings might seem tedious, the extra legwork will help make your kitchen feel brand new.
3. Sand the surface.
Now that you have filled any holes and scratches, it's time to sand your cabinets so they're smooth for painting. While chalk paint can be applied without sanding, this stage is important when you're revamping old cupboards because any marks or raised areas could show through. A five-minute once over with fine git sandpaper will do the trick.
4. Clean the cabinets with soapy water.
Before you even reach for the paintbrush, wash your cabinets with a degreasing detergent and water. You should use a non-scratch but heavy-duty cleaning pad. Any existing greasy marks will show through, so this job must be done properly. This step will also get rid of any dust from previous sanding.
5. Prime (if necessary).
You may not need to prime. But we say, if you've got the time, do it, especially if you're painting a reddish type of wood or something with an existing stain. Primer helps to prepare the cabinet surface and stops the wood from absorbing paint. Just one layer can make all the difference.
6. Apply your first coat of paint.
And just like that, it's time for your first coat of paint. Use a fine roller (a mohair option would work well) to really keep strokes to a minimum. Chalk paint can easily show brush marks and will build up with every layer, so you need to concentrate when applying. You could also use a paint sprayer for a seamless finish. Let this layer dry for at least a few hours before moving on to the next stage.
7. Wipe your surface.
Before applying the second coat of paint, you should wipe the surface to remove any dust or hair particles. You'll be surprised to see how much may be floating around!
8. Apply a second coat.
A second coat of chalk paint will completely change the finish of your kitchen cabinets, so don't be tempted to skip this stage. Keep the layering consistent and if you feel like a third coat is necessary, repeat the last step before leaving the surface to dry for as long as possible.
9. Apply a wax or lacquer.
Once everything's completely dry, you can use a clear wax suited to chalk paint. The Annie Sloan brand offers a great version. FYI: This step isn't always necessary, but it's great for extra protection or a more polished look. Leave the wax to harden for at least 24 hours before applying another coat. You'll need two to three layers for a super strong end result. Alternatively, a water-based polyurethane protective finish will also work.
Maintenance and Durability
Maintenance and Durability
In general, chalk paint kitchen cabinets will hold up quite well, and you can prevent chipping if you clean up the cabinets regularly. Harsh chemicals and chalk paint don't mix well, however. Instead, use warm soapy water. Scuff marks can also be an issue, so keep an eagle eye on the base of your kitchen island and cupboards.
If some areas do need a new lease on life, try not to paint over sections sporadically. This will make your laminate or wood cabinets look uneven. When repairs are necessary, redo the entire surface of the affected area. You should aim to reseal your kitchen cabinets with wax every one to two years depending on natural wear and tear.