Best Way To Paint Kitchen Cabinets In 7 Easy Steps
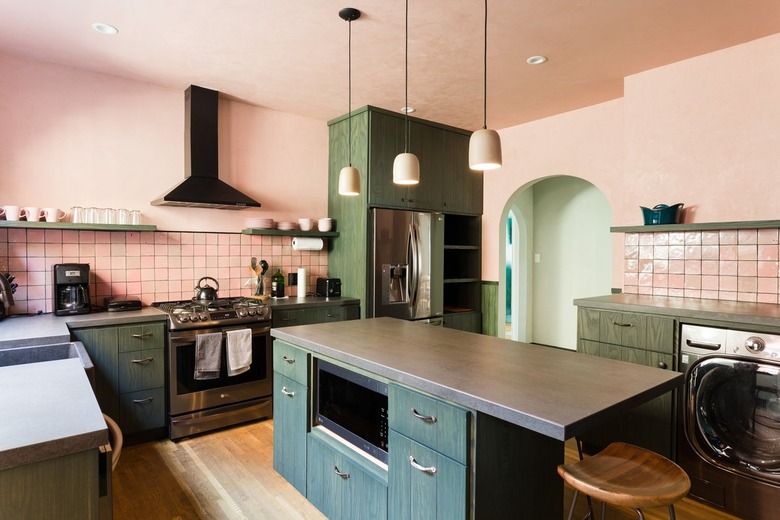
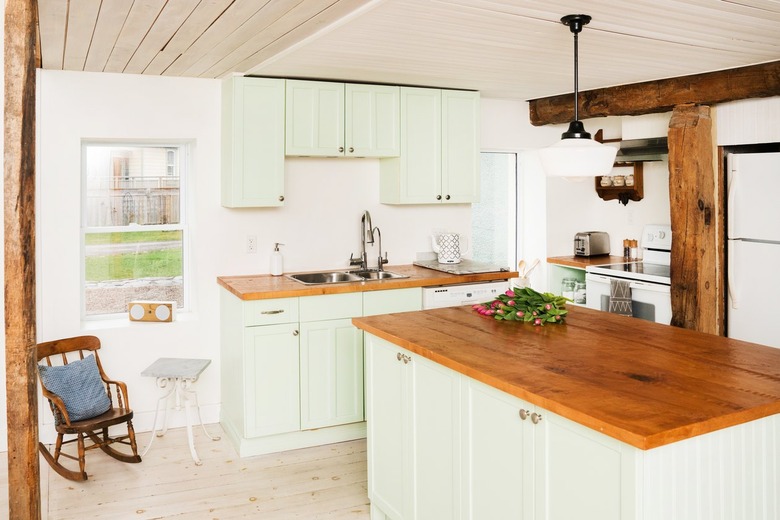
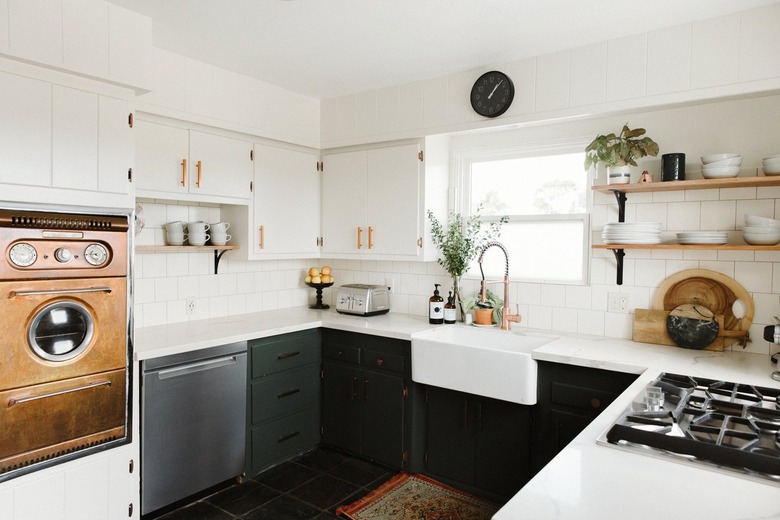
Kitchen cabinets are one of the biggest kitchen renovation budget busters (commanding up to 40% of a total budget) and regularly rank as the single most expensive element in a kitchen remodel. So, whether you're into upcycling, saving money, or just love a challenge, why not paint the existing kitchen cabinets yourself? It's a cost-effective way to simultaneously breathe new life into your cabinetry and transform your cook space.
In an ideal world, painting your kitchen cabinets would simply involve opening a can of paint and grabbing a brush. But the truth is this DIY project is a multi-step process that takes a considerable amount of time. It can be tackled with a bit (okay, a lot!) of prep, patience, and dedication. And since cabinetry takes up a lot of visual real estate in the kitchen, this is one makeover challenge you don't want to rush or cut corners on.
First things first, you need to identify the material and style of your cabinets — this will determine the type of paint needed, overall project involvement, and the results. Certain materials — like wood, MDF, and faux wood — can easily be sandpapered, enabling a new coat of paint to adhere more effectively. Laminates don't absorb top coats well, so they require a special bonding primer and paint made for non-porous surfaces. Even then, results are often mediocre and temporary. If you have plastic laminate cabinets that you'd like to salvage, speak to an expert who can guide you through the process. If you have metal cabinets, use an exterior-grade primer and paint that are formulated specifically for metal.
Types of Paint for Kitchen Cabinets
Types of Paint for Kitchen Cabinets
One important thing to remember is that paint quality can vary greatly. So for a job like this one, that's going to take center stage in your home, you should choose the highest quality your budget allows. Cheaper paint will require more coats, is less durable, and will show brush strokes more readily. Most paint selections come down to either an alkyd oil paint or a water-based latex.
Oil Paint
Pros: More durable so it's good for high-traffic and exposed areas like trim. Offers a slightly smoother finish. Should be applied with a natural-bristle brush.
Cons: Takes longer to dry. Harder to work with. More difficult to clean up.
Latex Paint
Pros: Easier to work with. Dries faster. Can be cleaned up with water. Should be applied with a synthetic bristle brush that doesn't absorb water.
Cons: Not as durable.
Paint Finishes
There are an overwhelming number of paint finishes to choose from. Glossy finishes tend to highlight imperfections but are easier to keep clean. Here are the most common options you should know:
Semi-gloss: With a higher sheen, this finish is ideal for kitchen cabinets and highlighting the architectural details in millwork, trim, and doors.
Satin: Provides a low level of shine while retaining some ability to hide flaws and it's washable.
Flat: Flat paint is forgiving and hides flaws due to its low sheen, but it doesn't stand up well to scrubbing.
Matte: A matte finish is nearly as shine-free as flat, but is slightly more durable. It hides flaws and can withstand washing.
Eggshell: Despite its name, eggshell paint is very durable — which explains its popularity among professionals — and it has a low sheen.
Best Paint Brands to Choose From
There are quite a few popular paint brands to choose from, but here are a few of our favorites for both quality and color variety.
Essential Tools Needed to Paint Cabinets
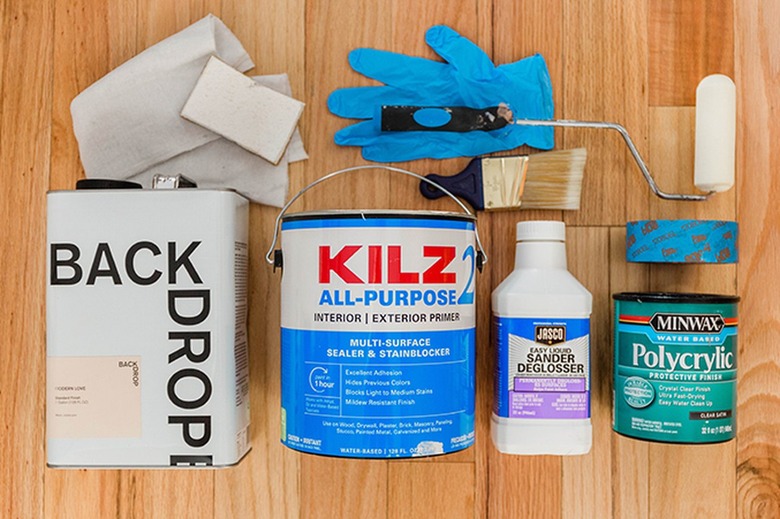
Essential Tools Needed to Paint Cabinets
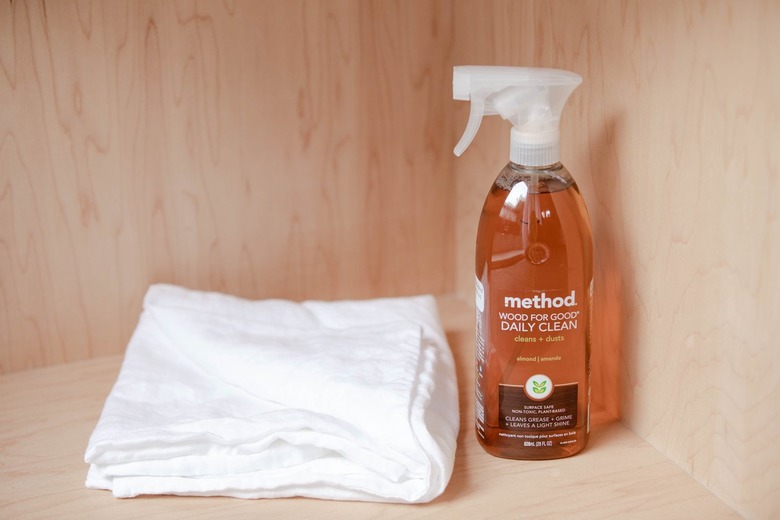
Don't be overwhelmed by the list of supplies needed to tackle this project. Most, if not all of these essentials, can be purchased from a local hardware or paint store making it easy to buy everything in a single stop.
Things Needed
-
Fine grit sandpaper
-
Sanding block or rotary sander
-
Tack cloth
-
Steel wool
-
Paint applicator
-
High-quality 2" brush
-
Mini foam roller
-
Primer sealer
-
Rosin or brown builder's paper
-
Vacuum
-
2" – 3" angled brush
-
3' – 4" square brush
-
Paint tray
-
Painter's tape
-
Trisodium phosphate (TSP)
-
Wood filler
-
Grease cleaner
How to Paint Kitchen Cabinets in 7 Steps
How to Paint Kitchen Cabinets in 7 Steps
Now that you are well-informed and have everything you need, it's time to get started. Here is a step-by-step guide to walk you through the entire process from start to finish.
1. Remove cabinet doors, drawer fronts, and hardware.
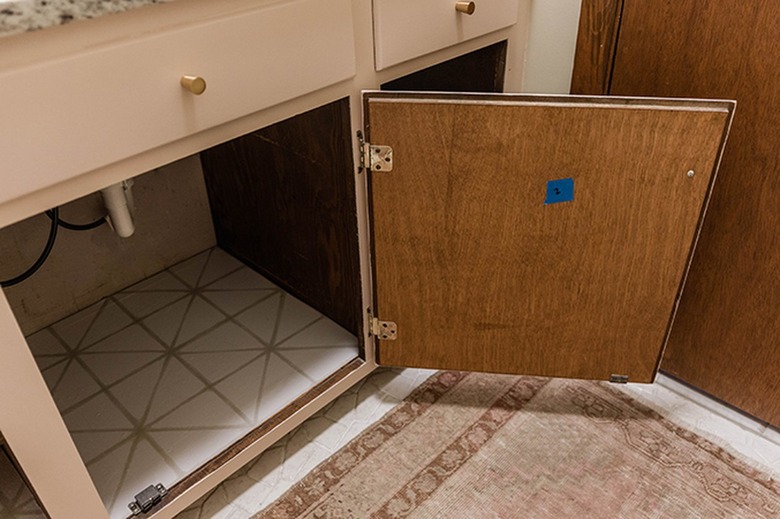 Carrie Waller for Hunker
Streamline the project aftermath with careful prep. For example, be sure to label each cabinet door with painter's tape, or by using a labeled diagram, when it's removed so that when it's time to put everything back, you'll know exactly where each door front goes. Also, don't forget to protect hinges and cabinet edges by meticulously covering them with painter's tape. Then you'll need to cover floors, countertops, and appliances with rosin paper or brown builder's paper. And last but not least, remove all knobs and pulls.
2. Empty and clean the inside and outside of cabinets.
 Stephen Paul for Hunker
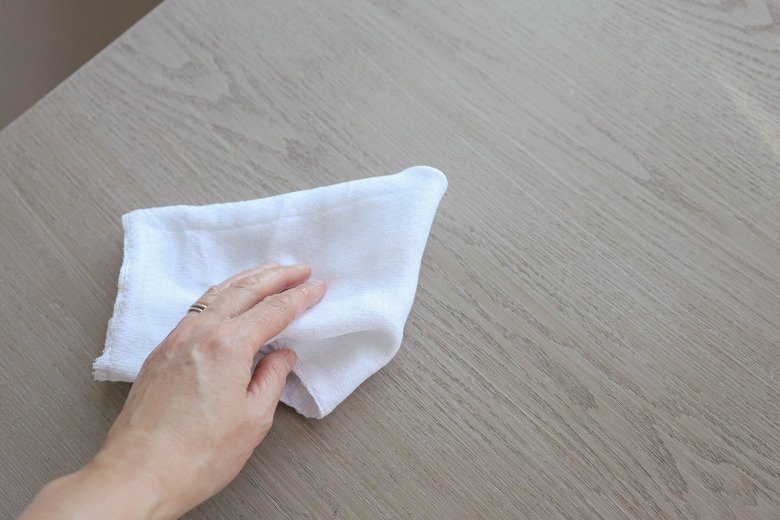
Once the doors are removed, it's time to take everything (that's right, everything) out of the cabinets. This is a great opportunity to purge expired food, ditch those broken dishes, and say "so long" to small appliances collecting dust. Once everything is out, thoroughly clean the interior and exterior — including the cabinet frame, doors, and drawer fronts — with a grease-cutting cleanser and then wipe down all of the surfaces to be repainted with a solution made from one part trisodium phosphate (TSP) and four parts water. Allow everything to dry thoroughly.
3. Sand to prep for primer.
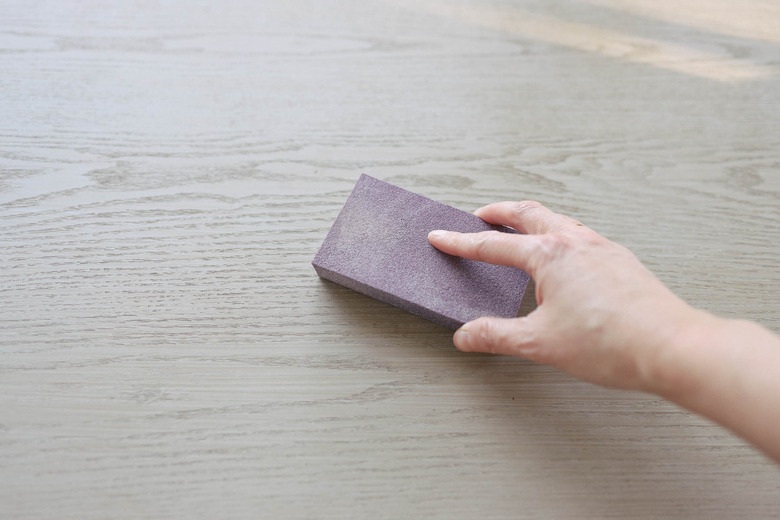 Trisha Sprouse for Hunker
Are you planning on using new cabinet hardware that will require different holes? If so, use a wood filler to mend existing holes, as well as any knicks or chips, and allow it to dry. Next, sand the surface of the cabinets using a rotary sander, or sanding block, and 100-grit sandpaper. No need to remove all the previous paint; you're just going for an all-over rough surface which allows the new paint better adhesion. Once that's finished, vacuum up all of the dust and then wipe everything down with a tack cloth to ensure all of the sanding residue is gone. Note: You might need to add an extra step prior to sanding if you want to remove glossy finishes, stains, and varnishes.
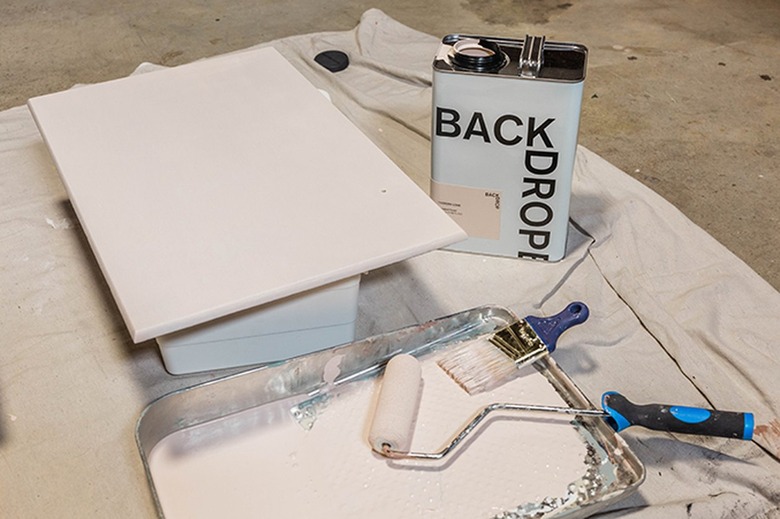
4. Prime cabinets.
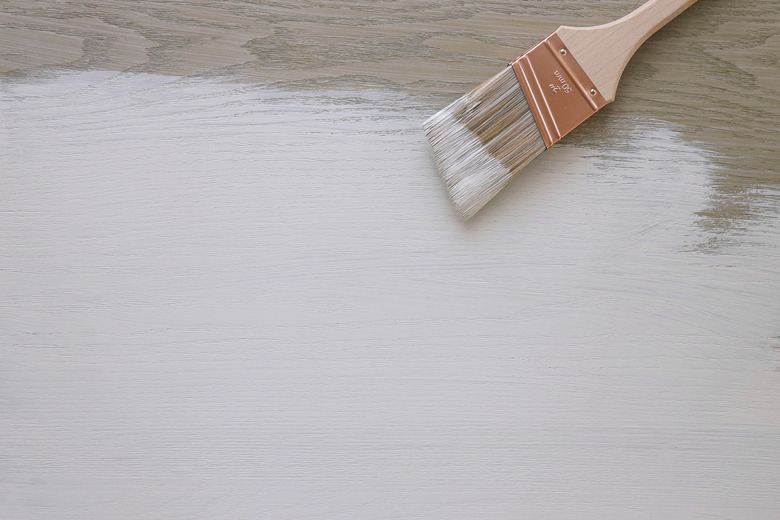 Trisha Sprouse for Hunker
Once cabinets are prepped, it's prime time. Avoid all-in-one paint/primer combos and go with an oil-based option (note: some states have outlawed oil-based paint and primer due to VOCs) or a water-soluble/waterborne primer for the best results. As you might expect, it's easier to make the transition from light cabinets to dark, than it is to go from dark to light. If you have dark cabinets and long to go to the bright side, priming will be even more important — in this case, opt for a stain-blocking primer.
Start at the top of the cabinet and brush the primer across the grain and then pass the brush lightly over the wet finish in the direction of the grain.
5. Sand the cabinets again and remove all excess dust.
 Trisha Sprouse for Hunker
Once the primer is completely dry, sand the flat surfaces again — this time with 220-grit paper. You want the wood to have a uniform surface that's as smooth as glass. Afterward, vacuum all of the surfaces and wipe off the excess dust with a tack cloth.
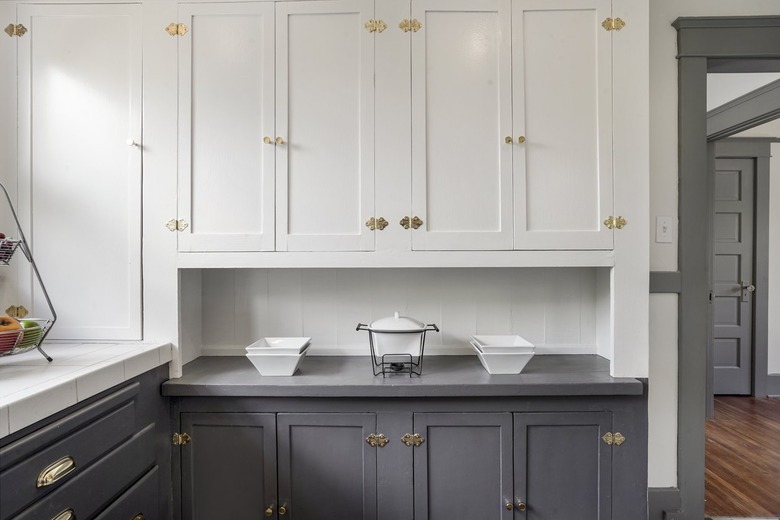
6. Paint.
 Carrie Waller for Hunker
Okay, now you're ready to paint. But the big question is: To roll or not to roll? To get the best finish on painted cabinets, most experts agree that you should use a two- to two-and-a-half-inch high-quality fine bristle flat brush which can reach small corners and architectural details. This is the most time-intensive painting method. If you're set on a paint roller, find one that will fit on smaller surfaces, and be prepared to go over your work with a brush to eliminate roller marks and access those hard-to-reach nooks.
Use a new brush for each coat and apply the paint from top to bottom across the grain. For an extra smooth finish, lightly sand the surface in between coats making sure to clean up any debris before you add the next layer.
If you're looking for a way to expedite the painting process, spray painting your cabinets is the answer. The prep will stay the same, you'll just need to source a professional-grade sprayer. If you're new to spray painting, you'll want to take the cabinet fronts and drawers outside. While this method is less intensive, you still need to cover the surface with multiple thin coats, not a single thick one.
Some people prefer the natural look of hand-painted cabinets for the texture and depth they create. This look is particularly fitting for older homes as well as certain styles such as farmhouse, rustic, and traditional. Spray painted cabinets are favored in more modern and minimalist kitchens for a seamless finish.
Pro tip: If you have glass-front cabinets, don't forget the insides will be on display as well and you'll need to paint the interior, too.
Cost of Painting Kitchen Cabinets
Cost of Painting Kitchen Cabinets
The average cost to paint kitchen cabinets is $3 to $10 per square foot or $30 to $60 per linear foot for all supplies, materials, and labor. Professional rates can run up to $100 per door, $25 per drawer, or $75 to $150 per cabinet.
Main Takeaways
Main Takeaways
Painting kitchen cabinets is a great way to transform the look and feel of a cook space without the investment of a full-fledged remodel. But keep in mind that it's an involved process that will take several days to complete. Consider enlisting a friend or family member to split the workload and keep you company. Additionally, before you commit to a specific paint color, be sure to test it out in your kitchen and observe it at different times of the day as the light changes. This way there won't be any surprises, and you can feel confident with the choice you've made.