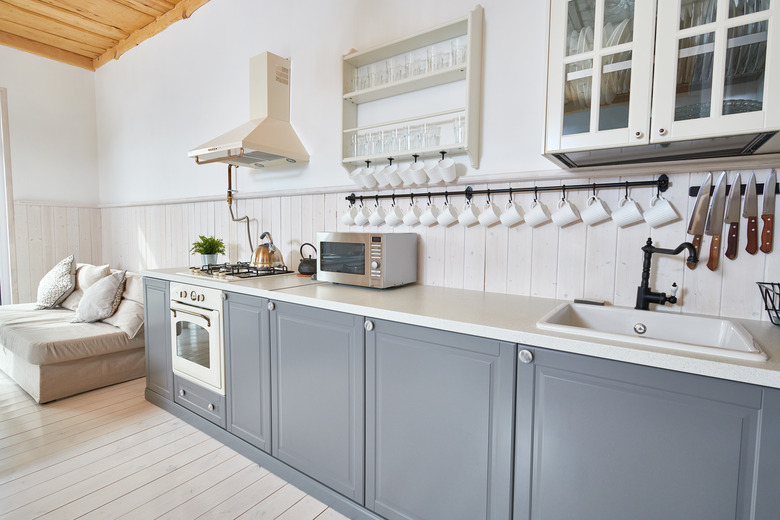
How To Spray-Paint Kitchen Cabinets
If your kitchen cabinets need a makeover with paint and you're wondering if you can do it yourself, the answer is definitely yes. If you're wondering whether you can do as good a job as a pro, the answer is still affirmative, but that's only as long as you don't take any shortcuts. For a truly professional paint job, only about one-third of the project involves the actual application of paint. The other two-thirds of the job goes into preparation, and that's where you make the difference between a top-notch job and one that's only so-so.
 SeventyFour/iStock/GettyImages
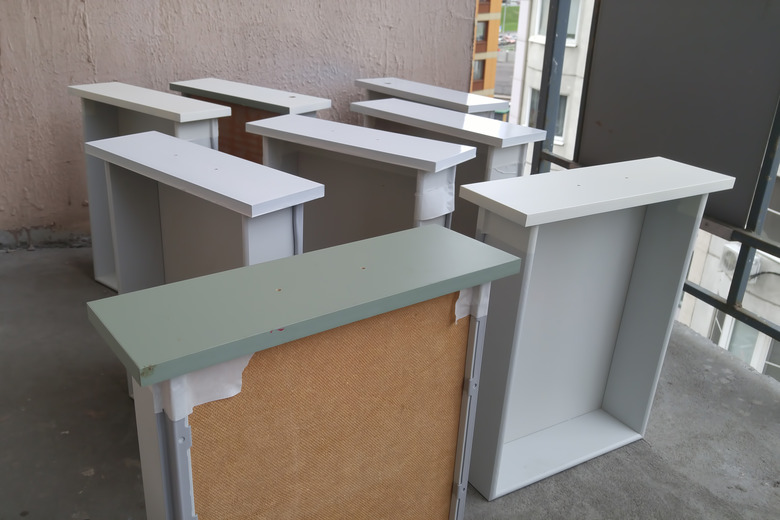
Preparation Steps
Preparation Steps
Kitchen cabinets are exposed to grease, oils and moisture on a daily basis. These contaminants form a layer that causes wet finishes to bead and run while you're applying them and to crack and flake off a short time after they dry. Not only do you need to remove these contaminants, but you also need to etch the existing finish, especially if it's glossy, which most cabinet finishes are. Add to this list of preparation steps you'll need to add any of the repairs that are inevitably necessary.
You have to remove the cabinet doors to do even a passable spray job, and once they're off, you may decide to paint the frames simply by brushing the finish on. This can be a good decision if you're applying paint or polyurethane, but not if you're spraying lacquer. Whatever the finish you choose , keep in mind that spraying always gives cleaner results than brushing.
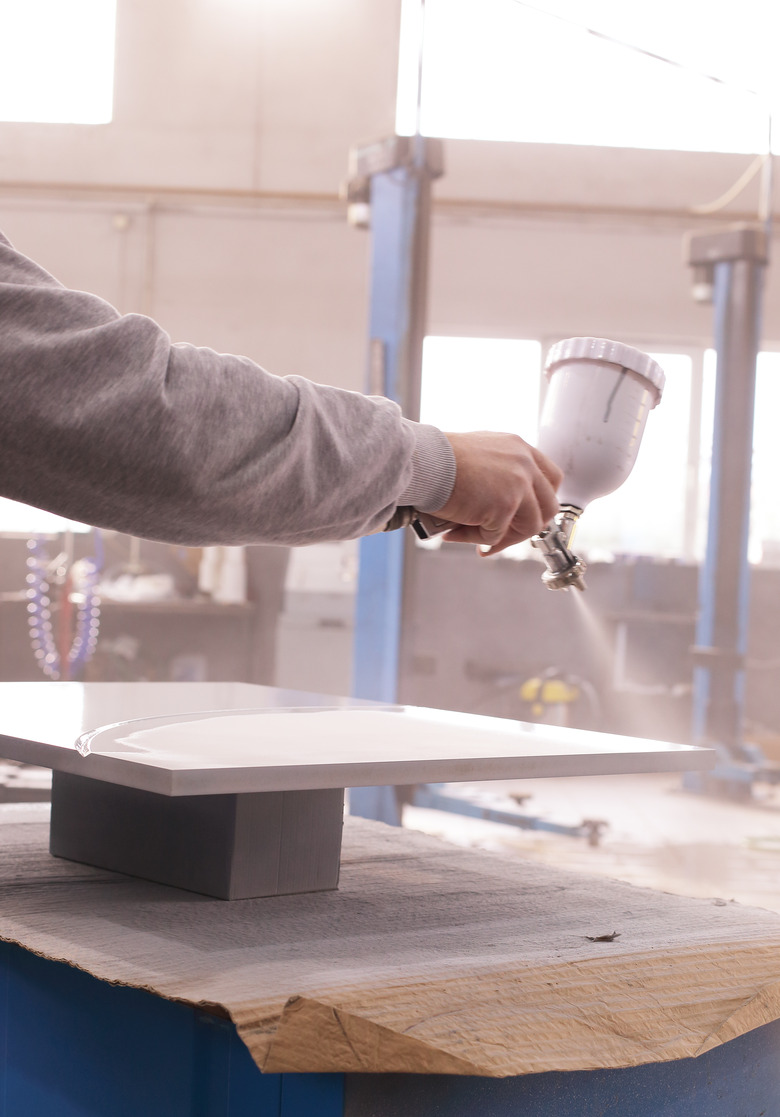
Choose Your Paint and Spray Method
Choose Your Paint and Spray Method
There's more than one way to spray a cabinet. Which paint and sprayer to choose? The answer depends on a number of factors, but the most important one is the quality of finish you're after. Opaque lacquers and polyurethanes are durable, attractive and the traditional choices, but these days, you don't have to fill the air with noxious fumes to get top-notch results. Latex-based cabinet finishes are readily available, and they are as easy to spray as they are to brush.
The most durable finishes, such as polyurethane and catalyzed lacquer, should be applied with a traditional air spray gun and a compressor, but if you're applying cabinet enamel, you can use less expensive equipment. When it comes to sprayers, your options include:
- Air spray system: Pros use an air spray gun and a compressor to spray acrylic and catalyzed lacquer, one- and two-part urethane coatings and even regular polyurethane. These synthetic coatings can be opaque, which makes them types of paint, but they are qualitatively very different from latex enamel, which is the type of paint most homeowners choose to apply themselves. It's possible to use an air sprayer to spray latex paint, but because latex paint is thick, it isn't the best tool for the job.
 Lizalica/iStock/GettyImages
- High Volume Low Pressure (HVLP) gun: If you're considering a finish that needs to be applied with an air sprayer, you might want to buy or rent an HVLP gun. It converts the high pressure air supplied by the compressor to a lower pressure to reduce overspray, which in turn creates a smoother finish and lowers the number of VOCs you release into the atmosphere.
- Handheld airless (best choice): A conventional airless sprayer would be overkill on kitchen cabinets, but a handheld model, which you can buy for less then $150, is more compact and controllable, and it works just as well. It's a little too crude for lacquer but is great for spraying polyurethane and latex paint and is probably the tool you should choose. Be sure to test the spray before you begin. It puts out a fair amount of material per unit time, which makes drips and sags likely. You'll probably have to make some adjustments, including adding extra thinner or changing the nozzle, to get optimal results.
- Aerosol spray cans: Opaque lacquer and polyurethane, as well as latex and alkyd paint, come in aerosol cans, and the nozzles on these cans have been refined over the years to give a wide, even spray pattern. As a result, you can get very good results, although you'll need a lot of cans to spray a typical set of cabinets. Just be sure to check the coverage and buy one or two more than you think you need to avoid running out in the middle of the job.
How to Prep Your Cabinets
How to Prep Your Cabinets
Things Needed
-
Screwdriver
-
TSP
-
Rubber gloves
-
Glue
-
Epoxy wood filler
-
120-, 150- and 220-grit sandpaper
-
Pad sander
-
Damp rag
-
Vacuum
-
Painters' tape
-
Masking paper
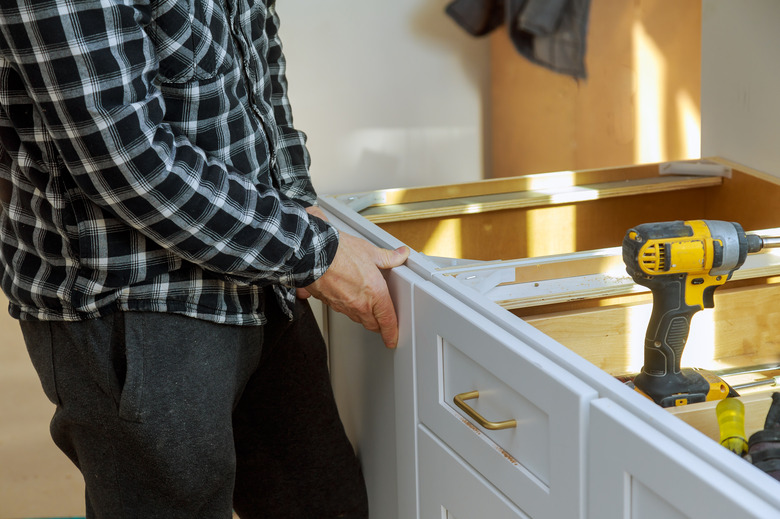
1. Disassemble the Cabinets and Remove the Hardware
Use a screwdriver to remove the door hinges and handles. Set the doors aside to spray separately, preferably in a well-ventilated place other than the kitchen, such as the garage, basement or outdoors. Remove everything from inside the cabinets and store the contents in another room or, in a pinch, on the counter under plastic sheeting. Take down spice racks, thermometers, hanging plants and anything else than can get in the way.
2. Wash Surfaces with TSP
Trisodium phosphate (TSP), available at any hardware store, is a strong detergent that will remove the oils that can prevent paint adhesion and de-gloss shiny finishes. Mix 1/2 cup per gallon of warm water, put on protective gloves (TSP is mildly caustic) and wash the all exposed surfaces, including the backs of the doors. When you're done, pour out the TSP solution, replace it with warm water and rinse everything you washed.
3. Make Repairs
Glue down any spots where surface laminates have bubbled, chippped or lifted. Fill any holes, dents and cracks with epoxy wood filler and use the filler to repair chipped edges.
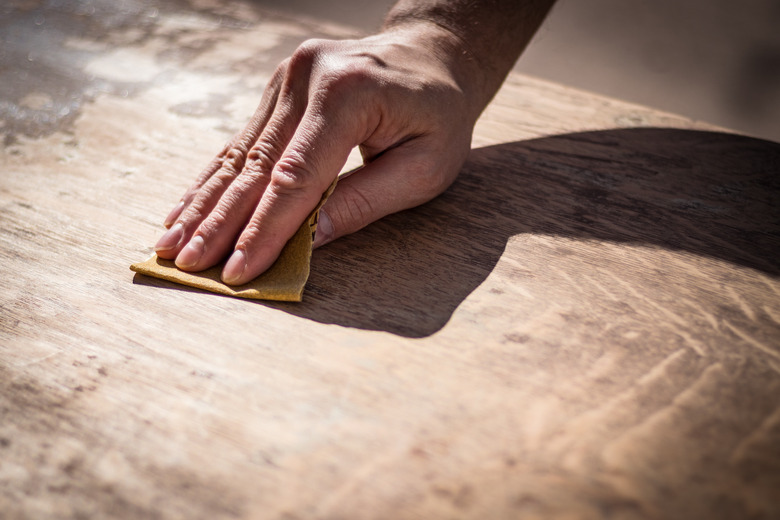
4. Scuff and Sand
Sand down any repairs you made with filler, using 120- or 150-grit sandpaper. If you overfilled any holes, you may need to use a pad sander to flatten the filler, but in most cases, you can do it by hand.
When you're done, switch to 220-grit sandpaper and scuff every surface you plan to paint. If the cabinets are finished, you can sand in any direction. If you're spraying unfinished wood cabinets, you still need to scuff, but you sand only in the same direction as the wood grain to avoid scratches in the wood.
5. Clean Up and Mask
Wipe the sanding dust off the cabinet facing and the doors, using a damp rag. Vacuum the floor and the countertops, paying special attention to the corners between the cabinet and the wall or floor, where dust tends to collect. This will ensure that masking tape sticks.
Next, mask off the edges of the cabinet, using painter's tape and masking paper. The paper should cover wall and floor surfaces within 12 inches of the cabinet, as well as anything else you don't want to paint.
How to Spray Your Cabinets
How to Spray Your Cabinets
Things Needed
-
Respirator
-
Goggles
-
Sanding sealer or stain-blocking primer
-
Sandpaper
-
Tack cloth
1. Get Ready
Provide the ventilation you need by opening doors and windows and turning on fans. Air needs to circulate, but it shouldn't be breezy, or the spray will drift and dry too quickly. Put on a respirator and goggles, and wear discardable painting clothing.
2. Spray the Primer Coat and Scuff
If you're spraying paint over bare wood or an existing finish, apply a stain-blocking primer as an undercoat. A few streaks are acceptable when applying primer and are preferable to overdoing it. Scuff the primer lightly when it dries.
3. Spray the First Coat
 Dmitrii Guldin/iStock/GettyImages
Hold the spray nozzle about 6 inches from the surface and move it in a uniform left-to-right or up-and down motion to leave a full wet coat with as few streaks as possible. Regulate your motion to leave the maximum amount of material with no drips or sags.
Tip
One or two drips are almost inevitable and are usually nothing to worry about. Just wait for the finish material to dry, then sand them flat. Don't try to fix them when the finish is wet.
4. Scuff and Tack
Test the surface after an hour or two, and when it feels dry to the touch, scuff with 220-grit sandpaper. Since you're scuffing the finish and not the underlying wood, you can go in any direction. A circular motion is usually best. Be sure to scuff the corners and edges of doors and molding, but use a light touch to avoid sanding off the finish. Wipe the surfaces you sand with a tack cloth to remove sanding dust.
5. Spray Another Coat
Use the same spraying technique to apply another coat. If you're happy with the finish, you can stop here, but if you want better results, you can scuff, tack, and apply a third coat. If you want an extra-smooth finish, upgrade from 220-grit to 320- or 400-grit sandpaper for the second scuff.
Tip
There's nothing to stop you from building up the finish by spraying four coats or more. Just remember to scuff before each application of finish.
6. Reassemble the Cabinets
Wait at least 24 for the finish to cure before installing the cabinet hardware and mounting the doors. Polyurethane takes a bit longer to harden than lacquer, so if that's what you sprayed, it's better to wait 48 hours.