Turn Regular Wallpaper Into Peel-And-Stick
We may receive a commission on purchases made from links.
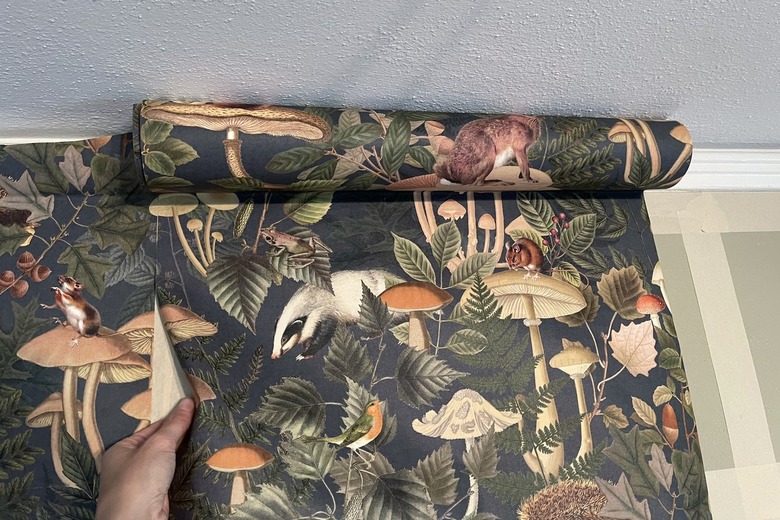
Ever search endlessly for peel-and-stick wallpaper only to find the perfect pattern in a regular pasted version instead? Don't despair — we've got a hack for you. We'd long heard the internet lore about how you could turn regular wallpaper into a removable version. But after seeing a few bloggers pull it off (here and here), we decided to give the technique a try. The basic principle is that you create a grid on the wall with painter's tape and adhere the wallpaper to the grid with double-sided tape. The painter's tape protects the wall from any damage, and you can remove the wallpaper at any time. Perfect for renters or kids' spaces that are likely to change as they grow!
Things Needed
Tip
While painter's tape comes in a variety of colors, we highly suggest using a white or light-colored one to ensure you can't see the tape through your wallpaper. This is particularly recommended if you are using a light wallpaper color.
 Trisha Sprouse
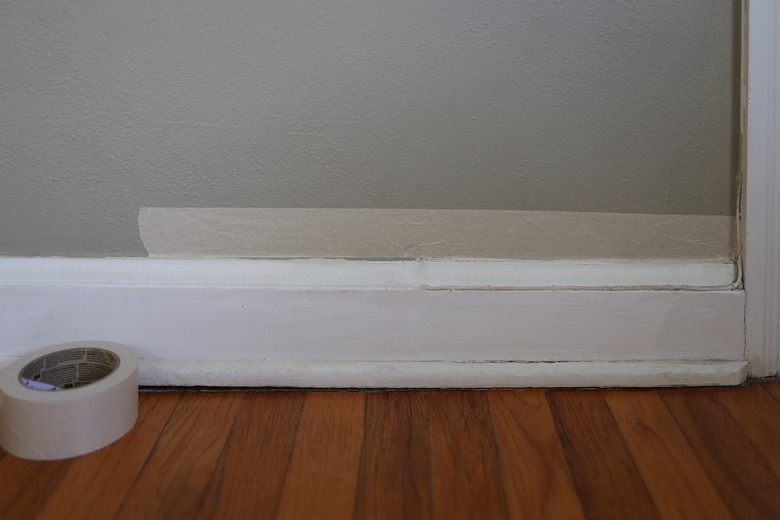
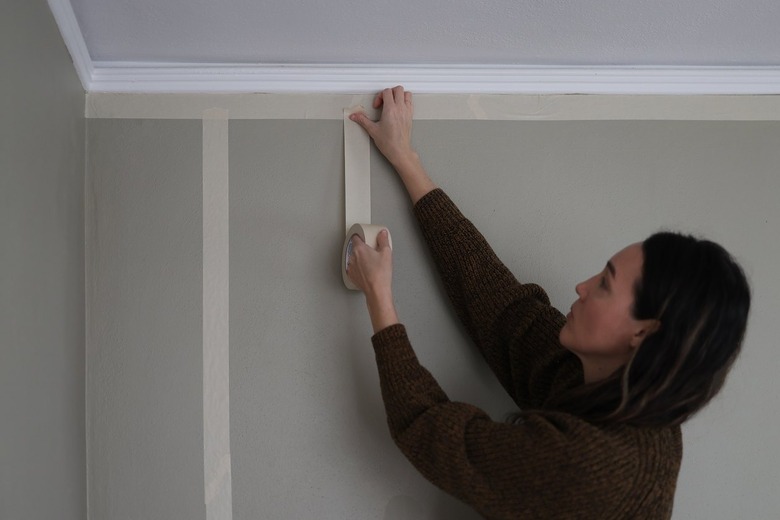
Step 1
Adhere painter's tape horizontally along the top edge of the wall.
 Trisha Sprouse
Step 2
Adhere painter's tape horizontally along the bottom edge of the wall.
 Trisha Sprouse
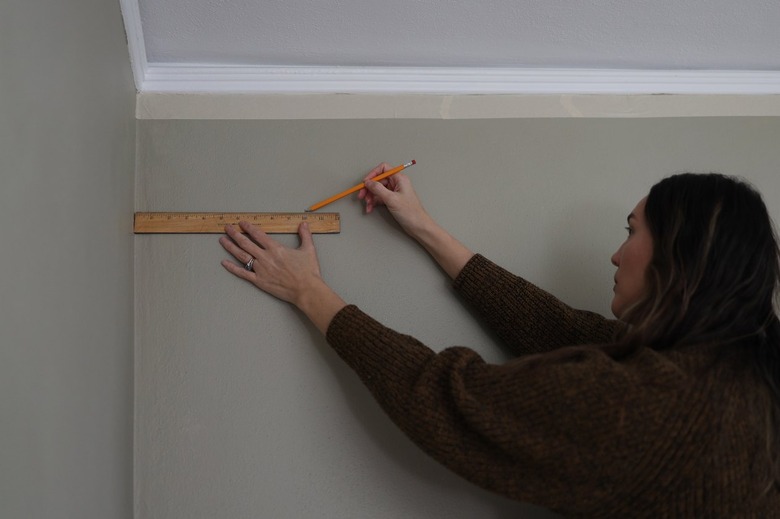
Step 3
Now, let's plan out your grid! Essentially, you want to ensure there is a vertical strip of painter's tape anywhere where the sides of your wallpaper will come into contact with the wall. To calculate the spacing for the vertical lines, divide the width of your wallpaper by half. For example, our wallpaper was 20 inches wide, so half of that is 10 inches. We used a ruler and pencil to make a mark every 10 inches along the width of the wall.
 Trisha Sprouse
Step 4
Now adhere painter's tape vertically centered along each of the marks you made. The tape doesn't have to be perfectly straight — in the ballpark is totally fine.
 Trisha Sprouse
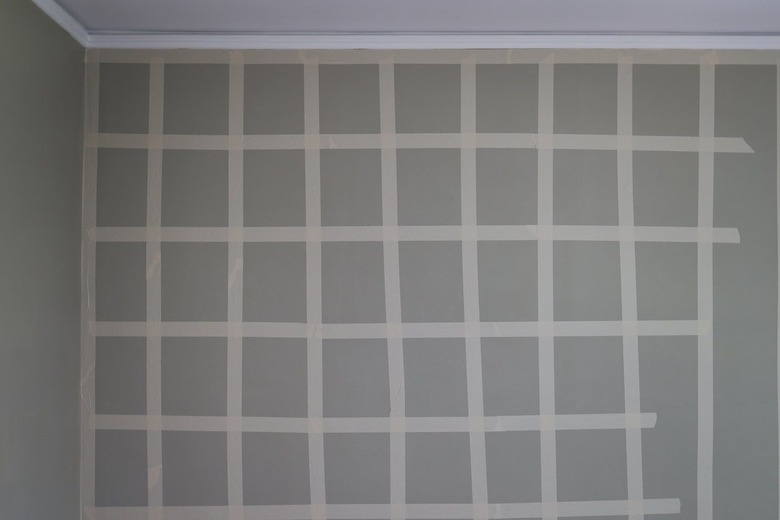
Step 5
Use a tape measure and ruler to mark every 12 inches down the length of the wall, and then adhere painter's tape horizontally along each of the marks. Again, the grid doesn't have to be perfect.
 Trisha Sprouse
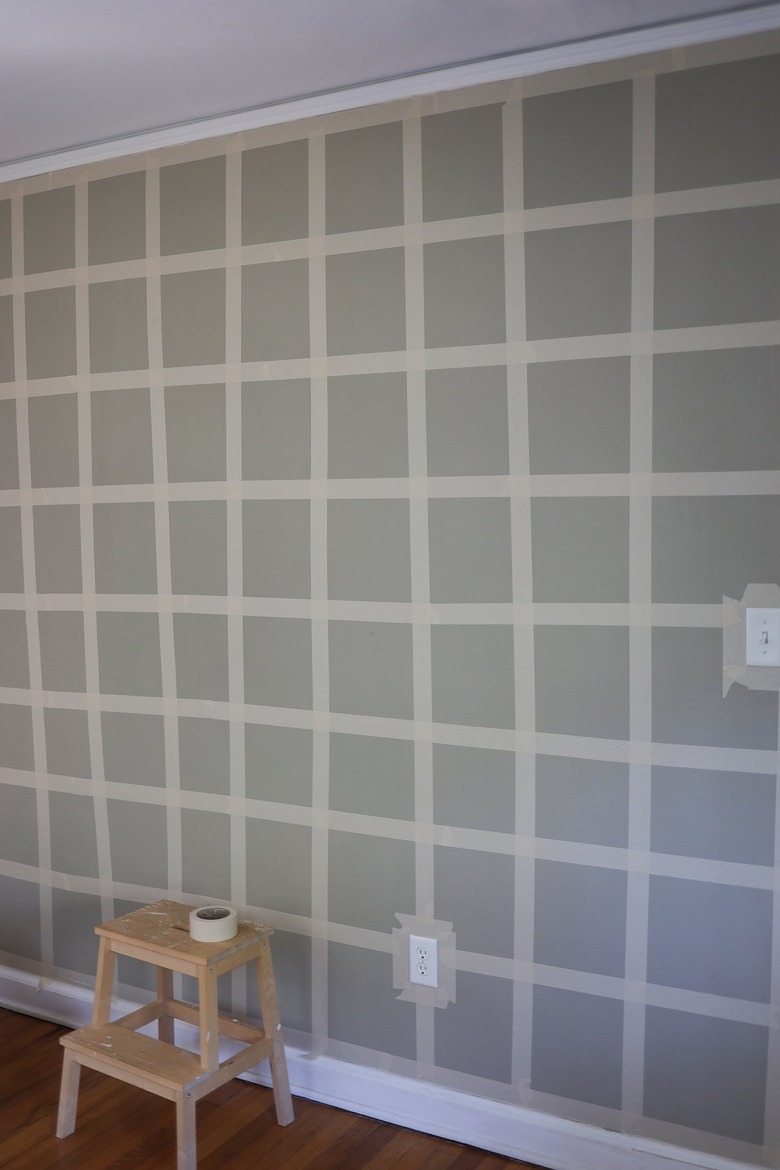
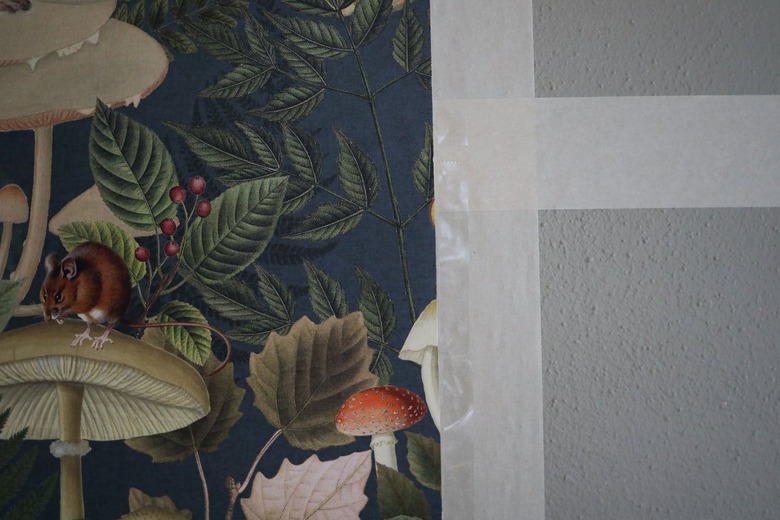
Be sure to tape around the edges of any outlets or door/window trim, so the wallpaper sits perfectly flat around them. Your wall should look something like this when you're done:
 Trisha Sprouse
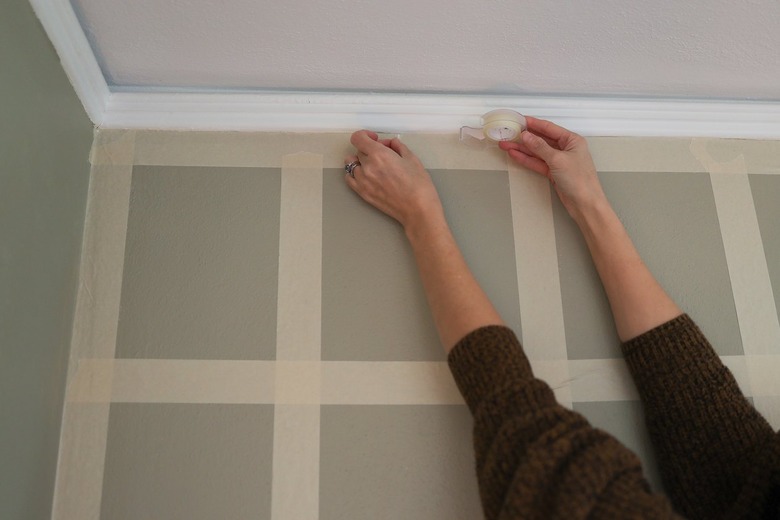
Step 6
Adhere double-sided tape horizontally along the top edge of the grid — directly on top of the painter's tape.
 Trisha Sprouse
Step 7
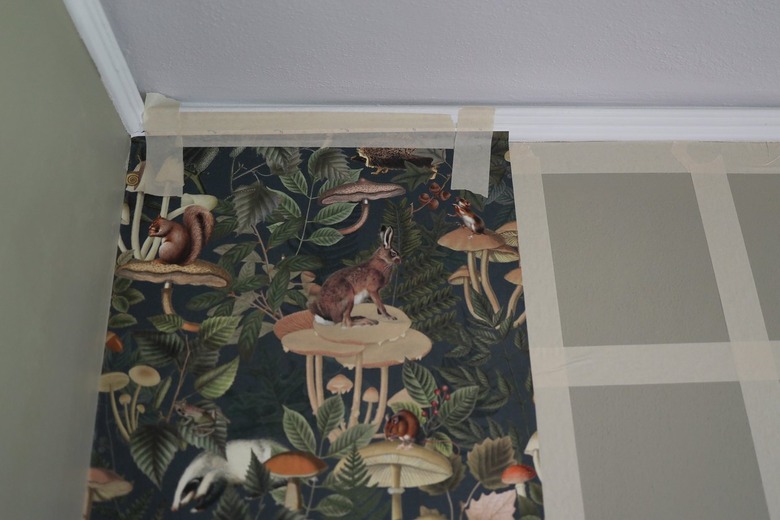
Align the wallpaper so that it's straight with the top and side edge of the wall, and press it firmly to the double-sided tape. To keep the wallpaper securely in place while you tape the rest of it to the grid, tape the top of the wallpaper to the crown molding or ceiling with painter's tape (you'll remove it later).
 Trisha Sprouse
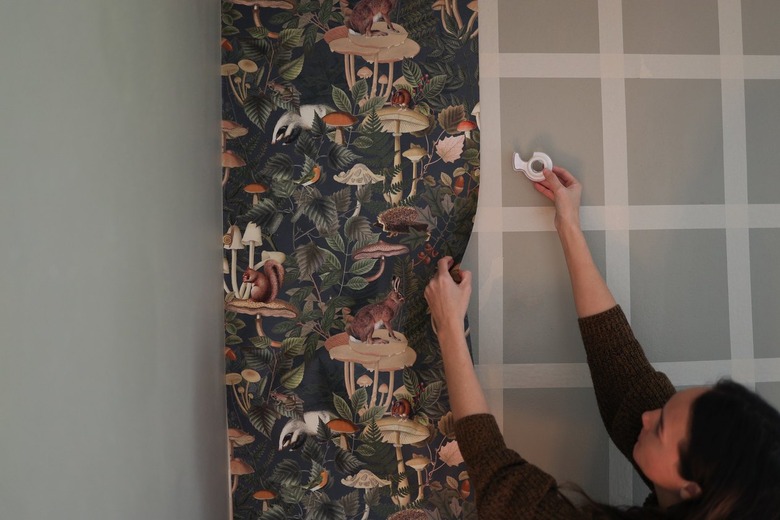
Step 8
Pull the wallpaper away from the wall as if you were lifting a curtain, and adhere strips of double-sided tape to the portion of the grid that will come into contact with this particular piece of wallpaper. You don't have to line the entire grid with double-sided tape, just a few strategic pieces of tape along each horizontal and vertical line. Then press the wallpaper firmly to the tape, smoothing out any air bubbles as you go.
 Trisha Sprouse
The most important area where you will need the most tape is along the edge that will form a seam with the next piece of wallpaper — you want the seam to be as invisible as possible, so be generous with the tape to ensure it lays as flatly as possible.
 Trisha Sprouse
Step 9
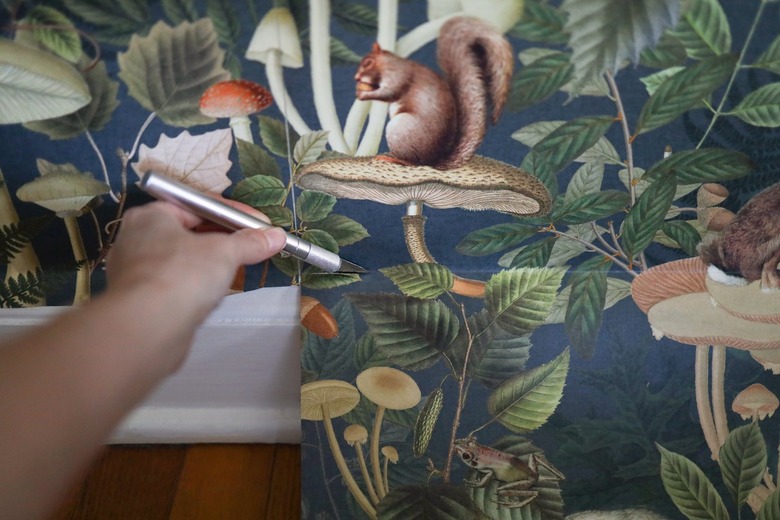
Cut off the excess wallpaper along the top and bottom of the wall with a utility knife.
 Trisha Sprouse
Step 10
Starting back at the top of the wall with the next piece of wallpaper, line the pattern up with the first piece, attach the top edge to the grid with double-sided tape, and continue the same process that you followed on the first piece.
 Trisha Sprouse
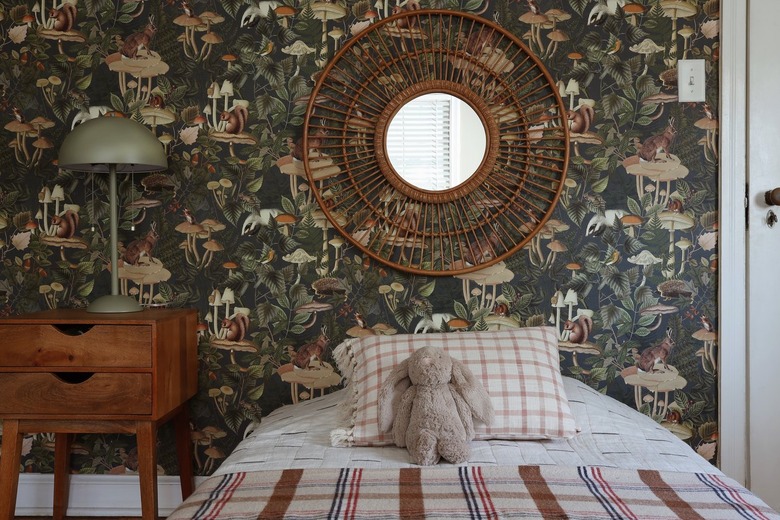
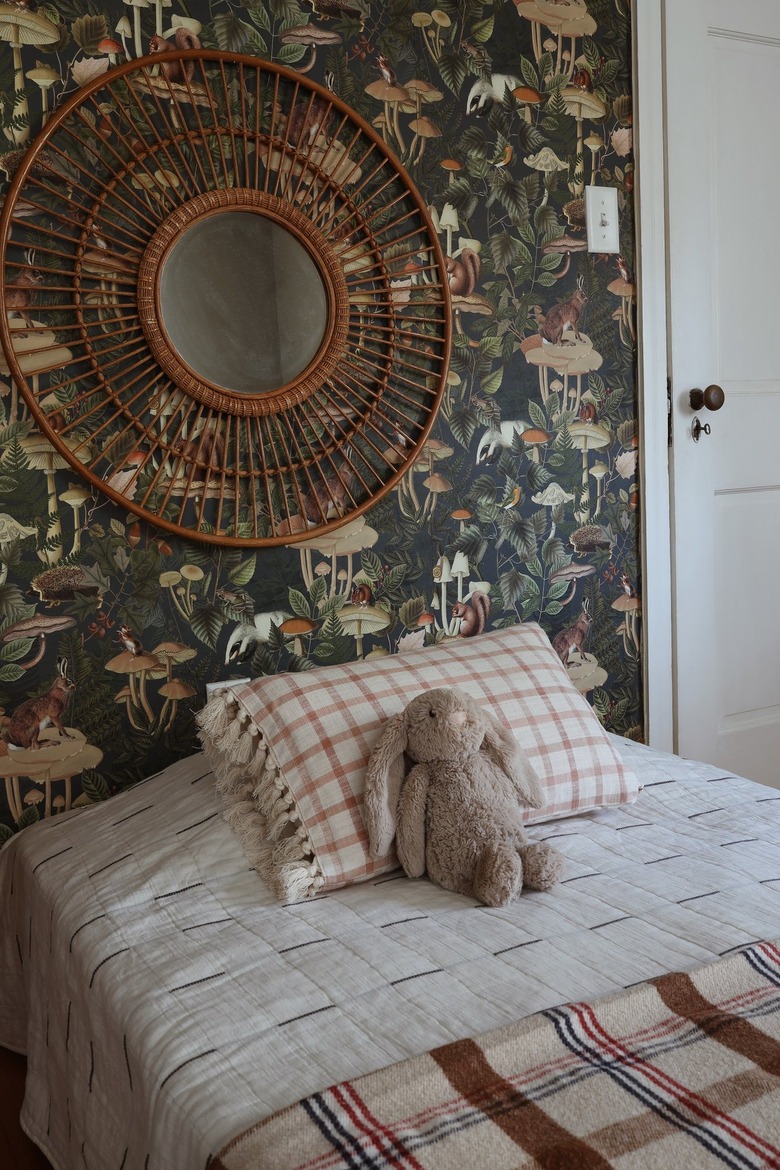
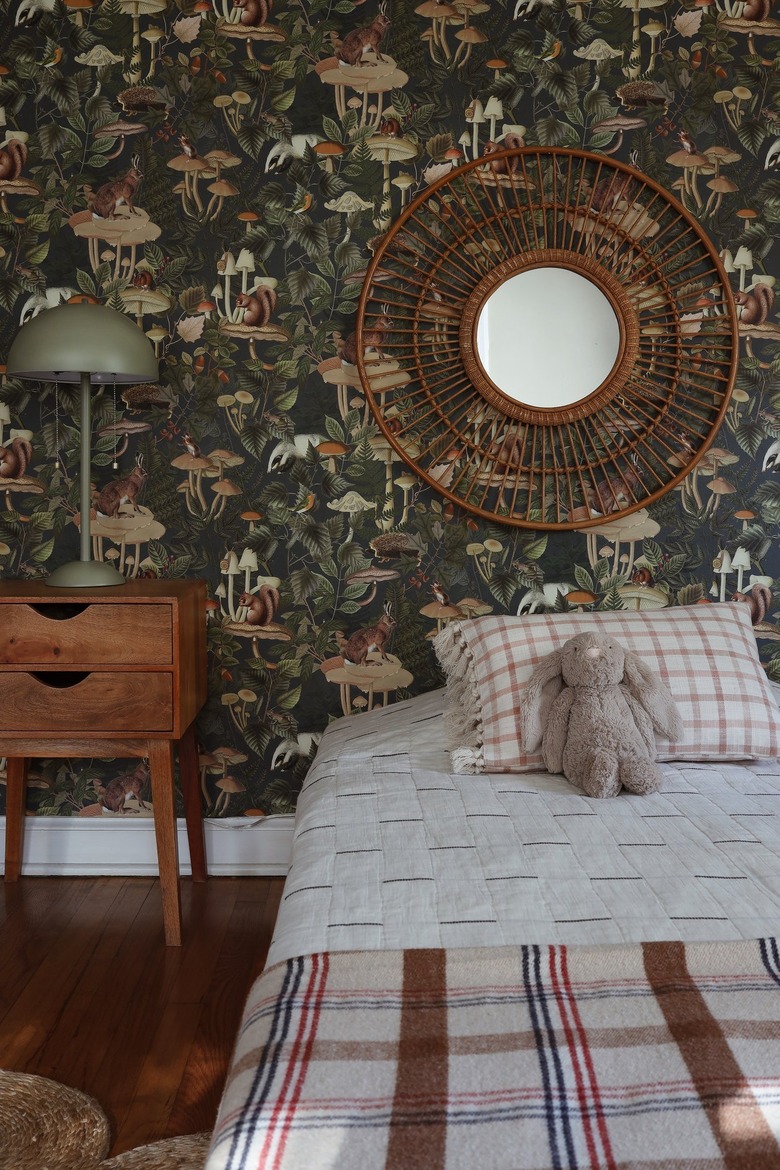
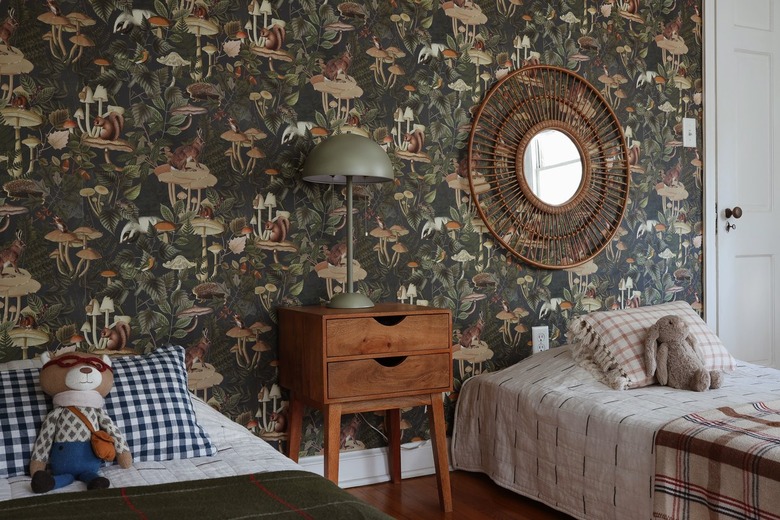
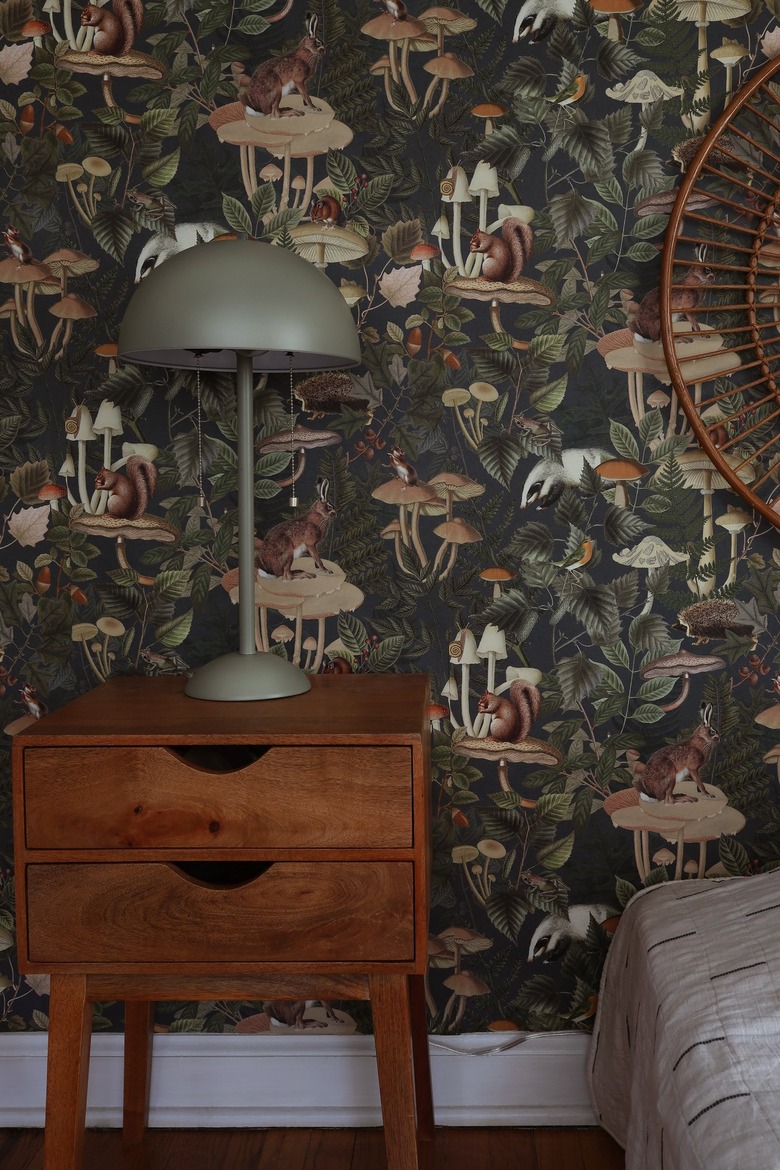
When you're all done, stand back and appreciate how amazing your new wallpaper looks. What's even better is that you can remove it without any damage to the paper or the wall, and you can reuse it anywhere else you like!
 Trisha Sprouse
 Trisha Sprouse
 Trisha Sprouse