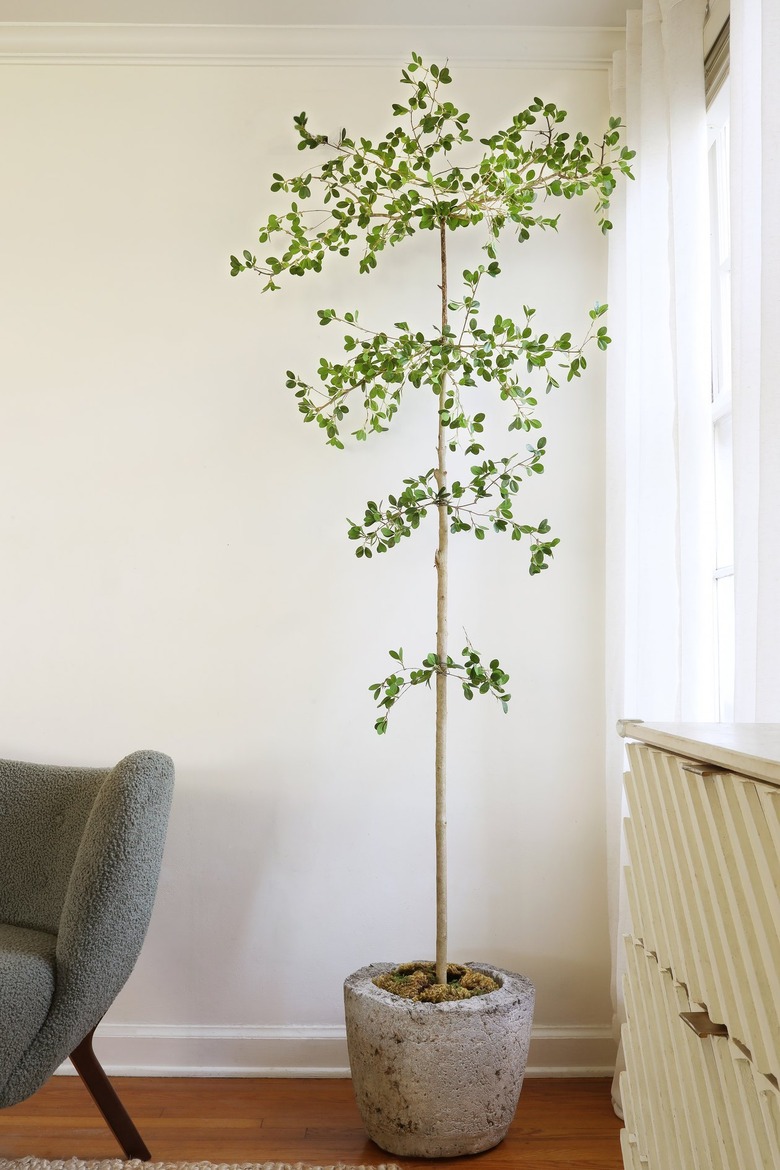
DIY Faux Shady Lady Olive Tree

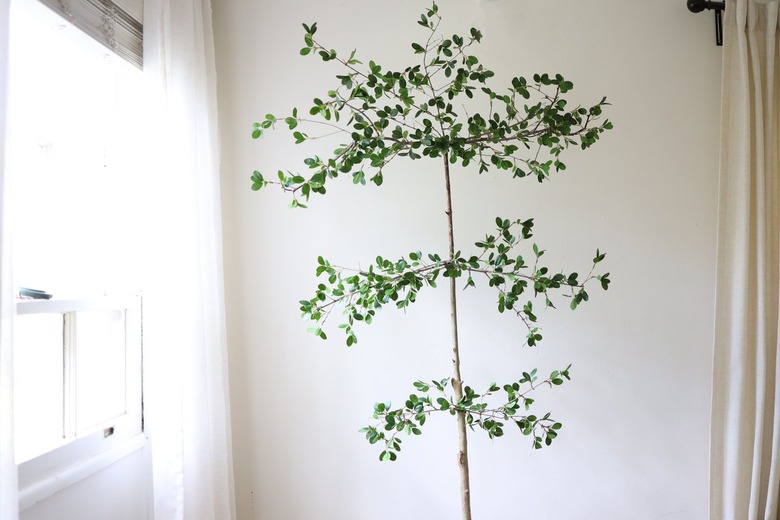
Step aside fiddle leaf fig and ficus tree, the "it" houseplant we're spotting all over the design world is a black olive tree called the Shady Lady. Also known as Bucida buceras, its branches grow in layered tiers, giving it a sculptural quality that resembles the look of a bonsai. While we love a live houseplant, sometimes it's nice to have a no-maintenance option. However, a search for a faux Shady Lady turned up fruitless. After seeing the viral DIY faux tree trend (here and here), we knew we could make our own. Not only does it cost a fraction of the price you'd pay for a store-bought faux tree, it looks much more like the real deal!
Things Needed
-
Large real tree branch (for the trunk)
-
Smaller real tree branches
-
Hatchet, tree trimmer, or hacksaw
-
Styrofoam, floral foam or scrap paper
 Trisha Sprouse
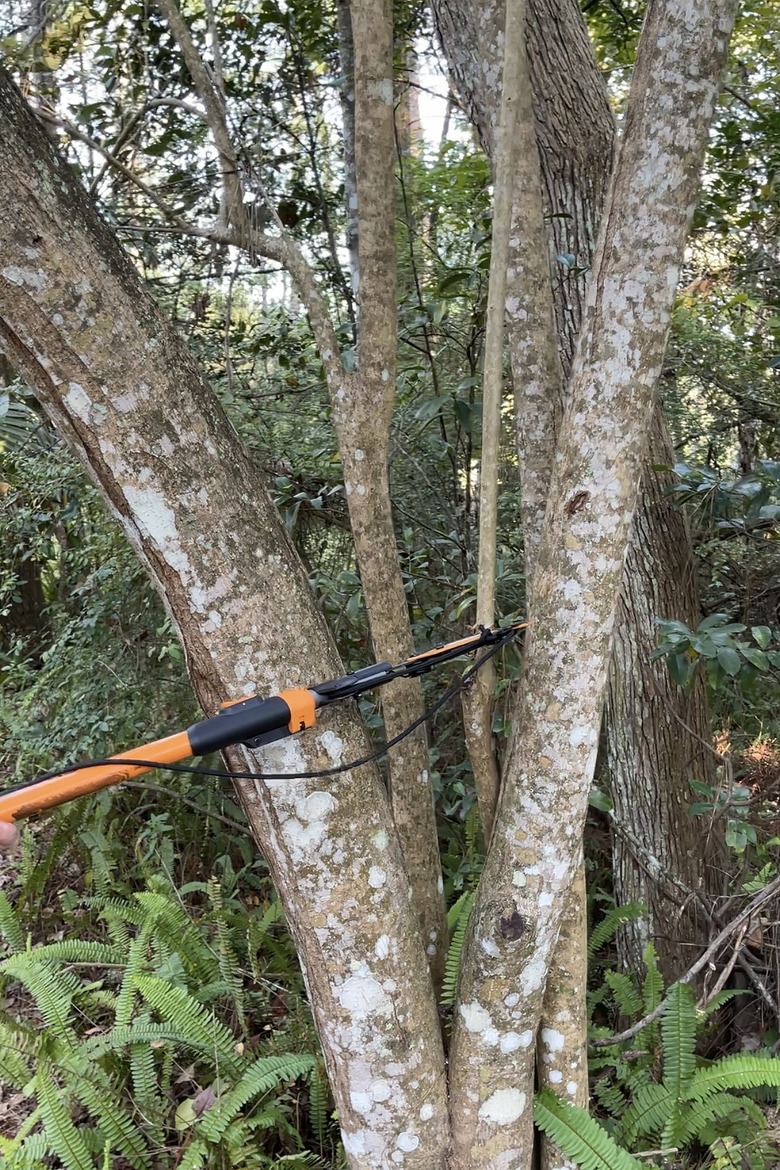
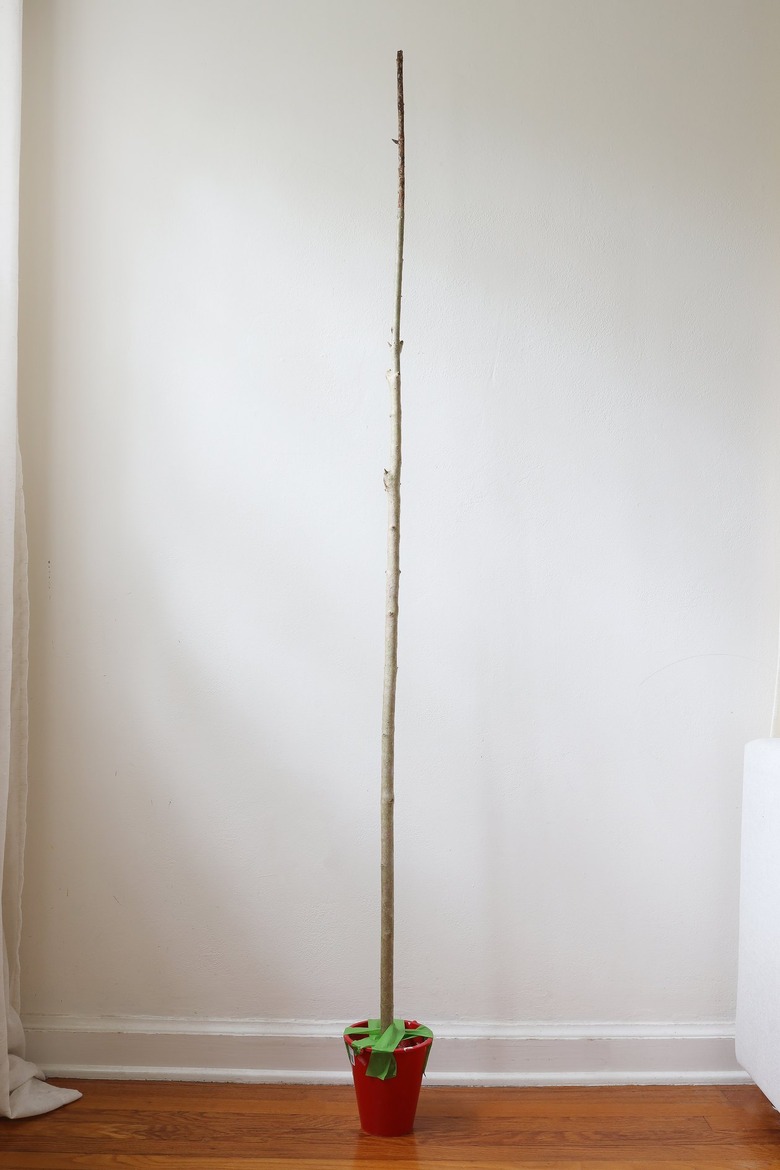
Step 1
Head out for a nature stroll and scout out the perfect tree branch to serve as the trunk of your tree. (Be sure to ask permission if you're not sourcing from your own yard.) Find one that is the approximate height you want your tree to be and make sure it has a realistic shape for a Shady Lady — tall, thin, and fairly straight. The bark should also be smooth as opposed to rough. A hatchet, tree trimmer, or hacksaw makes it fairly easy to chop the branch off of the tree (you may need a helper), or you may get lucky and find a branch that has already fallen off the tree.
 Trisha Sprouse
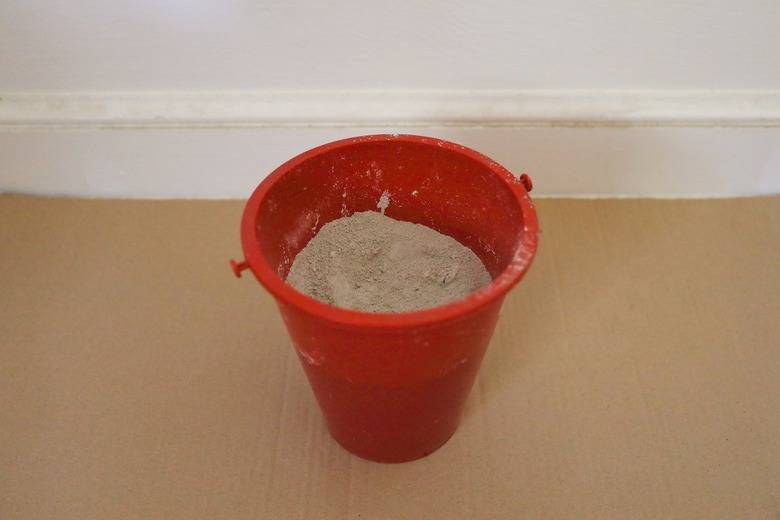
Step 2
To create a sturdy base for your tree, you'll need to set it in cement. Fill a small plastic bucket (we just used a kid's sand bucket and removed the handle) about halfway full with dry cement mix.
 Trisha Sprouse
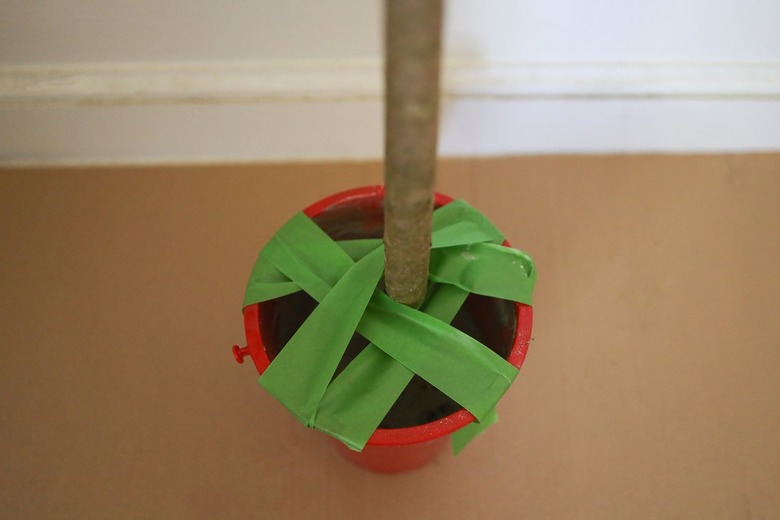
Step 3
Add the appropriate amount of water according to the cement manufacturer's instructions, and mix it until combined. Place the branch upright in the middle of the bucket, and use painter's tape to keep it in place while the cement sets for an hour.
 Trisha Sprouse
 Trisha Sprouse
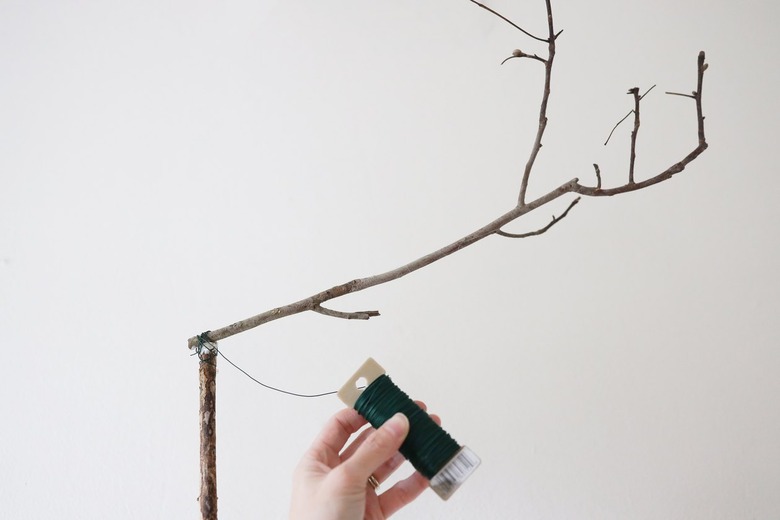
Step 4
Once the cement has dried completely, you can start creating the branches for your tree. Decide how many tiers you want your tree to have (we chose to have four tiers), and start by attaching the branches for the top tier to the top of the tree trunk using floral wire.
 Trisha Sprouse
 Trisha Sprouse
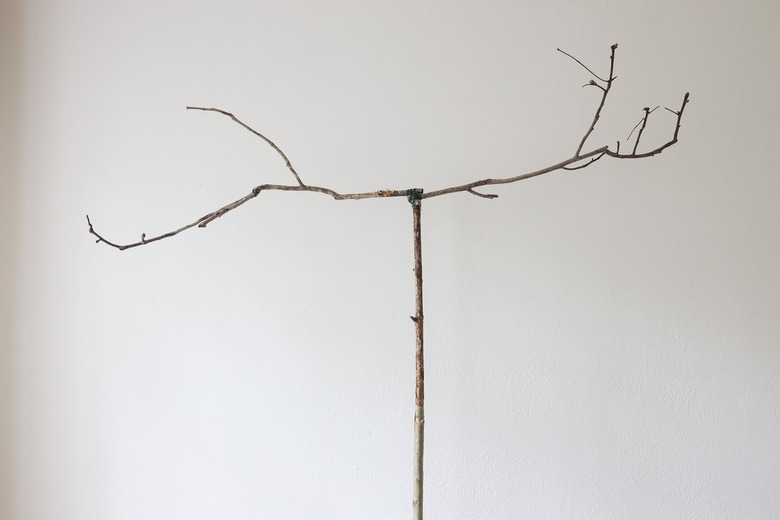
Step 5
Once you have the basic shape of the top tier, hot glue smaller, wispier branches to the main branches to fill it out. Be sure to vary the direction the branches "shoot out" from the tree to make it look as organic as possible.
 Trisha Sprouse
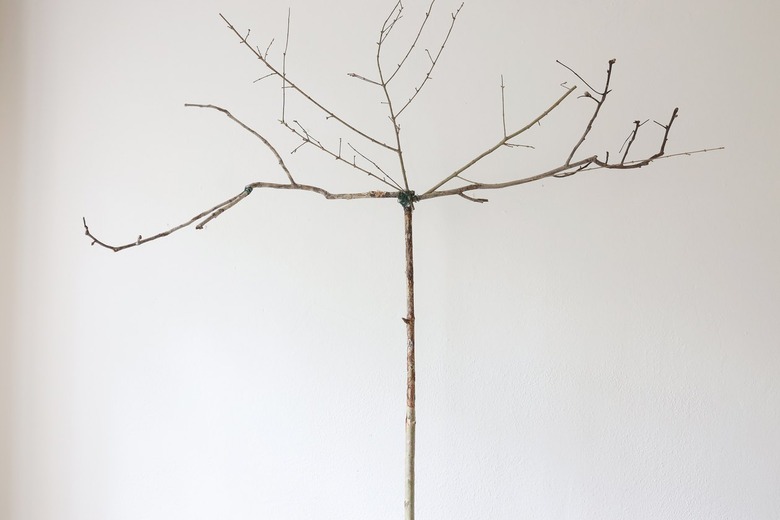
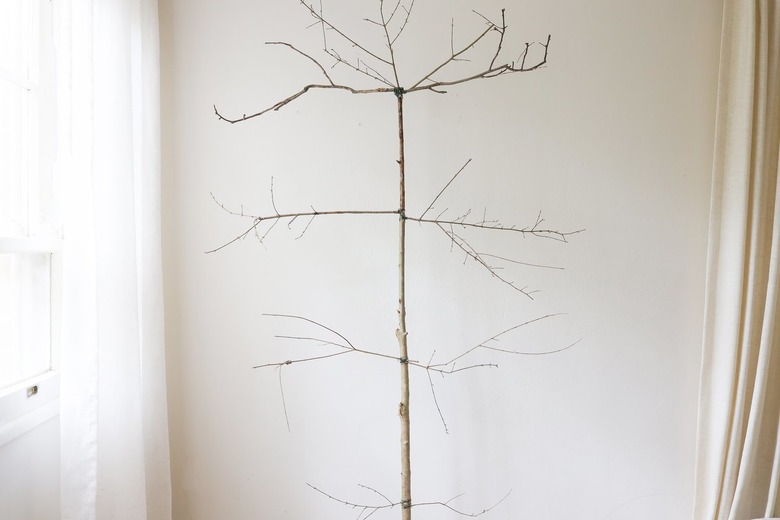
Step 6
Continue attaching branches with floral wire and hot glue until you've created all of the tiers for your tree. Leave about 10 to 12 inches of space in between in each tier. The branches for each tier should be a little bit smaller and shorter than the tier above it.
 Trisha Sprouse
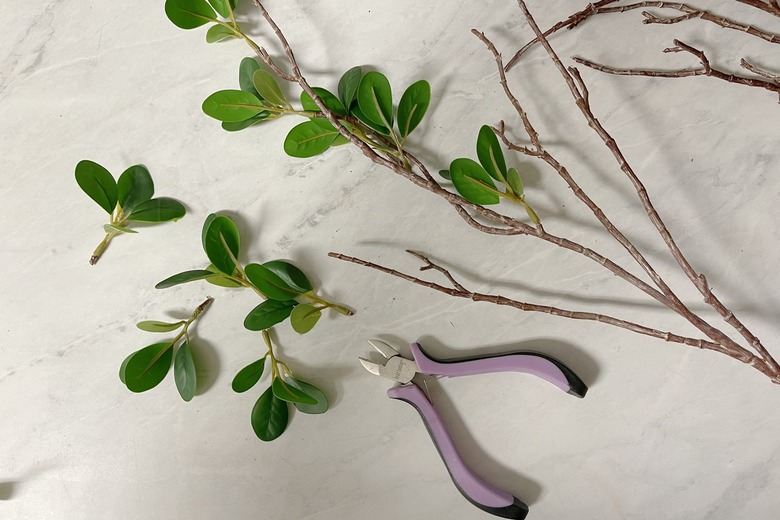
Step 7
Using scissors or wire clippers, snip off the clusters of faux leaves from their faux stems.
 Trisha Sprouse
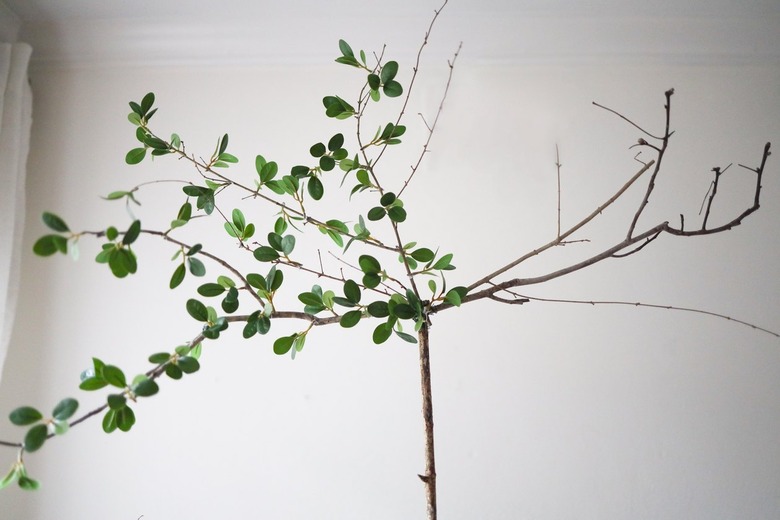
Step 8
Start hot gluing the small leaf clusters to the bare branches.
 Trisha Sprouse
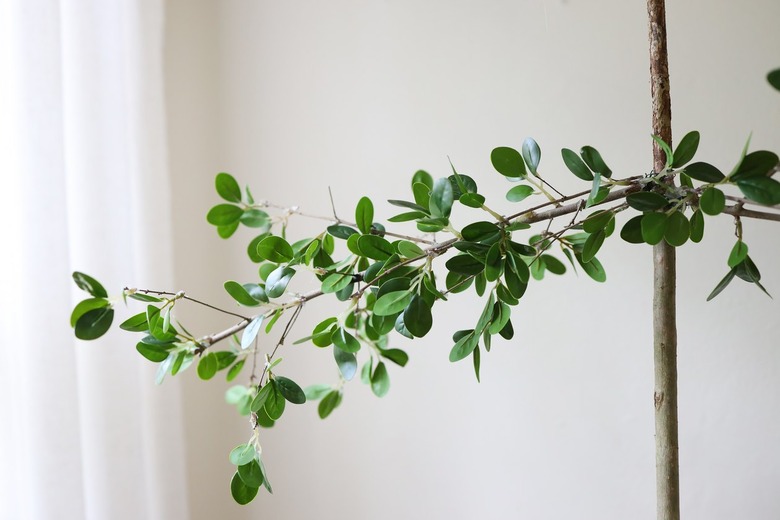
The leaves on a Shady Lady tree tend to grow densely together so be sure to glue them close together for a full look.
 Trisha Sprouse
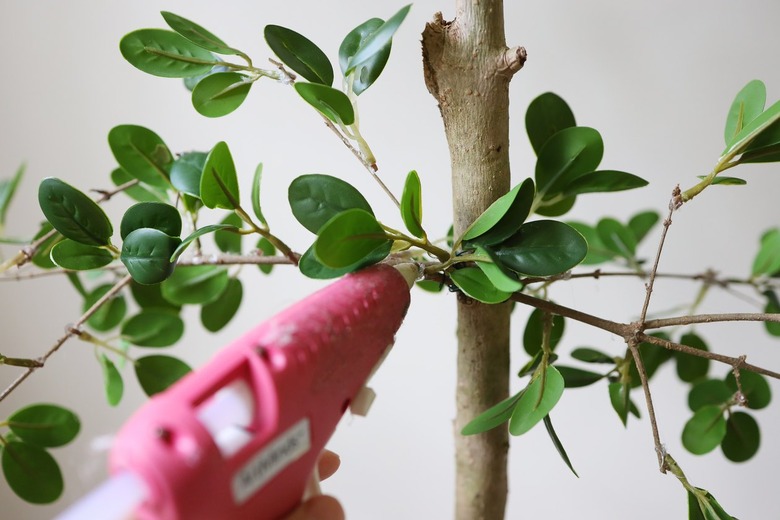
Step 9
Continue gluing the leaves to each tier until they look nice and full.
 Trisha Sprouse
Be sure to vary the direction that the leaves "grow" to lend a more authenticity. Walk around the tree and glue leaves from the front, back, and both sides of the tree. If any tiers look too bare, you can always hot glue extra branches to fill it out more.
 Trisha Sprouse
Step 10
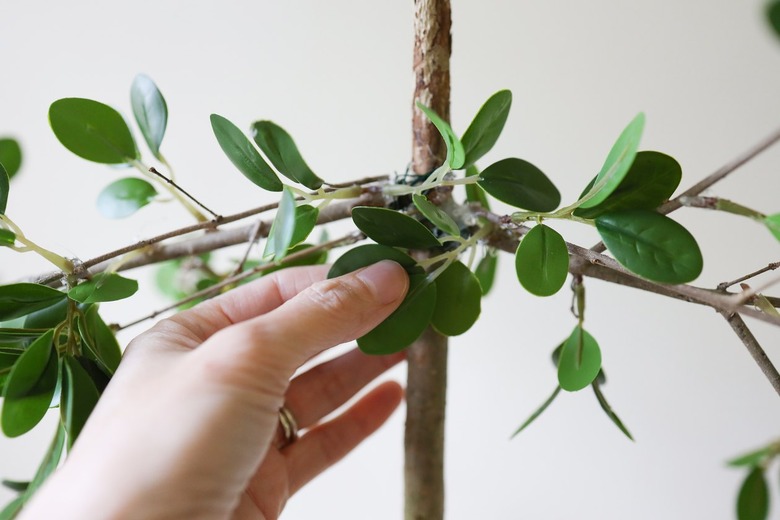
Conceal any visible floral wire by strategically gluing a leaf cluster in front of it.
 Trisha Sprouse
Step 11
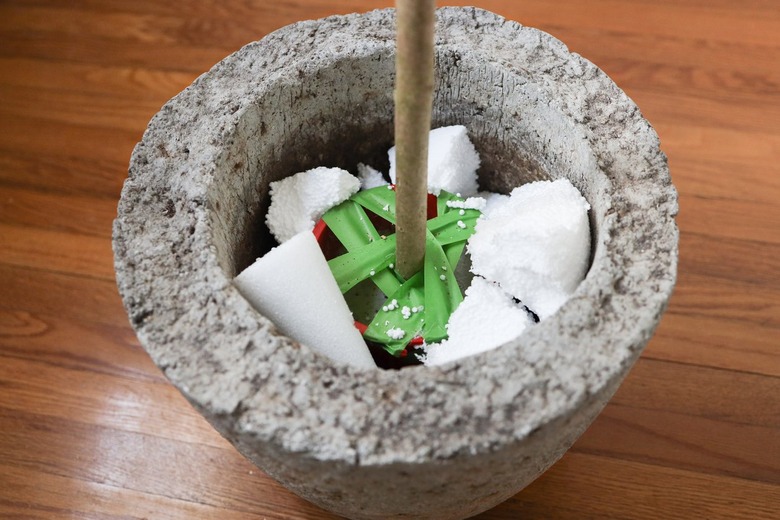
Once you're happy with the look of your tree, it's time to plant it! Place the tree in the center of your planter pot (we used a hypertufa one) and wedge in bits of packing foam or floral foam to keep it securely in place. You could also use bunched up old paper instead of foam.
 Trisha Sprouse
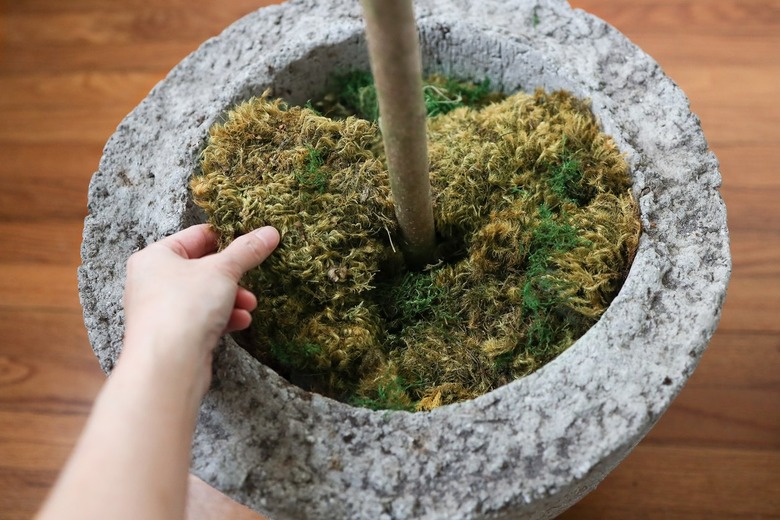
Step 12
All that's left to do is hide the foam by placing bunches of preserved mood moss on top of it. You could also use dried Spanish moss or sheet moss. That's it!
 Trisha Sprouse
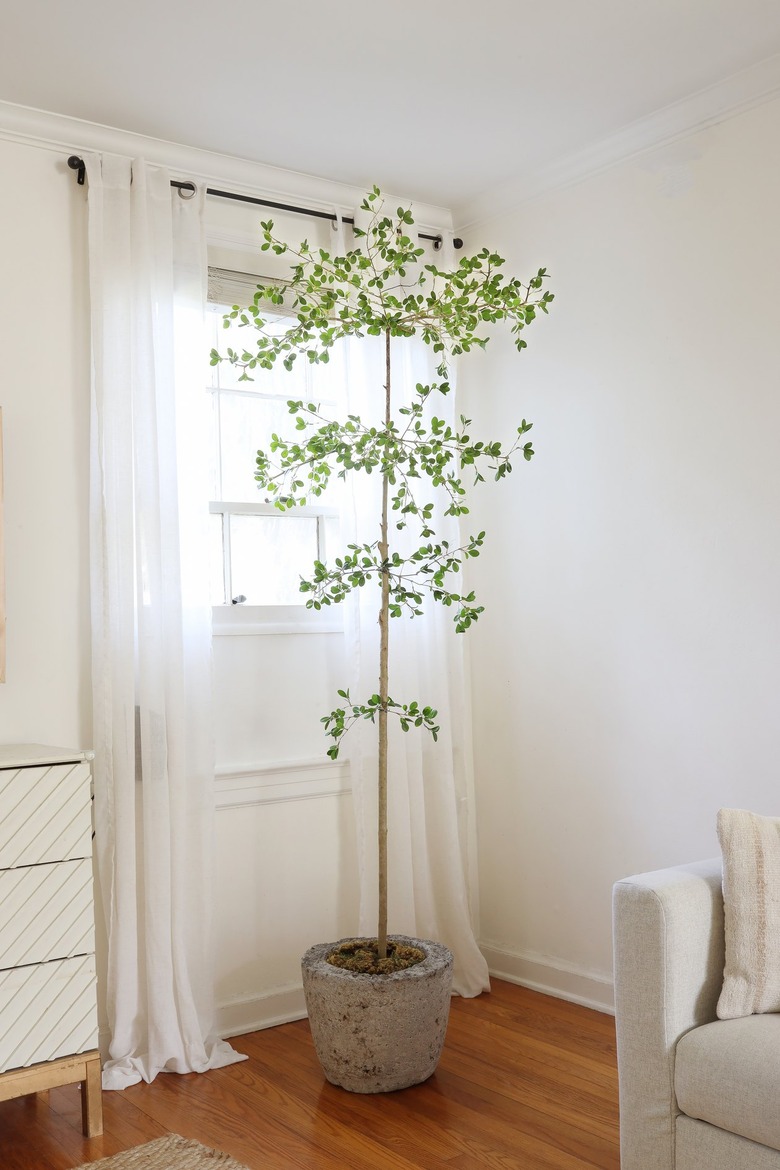
To give your finished faux tree an even more authentic look, place it in an area that gets sunlight, where you'd place a real houseplant. Now enjoy the beautiful greenery it adds to your home without all the maintenance!
 Trisha Sprouse
 Trisha Sprouse