Chain Stitch Embroidery Technique Anyone Can Do
We may receive a commission on purchases made from links.
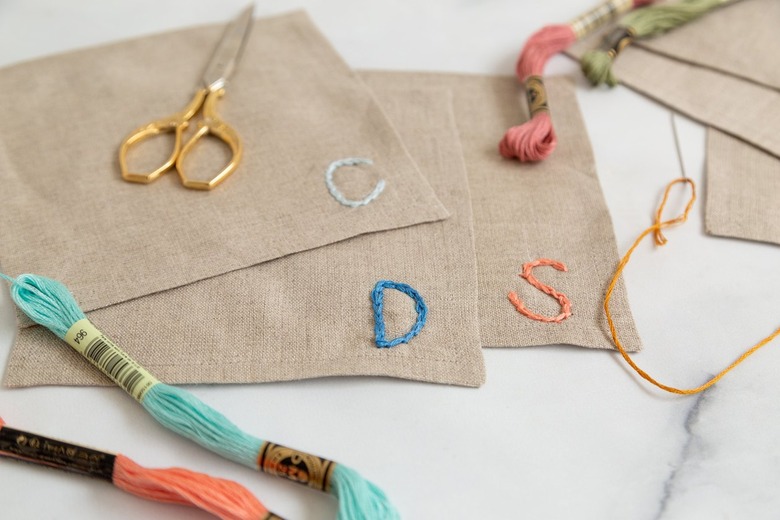
Have you jumped on the chain stitch embroidery train? Chain stitching is just so charming — especially when used for personalizing home decor or clothing. It's also easier than you might think. You simply need a few basic materials and some fabric to embroider.
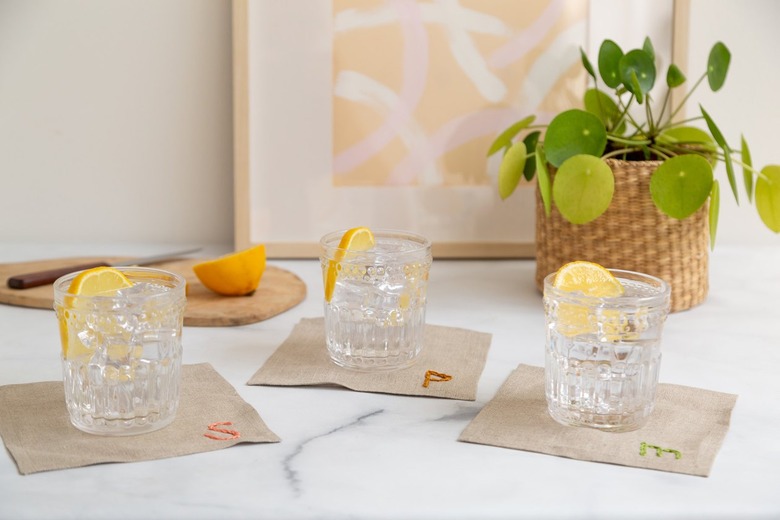
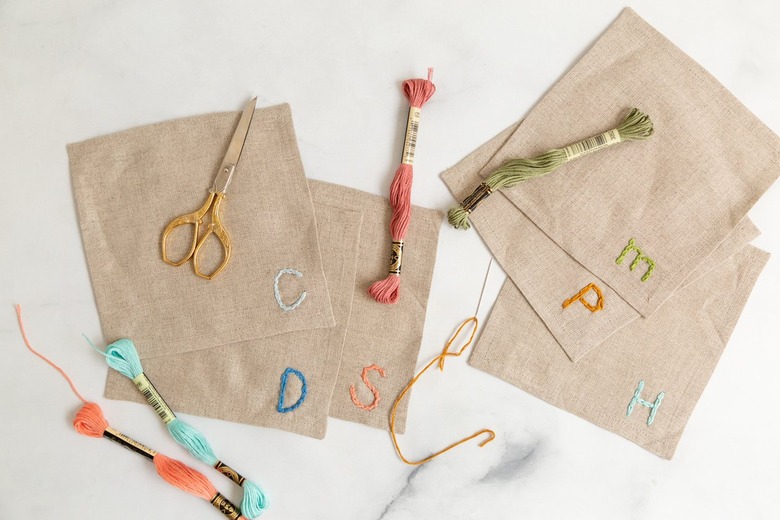
These linen coasters provide the perfect backdrop for this chain stitching tutorial. We added the first initials of family members (cute gift idea, right?), however you can create any design you like.
Things Needed
Tip
What is a chain stitch? This hand sewing embroidery technique is exactly how it sounds: it is a group of stitches (or loops) creating a chain-like pattern.
 sara albers
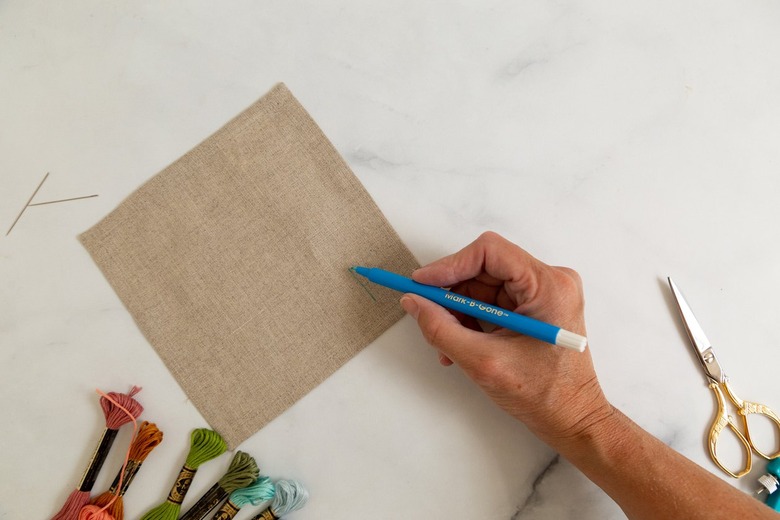
Step 1
Use an erasable pen and write out the initial, word, or design on the fabric.
 sara albers
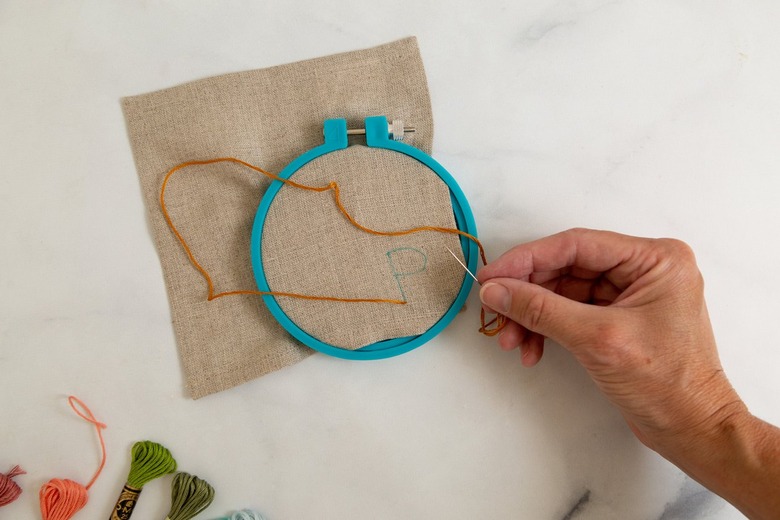
Step 2
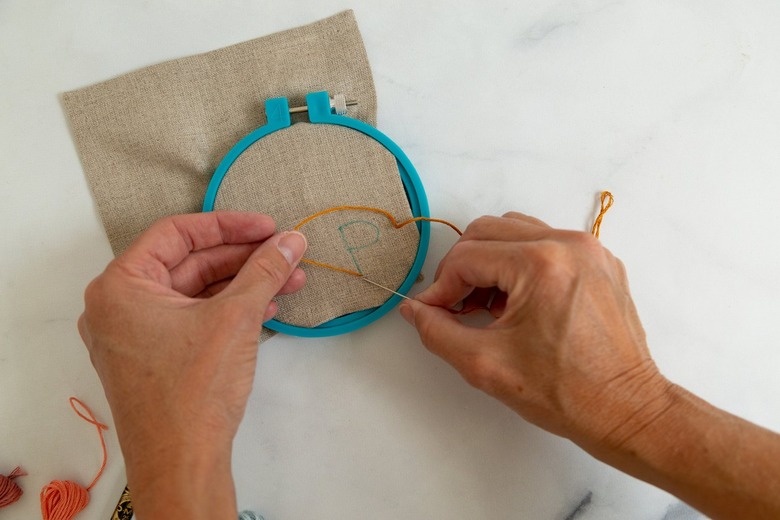
Use an embroidery needle with the embroidery floss (thread). Thread the needle, and tie a knot at the end. To start the chain stitch, first bring the needle up from the back and through the fabric. The knot at the end of your thread will be on the bottom of the fabric.
 sara albers
Step 3
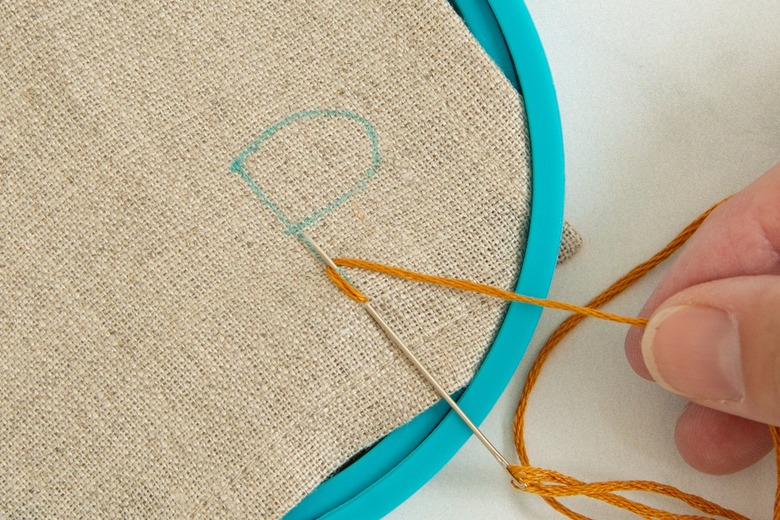
Next, push the needle back down into the fabric, right below the first hole. Then push the needle back up through the fabric about a quarter inch higher from the previous hole. (See photo in Step 4.)
 sara albers
Step 4
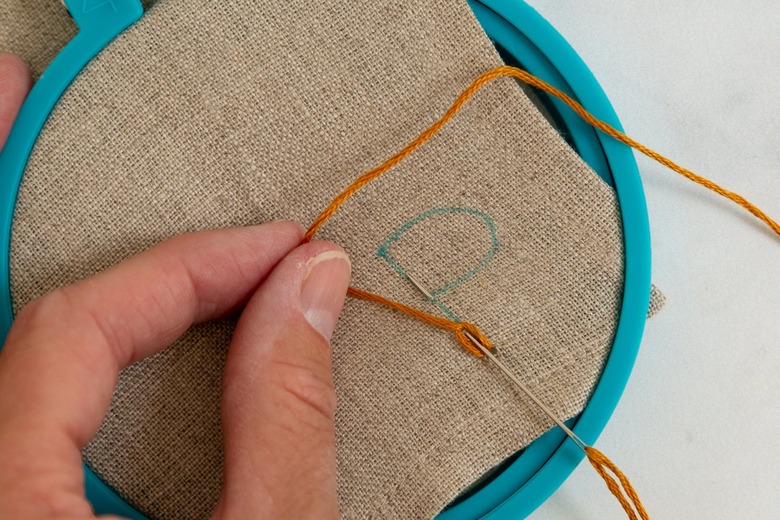
This is the "chain" stitch portion — when pulling the needle and thread up from bottom, wrap the top thread around the tip of the needle (see image below). When you pull the needle, the thread makes a loop.
 sara albers
Step 5
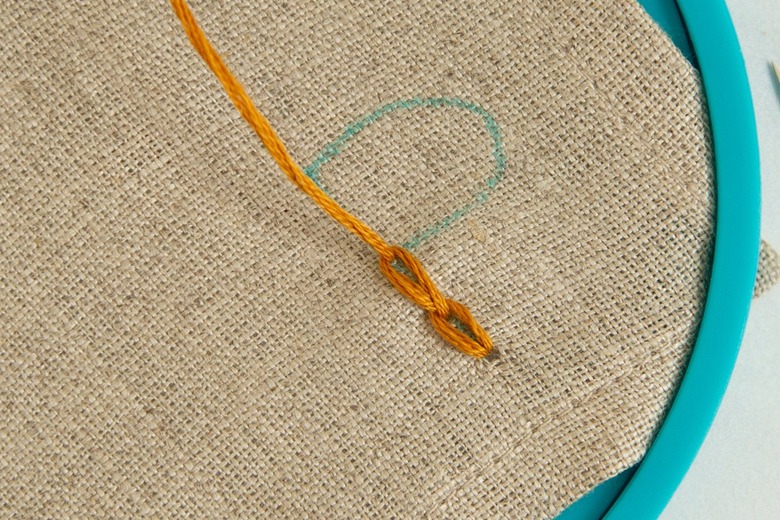
After you created the first loop, push the needle down through fabric just shy of the hole you had just came up from. Then push the needle back up about a quarter inch from that prior hole below.
 sara albers
Step 6
Pull the needle and thread up from bottom, wrap the top thread around the tip of the needle. When you pull the needle, the thread makes another loop. Continue this chain link pattern around the letter.
 sara albers
Step 7
Continue this looping technique along the outline of your letters or design. Again, you'll put the needle and thread down just below the hole of your last stitch.
 sara albers
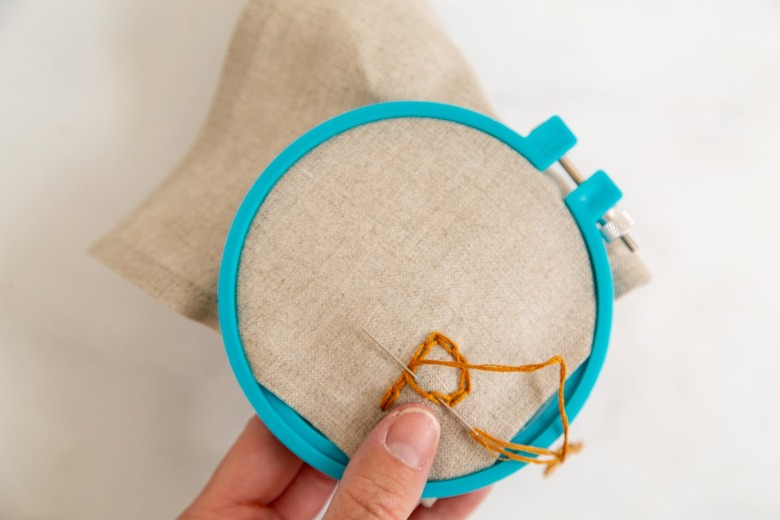
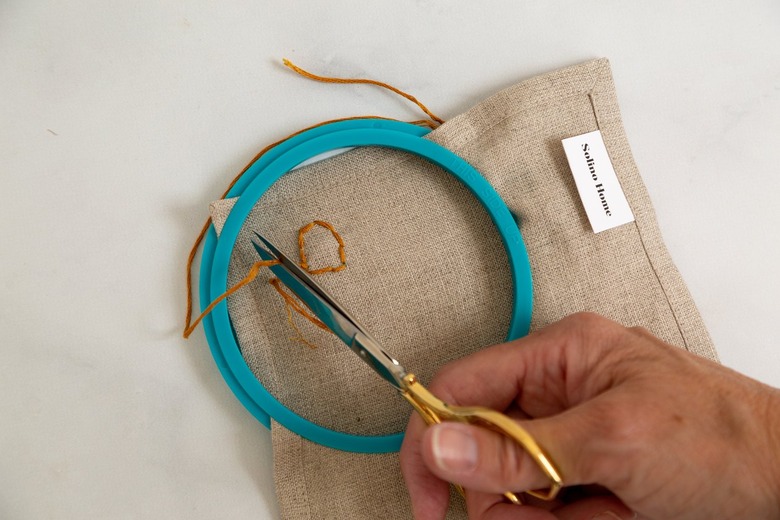
Step 8
Pull the needle through the last loop to finish it off, and then tie a knot on the underside of the fabric. Trim the thread.
 sara albers
All done! How cute are these napkins? They make the perfect hostess gift or birthday present.
 sara albers