DIY Projector Screen Tutorial For Watching Movies At Home

We may receive a commission on purchases made from links.
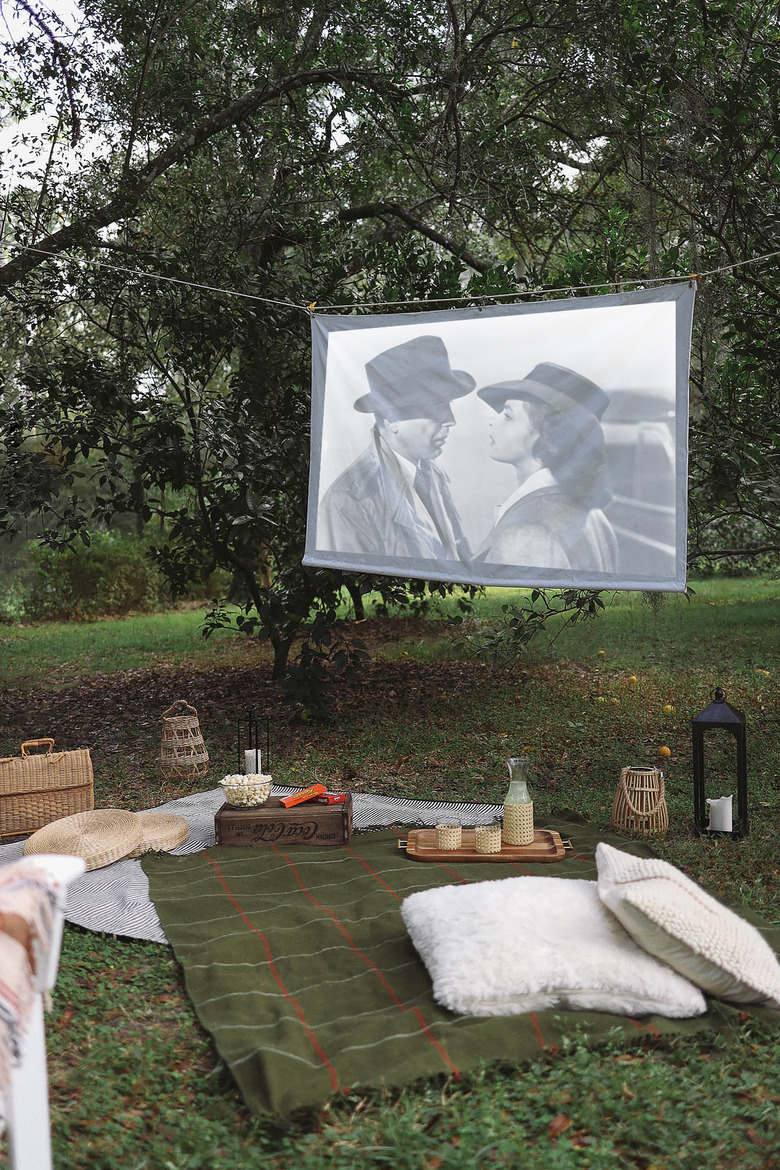
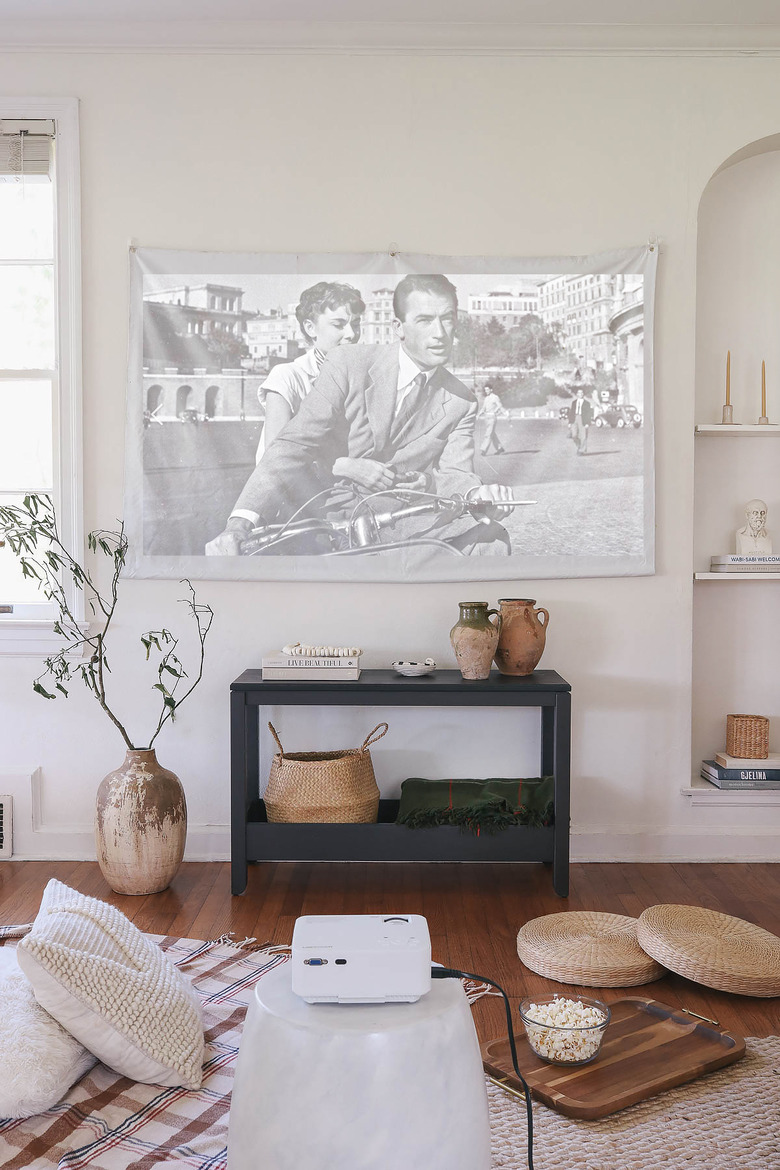
Bring a little movie magic to your abode with a DIY portable projector screen. Not only is it super easy to make (we're talking an hour, tops), it only costs $30 in materials. And we should also mention absolutely no sewing is necessary. Plus, you can't beat the convenience of being able to set it up indoors or outdoors, giving you the flexibility to enjoy a movie night under the stars or while cozied up on the couch. You can even roll it up and take it on the road with you to enjoy while camping or vacationing. Just don't forget the popcorn!
 Trisha Sprouse
Things Needed
-
White blackout fabric, 2 yards
-
Fabric glue (or sewing machine, if preferred)
-
Pipe cutter (optional)
TIP: While any white or light fabric will work for a projector screen, such as a bedsheet or drop cloth, blackout fabric (aka drapery lining) will block out any glare from sunlight or ambient lighting, ensuring a better picture quality.
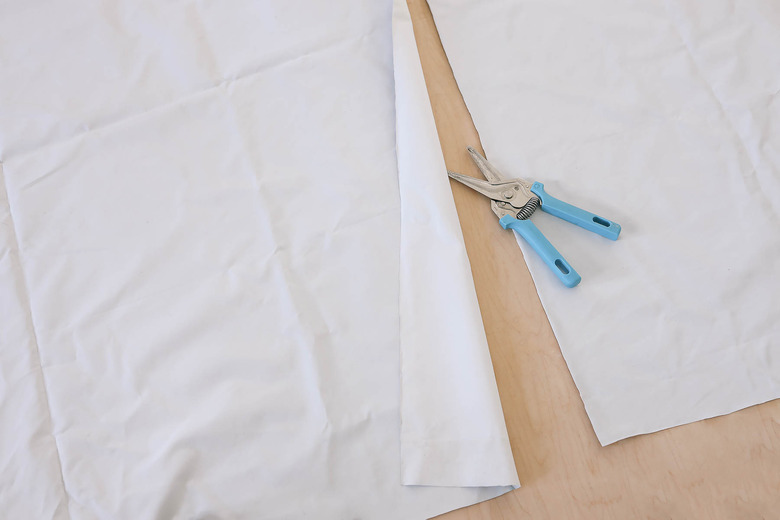
Step 1
Determine the desired size of your projector screen, and cut the blackout fabric accordingly (we made ours four feet high by six feet wide). Add an extra three inches to the height measurement and an extra two inches to the width measurement to account for the hems.
 Trisha Sprouse
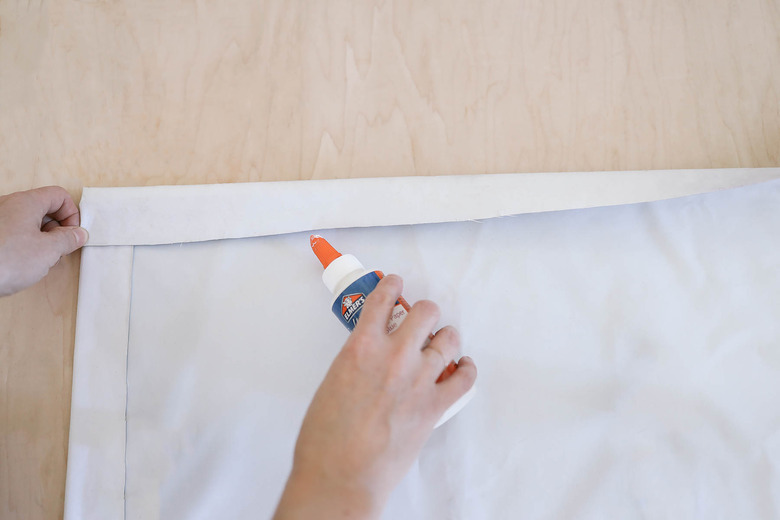
Step 2
Fold over the raw edges along the top and sides of the fabric by one inch, and glue (or sew, if you'd prefer) them down. Start with the side hems first, and then fold the top hem down over them. Be generous with the glue, and press firmly along the folds to ensure the hems are glued securely.
 Trisha Sprouse
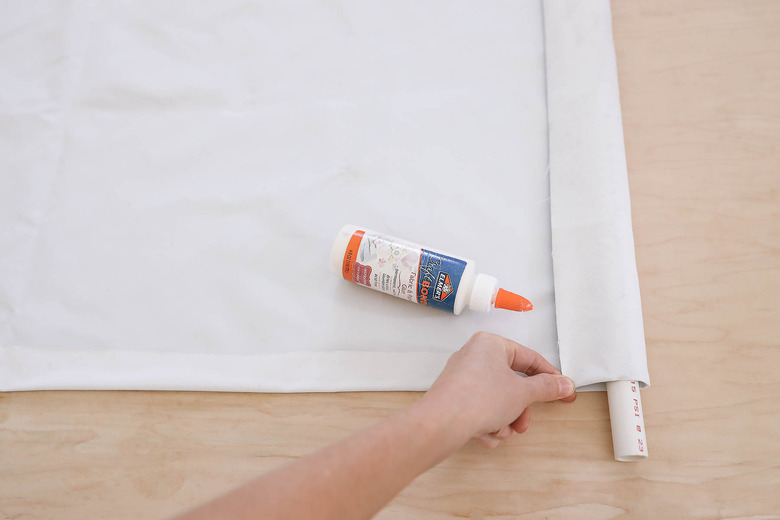
Step 3
Cut the PVC pipe to the same size as the screen's width (or have this done at the hardware store), and place it along the bottom of the fabric. Fold the bottom raw edge over the pipe by two inches, and either glue or sew along the hem to create a hollow tube so the pipe can slide in and out. This helps it hang more smoothly, and also serves as an anchor if there's wind outside.
 Trisha Sprouse
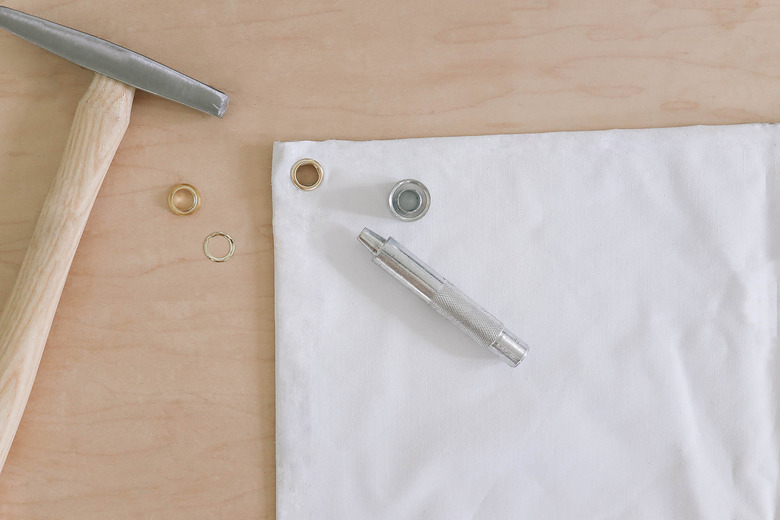
Step 4
Use the grommet kit to attach three grommets along the top of the screen — one in each corner and one in the center. If you've never worked with grommets, essentially you cut a small hole in the fabric, place the top and bottom grommet pieces through the hole from opposite sides of the fabric, and hammer them together.
 Trisha Sprouse
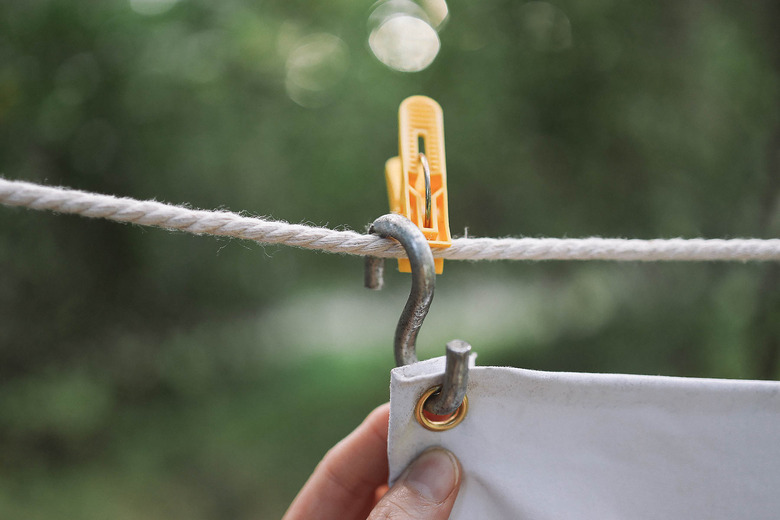
Step 5
If you're hanging your screen against a flat surface like a wall or fence, either screw in cup hooks or attach damage-free adhesive hooks in your desired hanging spot. Be sure to space the hooks according to the placement of the grommets on your screen, and then hang the screen on the hooks.
 Trisha Sprouse
If you're hanging your screen on a rope tied between trees, like we did in our outdoor setup, you can slide S-hooks through the grommets and hang the hooks on the rope. You'll need to place a clip, such as a binder clip, snack clip or clothespin, on the side of the hook to keep it from sliding down the rope.
 Trisha Sprouse
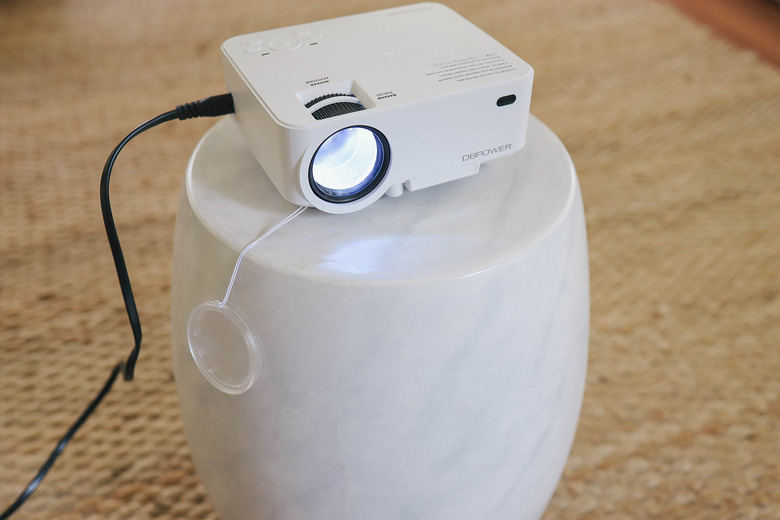
Now set up your mini projector on a chair or small table in front of the screen, settle in with some snacks, and enjoy the cinema experience from the comfort of your home or yard. When the film's over, simply roll up the project screen and store for the next movie night.
 Trisha Sprouse
 Trisha Sprouse
 Trisha Sprouse