Get Crafty With A Bold Graphic Quilt To Hang On Your Wall
We may receive a commission on purchases made from links.
Let's start by saying I'm not a quilter and I've never hand-quilted a single thing in my life. But I do like to sew straight lines and shapes together, and create simple modern quilt patterns. Today I'm going to show you that making a quilt is much easier than you think.
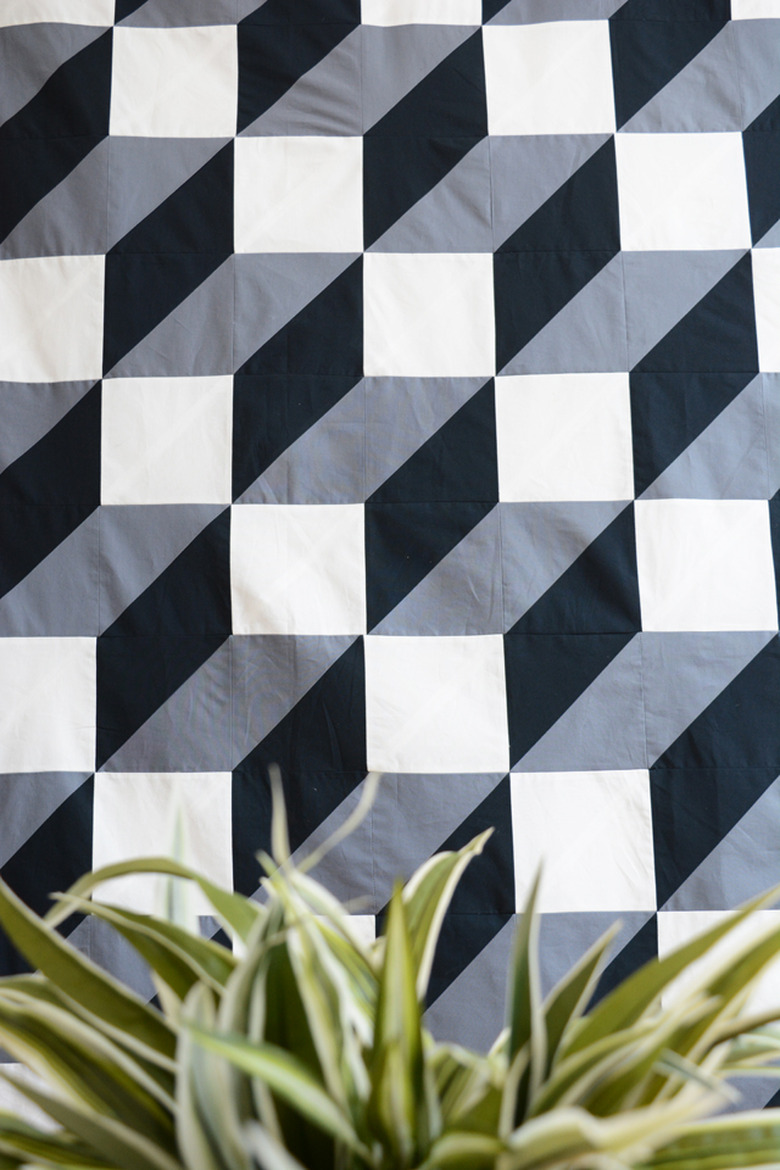
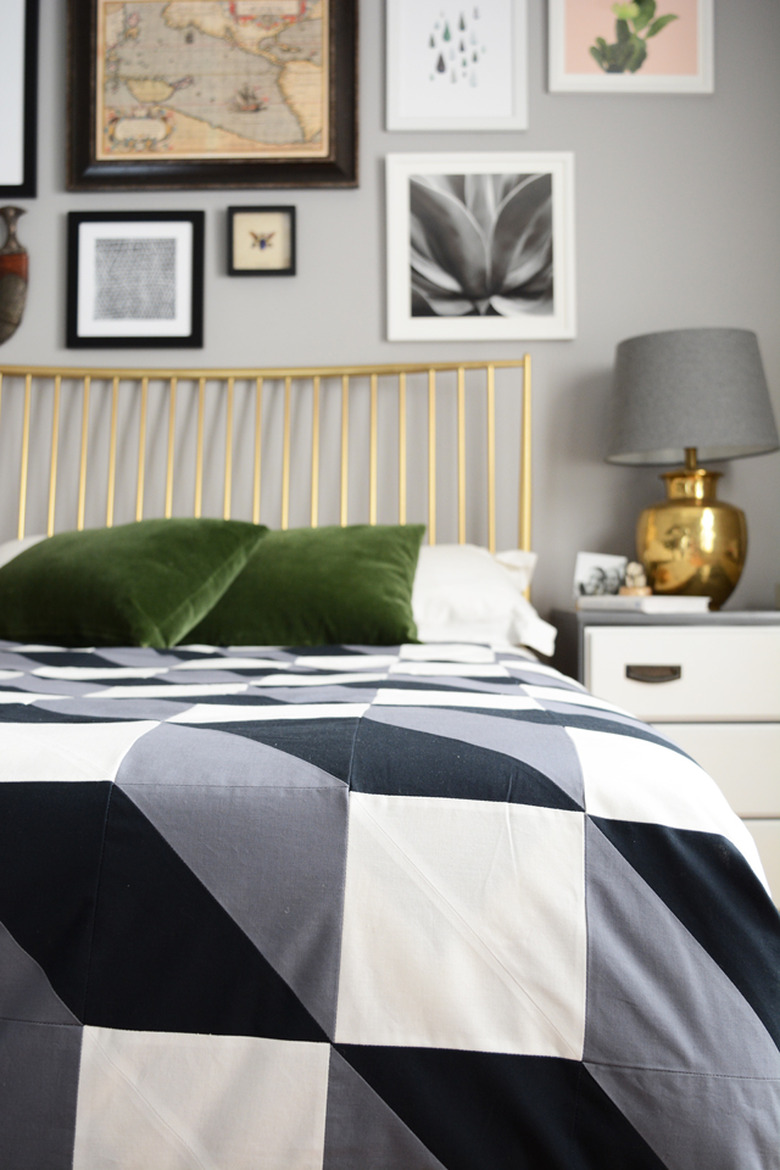
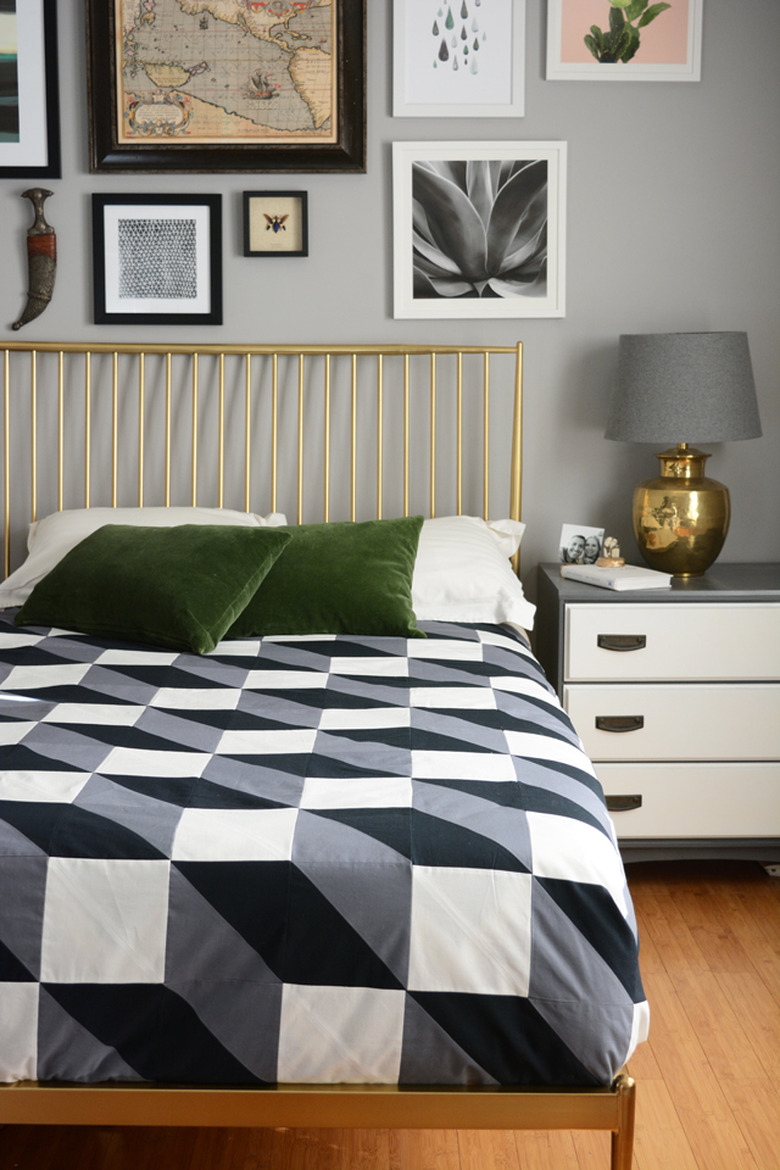
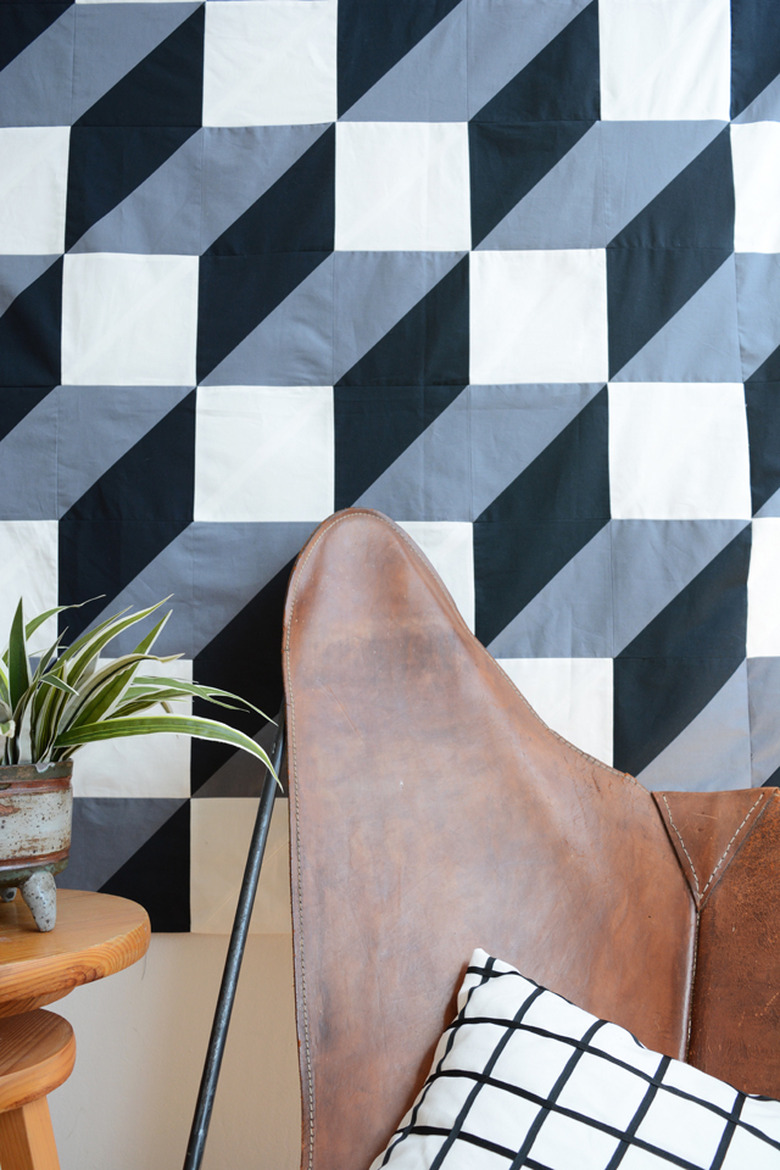
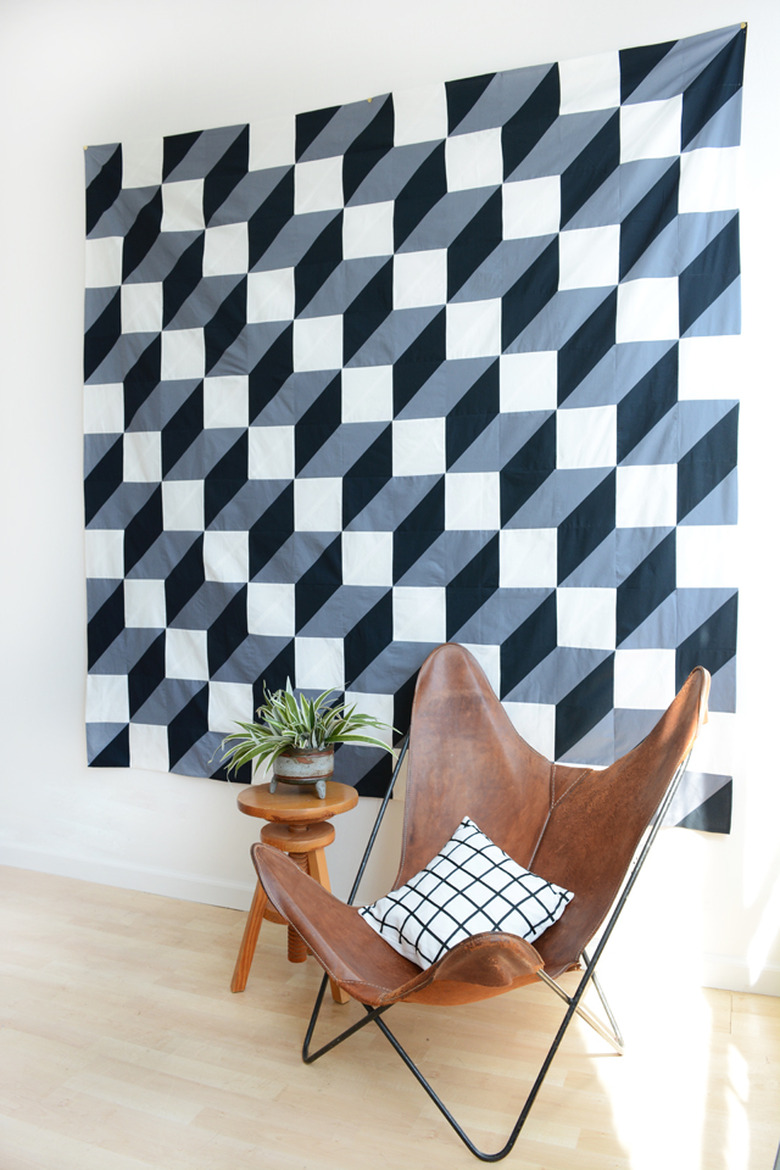
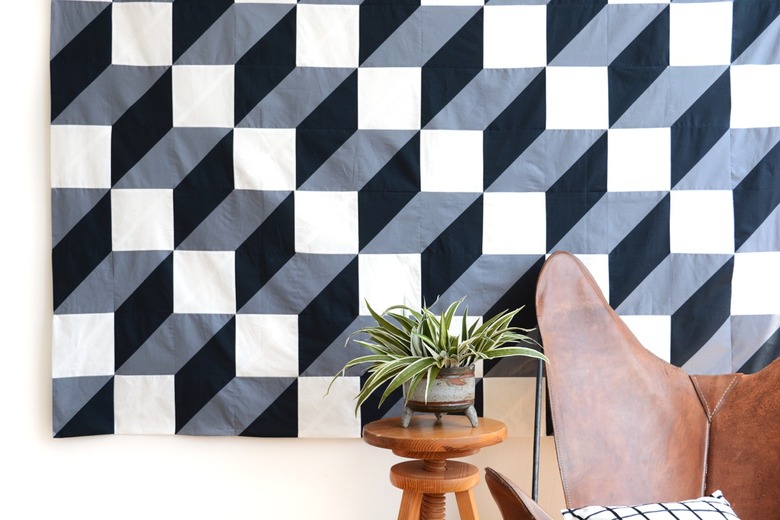
I love bold graphic patterns, and a rug from Anthropologie caught my eye. I noticed right away that it had a fun, almost optical illusion pattern was made up of many triangles put together. So I headed to the fabric store for my colorless combo. When you look at this finished piece, it may appear daunting and impossible, but really it's just one little square at a time, all straight line sewing.
Things Needed
-
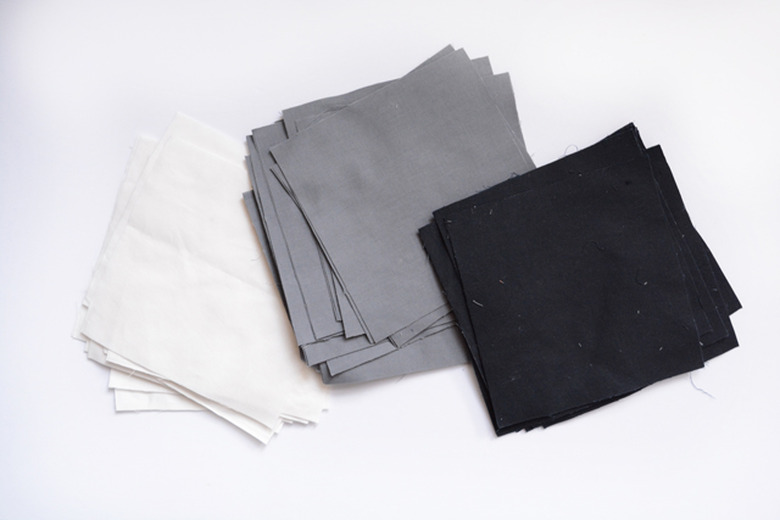
2 1/2 yards each of white, black and grey fabric
-
Iron
Step 1
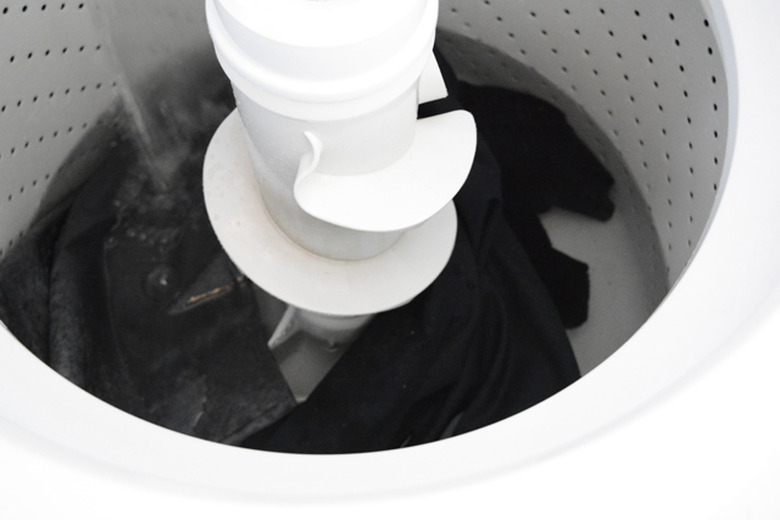
To begin, prewash your fabric. This step is optional, but to ensure your fabric doesn't shrink after the quilt is assembled, I recommend washing and drying the fabric. Also, wash the darks separately from the lights.
Step 2
Next, iron the fabric flat and then cut out your squares. You will cut 7-inch squares. For the size of quilt created for this tutorial, you will need about 58 squares in each of the three colors — this will give you a couple extras. We used a rotary cutter and mat to cut my squares.
Step 3
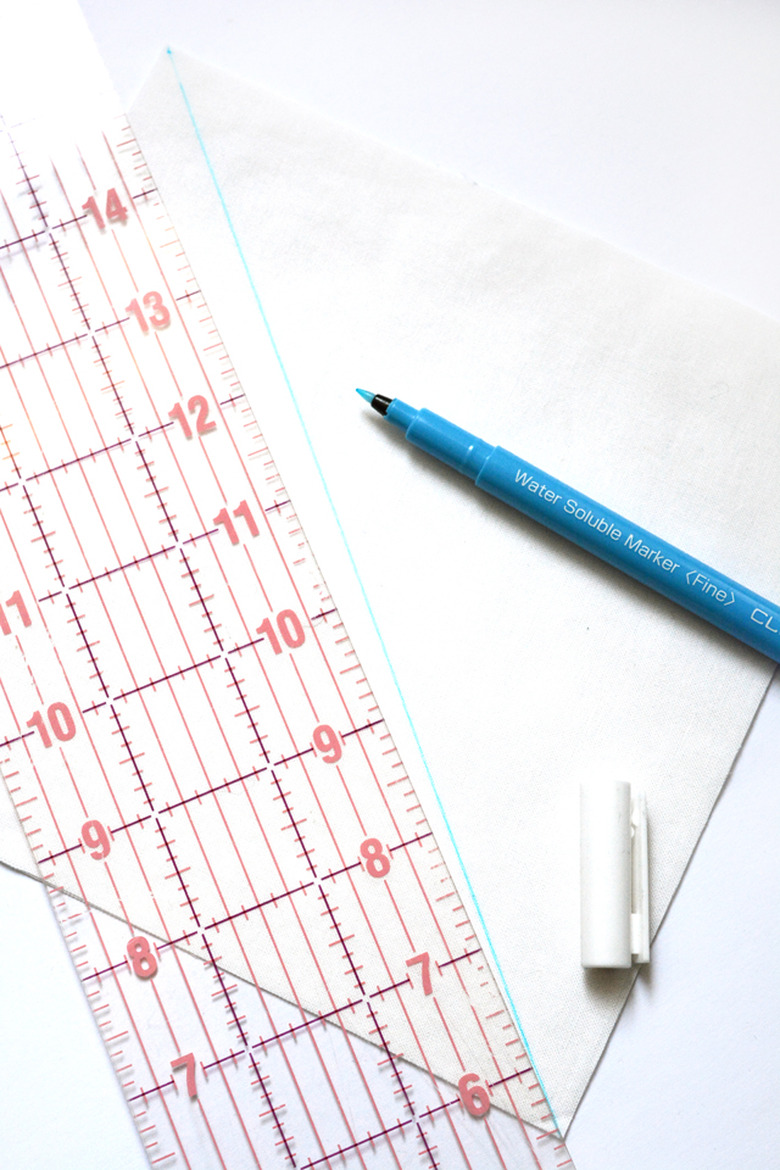
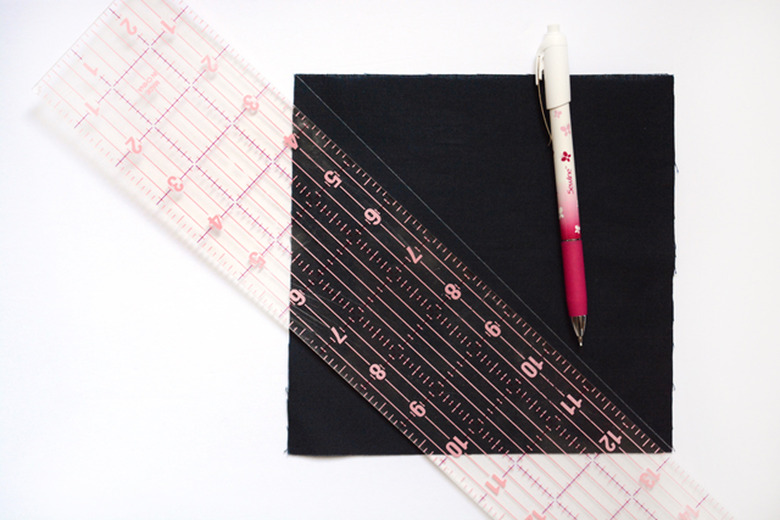
Draw a diagonal line down the center of half the white squares and all the black squares. On the white fabric I suggest a colored washable fabric pen, and on the black a white fabric chalk pencil.
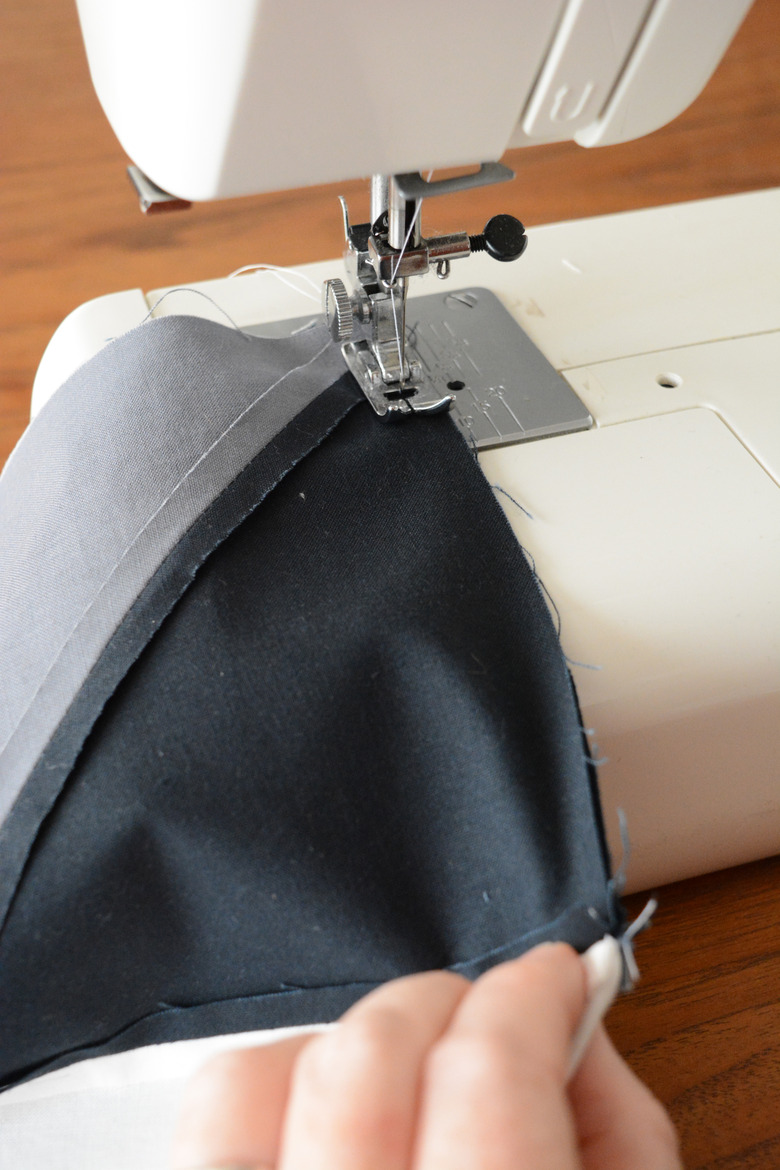
Step 4
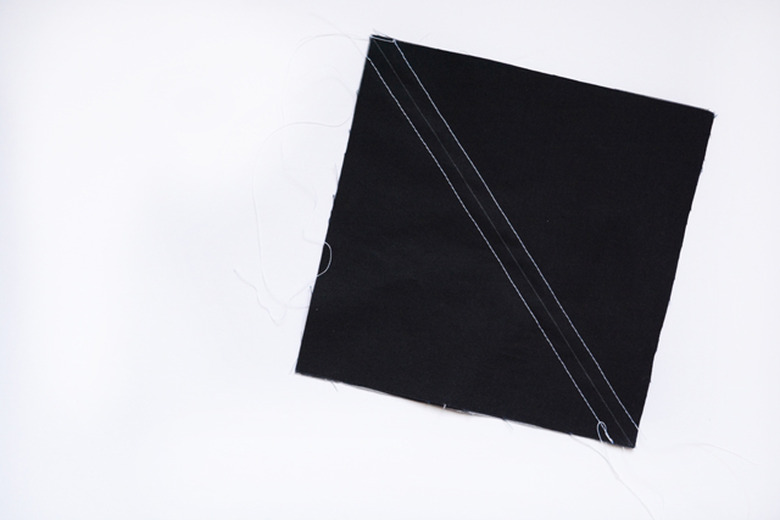
Put the fabric in pairs: White with white and black with grey, good sides of the fabric together. Stitch down either side of the lines on the fabric, leaving a 1/4-inch seam allowance. Work in big batches and stitch one after another without cutting the thread between them, then sew down the other side of each one.
Step 5
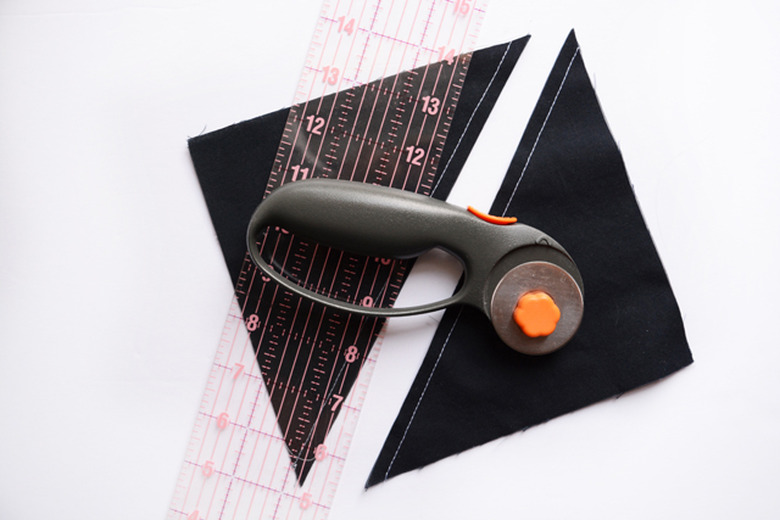
Once they are all sewn down either side of the middle line, use your rotary cutter to cut down the line.
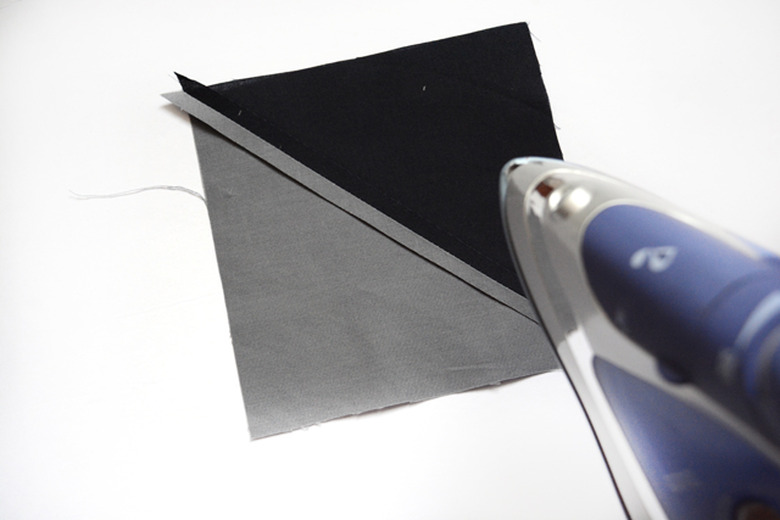
Step 6
Open up the two triangles you created. Fold the seams apart and iron them flat.
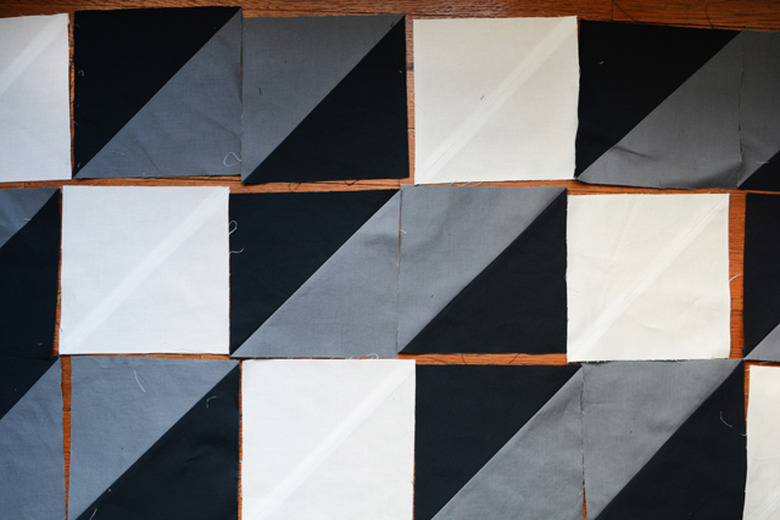
Step 7
Once you have all the squares made, lay out your pattern. I made mine 13 square by 13 square (to make a queen size quilt).
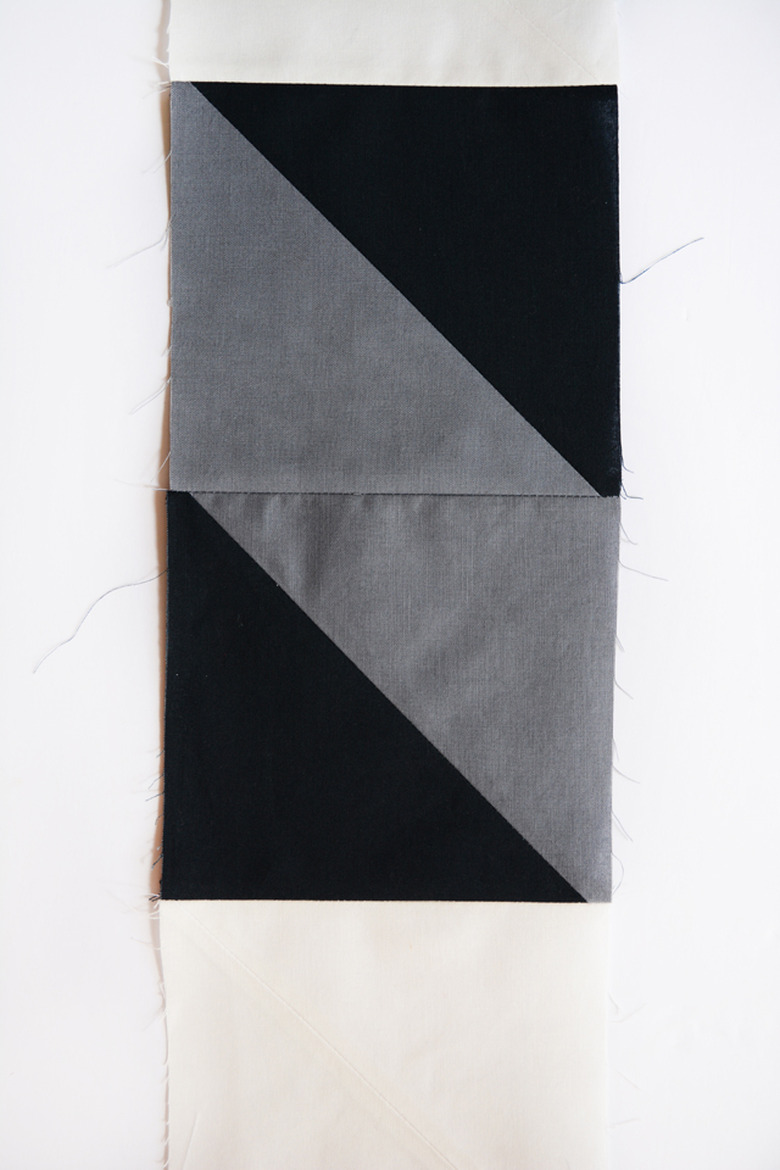
Step 8
Begin sewing the rows of squares together, always using a 1/4-inch seam allowance.
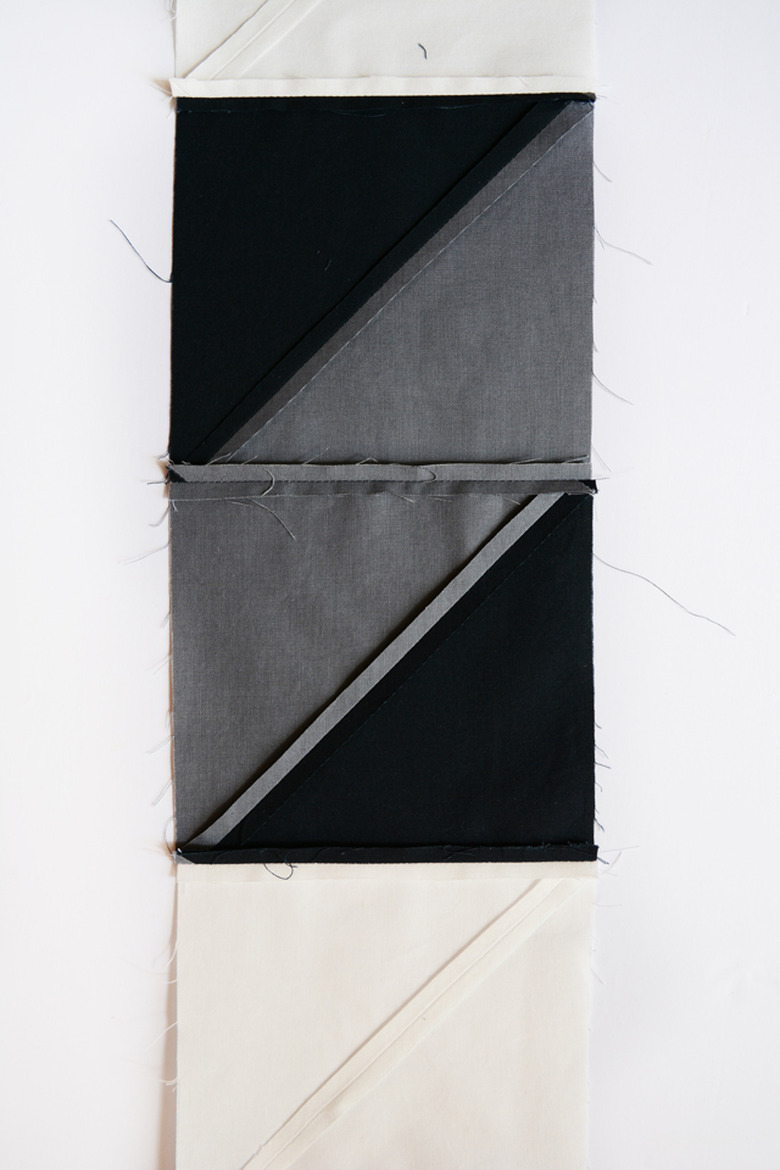
Step 9
Fold all the seams open and iron them flat.
Step 10
Next you will sew the sewn rows together. Again, use a 1/4-inch seam allowance.

Step 11
As you sew the rows together, be sure to match up the corners of the squares as you go. Even if you are super careful with your cutting and measuring, some squares just end up being a little shorter than others. However, if you hold or pin the corners together as you sew, you can stretch one of the squares to match up to the other. For the quilt to look straight and neat, the corners of the quilt need to match up as best as possible.
Now you can back the quilt or not. If you choose to hang the quilt on the wall as a hanging, you could simply hem the edges. Or you could use it as a duvet top. I chose to do a simple machine quilting and "stitched in the ditch," which just means you sew down some of the seams to attach the backing fabric and batting to the front of the quilt.