Transform An IKEA Nightstand Into A Bedroom Beauty
We may receive a commission on purchases made from links.
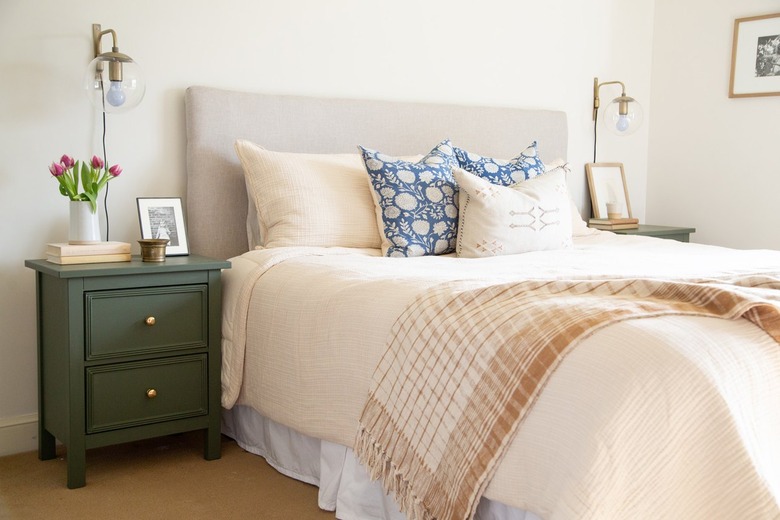
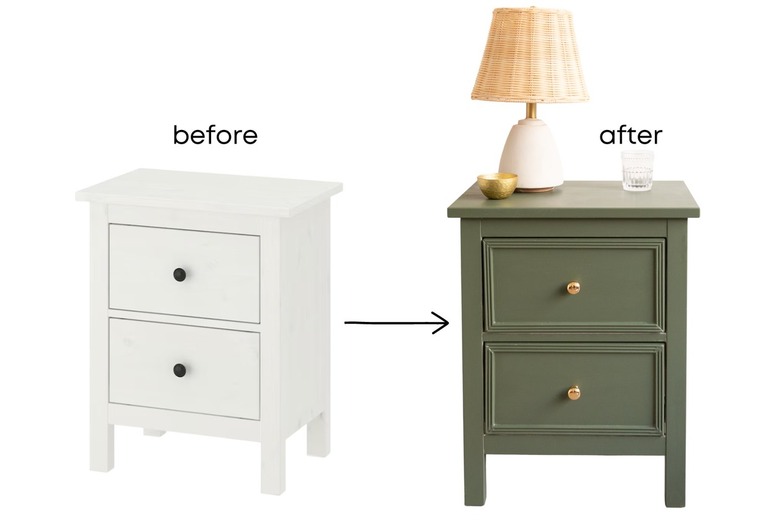
Get ready for a transformation! For our latest IKEA hack, we're giving the white Hemnes nightstand an elevated fresh look. By adding Valspar Flora green paint, lovely trim moulding, and new brass hardware, this nightstand goes from basic to beautiful in a few simple steps.
 sara albers
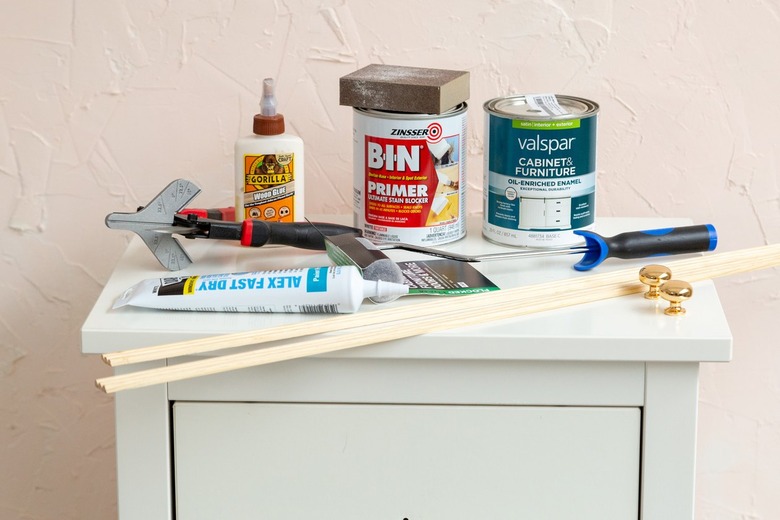
Things Needed
 Sara Albers
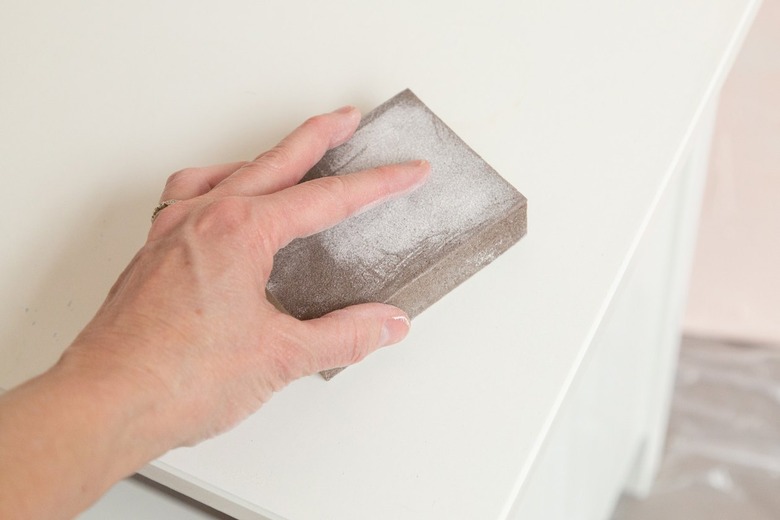
Step 1
Assemble the nightstands according to directions, and then lightly sand. This will give the primer a little bit more to hold onto.
 Sara Albers
Step 2
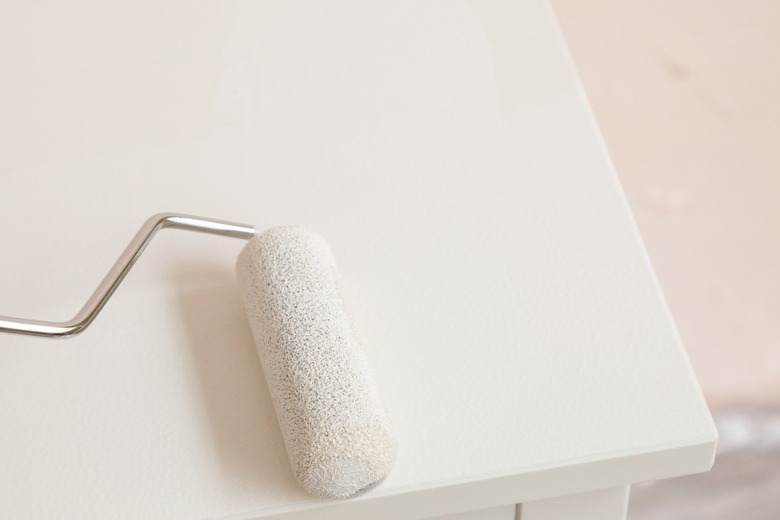
Prime the cabinet using the shellac primer. We recommend using a foam roller. One coat of primer is fine.
 Sara Albers
Step 3
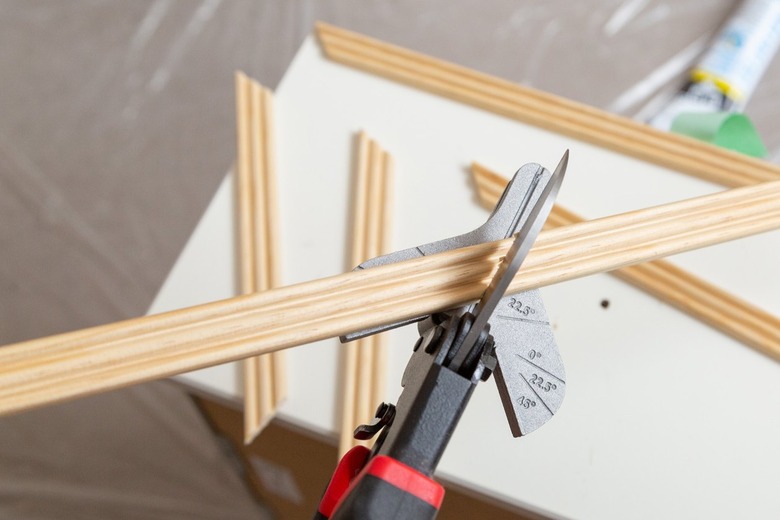
Now it's time to add the trim. Fit and measure the trim around the drawer fronts and mark according. Cut the trim along the mark lines using the 45-degree angle part of the miter shears.
 Sara Albers
Step 4
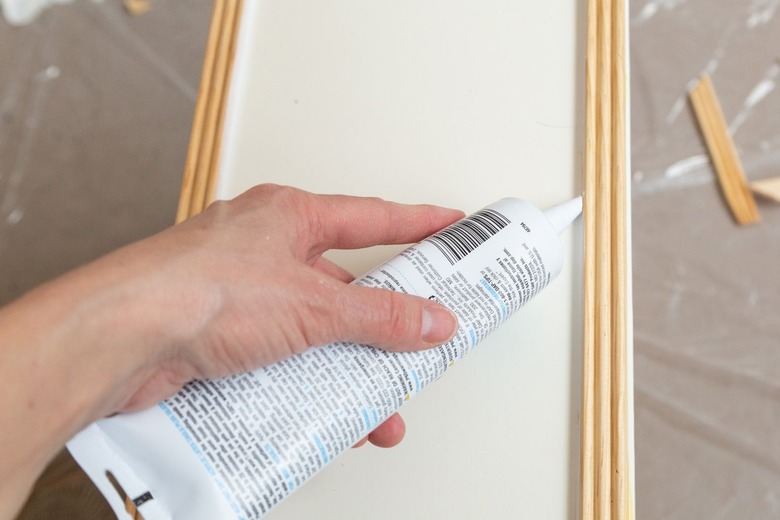
Adhere the trim pieces onto the drawer using wood glue. Support the trim in place with painters tape while drying. After the glue is dry, apply caulk on the edge of the trim and drawer front, and then smooth with your finger.
 Sara Albers
Step 5
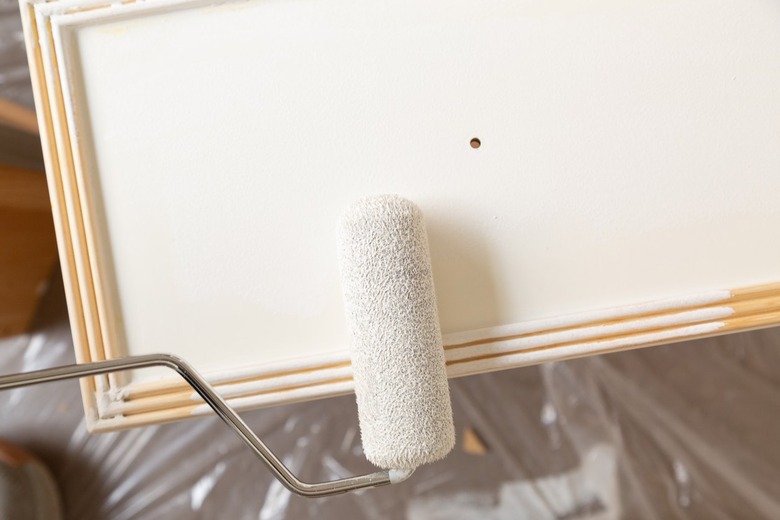
Prime the front of the drawers.
 Sara Albers
Tip
Why use cabinet paint? Cabinet paint has enamel in the paint which gives almost a hard coat protection. This also allows for a "tougher" paint on furniture pieces that get a lot of usage.
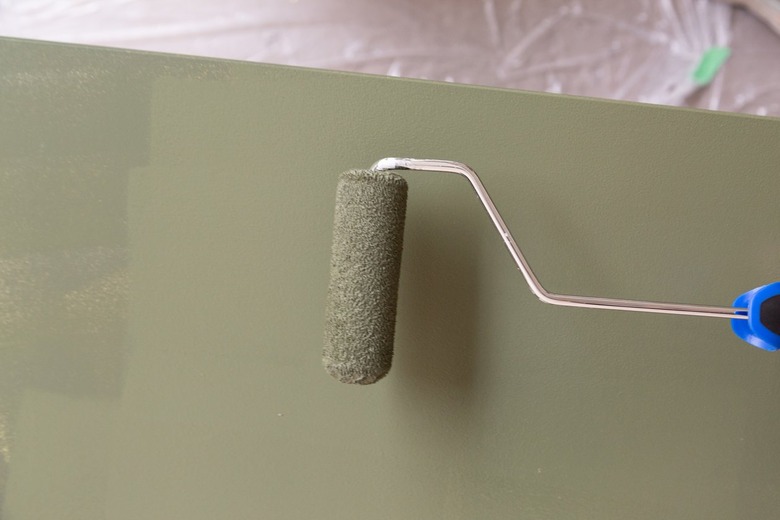
Step 6
Now it's time to add color. Apply two coats of green cabinet paint using a foam roller brush. Allow the paint to dry for a few hours before you apply a second coat.
 Sara Albers
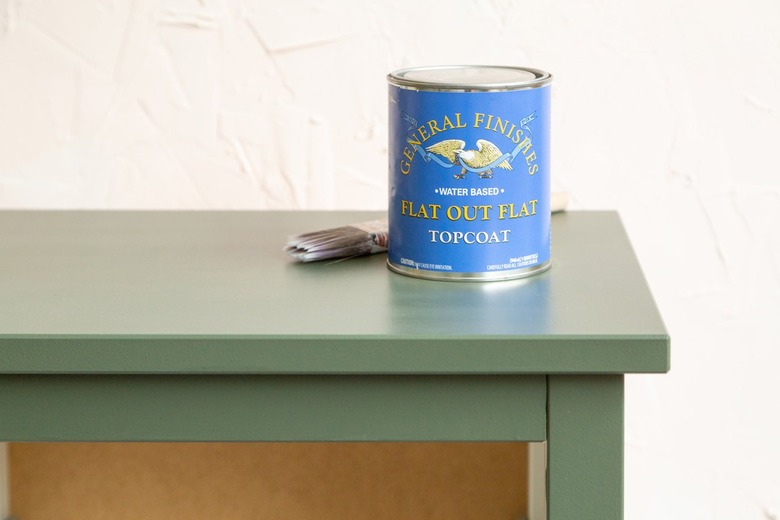
Step 7
Add a few coats of top coat to protect the paint. We love the General Finishes Flat top coat.
 Sara Albers
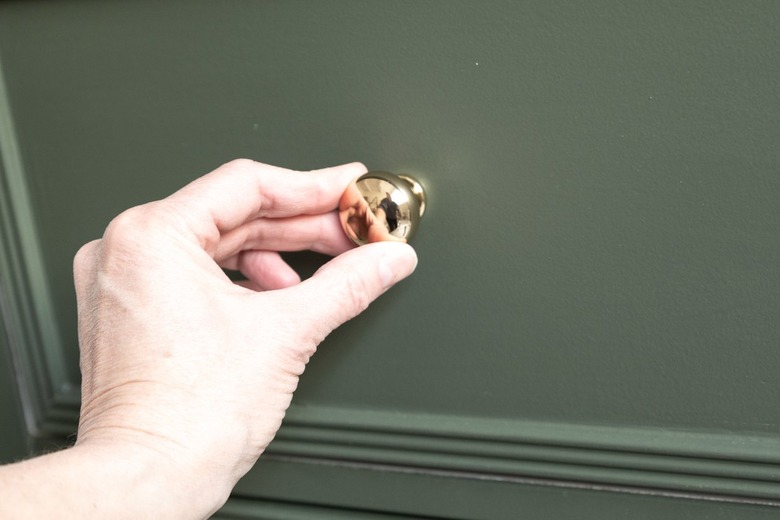
Step 8
Add the new brass hardware to the drawers. And, you're done!
 Sara Albers