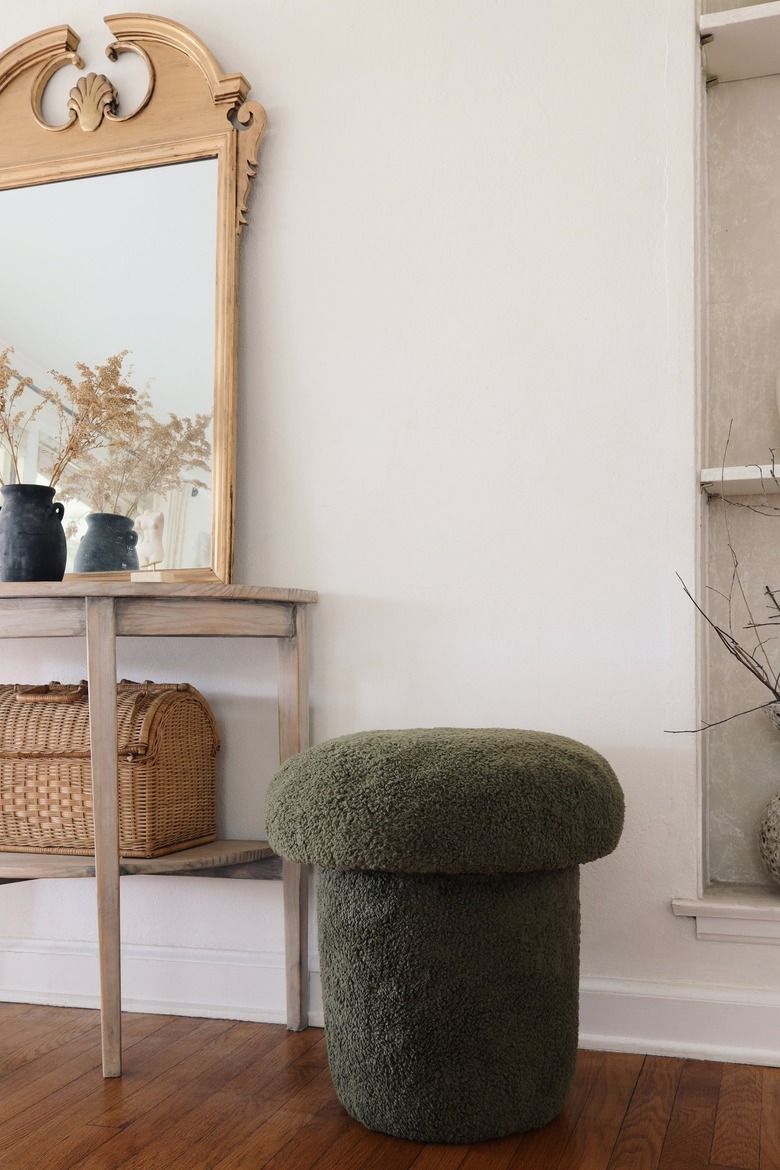
DIY Mushroom Stool (And Storage Container)
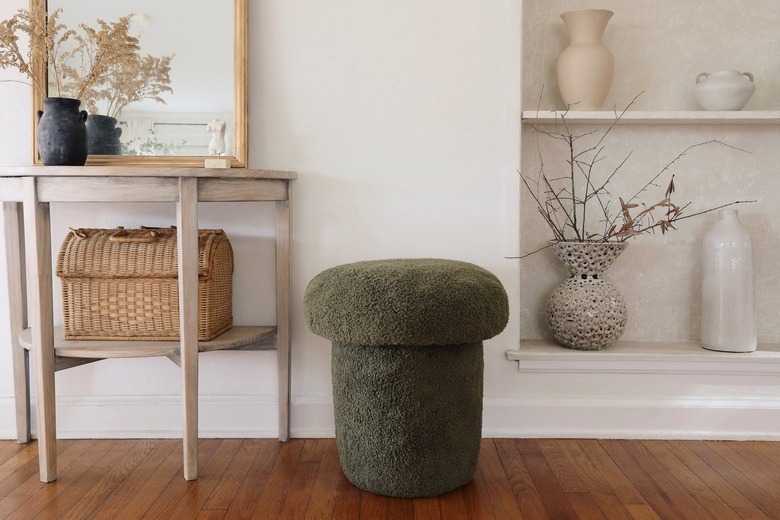
First there was #cottagecore, then there was #cluttercore, and now the internet is abuzz with #weirdcore. This trending aesthetic is all about fantasy art and funky decor, and one home accessory that lends itself perfectly to it is a mushroom stool. We decided to DIY instead of buy, so we could customize the size and fabric of our stool — and we used none other than a $5 bucket to make it! Keep scrolling if you'd like to make a fabulously fun mushroom stool (and storage container) for your own home, too.
Things Needed
 Trisha Sprouse
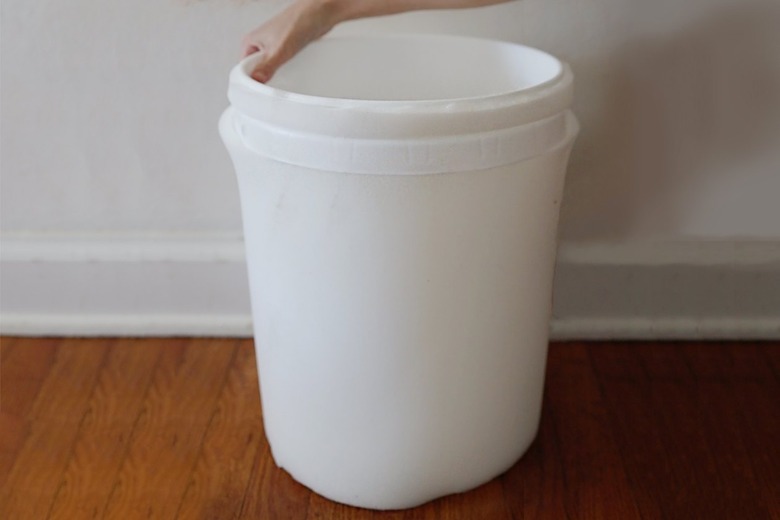
Step 1
Remove the handle from the bucket. Cut a thin strip of 1/2-inch foam to wrap around the thin portion just under the top rim of the bucket, and a wider piece of foam to wrap around the main portion of the bucket. Spray the bucket with adhesive, and then wrap and press the foam strips around it. This should level out the surface of the bucket.
 Trisha Sprouse
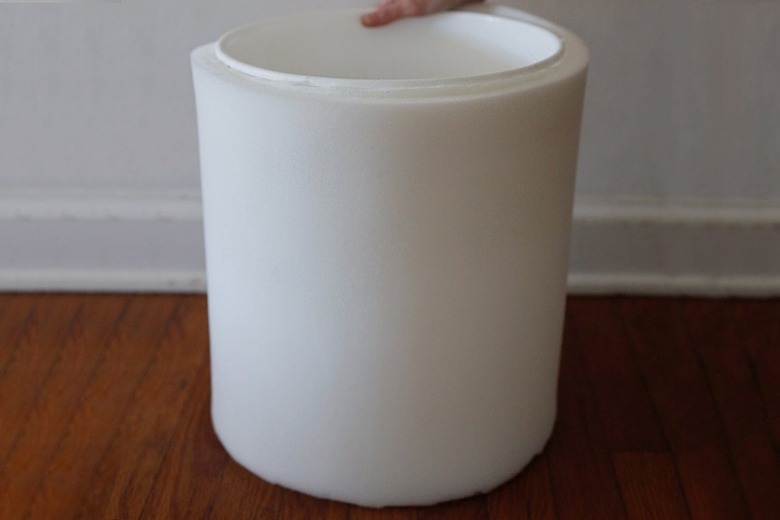
Step 2
Cut another piece of 1/2-inch foam, this time large enough to wrap around the entire height of the bucket. Spray the foam that's already on the bucket with adhesive, and then wrap the second layer of foam firmly around it.
 Trisha Sprouse
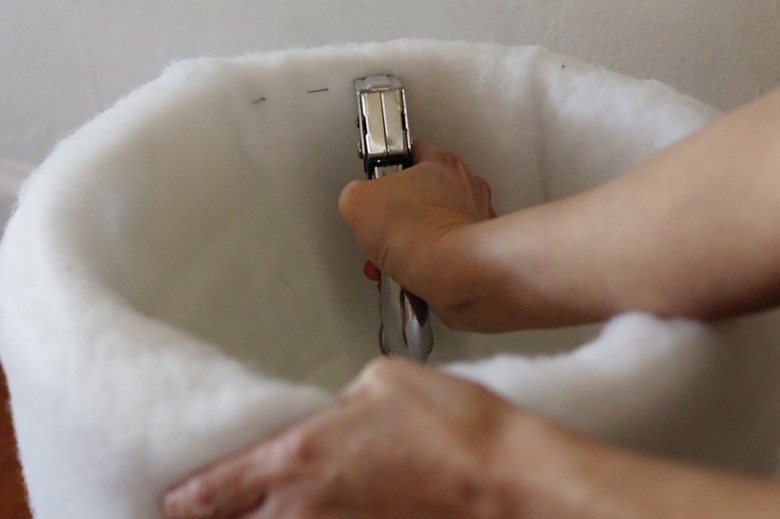
Step 3
Wrap the bucket with one layer of quilt batting. Pull the batting tight around the bucket, and staple it in place around the inner rim of the bucket as well as on the bottom of the bucket. Trim away any excess.
 Trisha Sprouse
Step 4
Cut a piece of fabric that's large enough to wrap around the entire bucket. Pull it tight around the bucket, and staple it in place around the inner rim and bottom of the bucket. Trim off any excess fabric.
 Trisha Sprouse
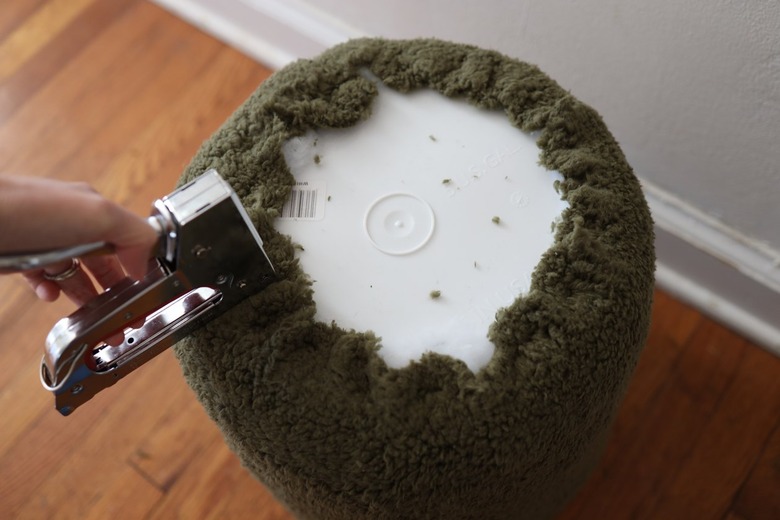
Step 5
Trace the bottom of the bucket onto a piece of craft felt, and cut out the circle. Use it to trace and cut two more felt circles as well as one circle from the 1/2-inch foam (set these aside for later use). Place one of the felt circles onto the bottom of the bucket to hide the unfinished fabric edges, and staple it to the bucket around the outer edge.
 Trisha Sprouse
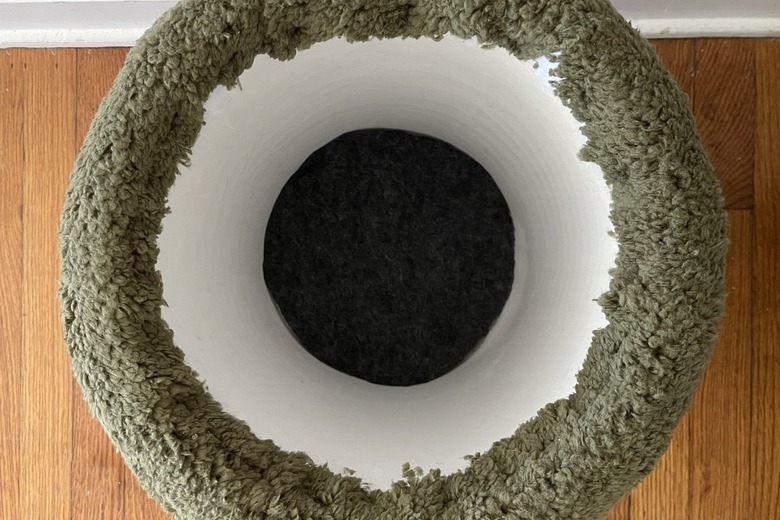
Step 6
Place the foam circle you cut out in the previous step inside of the bottom of the bucket—this will pad any staples that may have pierced through when upholstering the fabric. Then hot glue the second felt circle on top of the foam to create a finished look on the bottom.
 Trisha Sprouse
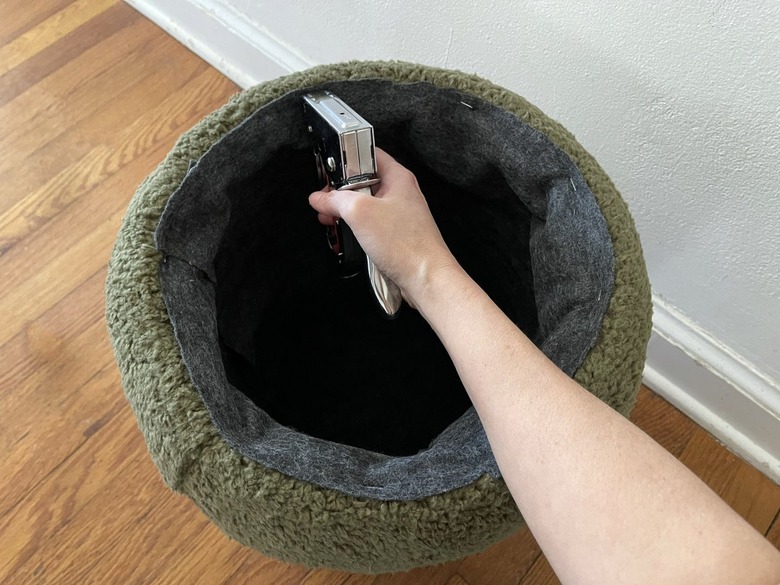
Step 7
Cut two pieces of felt to line the inside of the bucket. Hot glue the first piece of felt to the sides of the bucket, and then glue the second piece to the sides, slightly overlapping the first piece. Staple the top edge of the felt around the rim of the bucket, keeping your staples straight and evenly spaced for a finished look.
 Trisha Sprouse
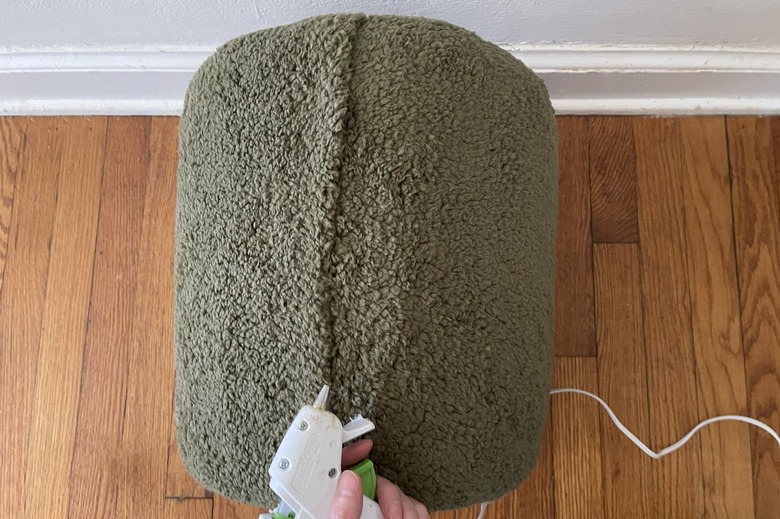
Step 8
Pull the fabric taut at the open seam in the back of the stool, and hot glue it closed.
 Trisha Sprouse
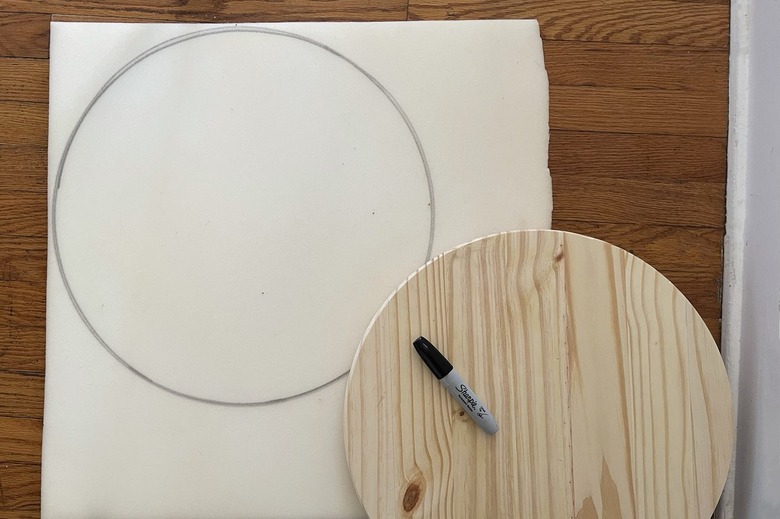
Step 9
Trace the 18-inch wood circle onto a piece of 2-inch foam, and cut it out.
 Trisha Sprouse
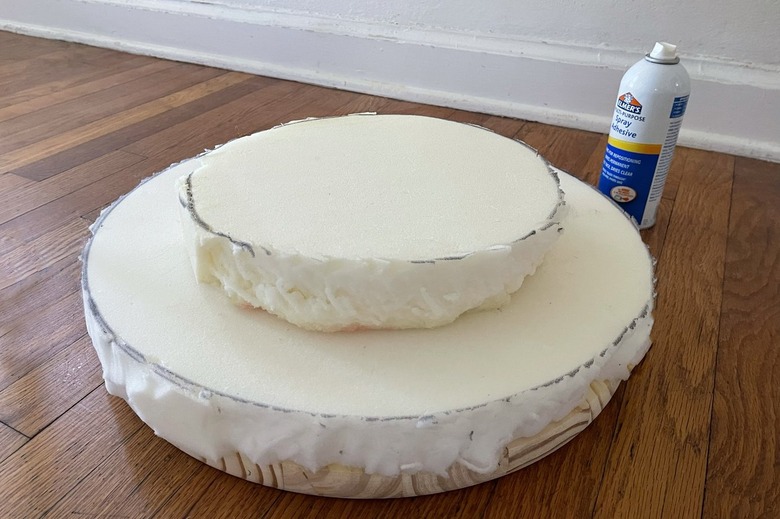
Step 10
Spray the wood circle with adhesive, and then press the foam circle firmly on top. Cut a second smaller foam circle (using a plate or large bowl to trace), and attach it on top of the larger foam circle with spray adhesive.
 Trisha Sprouse
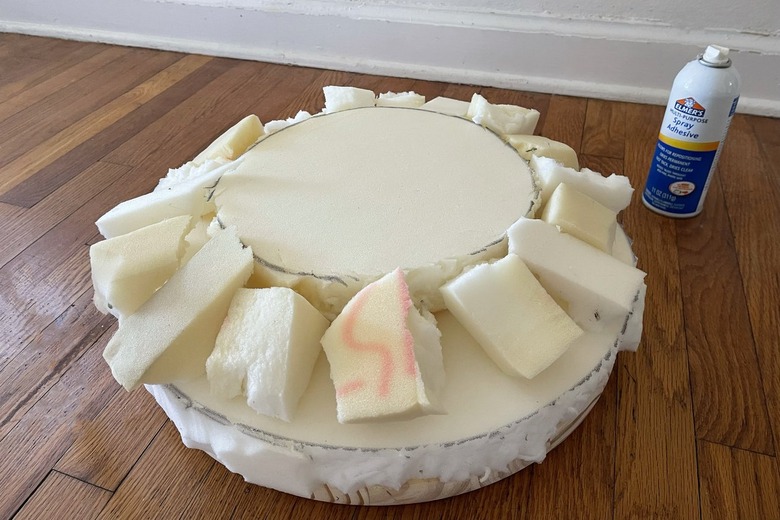
Step 11
To create the sloped dome shape of a mushroom, attach small scraps of foam in the empty space between the two circles. You could also use batting or poly-fil instead of foam scraps.
 Trisha Sprouse
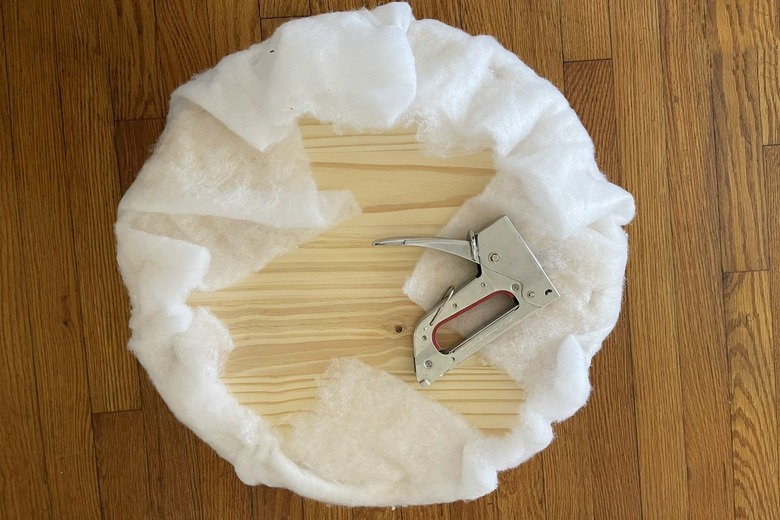
Step 12
Wrap two layers of batting on top of the foam, pull it tight, flip the wood circle over, and staple the batting to the back of the wood circle. Trim any excess.
 Trisha Sprouse
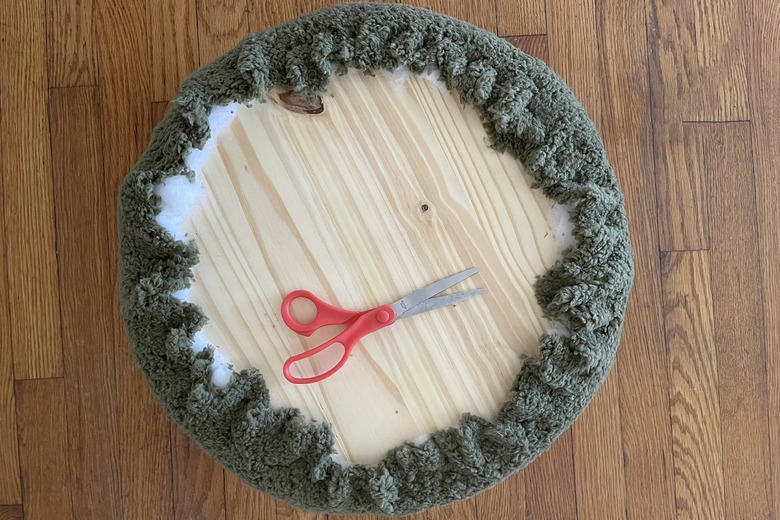
Step 13
Cut a piece of fabric large enough to cover the wood circle and lay it flat with the wrong side facing up. Place the wood circle with the cushioned side down onto the fabric. Pull the fabric tightly over the wood circle, and staple it to the back. Trim any excess fabric.
 Trisha Sprouse
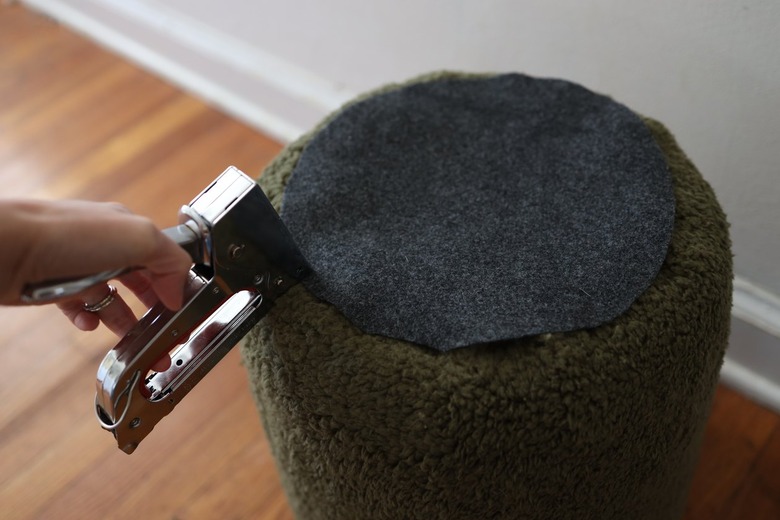
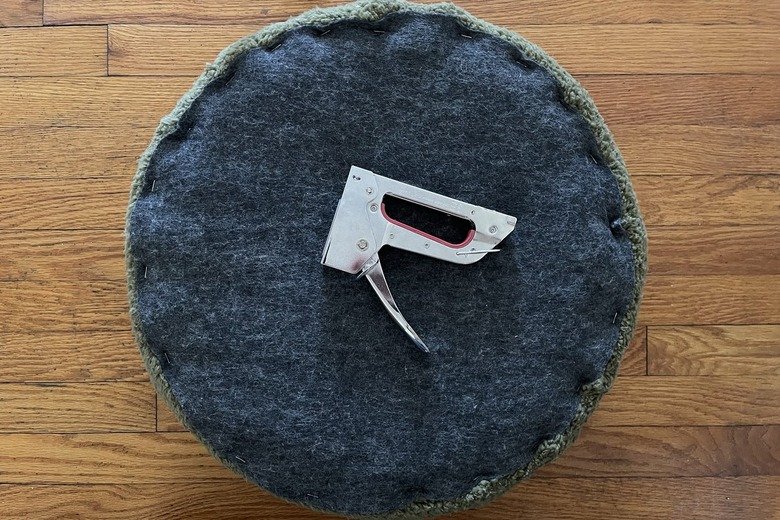
Step 14
Place the remaining felt circle (that you cut out in Step 5) onto the back of the wood circle to hide the unfinished edge, and staple it neatly around the perimeter.
 Trisha Sprouse
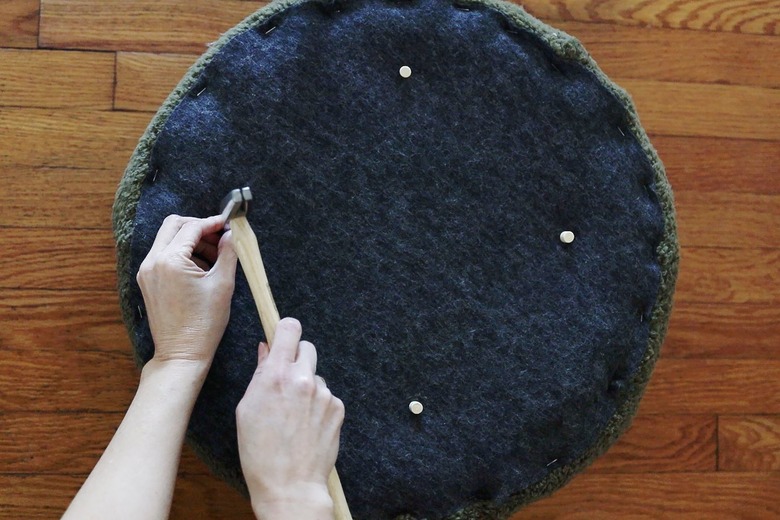
Step 15
To prevent the lid from sliding off when you move or sit on the stool, hammer four thumb tacks (we used pretty wooden ones) to the back of the lid, about three inches in from the edge, and space them evenly apart.
 Trisha Sprouse
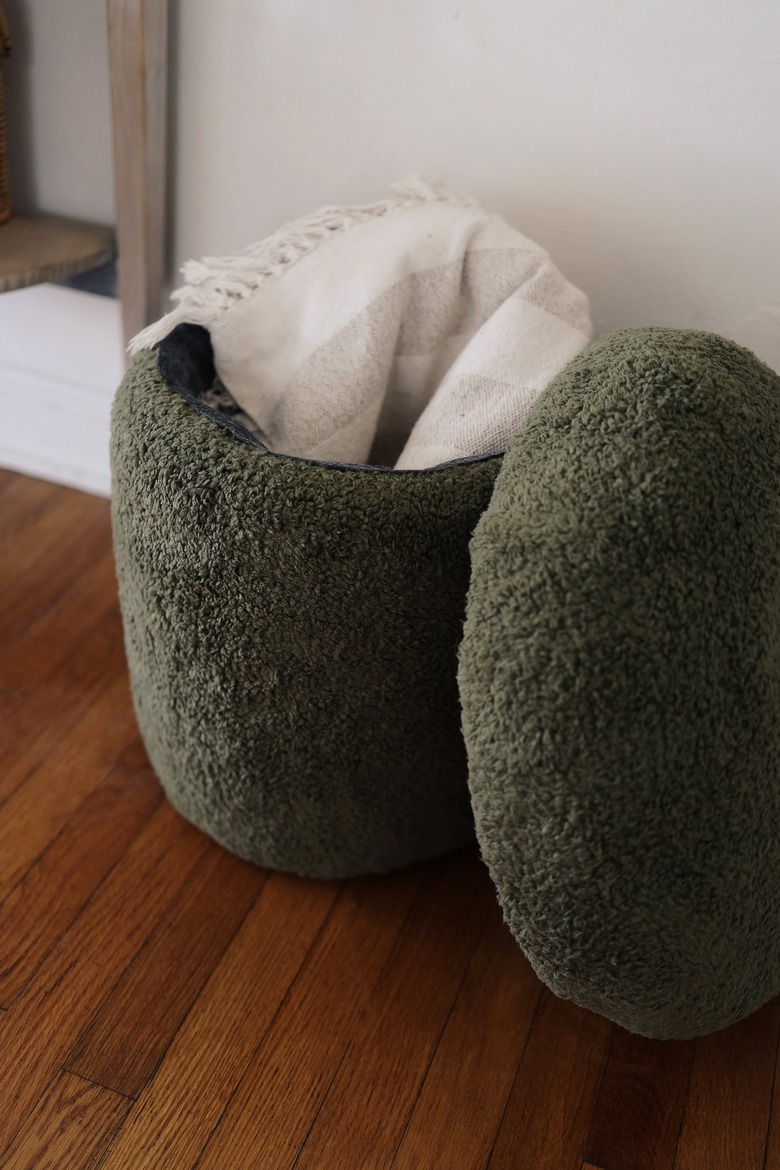
Now place the lid onto the base of the stool, and put your feet up because you are done! Store anything like blankets, pillows, toys, books, or remote controls inside your cool new stool, and enjoy the touch of playfulness it brings to your space!
 Trisha Sprouse
 Trisha Sprouse