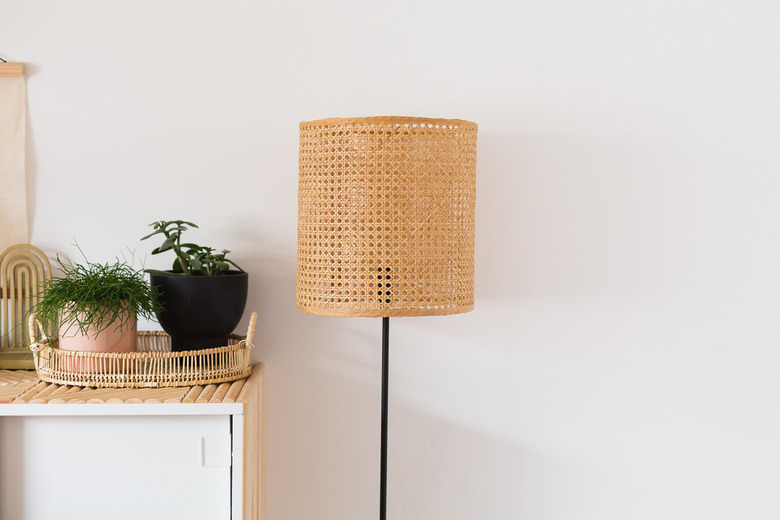
This DIY Lampshade Using Cane Material Is A Modern, Boho Beauty
We may receive a commission on purchases made from links.
If you've missed the memo on cane, it's time to catch up on the latest trend that has stolen our hearts. This incredibly versatile material can easily be cut, shaped, and attached to just about any hard surface to give it a modern, beachy, boho vibe in seconds. (Need proof? Check out this table, this cabinet, this console table, and this headboard. DIYs for all to try.)
For this project, we wanted to create a shade for a standing lamp, using lampshade rings for the frame. You could also use a shade you already own as the base.
 Francesca Stone
Things Needed
-
Scissors
-
Weights or a couple of heavy books
Step 1
To begin, measure the diameter and height of your frame. Add 2 inches to both measurements, then cut a piece of cane webbing to size.
Step 2
Using weights or heavy books, lay out the webbing as flat as possible. Starting with one end of the frame, use your hot glue gun to adhere sections of the webbing to the frame around 2 to 3 inches at a time.
 Francesca Stone
Once one end of the frame is covered with the webbing, repeat the step at the other end of frame.
 Francesca Stone
When the cane webbing is securely attached to the entire frame, cut off the excess overlap (on the side) leaving around half an inch. Use the glue gun to secure this down.
Cut off the excess along the top and the bottom of the frame.
Step 3
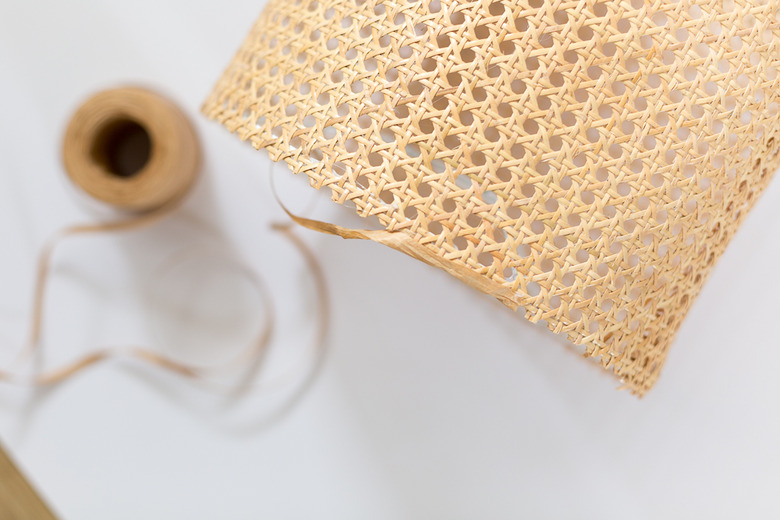
Measure a length of raffia ribbon long enough to cover the diameter of the shade and add on a couple of inches. Unravel the ribbon and fold in half.
 Francesca Stone
Using the hot glue gun, add a little glue to the edge of the shade. Press the inside of the fold line against the edge of the shade so that one side covers the front and the other side covers the back/inside of the shade. If needed, add glue to secure the ribbon on both sides.
Continue around the shade at both ends to create a neat edge. And, you're done!
 Francesca Stone
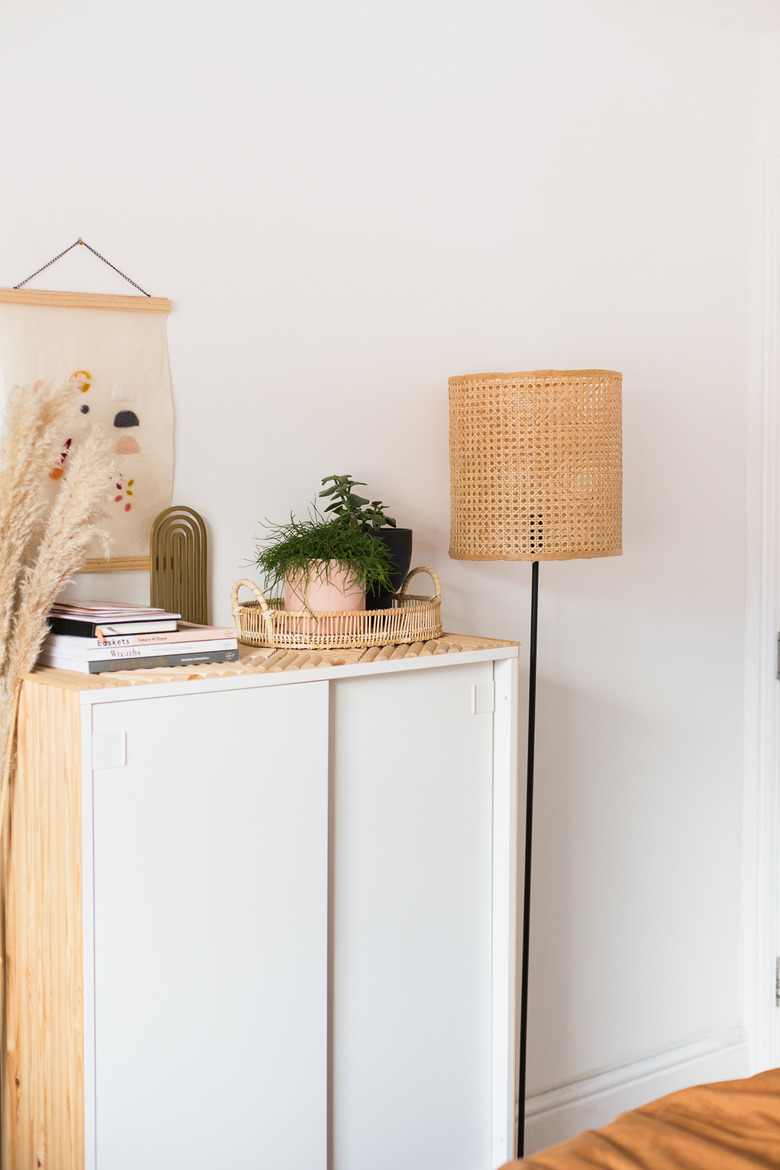
Pssst ... see that cool cabinet below with the dowels? You can make it using an IKEA shoe cabinet!
 Francesca Stone