This Utilitarian IKEA Piece Gets Transformed Into A Beautiful Cane Headboard
We may receive a commission on purchases made from links.
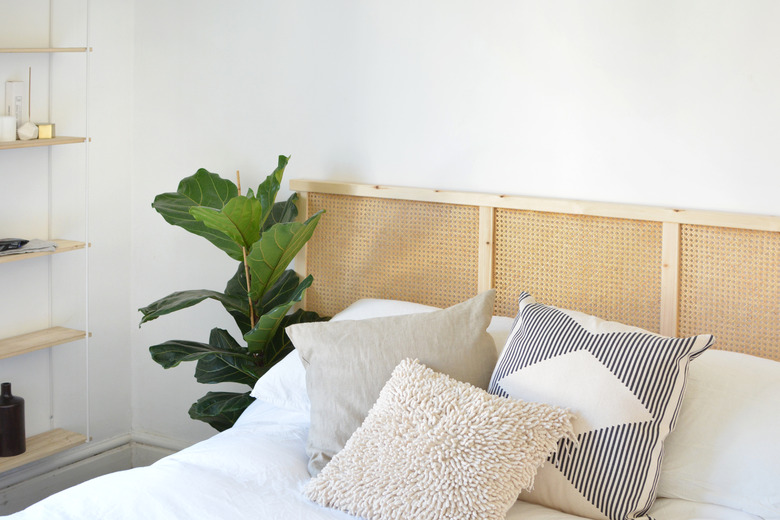
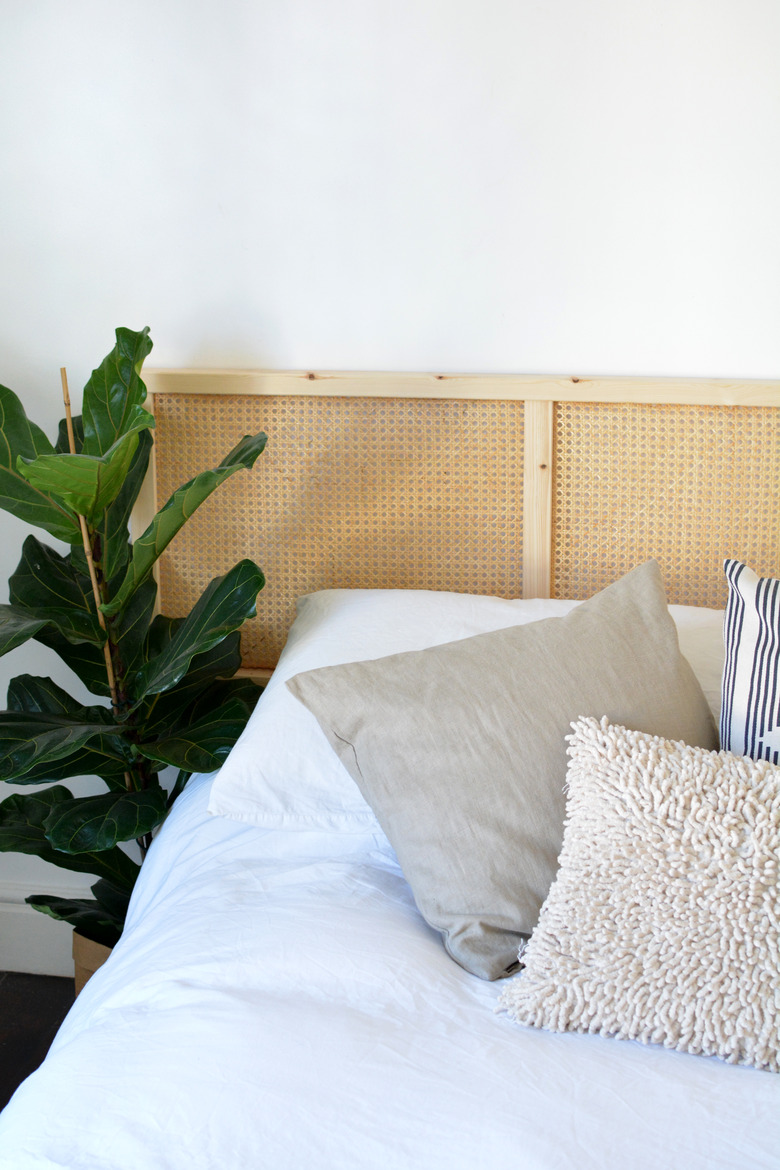
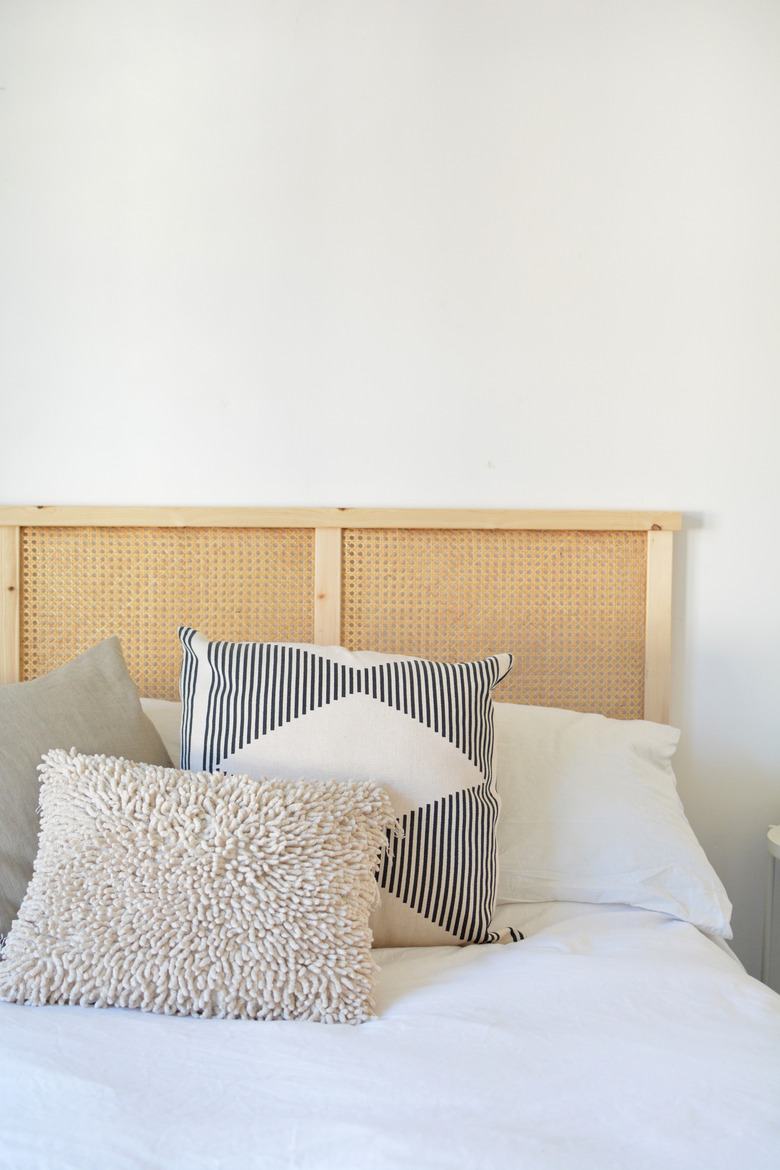
One of our favorite pieces of furniture has to be a statement cane headboard, perfect for a laid-back boho bedroom with lots of earthy textures and natural accents. If you love the cane trend as much as we do (like this gorgeous cane cabinet), let us introduce you to a fun new IKEA hack. It's a stylish headboard that doesn't come with the usual hefty price tag. Yup, this do-it-yourself is made in a few simple steps using a $12 IKEA Ivar end panel. Let's get started ...
 Caroline Burke
Things Needed
-
Staple gun
-
Measuring square
-
Hand saw
-
Scissors
-
Hanging plates (if you're going to drill directly into the wall)
NOTE: We used the 20-inch-by-70-inch Ivar panel for our standard double bed but IKEA does sell a bigger version if you have a larger bed.
Step 1
Step 1
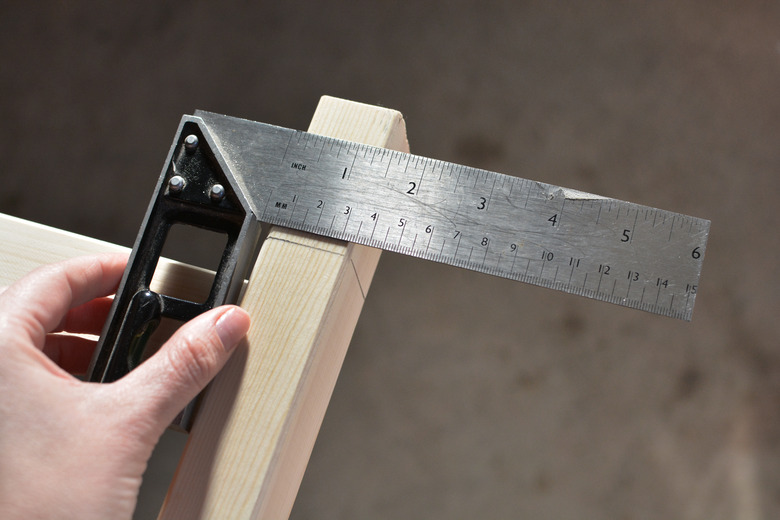
First we need to remove the end legs from the Ivar. FYI: only one side has slightly longer legs so you don't need to cut both ends. Use a measuring square and pencil to mark a cut line 2 1/4 inches from the end of the legs.
 Caroline Burke
Step 2
Step 2
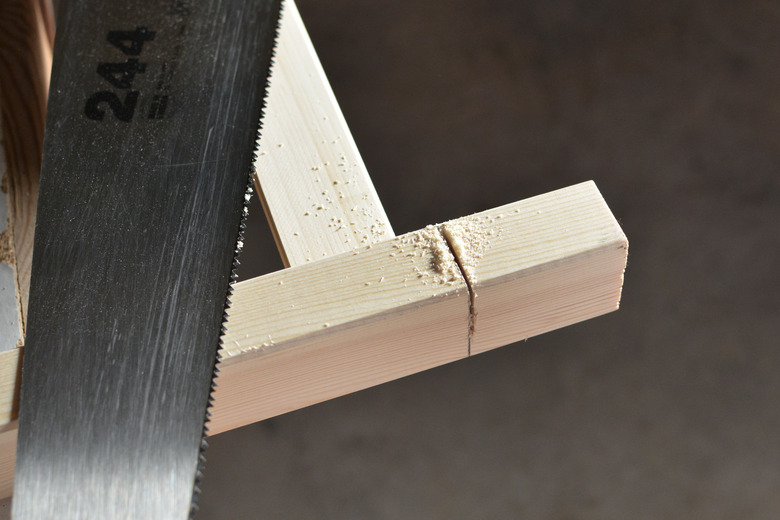
Use a hand saw and follow your cut line to remove the ends.
 Caroline Burke
Step 3
Step 3
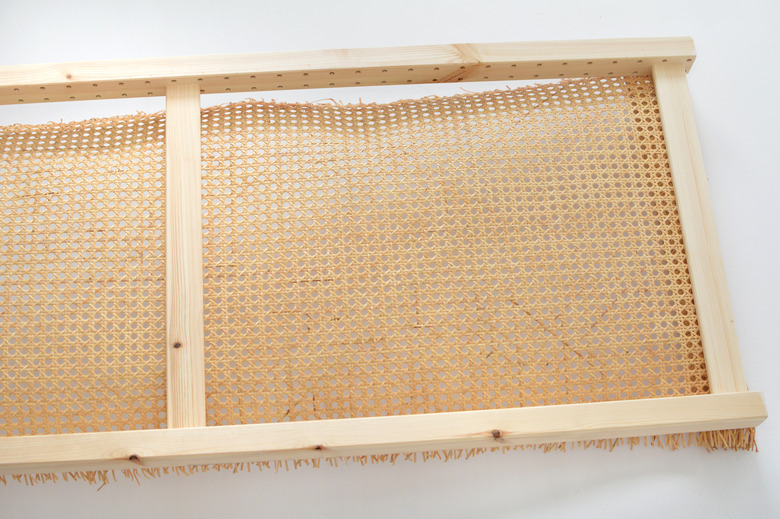
Now we can add the cane webbing. Take a staple gun and staple the cane to the crossbars of the Ivar panel.
 Caroline Burke
Staple the ends first, then the middle crossbars.
 Caroline Burke
Step 4
Step 4
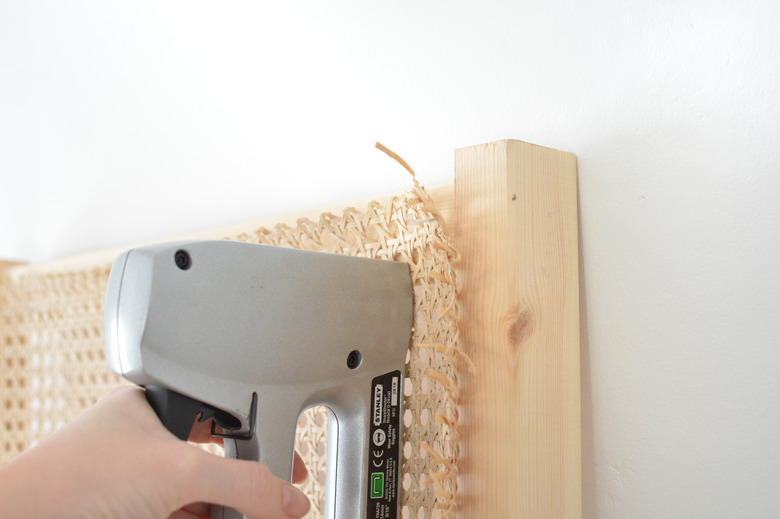
Next, staple along the long side bars and tuck the webbing in so you can staple inside the bars to keep the cane nice and level from the front.
 Caroline Burke
Step 5
Step 5
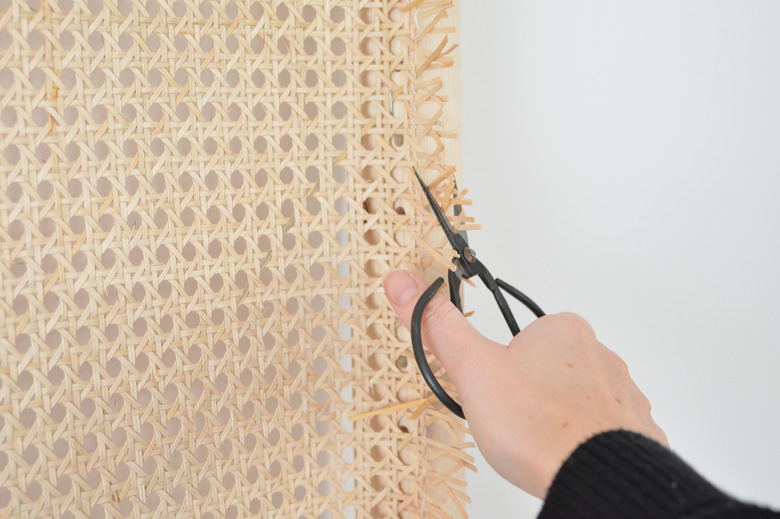
Grab some scissors and trim off the excess (this is a little messy, so grab a broom or vacuum cleaner!).
 Caroline Burke
Step 6
Step 6
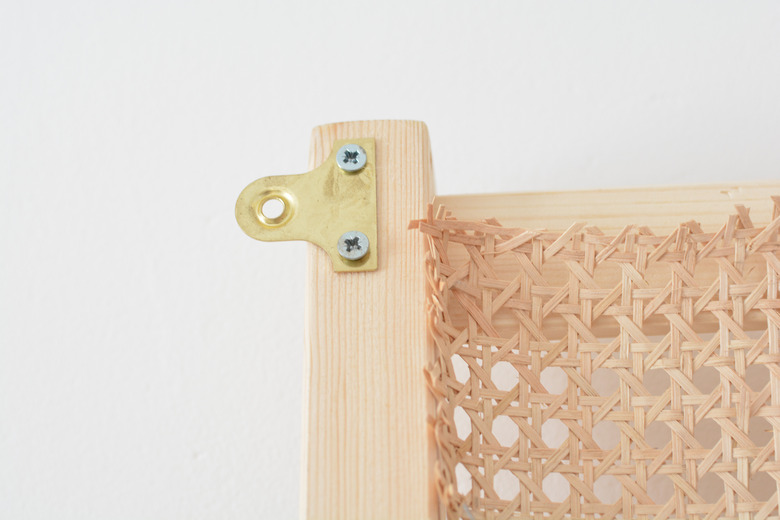
To hang the headboard above our bed, we screwed some hanging plates onto the back at each end. This allows you to drill the headboard directly to the wall.
 Caroline Burke
 Caroline Burke