How To Add Blackout Lining To Roman Shades
We may receive a commission on purchases made from links.
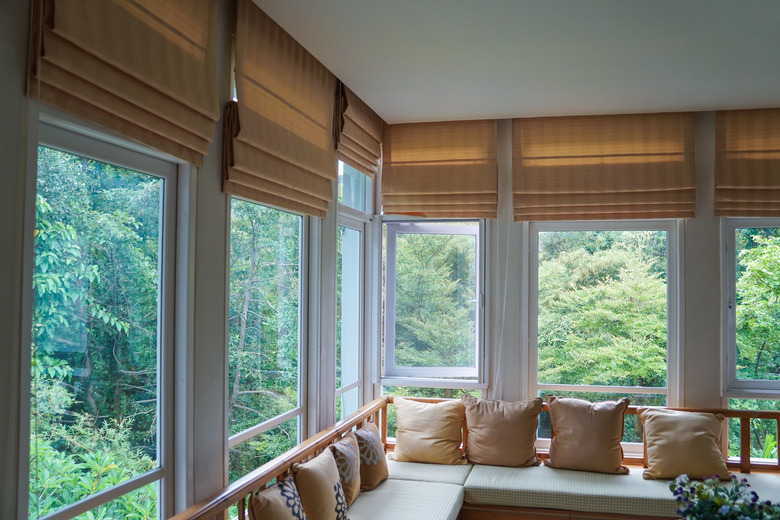
Roman shades, a popular modern window treatment, provide excellent insulation and light protection with minimal fabric. You can add a blackout lining to an existing shade by following a few guidelines and taking some careful measurements. A ready-made Roman shade can then be transformed into a blackout shade, making it suitable for use as a room-darkening window covering.
Things Needed
-
2-sided fabric tape, 1/2 inch wide
-
Thread matching blackout fabric
Adding Blackout Lining to Roman Shades
1. Measure the Width and Length of Shade
Measure the width of the shade. Subtract 1/2 inch from the width and add 2 inches for the cut width of the blackout fabric. Measure the length of the shade from the top of the bottom hem to the top of the shade's headrail. Add 2 inches to this measurement for the cut length of the blackout fabric. Make a note of the measurements on a piece of paper and remove the shade from the headrail.
2. Unroll and Lay the Shade Flat
Unroll the shade and lay it flat on a large table with the right side facing down.
3. Cut the Blackout Fabric
Cut the blackout fabric to your width and length measurements. Blackout fabric has a rough side and a smooth side. The rough side is the right side and will face the street when the shade is finished. (You can use "Rough to the Road" to help you remember.)
4. Sew the Edges and Bottom Hem
Turn each outside edge of the blackout fabric under 1 inch and sew it in place. Turn the bottom hem up 1 1/2 inches and sew it in place.
5. Align the Shade and Lining Hems
Place the blackout lining on the shade, wrong side of the lining to the corded side of the shade. Align the bottom of the lining hem to the top of the shade hem.
6. Tape the Lining
Hold the lining in place with strips of painter's tape, positioned perpendicular to the hems.
7. Sew the Lining to the Rings
Feel the position of the rings on the shade through the blackout lining. Hand-stitch through the blackout lining to the ring, through the ring, and back up to the right side of the blackout lining. Make two passes with the thread, tie it off, and cut. Sew the lining to all the rings. This stitching is what holds the lining to the shade and allows the draw cords to move freely.
8. Apply Fabric Tape
Position double-faced fabric tape across the top edge of the blackout panel, adhering it to the top hem of the shade.
9. Remove Painter's Tape
Remove the painter's tape holding the bottom hem in place and rehang the shade on the headrail. The bottom edge of the lining hangs free from the shade.
Warning
Don't pin through the blackout lining. The pin holes will be evident when light shines on the back of the shade.
Don't hang Roman shades anywhere near a crib or child's bed or in a position where a child can crawl up to the back of the shade, such as behind a sofa. When in the up position, ensure that the excess cords are looped over a cord cleat or hook and hung high enough on the wall that a child can't reach them.