How To Repaint Your Bathroom Vanity (Without A Mess)

We may receive a commission on purchases made from links.
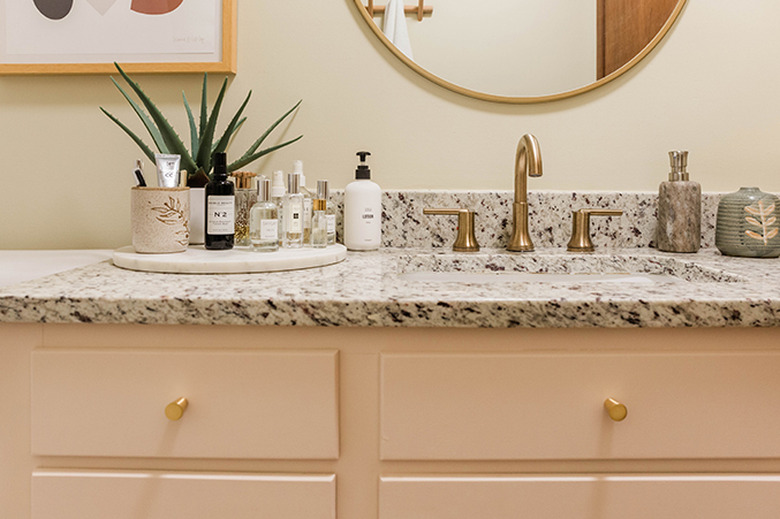
If you want to update your bathroom vanity in an easy and cost-effective way, we suggest painting it. It's such a simple way to add "wow" factor without having to do a whole remodel.
 Carrie Waller
In this tutorial, we'll show you how to repaint a wood vanity, however here's the exciting part: We'll be doing it all without the mess that comes with a full-scale hand-sanding process. Read through first, and then it's time to get to work!
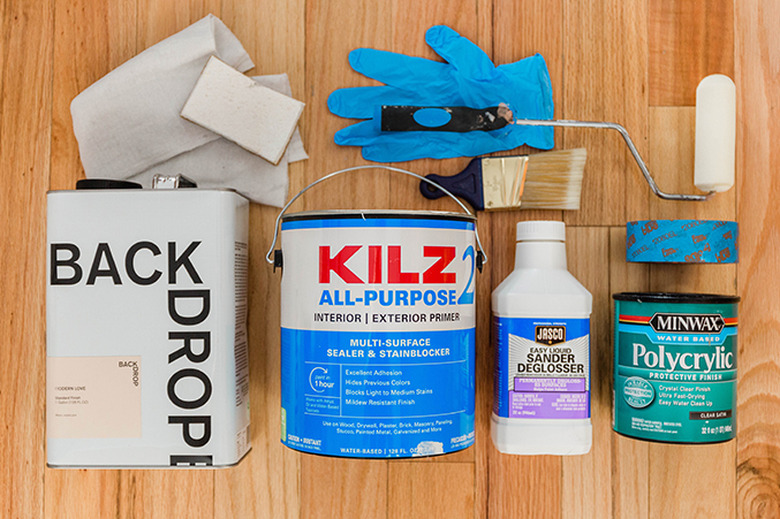
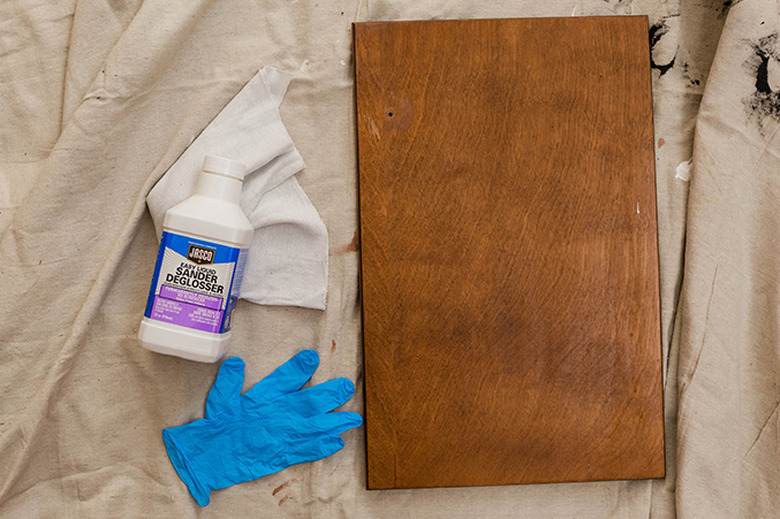
Things Needed
 Carrie Waller
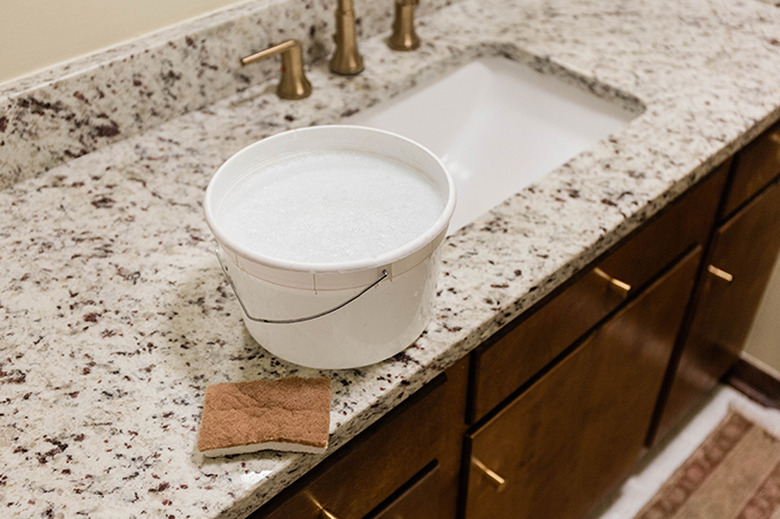
Step 1
Sponge down the vanity's cabinet doors and surrounding area using a small amount of dish soap mixed with warm water in a bucket. This will remove any dirt and grime that would otherwise mar your paint job later on. Wipe dry with a microfiber towel.
 Carrie Waller
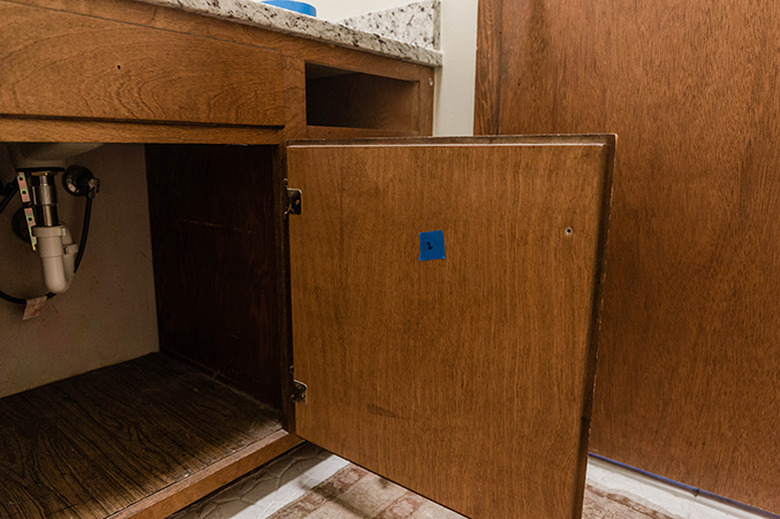
Step 2
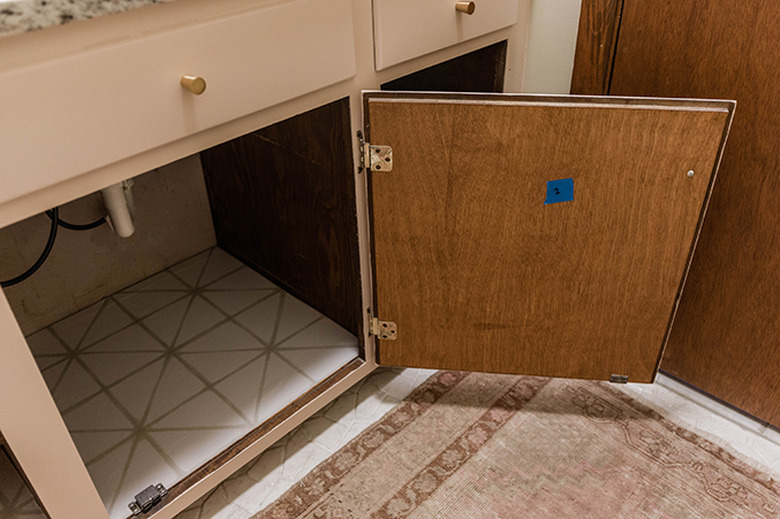
Mark the backs of each door using painter's tape and a marker in a sequence that you can remember for when you put the doors back on. We used the numbers one to three from left to right on the three vanity doors. The drawers were self-explanatory, so we didn't number those.
 Carrie Waller
Step 3
Remove the drawers and doors from the vanity using a screwdriver, and lay them out on a dropcloth. Put on disposable gloves, then pour a small amount of liquid sander deglosser on a cloth rag, and rub it in the direction of the wood grain on the front of the doors, drawer fronts, and cabinet surround. Allow the deglosser to sit on the wood for about five minutes to dull the finish on the wood, then wipe it away with a clean, dry rag.
 Carrie Waller
TIP: If you want to go the extra mile, go over the wood with a medium-grit sanding block to remove any final traces of the old finish. Don't worry, though! The deglosser will do all of the hard work ahead of time for you, so the sanding mess here will be nominal — nothing like the cloud of dust and debris that would have come from using a traditional hand sander!
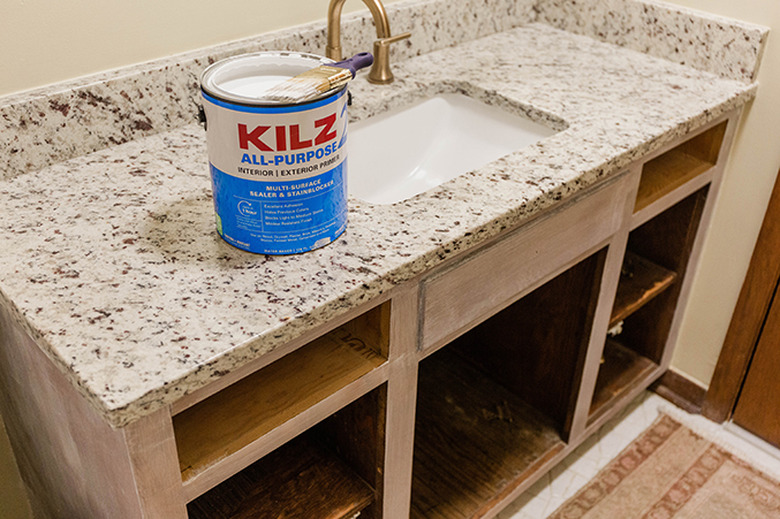
Step 4
Wipe the wood clean using a cloth rag dipped in water, and then follow that with a clean, dry rag. Next, prime the front of the cabinet doors and surrounding area using an all-purpose primer. One coat should be enough.
 Carrie Waller
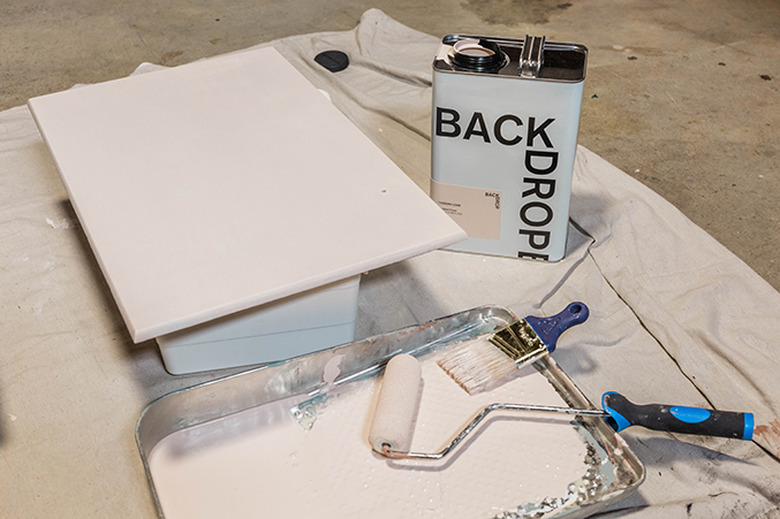
Step 5
Once the primer has had a chance to fully cure for a few hours, go back over it with your top coat color of choice. We suggest using a foam roller to achieve a nice, smooth finish.
 Carrie Waller
Step 6
After the final coat of paint, allow everything to cure overnight, then put the drawers and doors back in place as you numbered them in Step 2.
 Carrie Waller
TIP: You might want to take this time (while the vanity is empty) to replace or add in fresh shelf liner! We used peel-and-stick wallpaper for this quick update, and it made such a big difference.
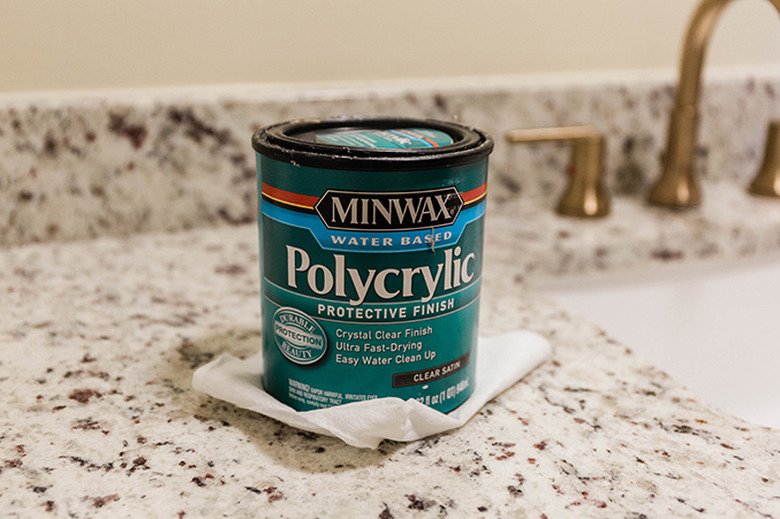
Step 7
Finish by brushing on a topcoat of polycrylic sealer, if desired. This will make your vanity more wipeable and water-proof for the future.
 Carrie Waller
Step 8
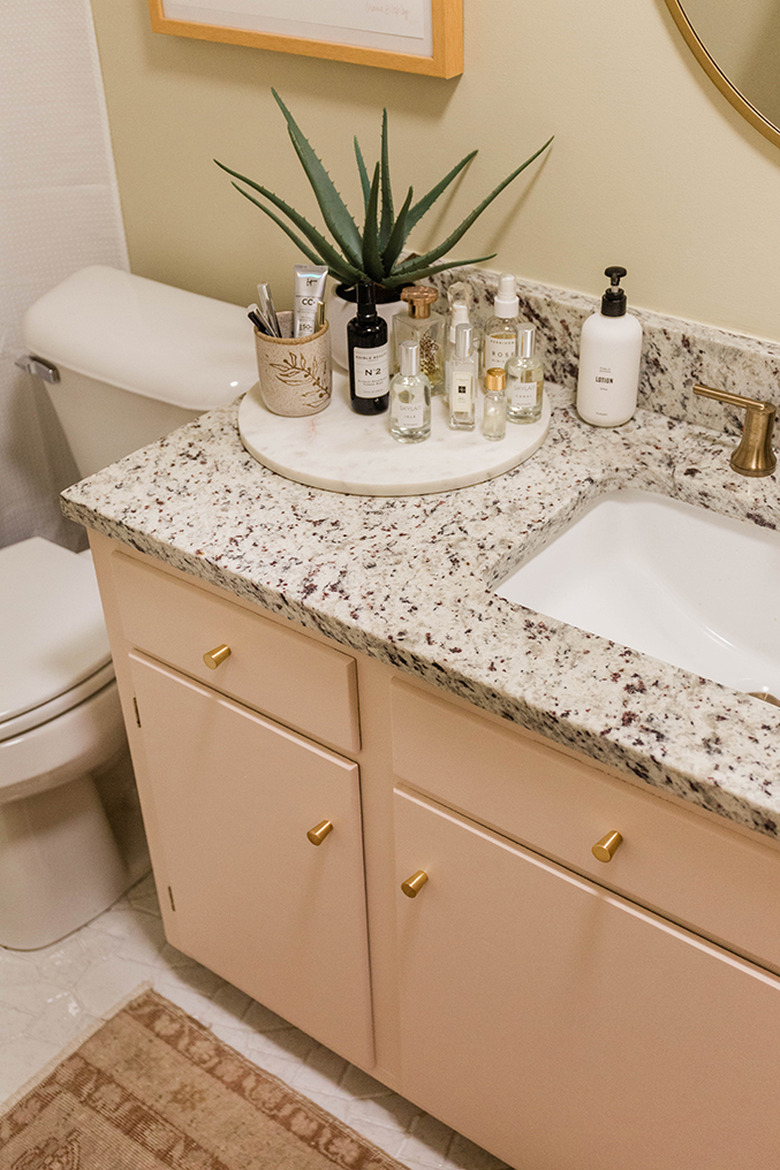
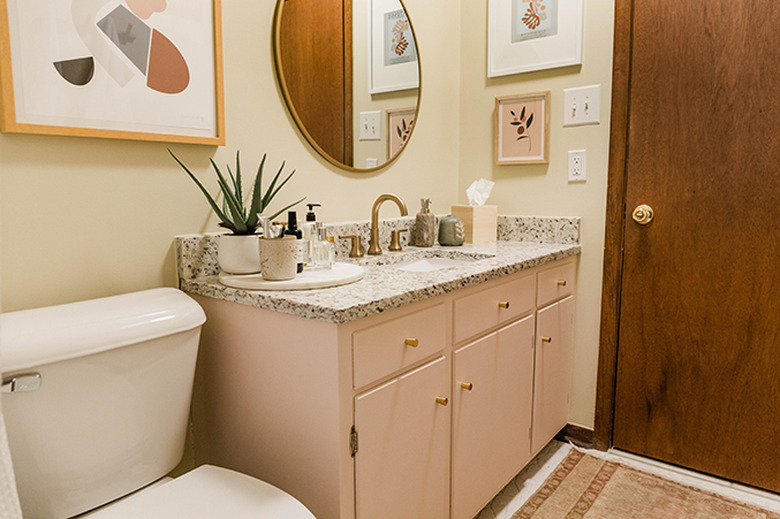
Allow the vanity to dry completely for a few days with doors and drawers left slightly open. This will prevent the painted edges from sticking to each other as they cure completely. After that, close everything up, and enjoy your updated bathroom vanity in its new modern color. Feel free to add new hardware at this point for a total refresh. Here's an easy DIY on how paint cabinet hardware to feel like new.
 Carrie Waller
 Carrie Waller