Bathroom Drains: A DIY Homeowner's Guide
We may receive a commission on purchases made from links.
If you are engaged in a major bathroom remodeling project, the plumbing work, including installation of the bathroom drains, will be a huge part of the overall job. It's also an element where an ambitious and knowledgeable DIYer can save thousands of dollars. Professional plumbers are expensive to hire, and many homeowners are able to do much of this work themselves. Most of this work entails installing water supply pipes and drain system pipes.
Of the two systems of plumbing pipes (water supply and drain pipes), the drain pipes are usually the easier ones for DIYers to install. Unlike the water supply, which is under considerable pressure and where leaks can lead to catastrophic damage, the drain system is a bit more forgiving. The materials are easier to work with, and the pipe runs are generally easier to install provided that you follow certain guidelines.
Bathroom Drain System Basics
Bathroom Drain System Basics
The drain pipe network is more accurately known as the DWV (drain-waste-vent) system. This name indicates that this system of pipes is more than just a means for channeling away water down the drain.
The DWV system includes a network of pipes that links every drain opening on every fixture — including sinks, toilets, showers and tubs — to a main drain pipe that runs to the municipal sewer main or to a septic drain field outside the home. The vent portion of the DWV system doesn't carry water at all; rather, it extends up to outdoor fresh air. The venting system serves two functions: to allow toxic sewer gases to escape without entering your home and to equalize pressure in the pipes. This pressure equality is critical to the safe operation of the drain system.
Bathroom Drain System Safety
Bathroom Drain System Safety
The International Association of Certified Home Inspectors notes that methane and hydrogen sulfide — natural components of sewer gas — can build up in a home to levels that can cause unconsciousness and even death unless the drain system has safeguards built into it. This is why inspection of the drains is a critical part of the building code inspection for any bathroom remodeling project.
A residential DWV system is designed to keep the drain pipes watertight and sealed to the indoor environment but also open to fresh outdoor air. The size of the drain pipes, the presence of drain traps at each fixture and the slope of the horizontal branch drains are all designed to allow a small amount of drain water to fill the fixture drain traps and hold it there. The presence of this standing water in the drain traps prevents unpleasant and dangerous sewer gases from seeping up through the drains into the home.
For the drain system to work effectively, the slope of the pipes must be gradual enough to prevent fast-flowing water from sucking the water from the drain traps, and there must be a pathway to fresh outdoor air to keep the pressure in the pipes balanced. The relatively large size of the drain pipes also plays a role since large-diameter pipes allow for some amount of air to circulate even as water is draining. This helps prevent a siphoning effect that can empty drain traps of water and allow sewer gases into the home.
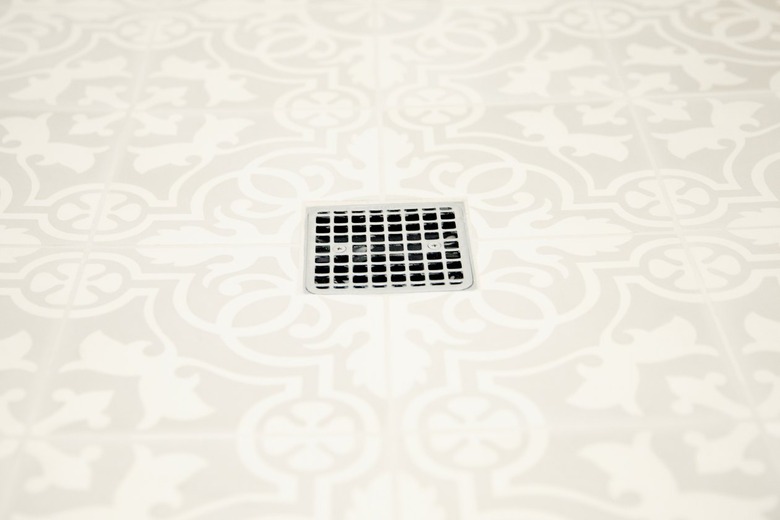
 Carrie Waller for Hunker
The Parts of a Drain System
The Parts of a Drain System
In a major bathroom remodeling project where wall and floor surfaces have been removed for plumbing installation, all the elements of the drain system may be clearly visible. This kind of major project also makes for the easiest DIY installation since the wall and floor spaces are easily accessible for running pipes. During a major remodeling project, the inspector will make the first review of the plumbing work while the wall surfaces are still open and the pipes are easily visible. Although the drain pipes look a little different for each bathroom fixture, they all share the same components:
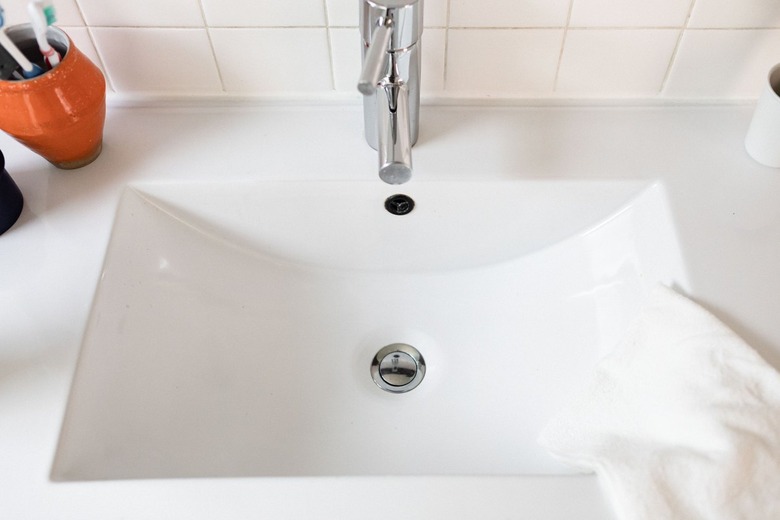
- Fixture drain: The link to the bathroom drain system begins with the drain opening in the fixture. The fixture drain includes a threaded tailpiece with a flange that fits tightly around the drain opening in the fixture. This is the piece that is sometimes fitted with a pop-up drain stopper.
- Drain trap: Immediately after the fixture's drain tailpiece, a curved segment of pipe known as the drain trap, or P-trap, is installed. It serves the function of holding a small amount of trapped water that provides a seal against sewer gases rising into the home. There are generally two parts to this component: a trap bend and a trap arm. In the case of bathroom sink drains, these pieces are easily disassembled, providing an easy access point for clearing drain clogs. It is mandated by code for every fixture to have some form of drain trap.
- Branch drains: The trap arm for each fixture extends horizontally to join a larger segment of pipe known as a branch drain. The branch drains normally run hidden inside the walls or below the floor. The branch drain may accept drain water from one or several fixtures, and it's installed so that the pipe runs at a slight downhill angle toward a waste-vent stack or main drain.
- Main waste-vent stack: The waste-vent stack, sometimes known as the soil stack, is a vertical pipe into which branch drains funnel wastewater down toward the main drain. The upper portion of this stack extends vertically through the roof to the outdoors. It is the primary means by which outdoor air enters the system.
- Vent loop: When a fixture is located too far away from a main vent stack, the DWV network may include vent pipes that rise up from the branch drains and loop back to tie into the main waste-vent stack at a level well above the branch drain connections, such as in an attic. This too is a means of ventilating the entire system and equalizing pressure in the pipes.
- Main drain: The main drain is a large-diameter pipe that runs horizontally with a slight downward pitch to deliver wastewater from the house to the municipal sewer main or septic system. This pipe is normally located beneath the foundation slab or lowest level of the house and is usually not involved during a bathroom remodeling project.
Code Requirements for Bathroom Drains
Code Requirements for Bathroom Drains
The municipal code requirements for bathroom drains are generally adapted from the Uniform Plumbing Code, a national model code published and maintained by the International Association of Plumbing and Mechanical Officials. The code is revised every three years.
Pipe materials: Allowable materials for drain pipes include plastic ABS and PVC pipes. Cast iron pipes are allowed in some situations, such as for main soil stacks and main drain lines. In very rare instances, large-diameter copper pipes are used for drain pipes.
Drain traps: Every plumbing fixture that handles drain water must be fitted with a drain trap that serves to retain standing water to seal off the home against sewer gases. For most fixtures, this is accomplished by means of a downward loop of pipe that holds standing water. For toilets, the drain trap is built into the porcelain fixture. The size of the drain trap varies depending on the type of fixture and the amount of drain water it's expected to handle.
Size of drain pipes: Unlike water supply systems where pipes are generally 1/2 or 3/4 inch in diameter, drain pipes are larger to accommodate wastewater and materials and to allow some air circulation in the pipes as the water flows. Drain pipes are generally 1 1/4 to 4 inches in diameter, with sizes specified according to the anticipated waste flow. Professional plumbers, because they work on commercial as well as residential systems, use a complicated formula based on drain fixture units to determine the proper size for drain pipes. But DIYers installing simple residential plumbing in a single-family home can use the following drain sizes:
|
Bathroom Fixture |
Diameter of Drain Trap and Drain Pipe |
|
Single sink |
1 1/4 inch or 1 1/2 inch |
|
Double sink |
1 1/2 inch |
|
Bathtub |
1 1/2 inch or 2 inch |
|
Shower |
2 inch |
|
Toilet |
3 inch |
Note that long branch drains may need to increase in diameter as more fixtures are added to the pipe run. For example, a branch drain may start out as a 1 1/2-inch pipe where a single vanity bathroom sink drain feeds into it and then transition to a 2- or 2 1/2-inch branch drain where the bathtub adds its load of drain water. Under no circumstances should a branch drain ever transition to a smaller pipe as it makes its way toward the main drain.
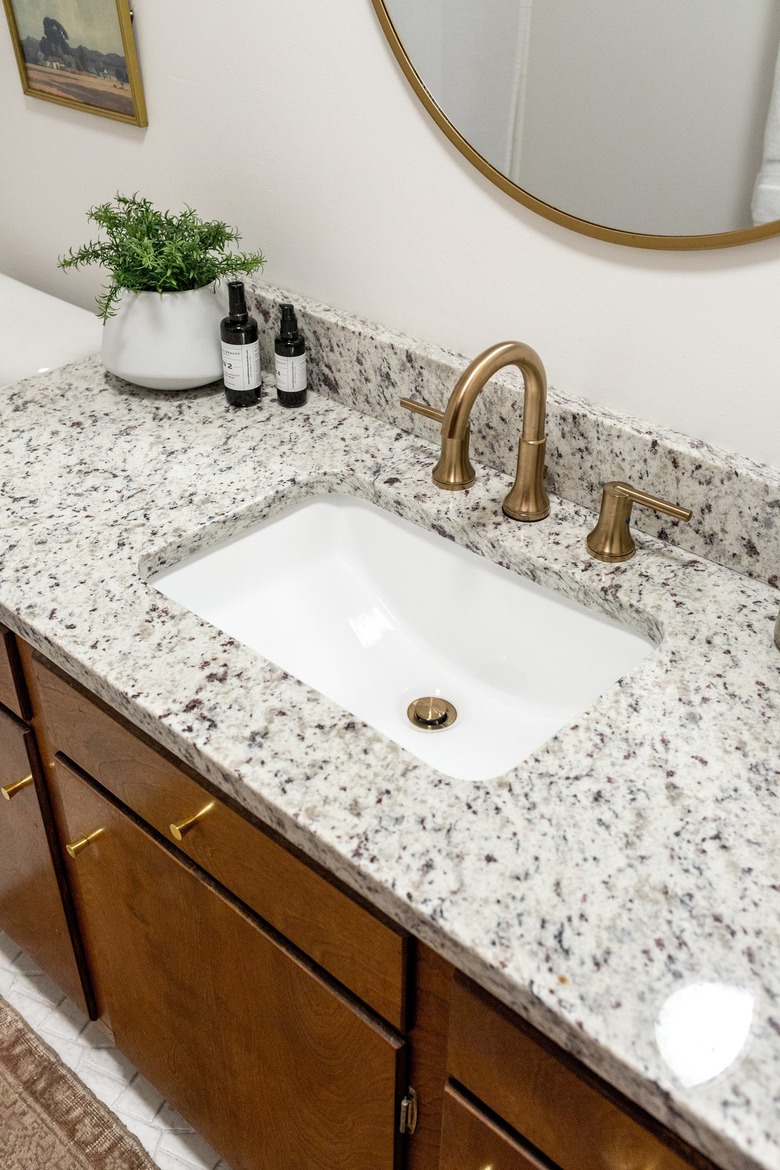
 Stephen Paul for Hunker
Pitch of drain pipes: Drain pipes must have a downward pitch toward the soil stack or main drain line — enough to allow gravity to carry the water but not so steep that the speed of flowing water can create suction that might empty the drain traps. Pipes that are 2 1/2 inches or less in diameter should have a downward pitch of 1/4 inch per foot. Pipes that are 2 1/2 inches or more in diameter should have a downward slope of at least 1/8 inch per foot.
Pipe supports: Horizontal and vertical runs of drain pipes and vent pipes must be supported to prevent them from sagging but with enough free play so they can expand and contract. A variety of pipe supports is available for all pipe sizes and for both vertical and horizontal applications. It is generally best to use pipe supports made from the same material as the pipes: PVC supports for PVC pipes, iron pipe supports for iron waste-vent stacks, etc.
Fitting shapes: In drain pipes, the fittings that join segments of straight pipes must have gradual bends, such as those created by sweeps, wye fittings and sanitary tees. Fittings that handle the flow of drain water cannot use sharp turns, such as street bends and vent elbows. The reason is that gradual bends are less likely to cause clogs in the pipes. However, fittings with sharp bends are allowed for vent pipes, which do not handle flowing water.
Cleanouts required: Each horizontal run of branch drain pipe must be equipped with an accessible cleanout fitting. In addition, there should be another cleanout wherever a horizontal branch drain makes a bend sharper than 45 degrees. This requirement is designed to simplify servicing the drain system in the event of clogs. The cleanout fittings should be the same size as the branch drain.
Vents: Each bathroom fixture drain should be located within a specified distance of a vent pipe that leads to outdoor air. The connection point where this vent pipe connects to the main waste-vent stack must be at least 6 inches above the flood level of the highest fixture in the bathroom (for example, 6 inches above the top rim of the vanity sink). The allowable distance from the vent pipe is determined by the size of the fixture's drain trap:
|
Trap Size |
Maximum Distance From Trap to Vent Fitting |
|
1 1/4 inch |
5 feet |
|
1 1/2 inch |
6 feet |
|
2 inch |
8 feet |
|
3 inch |
12 feet |
Connecting to the Main Waste-Vent Stack
Connecting to the Main Waste-Vent Stack
For a DIYer, running the drain pipes and branch drains for each fixture is not a particularly difficult job since the plastic pipes and fittings are easy to cut and join with solvent glue. By carefully following the code requirements, most DIYers can do this work. The trickiest part of the drain system installation is connecting the new drain pipes and vent pipes to the main waste-vent stack. This can be difficult work, especially if the waste-vent stack is made of cast iron, as is often the case in older homes.
The process involves cutting away a segment of the waste-vent stack and then splicing in an appropriate sanitary tee fitting where the new branch drains will flow into the stack and adding a vent tee where the vent pipes will join the main stack. This is quite easily done if the vent stack is PVC or ABS plastic, but it is much harder with cast iron since this requires special tools and support techniques to hold the heavy stack in place as the tee fittings are installed.
When splicing plastic drain pipes into a cast iron drain-waste stack, special banded couplings are used to hold plastic tee fittings in place where a section of the iron pipe is removed. Riser clamps must be installed to grip and support the heavy cast iron pipe in place between wall studs. This is the point where some DIYers may want to hire a professional plumber to complete the work. It's not uncommon for homeowners to do most of the drain pipe installation themselves and then call in a plumber to review the work and make the drain-waste stack connections.
In some bathroom remodeling projects, the waste-vent stack connections for the old plumbing can be adapted to serve the new pipes. This makes for an easier installation since it doesn't require new connections to the stack.