Easy-To-Follow Guide On How To Paint A Filing Cabinet
We may receive a commission on purchases made from links.
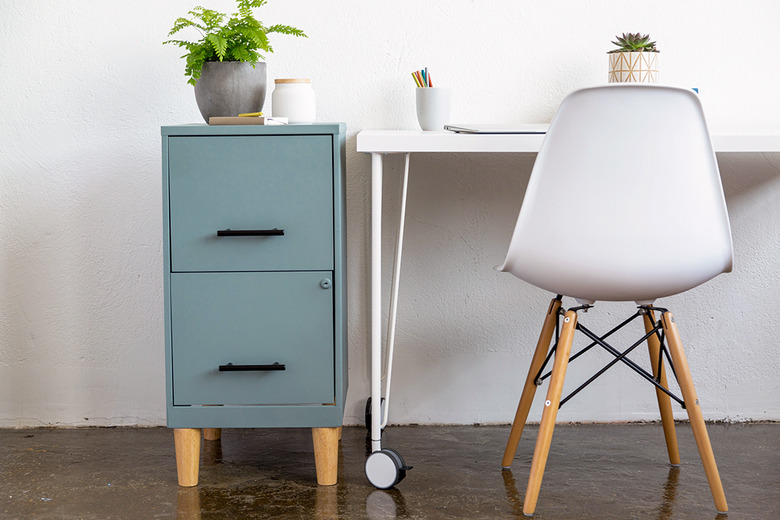
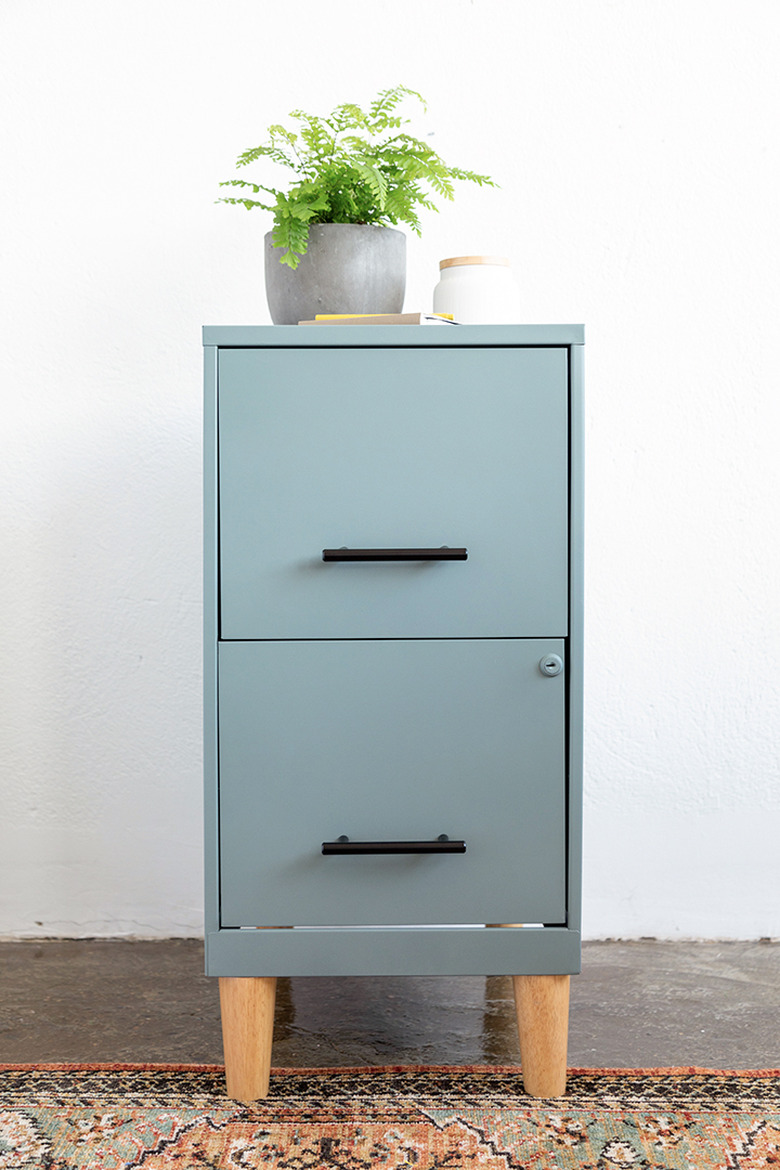
Looking for a way to spruce up an old filing cabinet? For this DIY, all you need is some on-trend colored spray paint, wood peg table legs, and modern black drawer handles. This cabinet will look perfect in any office or home workspace. (Or, you might just want to use it as an end table in your living room!)
 Sara Albers
Things Needed
-
Filing cabinet
-
Spray paint (For this DIY, we used two cans of Krylon Matte Pale Sage)
-
Cloth
-
Cardboard/drop cloth
-
Power drill
-
Drill bit for drilling metal (5/16)
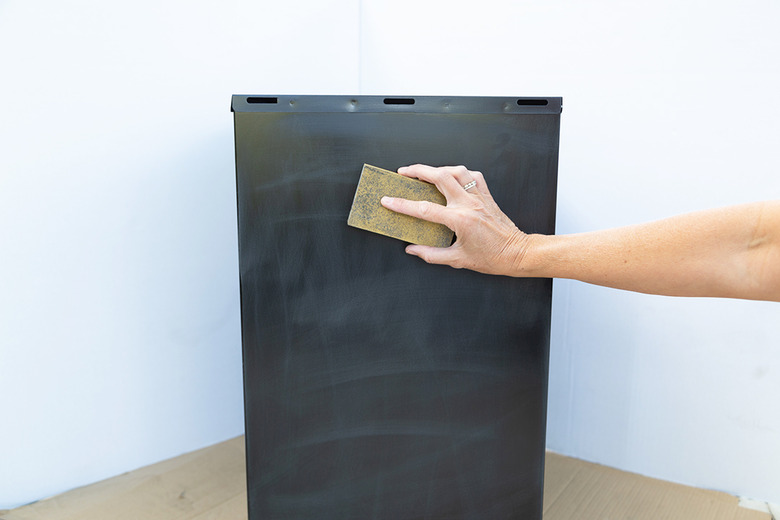
Step 1
You'll first need to prepare the filing cabinet for painting. Use 220 grit sandpaper to remove any residue from previous paint. Gently sand the entire cabinet.
 Sara Albers
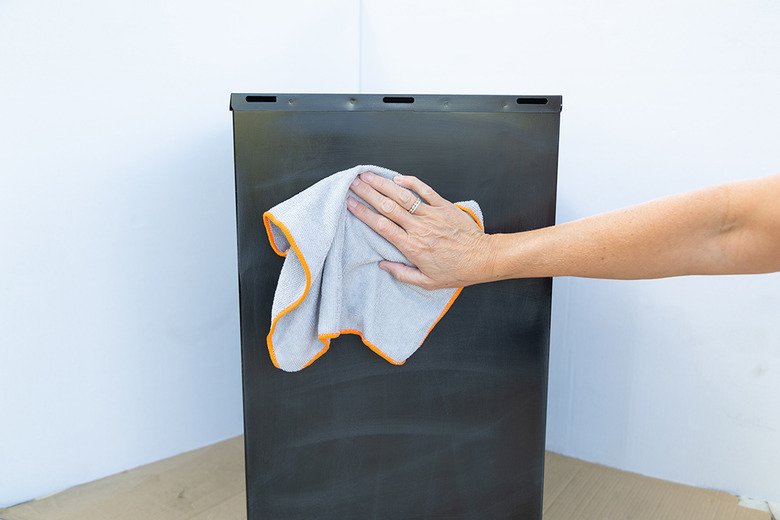
Step 2
Wipe off reside from sanding, and remove handles or knobs.
 Sara Albers
Step 3
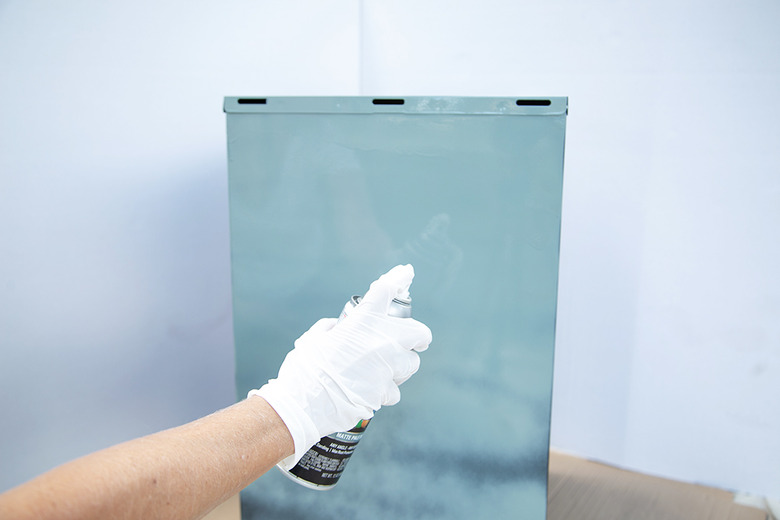
Make sure and spray paint in a well ventilated area. Make sure your spray paint is formulated for metal. The first coat, a tack coat, can be thin; you are setting up the metal to take the paint. Allow the first coat to dry per directions on the spray can. Make sure you paint in light, even coats. You will need at least three coats.
 Sara Albers
Tip
To spray paint, use a left to right horizontal method. Spray one swipe, then lift your finger from the spray paint can trigger. Then move your hand back to the side you started from and paint in a repeated pattern.
Step 4
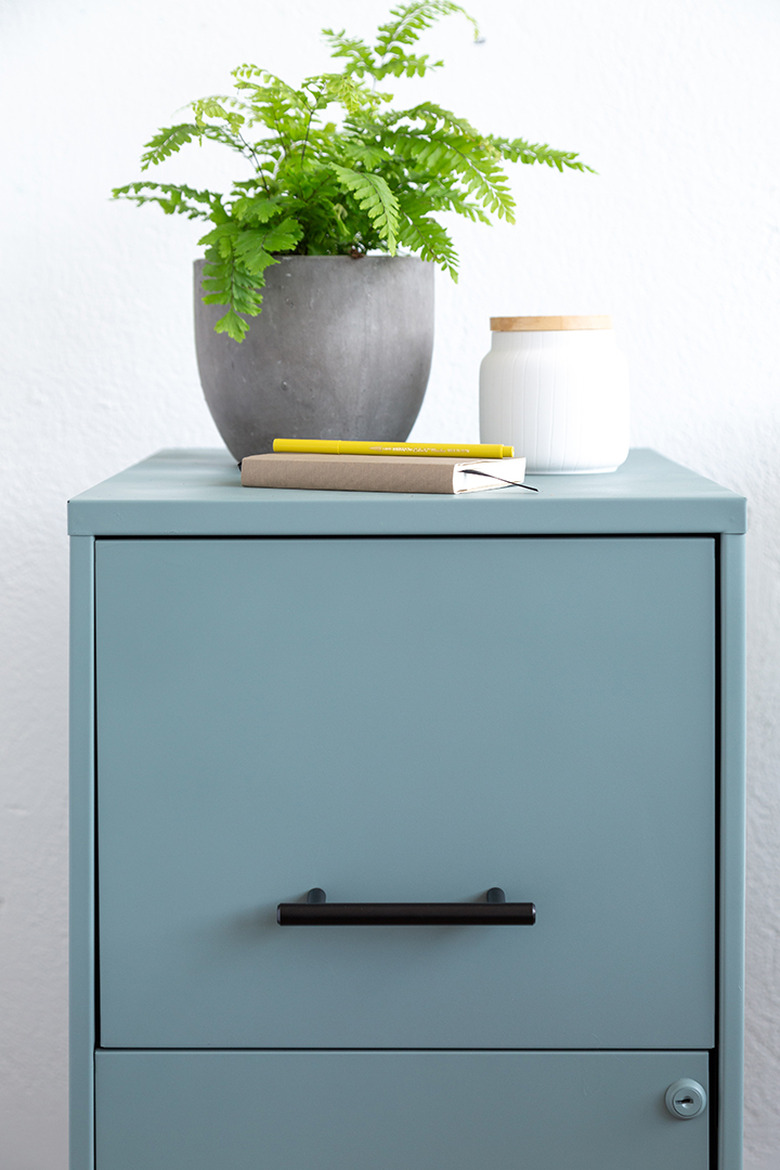
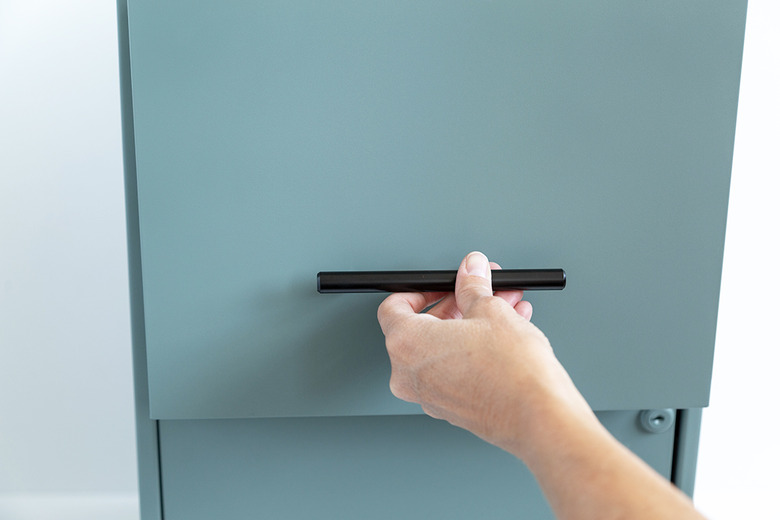
Attach the hardware. For a more contemporary look, we suggesting adding modern-style hardware to the filing cabinet. Make sure to use the same dimensions to match your filing cabinet.
 Sara Albers
Step 5
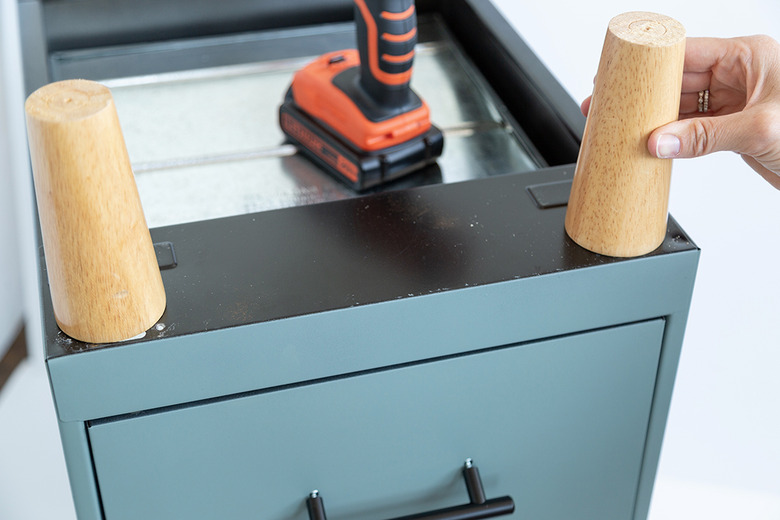
Next, add the wood legs. First use a drill bit to match the size of the screw on the table legs (we used a 5/16 drill bit). Drill a hole into the bottom corners of the filing cabinet.
 Sara Albers
Step 6
Screw in the legs on each bottom corner. Secure with a bolt from the inside.
 Sara Albers
Your cabinet is ready to go on display!
 Sara Albers