Wiring A Bathroom: A Homeowner's Starter Guide
We may receive a commission on purchases made from links.
Wiring a bathroom isn't exactly a DIY project, but as Fine Homebuilding advises, most communities allow homeowners to do their own wiring provided that the work is completed according to code. That's actually a good reason to have the work done by a licensed electrician, though, since the code has a lot of requirements, and when wiring a new bathroom during a remodel, you have to follow all of them.
Before you can start the job, you'll need a permit from the local building department, and that calls for a plan that demonstrates compliance with the National Electrical Code (NEC) along with any local codes added on by your state or municipality. Although you don't need an encyclopedic knowledge of the codes to draw up a plan, you do need to know them well enough to get the plan approved, so you should get a licensed electrician to submit it. When it comes to the actual job of wiring a bathroom, you can save money by doing the rough-in and trim yourself, but to be on the safe side, you should get an electrician to check your work and do the final hookups to the panel—if nothing else but to give yourself peace of mind
Two Circuits Are Usually Required
Two Circuits Are Usually Required
The NEC stipulates that every bathroom needs at least one dedicated 20-amp branch circuit to power the receptacles. It also needs at least one light fixture controlled by a wall switch. In many cases, bathroom lights are on their own 15- or 20-amp circuit. Separate lighting and receptacle circuits are required if either of them serves more than one room. However, a single 20-amp circuit can feed both the receptacles and lighting if the circuit is dedicated to a single bathroom.
A lighting circuit can serve lighting in more than one bathroom as well as lighting in other rooms. A bathroom receptacle circuit can serve more than one bathroom, but it must be used only for receptacles and only in bathrooms. Some bathrooms have more than one receptacle circuit, and as long as the bathroom has the required 20-amp receptacle circuit, the second circuit can be rated for 15 or 20 amps, according to a revision in the 2020 NEC, as reported by Electrical License Renewal. However, all receptacles serving the vanity/countertop and other work areas must be rated for 20 amps.
If there is a whirlpool or jetted tub that needs power, it will likely need a separate dedicated circuit rated for the current draw of the fixture.
Bathroom Receptacle Requirements
Bathroom Receptacle Requirements
Every bathroom must have at least one receptacle within 3 feet of each sink basin, although a single receptacle can serve two sinks. There is no height requirement, but if you're designing the bathroom for accessible use, the Americans with Disabilities Act guidelines require countertop receptacles to be 44 to 48 inches above the floor depending on the countertop width.
Bathroom receptacles must all be tamper-resistant (TR) type and must have ground-fault circuit-interrupter (GFCI) protection. The most efficient way to provide GFCI protection is to install a GFCI breaker in the panel to protect the bathroom receptacle circuit. This creates a GFCI circuit and allows you to install standard receptacles instead of pushbutton ones that cost more and always have to remain accessible.
The NEC doesn't require arc-fault circuit-interrupter (AFCI) protection in the bathroom, but this may change, so it's a good idea to install a CAFCI/GFCI circuit breaker in the panel to control each of the bathroom circuits (the "C" stands for "combination"). Combination AFCI/GFCI breakers are becoming increasingly common, so it shouldn't be difficult to find ones to fit your panel.
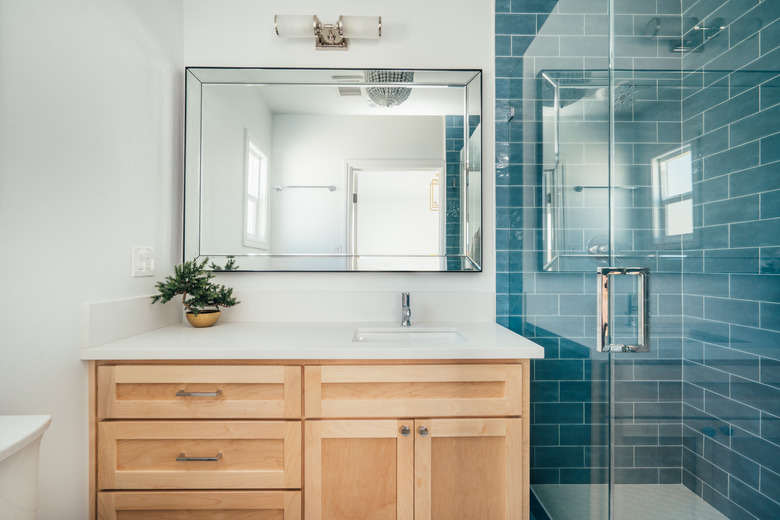
 contrastaddict/iStock/GettyImages
Bathroom Lighting Requirements
Bathroom Lighting Requirements
Every bathroom must have at least one light, and putting it on a dedicated lighting circuit guarantees the lights in the bathroom won't go out because of a device malfunction in another room. This is a safety issue, especially in a home with elderly people who could fall if forced to leave the tub or shower in the dark.
Most people prefer to have more than one light in the bathroom, and there's no restriction on placing fixtures other than to make sure that lights in the shower and other places where water is present are rated for damp or wet exposure based on the fixture location. Pendants, corded lights and track lighting are not allowed in the shower or tub area, which extends 8 feet above and 3 feet out from the edge of the shower or tub.
Some state and local authorities have requirements over and above those of the NEC, so it's important to check. For example, Light Bulbs Etc advises that Title 24 of California's Building Energy Efficiency Standards requires bathroom lights to be either high efficiency or controlled by motion-sensing switches.
Bathroom Exhaust Fan
Bathroom Exhaust Fan
If your bathroom has windows that open, you might not need to install an exhaust fan depending on local code requirements, but it's always a good idea to do it anyway — because opening a window in the middle of January might not be appealing in the Midwest. At a minimum, the fan must move 50 cubic feet of air per minute, but if the floor space is more than 50 square feet, the recommended minimum fan capacity is roughly equal to the bathroom's square footage. Standard vent fans with or without a light are typically fed by the bathroom lighting circuit, but if a fan has a heater, it may need its own 15- or 20-amp circuit.
Wiring a Bathroom: Roughing-In
Wiring a Bathroom: Roughing-In
The rough-in phase of wiring a bathroom includes the installation of the electrical boxes for all the receptacles, lights, fans and other devices, running the wires between them and leaving the wires sticking out of the boxes and ready to be connected to devices. The boxes are attached to wall studs, and the wires typically pass through holes in the studs and are stapled in place, so this job is completed before the wall coverings are installed. You install all the devices and connect the wiring to the panel after finishing the walls.
The standard wire size for a 20-amp circuit is 12 AWG, and for a 15-amp circuit, it's 14 AWG. The letters "AWG" stand for "American Wire Gauge," and in this system, a smaller gauge number indicates a thicker wire. Even though 12-gauge wire is slightly more expensive and more difficult to pull, Ask the Builder recommends using it for all the circuits, even those for which 14 AWG is acceptable, because it can't hurt, and you'll be able to add a fan or another device to the lighting circuit without rewiring it.
You start the rough-in by marking the positions of each electrical box on the studs according to your plan and identifying each one with a mark on the stud so you know whether it's for a receptacle, switch or light fixture. Drill 3/4-inch holes in the studs between boxes using a right-angle drill, making sure each hole is at least 1 1/4 inches from each stud face.
When you nail the boxes to the studs, their front edges have to extend past the stud face by a distance equal to the thickness of the wall covering, which could be 1 inch or more if you plan to tile the walls. Pull the wire tightly between the boxes and insert it through the locking clamp in the back of each electrical box, leaving at least 6 inches of slack for making connections. Staple the cable to the stud next to each box with a wire staple to secure it.
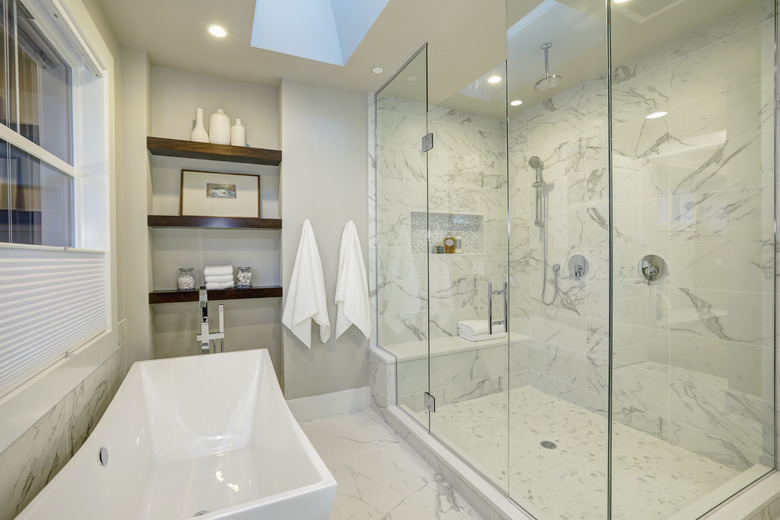 irina88w/iStock/GettyImages
Wiring a Bathroom: Trimming
Wiring a Bathroom: Trimming
The procedure for installing devices after the wall has been covered is known as trimming, and it involves connecting the wires to each device, screwing the device to the electrical box and installing a cover plate. This is a fairly straightforward job for a homeowner as long as you remember the standard electrical color scheme: black wires connect to brass screws (or hot wire leads), white to silver screws (or neutral wire leads) and the bare ground wire connects to green ground screws. The only time you have to distinguish the incoming circuit wires from the outgoing load wires is when you are connecting a GFCI, and if you install GFCI breakers, this situation won't arise.
If you decide to do this part of the job yourself, a few tips may make the job easier:
- After removing the sheathing from the electrical cable and separating the wires, use a wire stripper to remove about 1 inch of insulation from each wire. This tool is safer and quicker than using a knife, and you can also use it to cut the cable.
- Always wrap wire clockwise around the terminal screw. That way, it will lock onto the terminal when you tighten the screw.
- Leave enough slack in the wires to make a good connection but don't overdo it, or you may run out of room in the electrical box.
- If you do install a GFCI outlet and you connect it to another outlet farther down the circuit, you have to distinguish between the incoming circuit cable (line) and the cable going out to the other device (load). Identify these cables with paint or tape during the rough-in phase so you can tell them apart when the wall is covered.
Making the Final Connection
Making the Final Connection
When all the wiring is complete, the last task is to connect each circuit to the panel. Working in the panel is dangerous because parts of it are always energized, even when the main breaker is off, so this is a job that should be completed by an electrician.
When using a conventional circuit breaker, the final hookup basically involves feeding the circuit wires into the panel and connecting the ground wire to the ground bus, the white wire to the neutral bus and the black wire to a circuit breaker, which gets snapped onto the panel grid. Installing a GFCI breaker is slightly different, as D&F Liquidators describes. Both the white and black circuit wires connect to the breaker, which has a separate white wire that connects to the neutral bus.
Once the breakers have been installed, it's a good idea to immediately label each circuit. The electrician will probably do this for you, but if not, put on labels that say "bathroom lights" and "bathroom outlets." Add appropriate identification for any other bathroom circuits on the panel next to the breaker or on the panel door.
References
- Fine Homebuilding: Master Carpenter: How to Wire a Bathroom
- Electrical License Renewal: 210.11(C)(3) Bathroom Branch Circuits
- Light Bulbs Etc: California Title 24 Requirements for Bathroom Lighting
- Ask the Builder: Electrical Wiring Tips
- D&F Liquidators: A Simple Guide to Install Your GFCI Breaker / Ground Fault Breakers