How To Redo 1970s Wood Kitchen Cabinets
We may receive a commission on purchases made from links.
The color schemes of 1970s kitchens included wood paired with avocado green, rusts and yellows. It may have been trendy then, but decades later, the dark wood feels outdated. The best way to quickly and cheaply redo 1970s wood kitchen cabinets if they're still in good working condition is to refinish them with a lick of paint to instantly update the look of your entire kitchen.
Redo 1970s Wood Kitchen Cabinets
Redo 1970s Wood Kitchen Cabinets
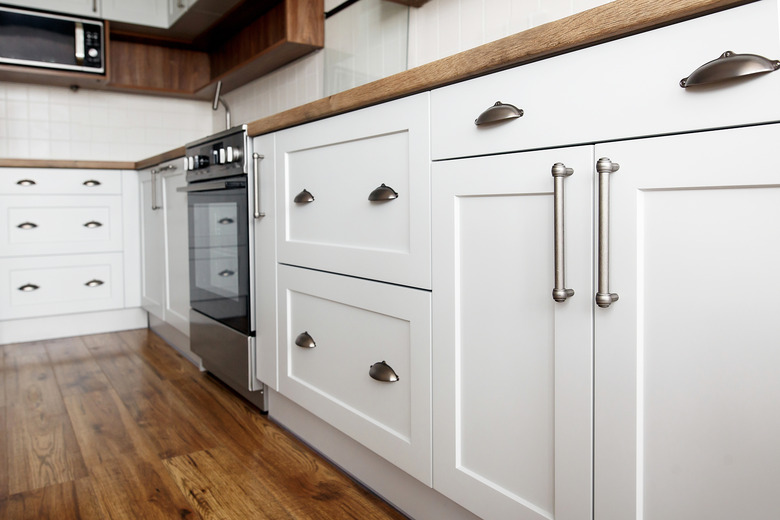
Start this project by removing the handles from the cabinets with a screwdriver. If your cabinets don't have handles — a popular trend in the 1970s — now is a good time to consider installing some. Remove the doors of the cabinets as well, keeping all hardware in a safe location for reassembly later. Consider putting the hardware for each door into a sandwich bag and taping it to the inner side of the door to ensure everything fits back where it belongs.
Protect the rest of your kitchen from paint splatter by taping off the walls around the cabinets and putting drop cloths over the counters. Paint is hard to remove from Formica brand surfacing, which was the counter material of choice in the 1970s, so don't skip this step if your kitchen counter hasn't been updated.
Cleaning and Repairing the Cabinets
Cleaning and Repairing the Cabinets
Next, you'll need to remove years of built-up dirt and oil to ensure you actually sand the wood in the following step (not just the top layer of grime) and that the paint adheres well to the wood. Clean the cabinets inside and out with detergent and a nylon scourer while wearing rubber gloves and a protective mask.
Follow-up by cleaning the cabinets with a deglosser. This will cut through any residue of grease and grime the detergent didn't deal with and help prepare the cabinets for their long-overdue redo.
Fill cracks, dents and scratches with wood putty, scraping over the putty with the putty knife so that it is flat. Leave the putty to dry, and then sand all cabinet surfaces with 150-grit sandpaper, which will open the wood's pores for better adhesion, according to Minwax. Vacuum the dust with a shop vac before wiping up any remaining dust particles with a damp cloth. Dust will add texture to the painted surface of the cabinets, so don't skimp on this step.
Painting Your Kitchen Cabinets
Painting Your Kitchen Cabinets
Apply a coat of oil-based primer to the cabinets with a paintbrush or roller to ensure that the paint enters the wood pores evenly, according to True Value Paint. Go with the grain of the wood and use even strokes of the brush. If you're using a paint roller, don't press too hard on it as it can cause bubbles in the primer.
Leave the primer to dry for the amount of time stipulated on the primer can label, then lightly sand the cabinets with 220-grit sandpaper, and then wipe it with a tack cloth and apply a coat of oil-based paint.
Leave the paint to dry before lightly sanding again, wiping over with a tack cloth and applying the final coat of paint. All the sanding between coats helps achieve a satin-smooth finish on the cabinets. Leave the cabinets to dry for 48 hours before reattaching the handles (or adding new handles with a modern look) and rehanging the cabinet doors.