Brick Backsplash For Kitchens: What You Need To Know
If you've always dreamt of having a Brooklyn apartment with all those rich architectural details, you're definitely not alone. But for those of us who don't have access to the loft life, there's no better way to get at least some of that industrial look than with a brick kitchen backsplash. Whether it's old and rugged, brand new, or even faux brick, this material creates an automatic accent by adding rich color and texture.
When it comes to interior style, the earthy clay material complements every decor from modern to contemporary to rustic to farmhouse — there's genuinely a way to make brick work for just about everyone. Plus, it's incredibly durable. So you can install brick tile behind the stove, the sink, and anywhere else without worrying about heat damage. There are a few cons to keep in mind, though. Real brick backsplashes can be hard to clean due to the porosity of the clay and rough texture. And if not treated properly, they can easily absorb liquids and stain as a result. But some feel that stains just add to the rustic charm, and we're inclined to agree.
Ready to learn more about this do-it-all material? Here's all the brick wall kitchen inspo you need and more.
10 Stylish Brick Backsplash Ideas

1. Cover an entire accent wall with red brick.
Wall-to-wall backsplashes are hard to pull off, but brick always looks effortless. And if you're lucky enough to have the industrial material already exposed, you don't need to do any extensive home improvement work. Simply follow Sharon from Hornsby Style's lead, and complement the rustic brick backsplash with a statement range hood, wooden shelves, and a navy color scheme. You can't go wrong with this kind of accent wall.
2. Decide on your arrangement.
 Stephen Paul for Hunker
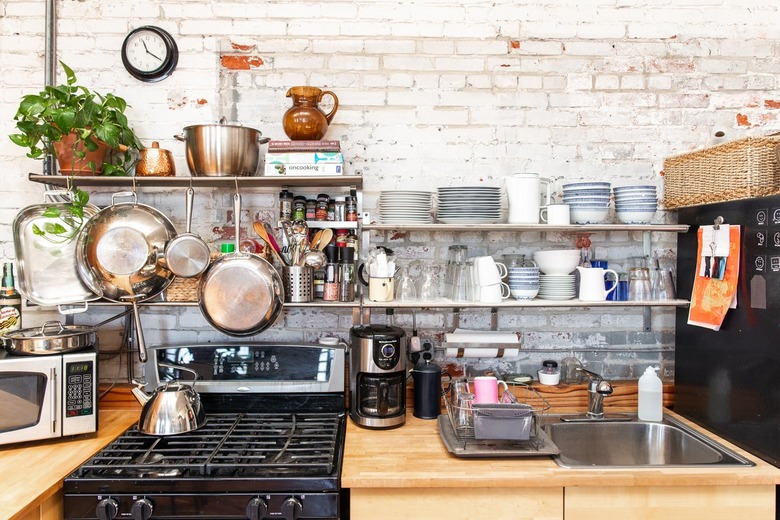
If you're going the DIY brick backsplash route, you have to consider the orientation. Will you go with a classic stacked bond pattern, or opt for a more playful installation such as herringbone or crosshatch?
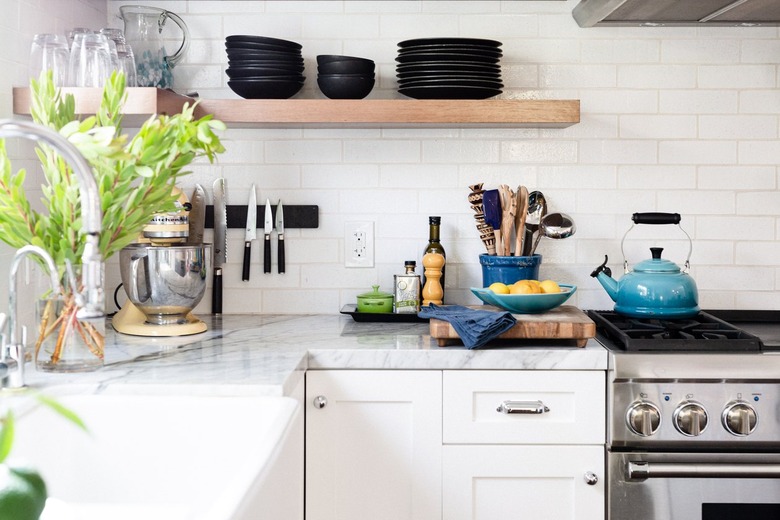
3. Create a rustic focal point and add multiple rich textures.
 Stephen Paul for Hunker
Add a thin brick backsplash behind the stove in a herringbone pattern for a fresh farmhouse kitchen feature that has heaps of texture and character.
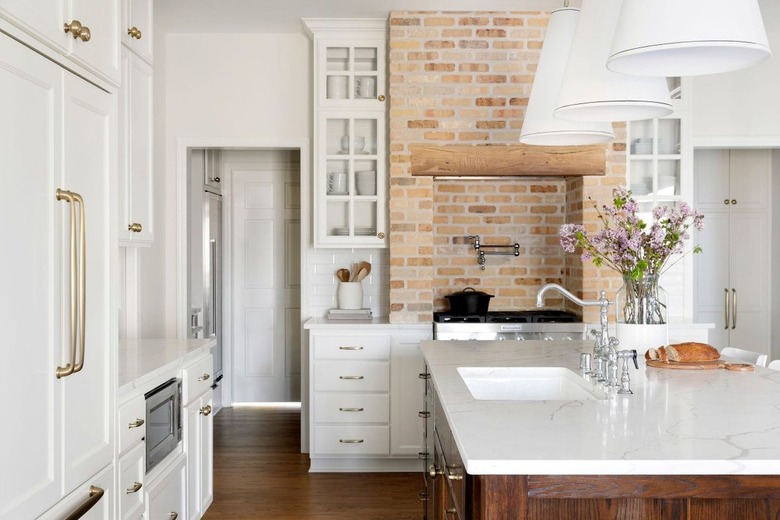
4. Extend upwards.
 Tom Howley
There's just something so impactful about a brick wall that runs all the way to the ceiling. It creates an industrial look but still feels incredibly warm and inviting, and that's exactly how your kitchen should feel. In this space from Tom Howley, the clay tiles bring the entire room to life. So we recommend following his lead and stacking your brick all the way up.
5. Do something different.
 Photo by Dylan James for Leyer
Be still our beating heart. This terra cotta brick backsplash tile from Leyer has us swooning thanks to its originality. The pale bricks are arranged vertically, adding a warm glow to this simple space with white cabinets. And even though the color is simple it's far from bland.
6. Bring out the paint.
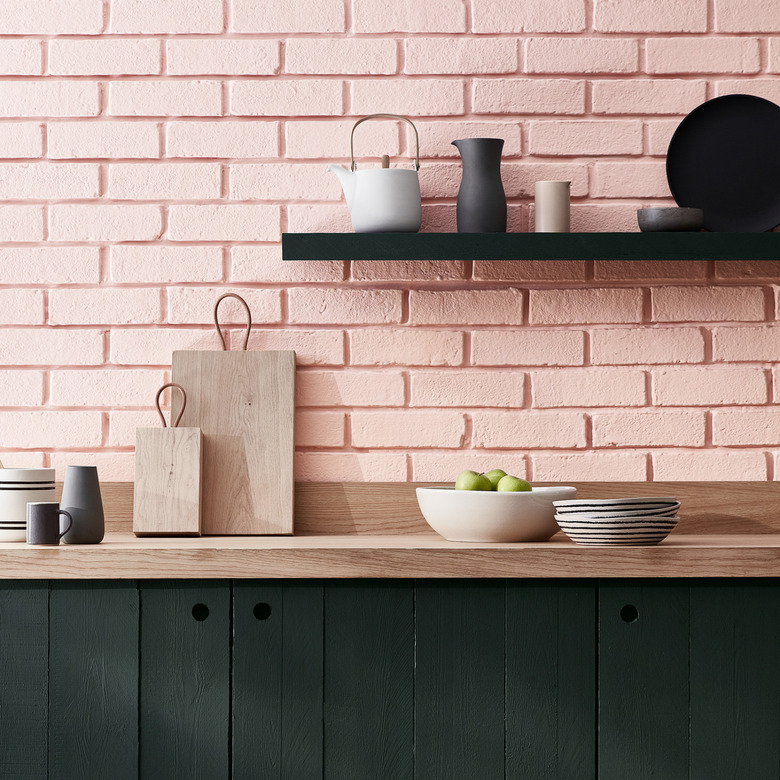 Little Greene
If you're a fan of brick backsplashes but don't necessarily love the traditional color, bring out the paint. Opt for a color that feels vibrant and fun like the playful pink shade in this kitchen from Little Greene. The finished result will look completely unique, plus painted brick is much easier to clean.
7. Whitewash it.
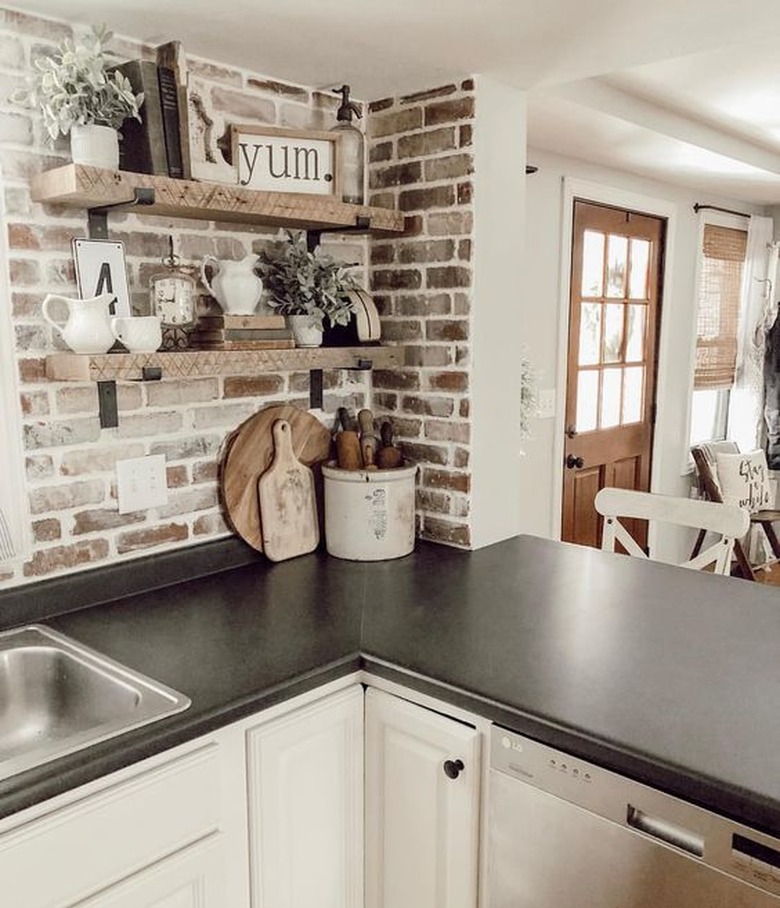 Jennifer Johnson
The rustic brick backsplash in this kitchen from Jennifer Johnson almost looks too good to be true. But rest assured, it is in fact real (even though there are some brilliant brick wallpaper alternatives out there). This whitewashed DIY backsplash was achieved by simply spreading a thin layer of white grout over select bricks and was done in a flash. You could even get a similar look with watered-down white paint.
8. Mix materials.
 Bria Hammel Interiors
If the thought of an all-brick backsplash sounds a bit overwhelming to you, don't fret: You can totally break up the design by tossing another material into the mix. In the case of this sleek space by Bria Hammel Interiors, warm bricks and rustic wood accents are featured. And the elevated design adds an air of sophistication that's balanced with more classic elements like the white subway tile.
9. Skip the shine.
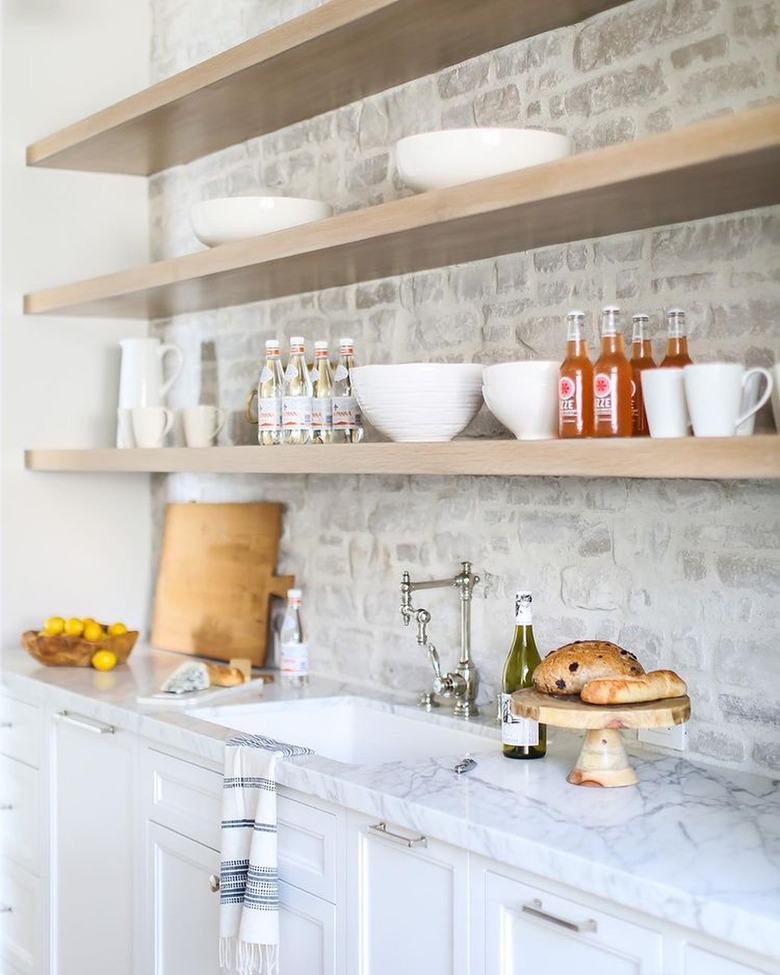 Tiffany Harris Design
Part of the appeal of brick is its rustic appearance. So we say skip the polish, and you can still have a refined look. The showstopping gray brick in this kitchen from Tiffany Harris Design feels a little luxe and a lot interesting. Each tile still has the classic brick texture, and the color choice warms up a more simple space.
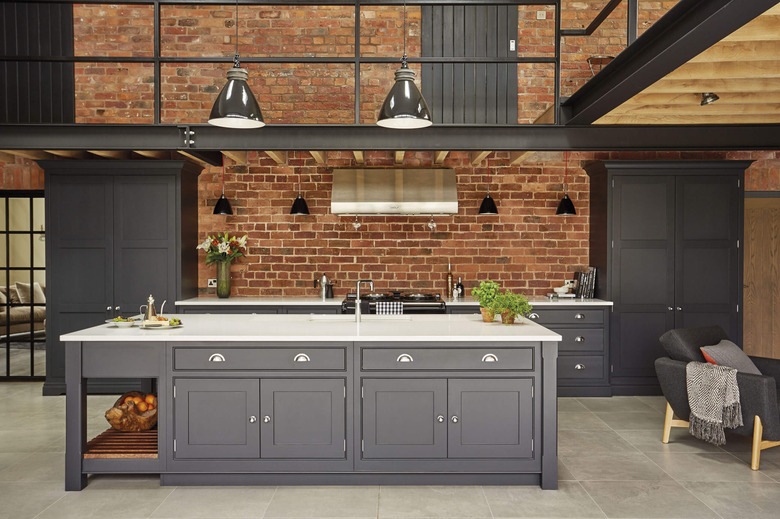
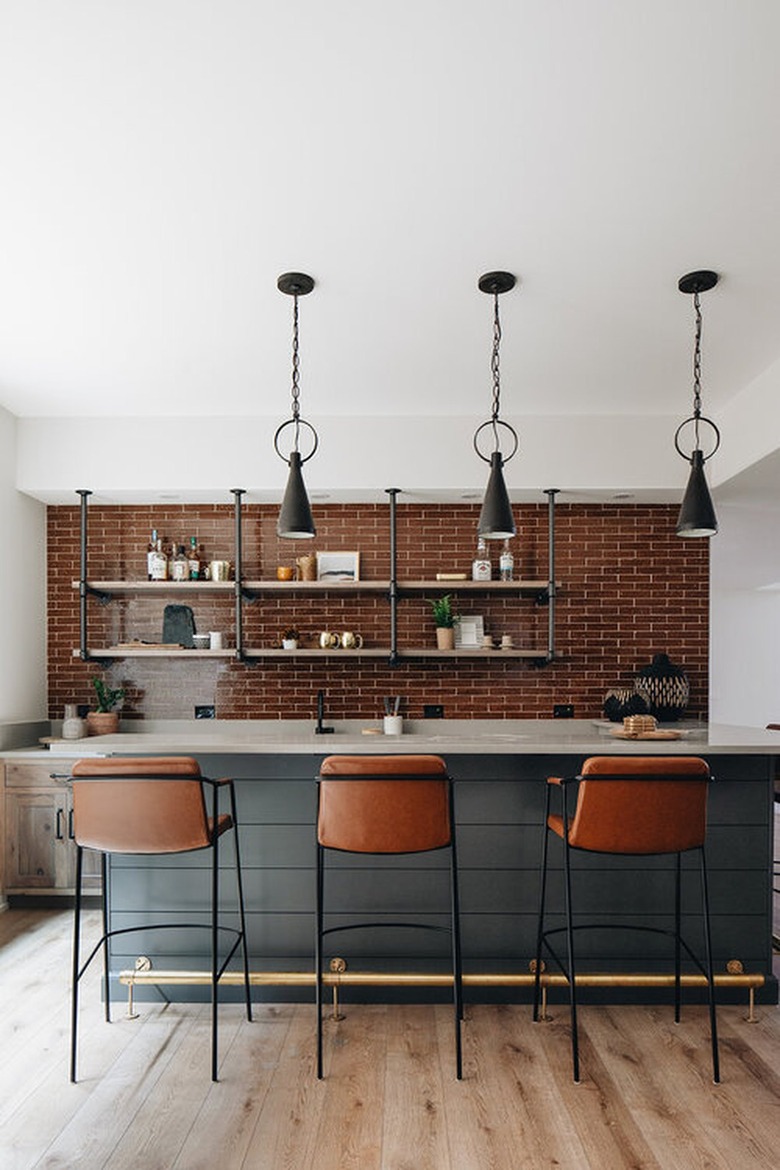
10. Make it moody.
 Kate Marker Interiors
There's nothing we love more than a kitchen that combines light and dark colors, and this space from Kate Marker Interiors does just that. The rich brick creates contrasts against the inky island and bright white walls for the perfect amount of moodiness.
Brick Backsplash Costs
Brick Backsplash Costs
Now that you've got a few ideas on how to incorporate a brick backsplash into your new kitchen design, let's talk costs. Materials can average anywhere between $5 and $16 per square foot. Installation (which includes mortar, grout, and the use of special tools) generally costs between $7 and $20 per square foot.
Overall, the price range can largely depend on the project scope and design. For the budget-conscious buyer, brick veneer makes for a nice alternative, and there are even 3D wall tile panels that offer the same look.