Design
Rooms
Bathroom
Bedroom
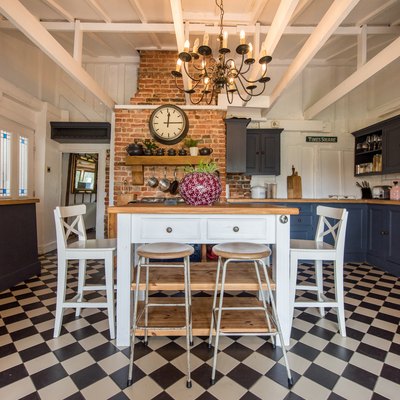
Kitchen
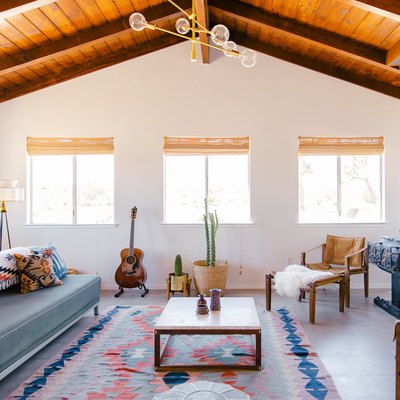
Living Room
All Rooms
Styles
Bohemian
Desert
Farmhouse
Midcentury
All Styles
all design stories
Spotlight
How To
Topics
DIY
Cleaning
Home Hacks
Outdoors
Organizing
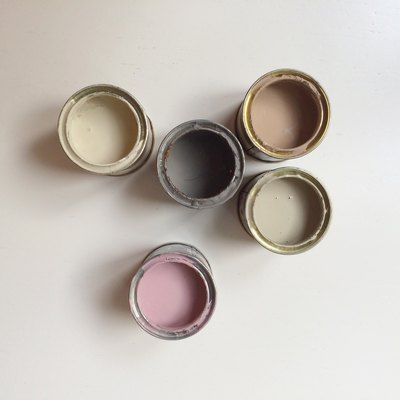
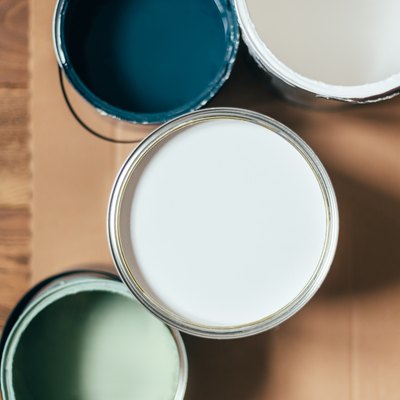
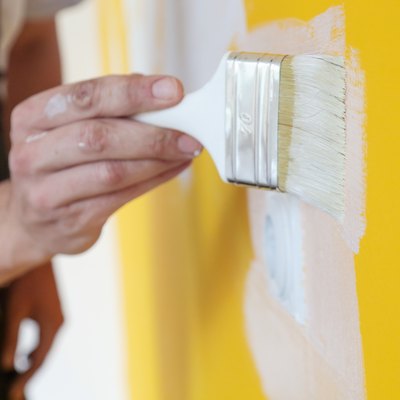
Paint
Repair
Spotlight
Lifestyle
Topics
Entertaining
Food
Wellness
Real Estate
Travel
Spotlight
News & Shopping
Topics
News
Shopping
Spotlight
Features
Series
Tours
Architects of Impact
The Hometeliers
Neighborhood Watch
More Features
Spotlight
Join Our Newsletter
Home Hacks & Answers
Home Repair & Maintenance
Carpentry
Ceiling Repairs
Electrical Repairs
Earthquake Damage
Exterior Home Repair
Flood Damage
Floor Repairs
Gas Repairs
General Home Repair
Heating & Cooling Repair
Hiring Professional Repairmen
Home Maintenance
Hurricane Damage
Indoor House Painting
Interior Home Repair
Outdoor House Painting
Painting
Plumbing
Roof Repairs
Snow Removal
Storm Damage
Tornado Damage
Ventilation
Wall Repairs
Wallpaper
Window & Door Repair
Woodworking
Working With Contractors
By
Deane Biermeier
Expert Reviewed
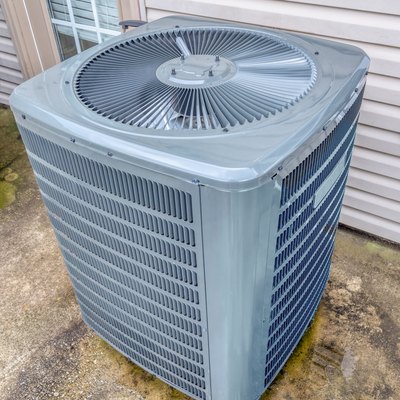
How to Clean AC Coils
Home Hacks & Answers
By
Philip Schmidt
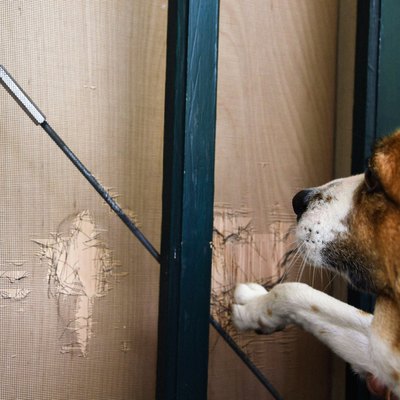
How to Fix a Screen Door
Home Hacks & Answers
By
Sean Damm
Expert Reviewed
I'm an HVAC Technician: Here's Why Your Gas Bill Is So High — And How to Lower It
Home Hacks & Answers
By
Chris Deziel
Expert Reviewed
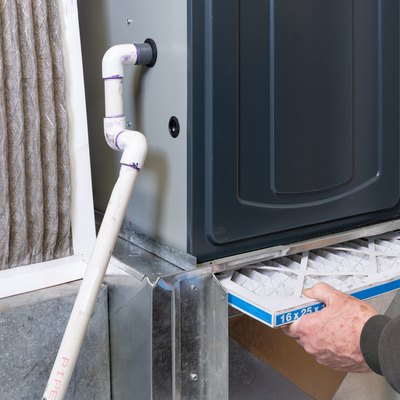
7 Possible Reasons Your Furnace Is Not Turning On
Home Hacks & Answers
By
Deane Biermeier
Expert Reviewed
Everyone Is Painting Their Vinyl Flooring — But Is That Actually a Good Idea?
Home Hacks & Answers
By
Michelle Miley
Expert Reviewed
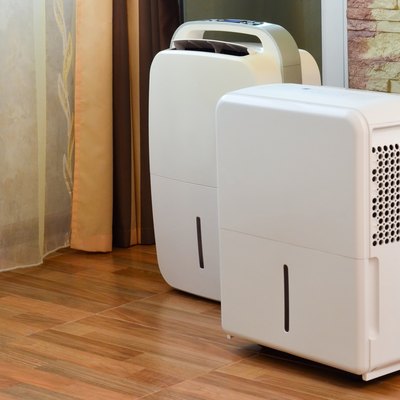
When to Use a Humidifier vs. a Dehumidifier — And How to Choose One
Home Hacks & Answers
By
Philip Schmidt
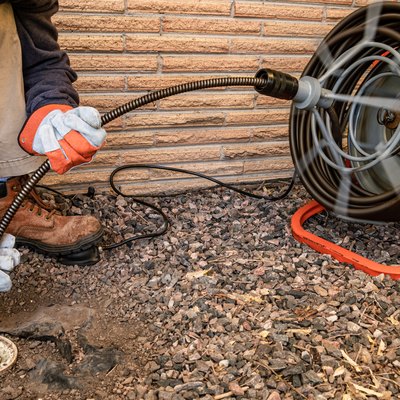
Sewer Drain Clogged? Here's How to Clear It Yourself
Home Hacks & Answers
By
Chris Deziel
Expert Reviewed
TikTok Claims You Can Use Tea Lights for Heat — But Is It Safe?
Home Hacks & Answers
By
Michelle Miley
Expert Reviewed
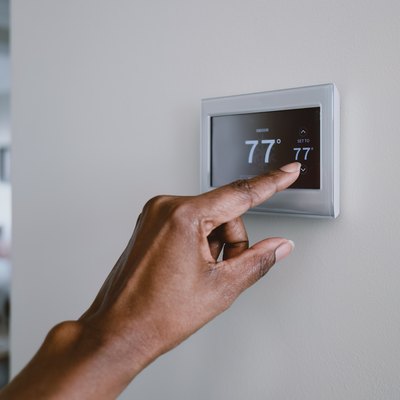
It's Settled: This Is the Best Temperature For Your Heater in the Winter
Home Hacks & Answers
By
Deane Biermeier
Expert Reviewed
6 Ways Extreme Heat Damages Your House (And How to Prevent Them)
Home Hacks & Answers
By
Philip Schmidt
7 Fall Maintenance Jobs We Hate — And Why We Should Do Them Anyway
Home Hacks & Answers
By
Deane Biermeier
Expert Reviewed
Exterior Paint: Everything You Could Possibly Need to Know
Home Hacks & Answers
By
Chris Deziel
Expert Reviewed
Yes, You Can Spray Paint Your Walls and Ceilings — Here’s How
Home Hacks & Answers
By
Shelley Frost
Expert Reviewed
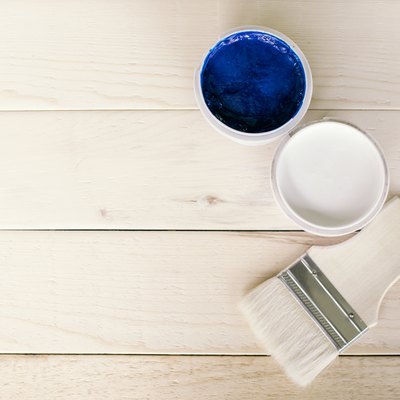
Milk Paint vs. Chalk Paint — Which Should I Use?
Home Hacks & Answers
By
Chris Deziel
Expert Reviewed
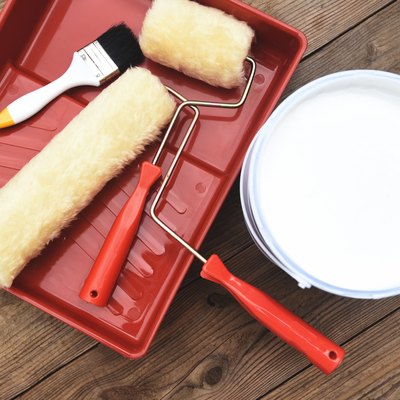
A DIY Buyer’s Guide to Paint Brushes, Rollers, and Roller Covers
Home Hacks & Answers
By
Chris Deziel
Expert Reviewed
The 5 Types of Paint Finishes Every DIYer Needs to Know
Home Hacks & Answers
By
Jill Harness
Expert Reviewed
Don't Panic: How to Fix a Hole in the Wall No Matter the Size
Home Hacks & Answers
By
Fran J. Donegan
Expert Reviewed
12 Essential Tools for Exterior House Painting
Home Hacks & Answers
By
Michelle Miley
Expert Reviewed
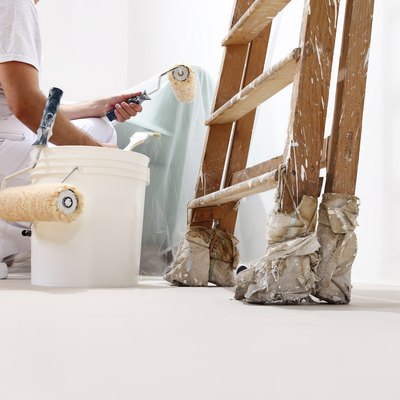
How to Throw Away Paint the Safe (And Correct) Way
Home Hacks & Answers
By
Deane Biermeier
Expert Reviewed
How to Clean Paintbrushes to Reuse Your Tools Again and Again
Home Hacks & Answers
By
Chris Deziel
Expert Reviewed
Can You Paint Over Lead Paint?
Home Hacks & Answers
By
Jill Harness
Expert Reviewed
Why Do People Put Paintbrushes in the Fridge?
Home Hacks & Answers
By
Michelle Miley
Expert Reviewed
10 Genius Paint Roller Tips for the Perfect DIY Job
Home Hacks & Answers
By
Jill Harness
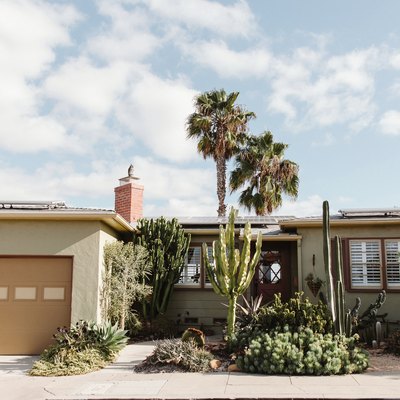
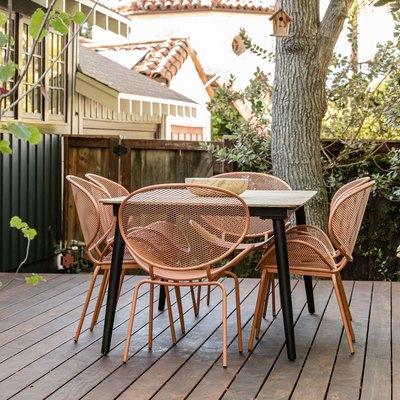
Should I Paint My House Before Selling?
Home Hacks & Answers
By
Michelle Miley
Expert Reviewed
11 DIY Tips for Painting Tall Walls
Home Hacks & Answers
By
Shelley Frost
Expert Reviewed
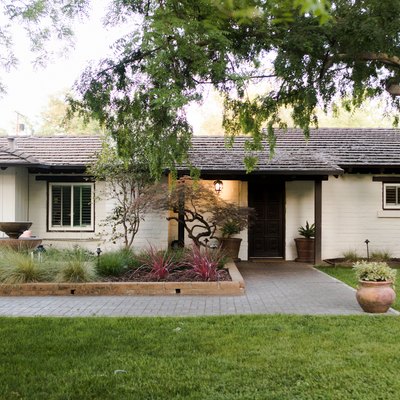
How Long Do Exterior Paint Jobs Take?
Home Hacks & Answers
By
Chris Deziel
Expert Reviewed
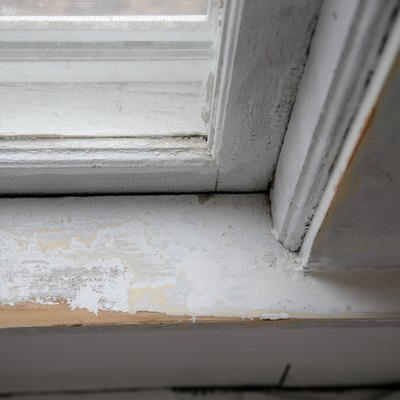
How to Paint Window Trim the Easy Way
Home Hacks & Answers
By
Fran J. Donegan
Expert Reviewed
How to Spray Paint Metal Furniture for a Lasting Finish
Home Hacks & Answers
By
Shelley Frost
Expert Reviewed
How to Hire an Interior House Painter: 11 Questions to Ask
Home Hacks & Answers
By
Chris Deziel
Expert Reviewed
A Beginner's Guide to Painting a Room — From Taping to Cleaning Up
Home Hacks & Answers
By
Kathy Adams
Expert Reviewed
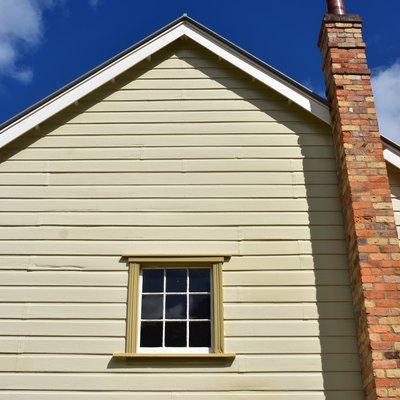
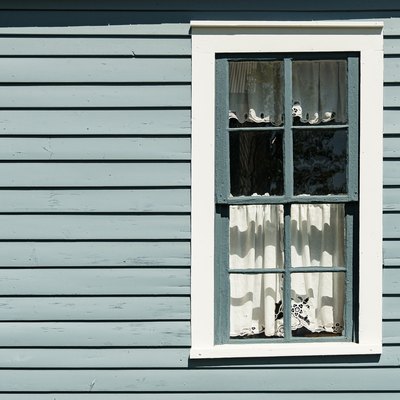
9 Expert Tips for Painting Exterior Wood Siding
Home Hacks & Answers
By
Lauren Murphy
Expert Reviewed
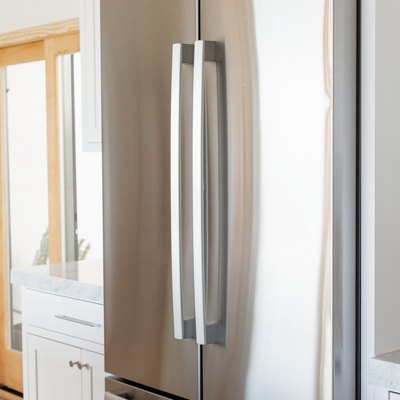
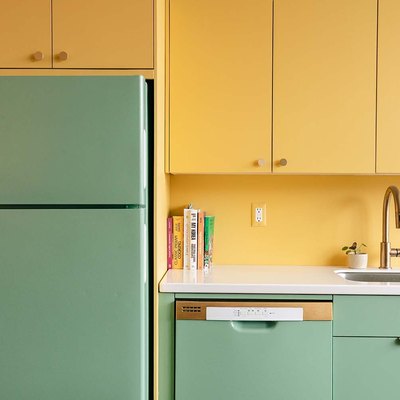
The Do's and Don'ts of Painting Appliances, According to the Experts
Home Hacks & Answers
By
Jill Harness
Expert Reviewed
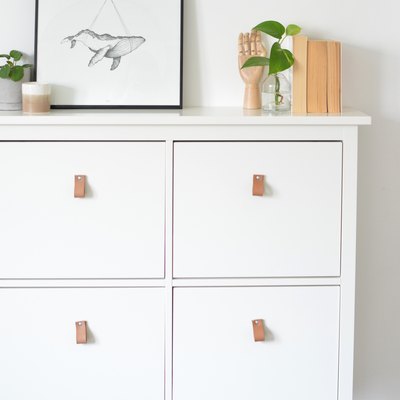
How to Paint a Dresser: A Complete DIY Guide
Home Hacks & Answers
By
Kathy Adams
Expert Reviewed
9 Expert Tips for Painting Fiber Cement Siding
Home Hacks & Answers
By
Jill Harness
Expert Reviewed
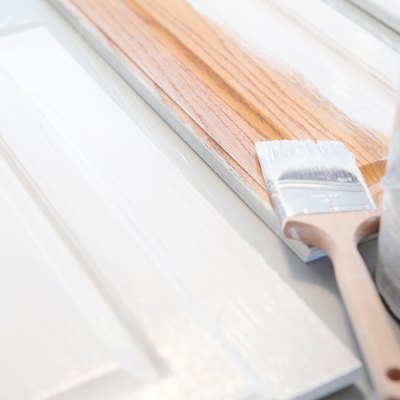
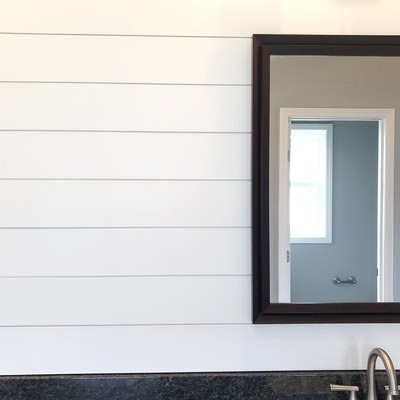
7 Tips for Painting Your DIY Shiplap Project
Home Hacks & Answers
By
Fran J. Donegan
Expert Reviewed
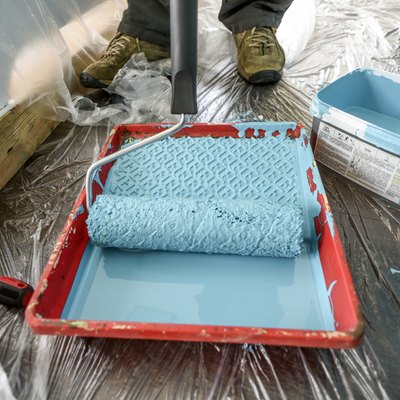
How to Pick the Best House Paint
Home Hacks & Answers
1
2
3
4
5
>
Report an Issue
Contact*:
Severity*:
High
Normal
Low
Description*:
Screenshot loading...
Cancel
Submit
By creating an account you agree to the Hunker
Terms of Use
and
Privacy Notice