9 Expert Tips For Painting Exterior Wood Siding
We may receive a commission on purchases made from links.
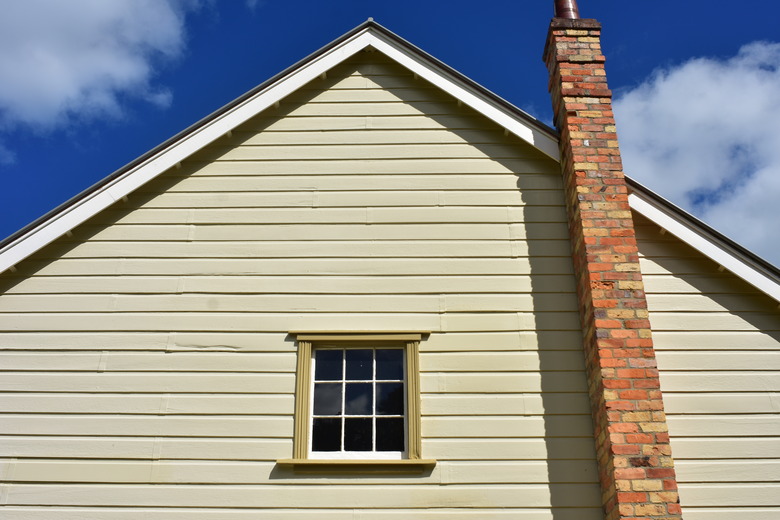
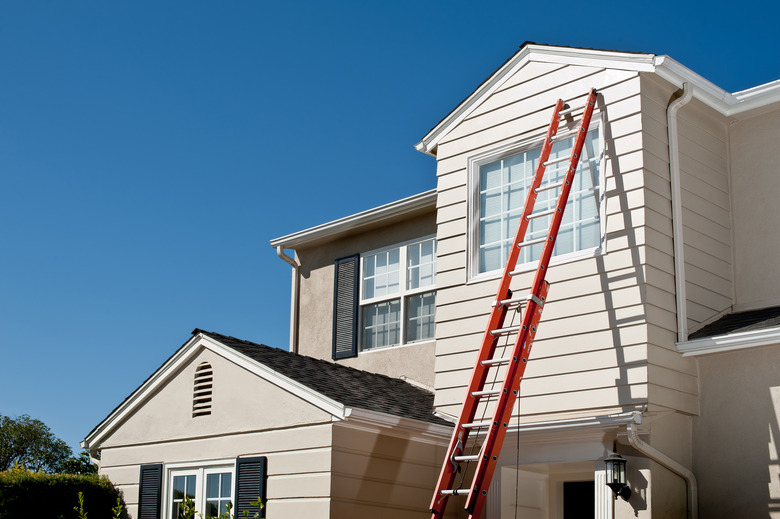
Painting a wood-sided house yourself is a lot less expensive than hiring a pro to do it for you. While the actual painting process isn't difficult, it's still important to treat the task like a pro would, taking the time to clean and scrape the old exterior paint, make minor repairs, and otherwise prep the wood siding before painting begins. The best techniques for this vary depending on the type of wood siding you have. In any case, there are a few key things to consider when painting exterior wood siding.
1. Seal Knots in Cedar and Pine Siding
1. Seal Knots in Cedar and Pine Siding
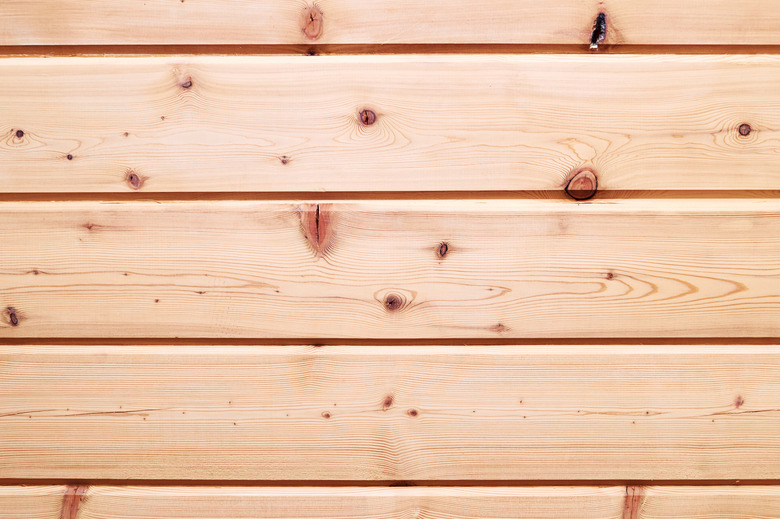
Wood plank siding, such as standard clapboard and shiplap, is typically made with cedar or pine and tends to have a lot of knots, which can bleed through paint and become visible in the finished product. In addition, the oils in unsealed cedar can bleed through standard house primer. To prevent bleed-through, seal cedar and knotty pine with a stain-blocking, high-pigment primer, which most likely will be oil-based (alkyd). If the siding is already painted and there are visible knots, you can spot-prime the knots with a stain-blocking primer and then prime the rest of the house.
2. Be Gentle With Wood Shingles and Shakes

2. Be Gentle With Wood Shingles and Shakes
Most shingle and shake siding is cedar or redwood, two very soft wood types. Be extra careful not to damage them with rough cleaning methods during your painting prep. Previously painted shingles and shakes can be cleaned like other painted surfaces but be careful not to spray water upward, which can force it into the wall assembly. For best results, clean it with soapy water and rinse with a garden hose rather than pressure washing.
Unfinished or previously stained shingles and shakes are more vulnerable to surface damage and may be contaminated with algae and mildew or iron stains. Remove algae and mildew with a solution of bleach and trisodium phosphate and water. Remove iron stains with an oxalic acid solution. Rinse the siding thoroughly with a garden hose (not a pressure washer) and let it dry completely before priming.
3. Clean Textured Wood Siding Carefully
3. Clean Textured Wood Siding Carefully
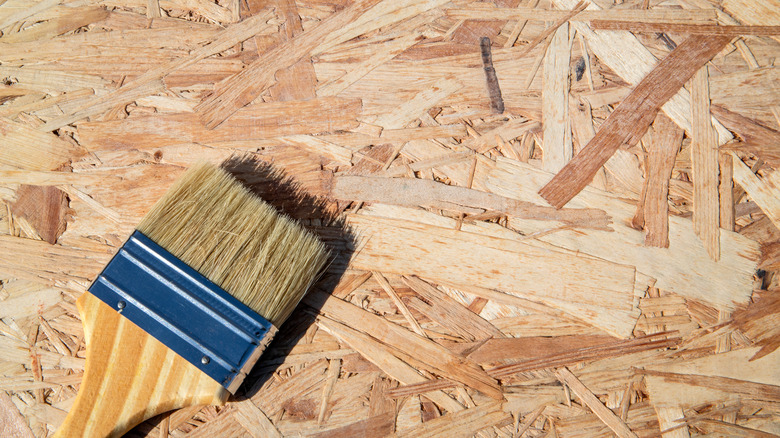
Cleaning and prepping any type of siding prior to painting is essential, but this can be challenging with rough-textured wood siding, such as some types of T1-11, plywood, or oriented strandboard. If the siding feels coarse, use a wire brush instead of a smooth, blade-style scraper to remove any flaking paint. As for priming and painting textured panels, use high-quality exterior acrylic primer and paint and apply them with brushes for the seams and corners. You can use a roller or sprayer for field areas.
4. Wash Wood Siding
4. Wash Wood Siding
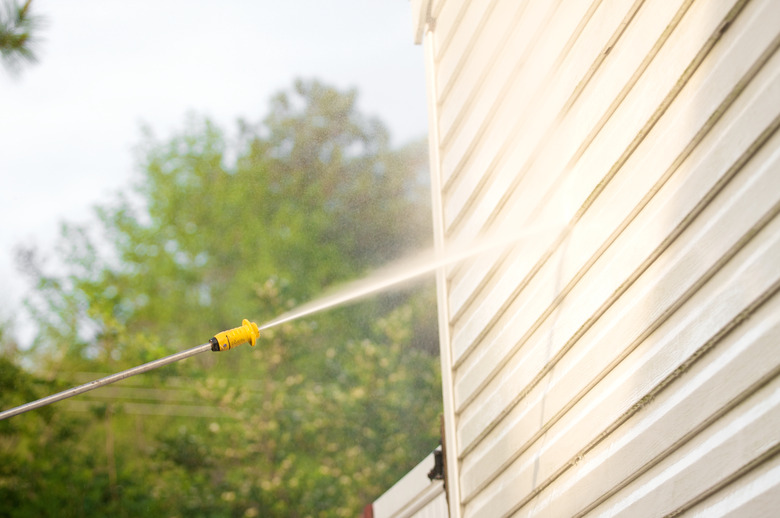
As with painting just about anything else, washing all surfaces first ensures better primer or paint adhesion. A pressure washer makes the job go much faster, plus it helps clear out cobwebs, gunk and debris, or even bits of flaking paint. If you don't have one already, buy or rent a pressure washer and wash down every area you wish to paint, including window and door frames. Clapboard and other types of horizontal wood siding are durable enough to handle power washing. Cedar shake siding, on the other hand, isn't as tough. Don't power wash the house if the siding is cedar shake or a similar material as it could damage the wood. Wash cedar shake siding by hand.
When power washing clapboard siding or any horizontal siding, never point the nozzle upward, as this could force water into the wall cavities. Always aim straight ahead or downward and use the lowest pressure setting possible as you get used to the power washer. Use a 40- or 25-degree nozzle, as these are less likely to cause damage, and they work the best for washing a home's exterior. Allow the siding to dry for a week or so before priming or painting and even longer if it's humid outside. If you live in a hot, arid climate, the home may be dry in a day or so, but in cool or damp weather, it could take longer than expected.
Warning
Do not power wash the house if you suspect there's lead paint on any layer even from decades ago, as is often the case if the house was built before 1978. If your home is older than that, there's a good chance it has at least one lead paint layer, so it's better to wipe things down with a damp cloth instead of using a power washer, which could cause chunks of old lead paint to come off.
5. Make Minor Repairs
5. Make Minor Repairs
Now's the time to repair cracks and nail holes with wood filler, sanding the patched areas after the putty dries. Hammer in any protruding nails. The goal is to make the entire project surface as smooth as possible so the repairs aren't visible once painted. If you skip the repairs, the problem areas worsen over time.
Cover any bare wood knots or areas where pitch bleeds through with a couple coats of a stain-blocking primer; otherwise, they'll stain through the new paint. Remove any minor areas that look rotten and fill the holes with a quality two-part wood filler. If the wood seems to be rotting in a particular area, such as near a gutter, check for leaks, as there may be an issue that needs attention to prevent additional wood rot. Replace loose or missing caulk around windows and all areas where you find old caulk that's failing.
6. Prep Your Wood
6. Prep Your Wood
Set down a drop cloth before scraping off any flaking or chipped paint; this blocks the debris from working its way into the soil and makes it easier to discard. Scrape off anything that looks like it's starting to peel, bubble, or crack using a flexible, metal-blade paint scraper. Otherwise, if you leave old chipping or bubbling paint, it will still eventually come off even with new paint on top of it, as it no longer bonds with the wood siding. Sand as needed to feather rough paint edges, allowing for a smoother finish. Wipe off any sanded areas with a rag to remove dust.
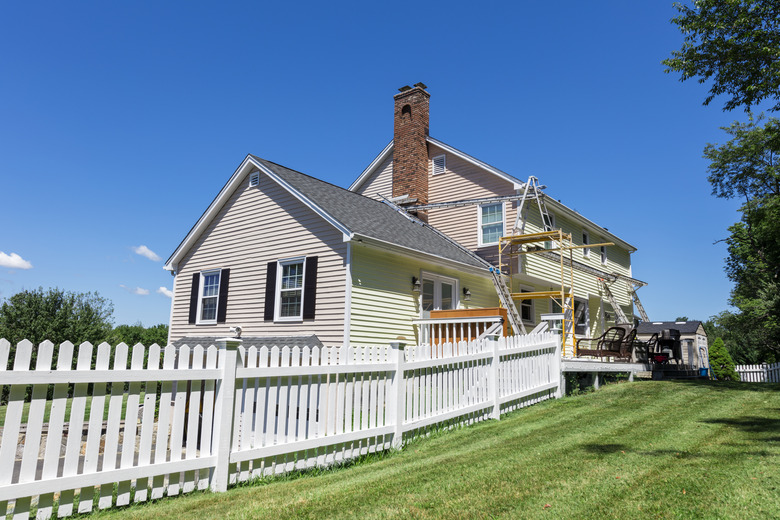
Use painter's tape to mask areas around window and door frames, trim, and anywhere else you don't want to apply new paint. Prime over all exposed bare wood and areas patched with wood filler. If the existing exterior paint is in fairly good shape and your new color is similar to the old one, you won't need to prime over the entire surface. On the other hand, if the current house color is deep, such as a dark gray, and your new paint choice is a mellow yellow, a coat or two of primer means you'll need fewer layers of fresh paint to hide the old color.
Warning
Lead paint is a serious concern for any home built before 1978, which is when the United States banned lead paint. As with other hazardous materials, such as asbestos found in some older homes, disturbing old lead paint in any way could release fine particles of the dangerous substance into the atmosphere and ultimately into the soil around your home. For this reason, many regions with older homes suggest not sanding old paint except where absolutely necessary. Check your local codes regarding lead paint if you have an older home.
7. Choose the Best Exterior Paint
7. Choose the Best Exterior Paint
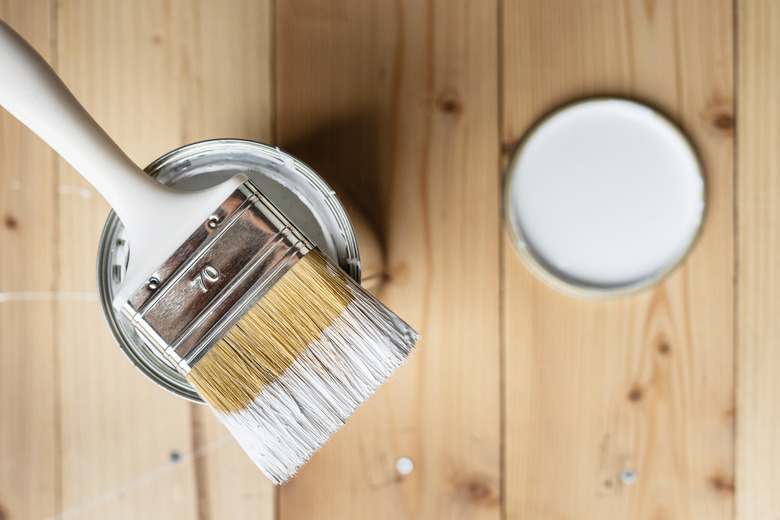
Even if staying on budget is your main reason for painting the house yourself, it's worth your while to purchase a quality paint versus the cheapest you can find. Watch out for sales from high-quality paint retailers, like Sherwin-Williams, for a chance to get deals on top-quality paints. No matter where you buy paint, make sure you get an exterior paint made to withstand ultraviolet rays from the sun to protect your siding from the elements.
You can calculate how much paint you'll need for the job based on your home's square footage. It's also a good idea to have an extra gallon or so for touchups later or in case the paint doesn't go quite as far as estimated. Now's a good time to buy extra paint trays, roller covers, and brushes.
Tip
It's a good idea to buy all the paint you need at once to ensure consistent color. Stores that sell virtually any color of paint you like will mix it for you when you're ready to buy. Attempting to purchase the same hue later may not always result in a perfect match, especially if it's a custom tint designed to match your home's existing color.
8. Wait for the Right Weather
8. Wait for the Right Weather
Weather conditions greatly affect how a paint job turns out, especially with exterior paint projects because sunlight, temperature, and humidity levels vary so much. Paint and prime when it's above 50 degrees Fahrenheit outside; if it's colder than that, the paint takes a long time to dry and the solvents don't properly evaporate. If it's too hot, other issues occur. Painting when it's above 85 degrees makes the paint dry too quickly, and it could cause the paint to bubble and crack prematurely. This is important to keep in mind if painting in summer since direct sunlight could cause the area you're painting to be hotter than the actual temperature reading in your town.
Humidity also affects the paint drying time. If there's too much moisture in the air, as could be the case if it recently rained or if it's simply humid outside, it affects the way the paint dries and could cause substances in the paint to rise to the surface, creating discolored spots in the dried paint. Wood siding also absorbs moisture, so if it has rained recently and you paint while the wood is damp, loose paint may flake off much sooner than expected. The best painting conditions are those with relative humidity between 40 and 50 percent. Never paint when it feels swampy outside, such as with an 85 percent relative humidity, as the paint can't dry properly and most likely will fail.
9. Get to Painting!
9. Get to Painting!
Move everything that might be in your way when you work, such as plant pots or vehicles parked in the driveway. Set large drop cloths on the ground along the project wall and tape off anything you didn't already mask off while priming, such as window trim or the edges of door frames. Designate one wall at a time in a shaded area as the project wall and set up a ladder near one corner so it's secure enough not to wobble. It's best to work from the top down using brushes of various sizes to cut in the paint along the corners and on the bottom edges of horizontal siding as well as in any area that a roller or wide brush can't cover well.
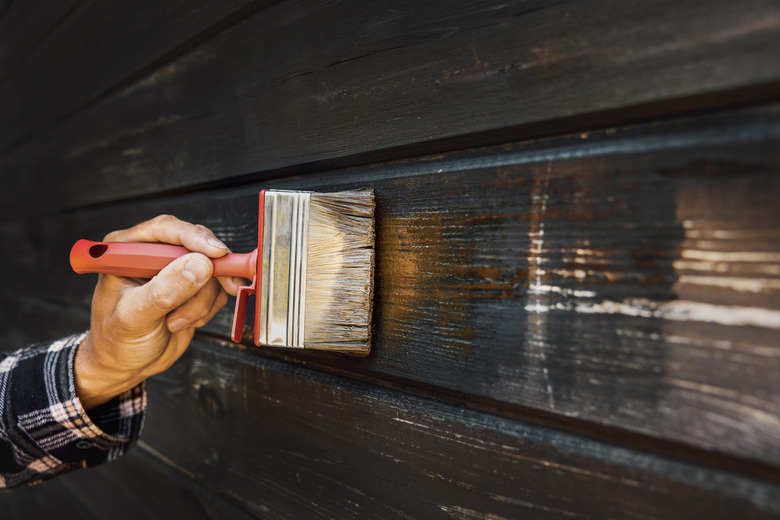
Paint the siding with a combination of brushes and rollers. Use rollers along wide, long runs, such as along clapboard siding, and brushes when it's too cramped of an area for the rollers to reach. Working with both types of paint applicators saves time. As you work your way down, brush off any wet paint drips so they don't leave thick lumps in the dry paint. Continue painting the entire home exterior one section at a time and then apply a second coat of paint (after letting the first coat dry as directed) for added protection, as it makes the finish last a lot longer and covers better.
Save the door and window trim for last and use a semigloss paint, which is more durable than other paint finishes. As with the main exterior paint, apply at least two coats, especially on areas that may experience extra wear, such as the trim around the front door.