How To Fix A Screen Door
We may receive a commission on purchases made from links.
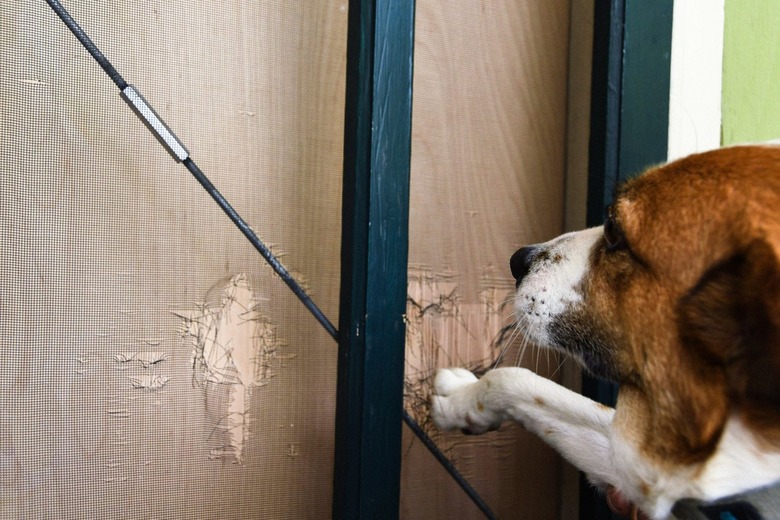
Dogs, cats, and kids may be wonderful companions, but they're hell on screen doors. It seems that all of them never quite learn to open one with the door handle rather than pushing on the screen itself. And once there's a sizable hole in the screen, mosquitoes, flies, and other pests will find their way through as though there's no door there at all.
Don't give in to the pests! (The bugs, that is; not the kids and pets.) Once you learn how to fix a screen door you'll see that it's an easy, inexpensive repair that takes less than 30 minutes. The screen door I'm fixing here is a traditional wood-frame screen door, but the process is the same for patio screen doors and even screen window repair.
Here's how to replace screen door mesh with new screen you can buy at the hardware or home store and a few basic tools.
Buying New Screen Mesh
Buying New Screen Mesh
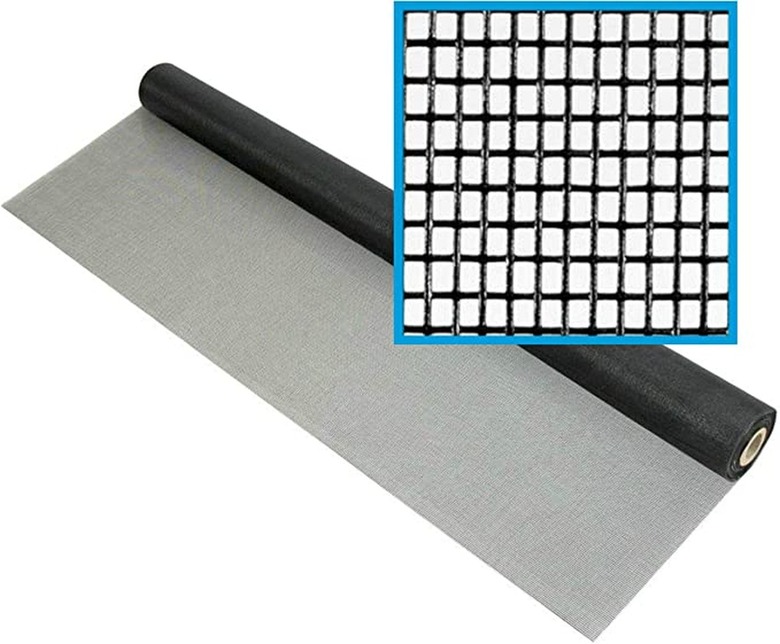
Replacement door and window screen comes in two basic materials: fiberglass and aluminum. Fiberglass screen is cheaper and easier to work with, and it's less visible on the door because the black screen material reduces glare from sunlight. The main advantage of aluminum is that it's quite a bit stronger and more durable than fiberglass.
There are also some fancy screen materials, like copper and bronze, as well as sun-blocking solar screen and pet-resistant screen. You can choose to upgrade to a premium material or simply use what you currently have on your screen door.
Screen also comes in different mesh sizes:
- 18 x 16, which means there are 18 mesh openings per inch from side to side and 16 from top to bottom; this is the standard mesh size.
- 20 x 20 mesh has smaller openings that keep out no-see-ums and other teeny-tiny insects.
- 18 x 14 screen mesh allows for better airflow than standard screen and is often used for pool areas that need more ventilation.
Screen Spline Sizes
Screen Spline Sizes
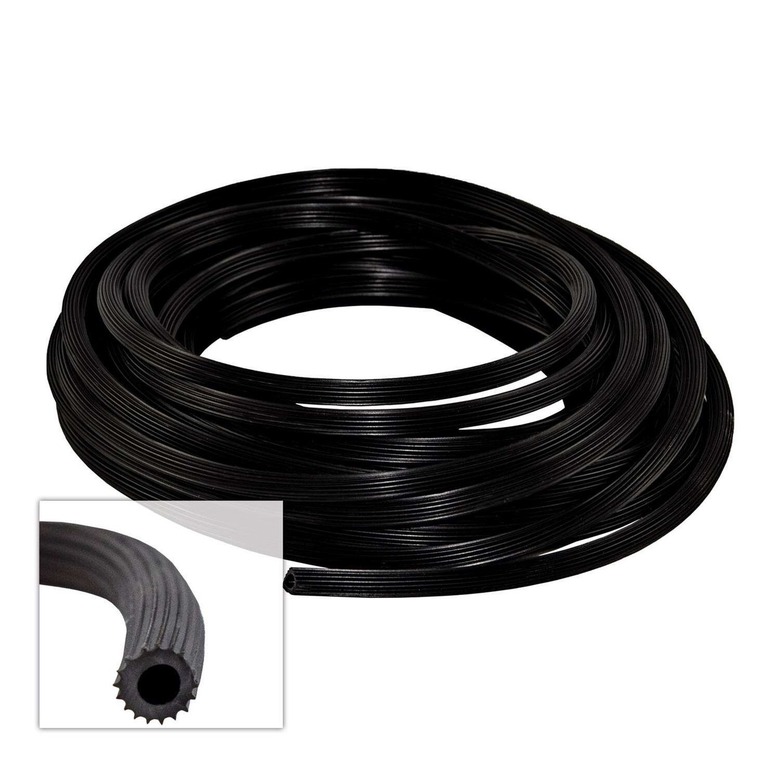
Screen spline is a flexible vinyl cord you push into the groove around the screen opening to hold the screen in place. If you're replacing your current screen with screen of the same mesh and diameter, you can often reuse the existing spline, but if you install heavier screen or your existing spline is brittle or otherwise damaged, it's best to buy some new spline. It's sold in the door-and-window section of the store, next to the rolls of screen.
Spline comes in 20- to 100-foot rolls in diameters from 0.125 to 0.25 inch (1/8 to 1/4 inch). Just bring a piece of the old spline with you to get the same size — or get slightly smaller spline if you're using heavier-duty screen than what you had.
Things Needed
-
Phillips screwdriver or drill
-
Hammer
-
Flat screwdriver
-
Scissors
How to Replace Screen Door Mesh
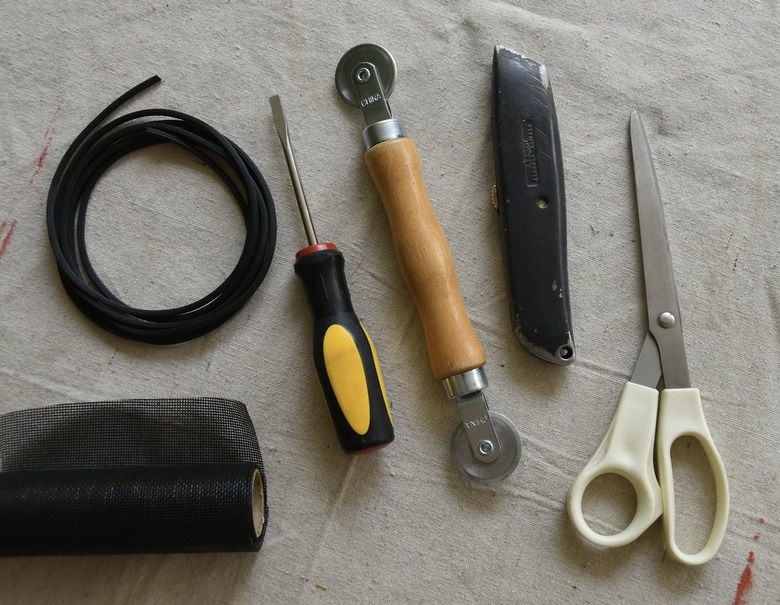
1. Gather Your Screen Door Supplies
The only specialty tool you need to repair a screen door is a spline roller. This inexpensive tool has two wheels — one is convex and is used to press the new screen into its grooves in the door frame; the other is concave and is used to push the spline over the screen and into the groove.
Make sure the new screen is at least 4 inches wider and longer than the door frame. This gives you some wiggle room when installing it. You'll trim the excess after the screen is in place.
2. Remove the Screen Spline
 Leigh Schmidt for Hunker
If the door has a pneumatic or spring closer, unscrew it from the door using a Phillips screwdriver or a drill with a screwdriver tip. You can leave the other end of the closer attached to the door frame. Unscrew the hinges from the door, or pop out the hinge pins with a screwdriver and a hammer, and then remove the door and lay it on a flat surface with the screen side facing up. Remove any door braces or handles that cover the screen area.
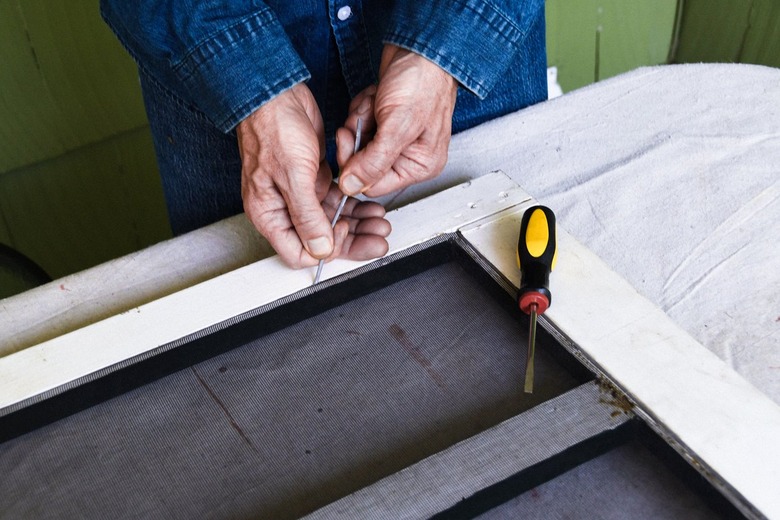
Locate the end of the spline, which is usually in one corner of the groove track. Work a small flat screwdriver under the spline to force it out of the groove. Grasp the end of the spline with your fingers, pull gently, and continue pulling to remove all the spline from that side of the door. Repeat for the other three sides of the door frame.
Tip
If you're replacing the screen on sliding types of screen doors, stand on the outside of the door opening, lift the door so the bottom wheels are above the bottom track, then angle the bottom of the door out and slide the top of the door down and out of the top track. You may have to push in the bottom wheels with a screwdriver to get them free of the track.
To reinstall the door, put the sliding door in the tracks in the reverse order — top first, then bottom.
3. Remove the Old Screen Mesh
 Leigh Schmidt for Hunker
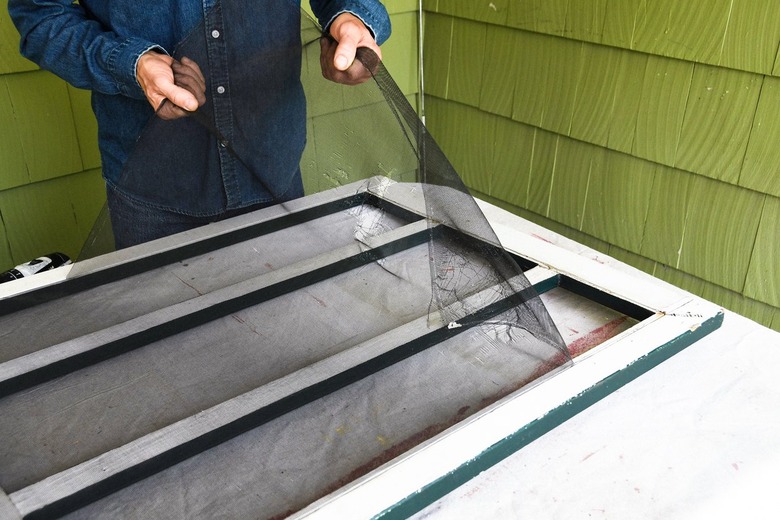
Pull the old screen out of the grooves to remove it. You may have to tug it a bit since it's pressed into the grooves. Clean out debris from the grooves, as needed, using the flat screwdriver or a putty knife.
4. Cut the New Screen to Fit
 Leigh Schmidt for Hunker
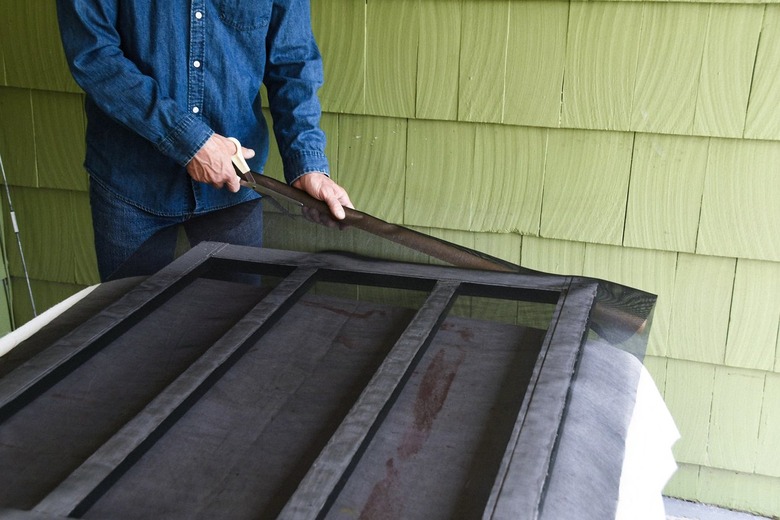
Unroll the new screen from its roll and lay it over the door frame so it overlaps the screen opening at least 2 inches on all sides. Cut the screen from the roll using scissors.
5. Pin the Screen at the Corners
 Leigh Schmidt for Hunker
Here's a tip I learned from a screen repair pro: Cut four pieces of the new spline about 2 inches long. Position the screen so it lies flat and is centered over the door side-to-side and top-to-bottom. Press each of the spline pieces into the screen groove at one of the corners, using the flat screwdriver. This temporarily holds the screen in place for the rest of the installation and prevents it from getting wonky while you work.
6. Press the Screen Into the Groove
 Leigh Schmidt for Hunker
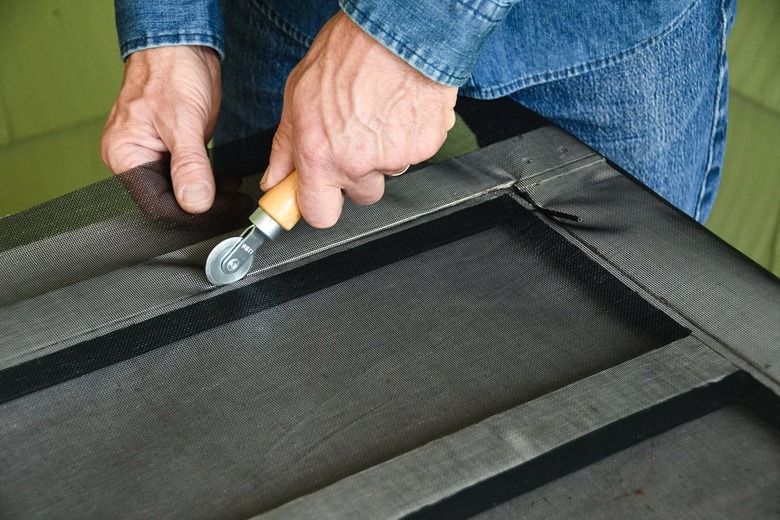
This step is easy but feels a little weird at first. The idea is to press the screen into the groove so it's easier to add the spline in the next step. Be sure to use the convex (rounded) wheel on the spline roller for this step — not the concave (grooved) wheel.
Since you tacked down the screen in the last step, it should be in the right position and lying flat (it doesn't have to be taut) over the frame, so you're ready to roll. Start on one long side of the frame, and gently roll with the convex wheel of the spline roller, pushing the screen into the groove. The screen will conform to the groove and generally remain stuck in the groove. Just don't roll super hard because it's possible to cut fiberglass screen with the roller.
Roll only the one side for now. You'll roll and add spline on each side before moving to the next side.
7. Add Spline on the First Side
 Leigh Schmidt for Hunker
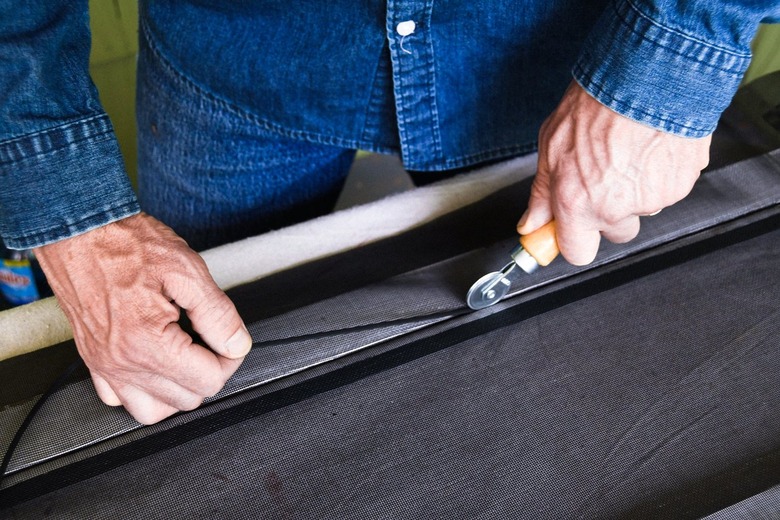
Use the scissors to cut a length of spline about 2 inches longer than each side of the frame. Starting at the corner of the side you just rolled, place the end of one of the long spline pieces over the screen at the beginning of the groove, then press the spline into the groove, using the concave (grooved) wheel of the spline roller. You have to push on the spline pretty hard to force it all the way into the groove, but be careful not to press on the screen directly because the wheel can cut it.
Roll the spline into the groove along the entire side. Sometimes it helps to pull the spline gently to contract it as you roll. It will expand to its normal size when it's in the groove. Trim off the excess spline at the end with a utility knife — again, being very careful not to cut the screen.
8. Secure the Remaining Sides
 Leigh Schmidt for Hunker
Repeat the same process to roll the screen into the groove and secure it with spline along the adjacent side (short side) of the door, followed by the other long side, and then the other short side. Remove the short pieces of spline you used to tack down the screen as you go.
When rolling the screen into the groove on the second long side and final short side, pull out on the screen gently — ahead of the roller — so the screen is smooth and flat across the entire frame. You don't have to pull it taut because the spline will tighten the screen as you force it into the groove. And if you're working with thin frame material, like on a window screen, pulling it taut might bend the frame.
Tip
If the screen sags or puckers or otherwise doesn't look right once the spline is pressed in, you can simply pull up the spline on that side and start over. This doesn't work so well with aluminum screen because it holds the shape of the groove once you roll it; fiberglas is more forgiving.
9. Press in the Spline at the Corners
 Leigh Schmidt for Hunker
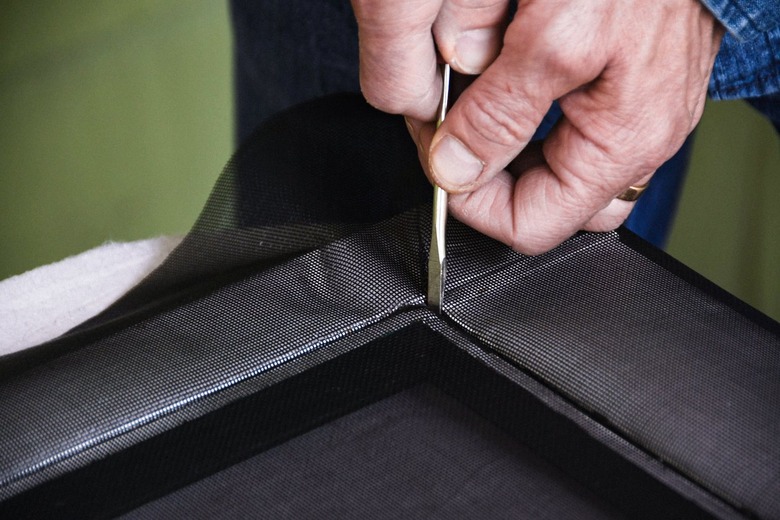
Go around the frame and press the ends of the spline into the groove at the corners, using the screwdriver, for a finished look. Also double-check to make sure the spline is consistently pushed into the groove all around, and fix any high spots with the spline roller.
10. Trim the Screen
 Leigh Schmidt for Hunker
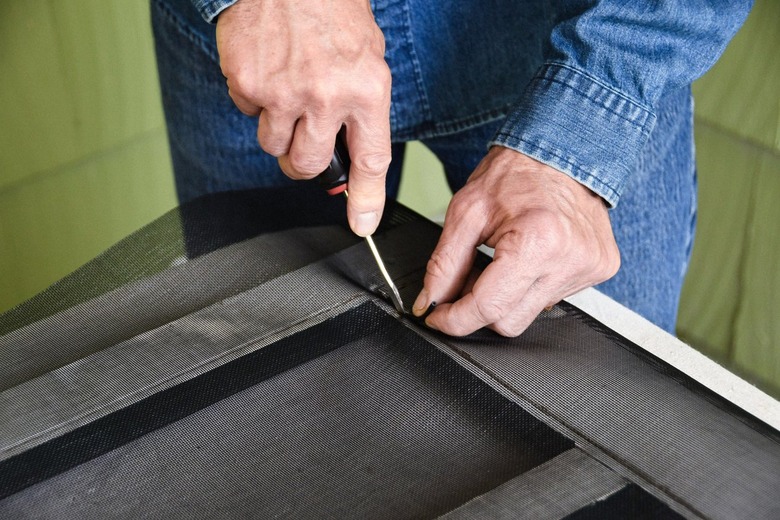
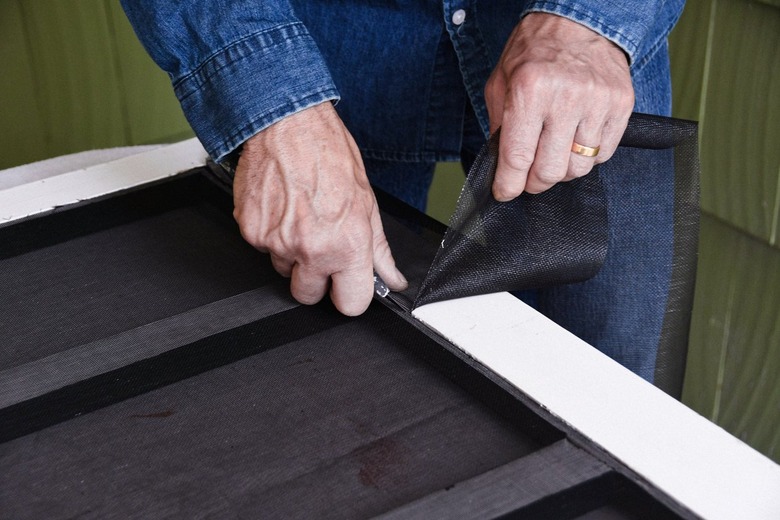
Trim off the excess screen with a sharp utility knife. You can cut right on the outside edge of the spline, sliding the tip of the blade along the spline itself. However, be extra careful not to let the blade slip or to graze the screen on the inside of the spline; the knife cuts through the screen with almost no effort.
Reinstall any handles or braces you removed. Rehang the door, and you're done!
Screen Door Repair FAQs
How do you fix a misaligned screen door?
A screen door won't keep out pests if the door itself doesn't seal properly against the door frame, and fixing that is usually a matter of tightening or replacing hinges and realigning the door lock. In rare cases, you may need to purchase replacement parts, but it's more likely that you can make your existing door hardware work.
Can you replace a retractable screen door?
A retractable patio screen door rolls onto a spring-loaded roller much like a window shade, and if the screen is damaged, you can replace it, roller and all.
- Remove the roller cover. Push the roller to one side to release it from the bracket, then pull it out.
- Install the new roller by inserting one end in the bracket and pushing it toward that bracket to allow the other end to clear the other bracket.
- Reinstall the cover.
Is screen window repair different from screen door repair?
The process to install screen door mesh is the same for window screens, since most window screens have a groove for spline, just like a screen door does. The only difference is that window screen frames are lightweight and relatively flimsy, so you have to be careful not to make the screen too tight and cause the frame to bow inward.
If this happens while you're installing the screen, just pull up the spline and start over, making the screen less taut. If the frame is permanently bowed, remove the screen, disassemble the frame and gently press the bowed piece against a flat surface to straighten it.