How To Fix A Sticking Or Sagging Door
Doors tend to sag and stick for one of three reasons: the hinges are loose or bent, the door frame has shifted so it's out of square, or the door has swollen from humidity. Hinges are the most common culprits, and fixes for hinges tend to be the least invasive, so it's always best to check the hinges first. If the door frame is out of square or the door has swollen, you can try some simple tricks before resigning yourself to the last resort: heavily sanding or cutting down the door.
 Black & Decker
Tightening Hinges on a Sticking or Sagging Door
Tightening Hinges on a Sticking or Sagging Door
Loose hinges are the primary causes of sagging doors. And when doors sag, they tend to stick because they rub against the door jamb on the latch side of the door opening. Almost all sagging doors are due to loose hinges. Ususally this is the top hinge, but it's not unheard of for a bottom hinge to bend under weight (such as from kids using the door like playground equipment). So it makes sense to check hinges for both problems.
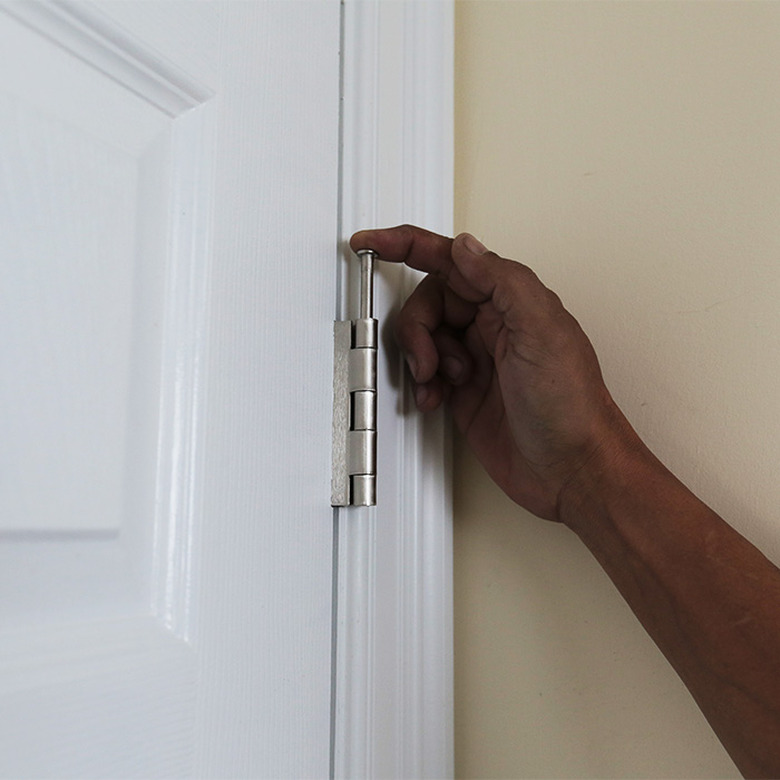
To check for loose hinges, open the door a few inches, then grip the latch-side edge of the door and lift up. If you feel play in the door, one or more hinges are loose. Repeat the test while watching each hinge for movement. Loose hinges are caused by screws in the door or the door jamb losing their grip.
Try to tighten loose screws with a screwdriver while lifting up on the door to support some of its weight. If the screws tighten, great. If they don't, this means their holes are stripped. To re-secure secure stripped screws:
 alex_skp/iStock/GettyImages
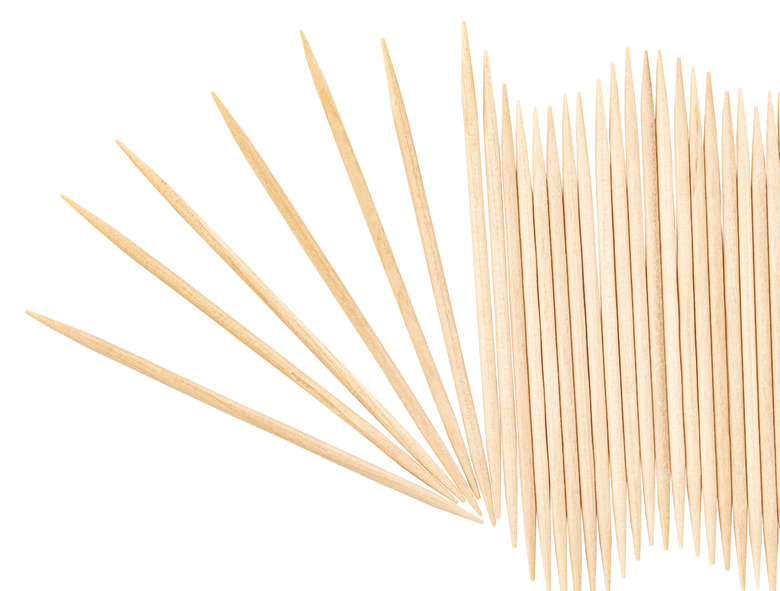
- Remove the problem screw.
- Coat a few wooden toothpicks or a wooden skewer or golf tee with wood glue (regular white glue will work if you don't have wood glue).
- Insert the toothpicks as far as you can into the screw hole, then snap or cut them off flush with the door or jamb.
- Drive the screw back into the hole. The glue will dry fully in 24 hours. If the screw still doesn't hold, replace it with a slightly larger and/or longer screw; just make sure the screw head sits flush with the hinge.
In addition, there's one other fix for a hinge that's loose in the door jamb: Remove the middle screw of the hinge; this should be the screw that's closer to the center of the jamb. Drill a pilot hole through the center of the screw hole, using a 3/32-inch (or thereabouts) drill bit. Drive a 3-inch flathead wood screw into the hole, using a drill-driver. The screw will go through the door jamb and into the wood stud of the rough door framing, tightening the hinge and pulling the door jamb slightly toward the stud.
 Lowe's
Straightening a Hinge on a Sagging Door
Straightening a Hinge on a Sagging Door
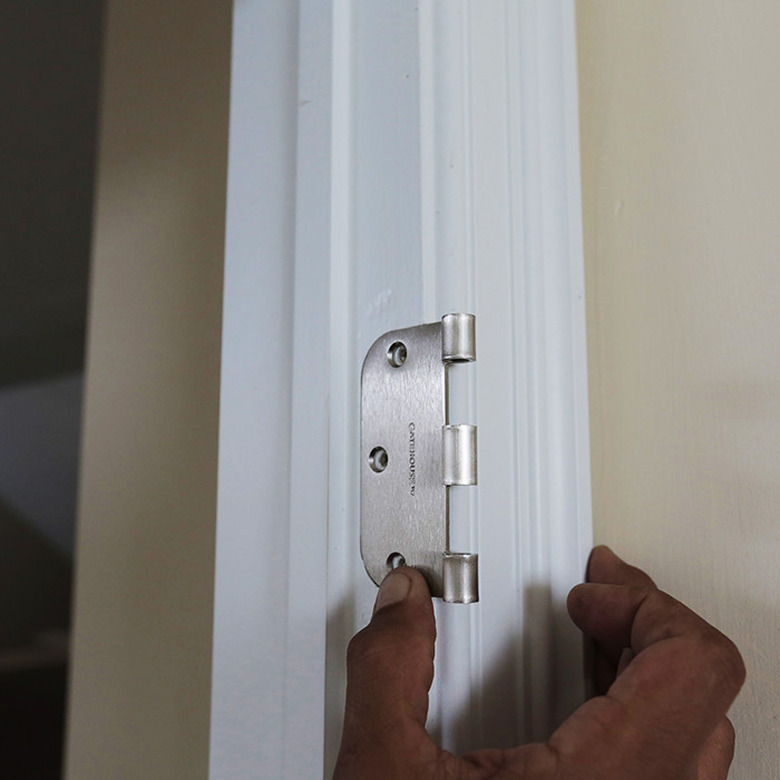
If the hinge leaves (the flat metal plates) are tight to the door and jamb, but the hinge knuckles (the cylinders that the hinge pin fits through) look a little funky, the knuckles may have bent, allowing the door to list toward the latch jamb. You can straighten each knuckle with a large pair of tongue-and-groove pliers or with an adjustable wrench (although it can be tricky to get a grip with a wrench). Leaving the door in place, bend the knuckles slightly (don't overdo it) toward the hinge jamb. Stop bending when the door opens without sticking.
Easy Fixes for a Sticking Door That Doesn’t Fit
Easy Fixes for a Sticking Door That Doesn't Fit
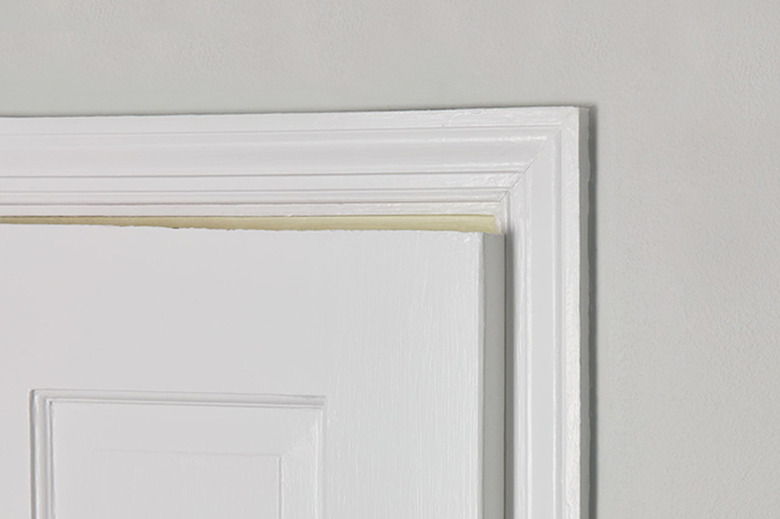
An out-of-square frame and a swollen door have the same result: The door doesn't fit in its opening. Door frames go out of square when the structural framing around them settles over time, pushing the door frame diagonally. Doors swell when the humidity goes up. Neither is an easily fixable problem, so the best solution is to alter the door frame a bit.
Start by opening and closing the door to identify where the rubbing occurs. If the rubbing is slight, try tapping the offending area of the door jamb outward, using a hammer and a block of scrap wood to protect the jamb from the hammer blows. Give the jamb a few raps, then check the door fit. You don't want to move the jamb too far because the paint will split where the door trim meets the jamb or the wall. Sometimes moving it just a hair will do the trick.
If tapping the jamb doesn't quite cut it, and if the door or the jamb is heavily painted, you can sand either or both with 150-grit or finer sandpaper to gain a little more room. As before, sand a little, then check the fit. Don't sand so much that you expose bare wood and have to repaint, which puts you back where you started. If a little bit of sanding doesn't do it, you're better off removing the door, sanding or cutting off some of the edge, then repainting it.
 Lowe's
Sanding or Trimming a Sticking Door That Doesn’t Fit
Sanding or Trimming a Sticking Door That Doesn't Fit
Heavy sanding or cutting a door normally is necessary only when a door frame has settled significantly. Either method is an effective repair. Start by marking the portion of the door that needs to be sanded or trimmed, then remove the door and bring it to your work area.
To sand the door:
- Start with 60- or 80-grit sandpaper and a sanding block, or use a power sander. Sand down to your mark, using long, even strokes.
- Rehang the door and make sure it fits, with a little room to spare. If necessary, repeat the rough sanding.
- Remove the door and smooth the sanded area with 150-grit sandpaper, then prime and paint the bare wood to match the rest of the door. If the door has a stain and/or a clear finish, follow the 150-grit with 220-grit for a smoother surface, then refinish the bare wood and rehang the door.
To trim the door:
- Mark the cutting line on the door, using a straightedge.
- Score along the cutting line with a sharp utility knife, making two or three passes to score the wood deeply. This helps prevent splintering along the cut edge and is particularly important when cutting along the top or bottom of the door (against the wood grain).
- Clamp a straightedge guide to the door to guide the saw and ensure a clean, straight cut.
- Set a circular saw to cut a bevel that matches the door edge—if you're cutting along the latch-side edge (see Warning, below).
- Cut the door with a circular saw.
- Sand the cut edges smooth with 150-grit sandpaper, then prime and paint the bare wood to match the rest of the door. If the door has a stain and/or a clear finish, follow the 150-grit with 220-grit sandpaper for a smoother surface, then refinish the bare wood, and rehang the door.
Warning
The latch-side edge of most doors is beveled at about 2 to 3 degrees so the door is slightly narrower on the side that closes against the door stops. Be careful to maintain the same bevel when sanding or cutting down this edge of the door.