How To Install A Screen Door
We may receive a commission on purchases made from links.
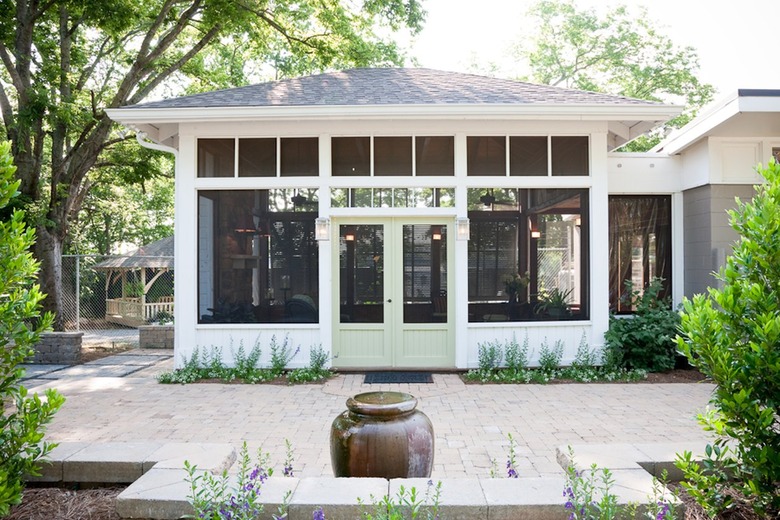
Whether you want to let in more natural light or you enjoy a nice summer breeze, a screen door protects you from pesky bugs and adds a bit of interest to your home's exterior. And luckily, installing a screen door on your front door or back door is nowhere near as difficult as installing the actual exterior door, and in fact, the most difficult part of the job will probably be lifting and transporting the screen door itself.
Screen doors come in metal (usually aluminum), vinyl, and wood, and installing any one of them on your front door can increase your home's curb appeal. Most even come with all the hardware you need for installation.
Remove the Existing Door
Remove the Existing Door
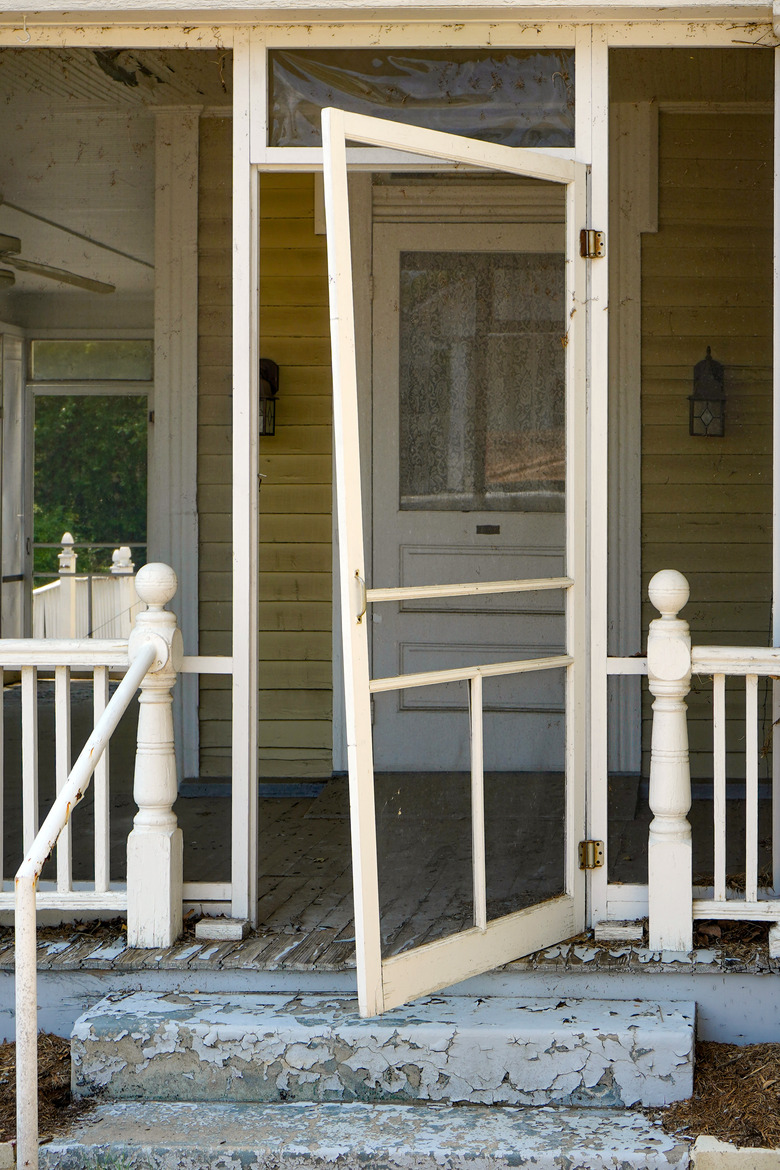
If you're replacing an existing screen door, you'll want to remove that door before you measure for the new one. If the door is wood, it may be mounted directly on the door frame, and all you have to do to remove it is disconnect the door closer and unscrew the door hinges from the frame.
If the door is metal or vinyl, however, you'll also have to remove the frame:
- Start by removing the screws holding the door closer to the door using a drill and a screwdriver bit or a screwdriver.
- Remove the screws from the door frame. It's best to close the door before you do this to prevent it from falling. Back out all the screws and lift the door and the frame out of the opening. If you want, you can then unscrew the hinges from the door to separate the door from the frame.
- Take down the frame from the latch side of the door opening and then take down the top frame.
- Unscrew the door closer from the door frame. If you plan to reuse this, you'll probably need to reinstall it in a slightly different place to accommodate the new door, so it's best to remove it.
Measure for a New Screen Door
Measure for a New Screen Door
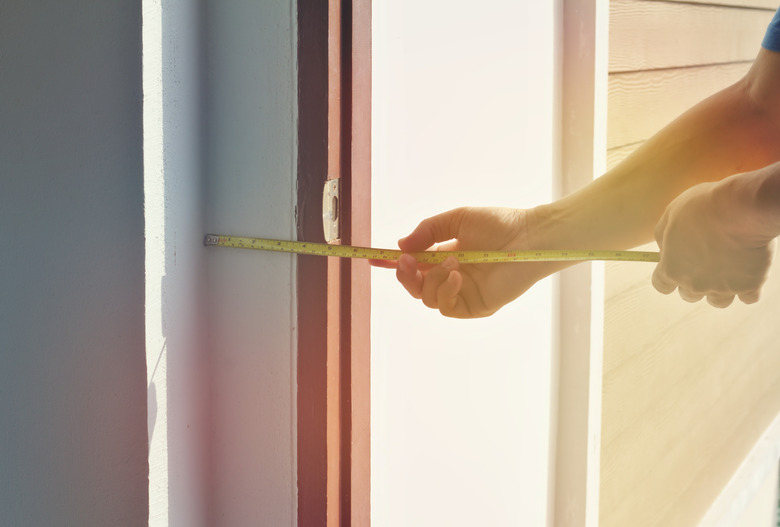
Before you get to the actual installation, you need to measure to make sure the door size matches that of the door frame. Your new screen door should be slightly smaller than the door opening with a clearance of at least 3/16 inch on all sides to ensure smooth operation. If you choose a wood or metal door, you can cut it to fit, but you can't do that with a metal door, so be careful.
The door frame may not be exactly square, so you need six measurements to determine the door size. Using a tape measure, take width measurements at the top, bottom, and middle of the frame and then take height measurements at the left, right, and center. Your new door should not be wider than the smallest width measurement, and it shouldn't be taller than the smallest height measurement (including the 3/16-inch door clearance). If the measurements are significantly different, you might have to modify the door frame or use shims to stabilize the side rails against the door jamb.
How to Install a Metal Screen Door
How to Install a Metal Screen Door
Things Needed
Screen doors and the procedures you use to install them vary from manufacturer to manufacturer. Be sure to read the manufacturer's instructions for any that apply specifically to your door kit. This is especially important when it comes to installing the door lock and handle.
1. Decide Which Way the Door Should Swing
Screen door kits are usually reversible. You want to install the screen door so the door hinges are on the same side of the door jamb as the hinges for the entry door. That way, when you open the screen door, the handle for the entry door is right in front of you.
2. Set a Placeholder Screw for the Hinge Rail
The hinge rail is the part of the metal frame that holds the hinges and supports the door. Set it in position on the hinge side of the frame with its outer edge flush with the exterior door trim and push it up tight against the top of the door frame. Using a drill and screwdriver bit, drive one screw loosely through one of the holes near the top of the rail and then lift the rail and remove it, leaving the screw in place. There should be at least one hole with a wide opening and a narrow channel underneath that allows you to do this.
3. Attach the Hinge Rail and Sweep to the Door
Slip the door sweep that comes with the kit onto the bottom of the door and then slip the hinge rail onto the hinge side. Drive screws through the hinges to secure the hinge rail to the door. Screw the sweep to the bottom of the door. If the door comes with an extension to close the gap between the rail and the door sweep, push it all the way down.
4. Hang the Door
Lift the door into the frame and hang it on the placeholder screw. Using a drill and a 3/16-inch drill bit, drill pilot holes through all the holes on the inside of the hinge rail and then drive screws to secure the rail to the door frame. Close the door and drive more screws though the outer edge of the rail.
5. Install the Drip Cap and Strike Rail
Screw the drip cap (the piece that prevents water from getting in between your screen door and your main exterior door) to the top of the door frame and then screw the strike rail to the opposite side of the door frame. Push down the rail extension to cover the gap between the rail and the threshold.
6. Install the Door Handle and Door Latch
Most screen doors come with a handle and latch, a template for marking their position on the door, and detailed installation instructions. Most templates snap onto the edge of the door and indicate where you should drill holes for the handle. The instructions will indicate the size of drill bit you should use, which is different for different handles. After drilling the holes, attach the handle with the hardware provided.
7. Install the Latch Plate
The latch plate is analogous to a door strike (the metal plate with a hole that catches the door latch to keep the door closed). Chisel or drill a cavity in the door jamb deep enough for the latch to hook behind the bar on the latch plate and then screw the latch plate to the jamb.
8. Add a Door Closer
Screw one end of a pneumatic door closer (which usually comes with the door kit) to the door jamb and the other end to the inside of the door. The best placement depends on the design of the door. If there is a central panel, mount the door closer to the side jamb of the door frame and screw the other end to the central panel. If there is no panel, mount the door closer to the top jamb of the door frame and secure the other end near the top of the door.
Installing a Wood Screen Door
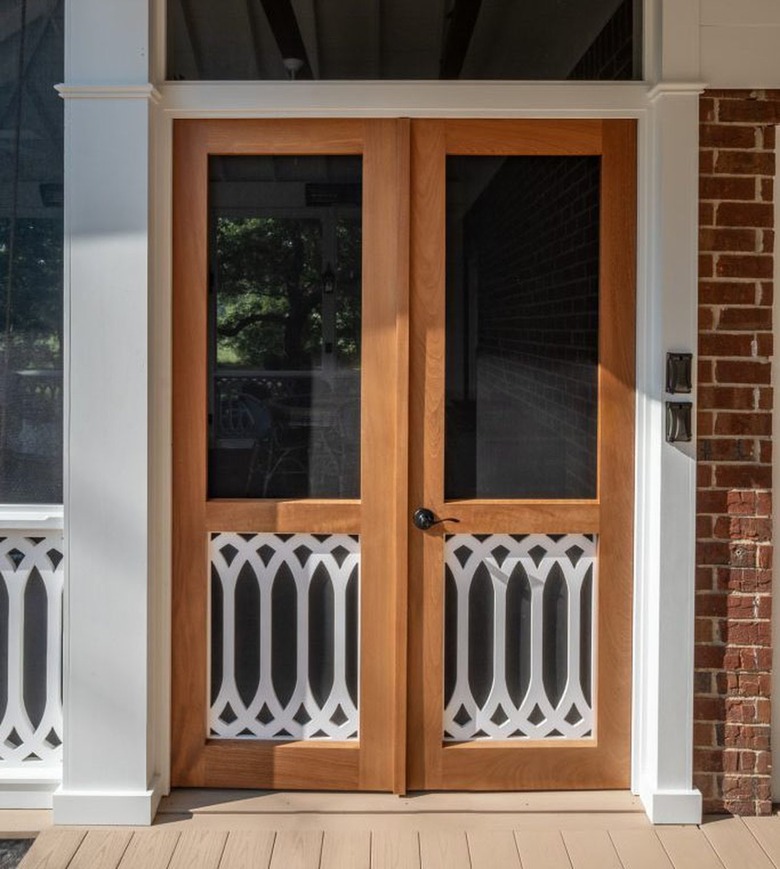
Installing a Wood Screen Door
If you choose a wood screen door, it should fit inside the existing door jamb with its outer surface flush with the exterior trim. Wood screen doors are very light and can easily be supported inside the frame on shims while you screw surface-mount hinges to the outside of the door and the trim. If you use spring-loaded hinges, the door will close by itself without the need for a door closer. Installation of a C-handle on the outside and a screw-on hook-and-eye latch on the inside of the door complete the installation.