How To Paint A Dresser: A Complete DIY Guide
We may receive a commission on purchases made from links.
Painting a dresser is one of the easiest DIY furniture makeovers you can take on, especially if the surface is flat and solid with minimal detailing. But no matter what you're working with, the most important things you can do to ensure the project goes well are to buy the right paint and do the proper prep work. With good paint and a little preparation, the actual furniture painting process is fairly simple.
Choosing Paint, Primer, and Sealer
Choosing Paint, Primer, and Sealer
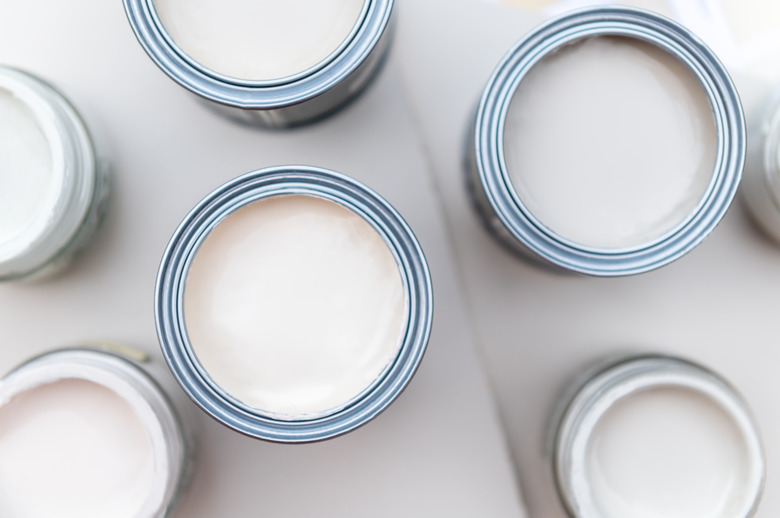
While most paints can technically be used to paint a dresser, the reality is that some are much better for painting furniture than others. Generally speaking, experts suggest staying away from oil or latex paint designed to paint the walls of your house, as these are likely to peel unless you almost completely sand off the finish and apply a primer to help the paint stick better. That's why DIY beginners should stick with either dedicated furniture paint or chalk paint, which will give the best results with minimal effort. You should only need one pint of paint to finish your dresser makeover.
Some of the best paint for furniture has both primer and sealer included, but it is important to remember that even if you choose one of these paints, you may still need additional primer. If you are painting over natural or stained wood, it's critical to use a primer — otherwise the tannins may bleed through and ruin your new paint color. Prevent this from occurring by using an oil-based primer that will block stains from leaking through. Primer can also be useful in reducing the number of coats you will need if you are painting a darker dresser a lighter color, meaning you'll spend less time painting.
Whether or not you should seal your paint and how to do so is a matter of personal preference, on which even experts disagree. Many furniture paint companies sell sealing wax, which can protect the paint and make the color look even deeper, but waxes are harder to work with than topcoat varnishes, and they need to be reapplied every few months. A varnish may last for years, which is why top coats are a better option for most people. Even furniture paints that have sealer included in the formula will have their life span extended by the application of a good topcoat, which helps protect the paint from scuffs and scratches. Topcoats can be found in a variety of finishes, including matte, satin, semigloss, or gloss, so no matter what finish you're envisioning on your dresser, you can find a compatible topcoat.
What About the Hardware?
What About the Hardware?
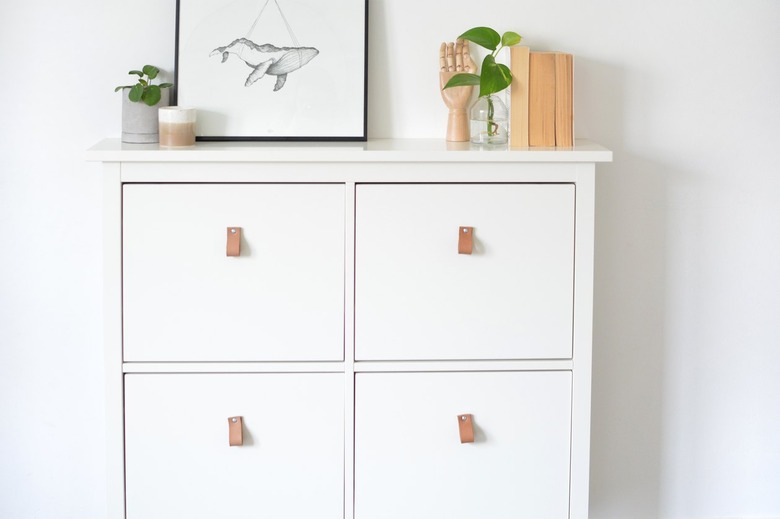
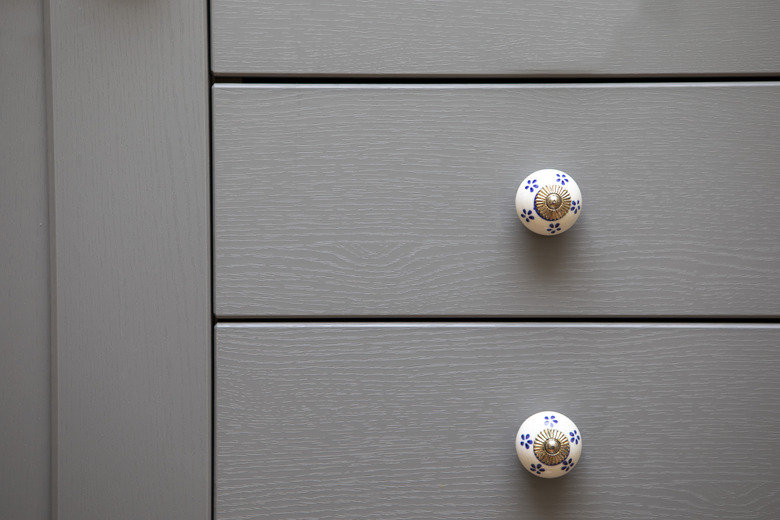
It's important to decide what to do with your hardware ahead of time because if you plan to replace it, you'll want to use wood filler to fill the old hardware holes in the wood before you start painting. While it's easy enough to find new drawer pulls and knobs for sale in hardware stores and online these days, you can save money and preserve the original character of your wood furniture by doing a little DIY restoration of the original hardware instead.
It's advisable to watch a tutorial on painting hardware before diving in, but the process is fairly simple: Clean the metal with rubbing alcohol, lightly sand the surface to improve paint adhesion and remove any tarnish, and then apply paint. To spray paint, use a paint and primer in one. Affix the hardware to a cardboard sheet or box using the hardware's screws poked through the back side of the cardboard. This makes it easy to cover all sides without needing to touch the pieces. Alternatively, a lot of experts love Rub 'n Buff, a long-lasting wax finish with metal pigments that is simply rubbed onto the surface with a soft cloth.
How to Paint a Dresser
How to Paint a Dresser
Things Needed
-
Spray-on oil-based primer
-
Furniture or chalk paint
1. Take the Dresser to Your Work Area
Move the dresser to wherever you intend to paint it. While most furniture paints can be used over a drop cloth indoors since they have low-VOC (volatile organic compound) or no-VOC formulations, if you are using a primer or topcoat, it's best to work outside or in a well-ventilated work area. If working outside (in a garage, on your patio, etc.) isn't an option, open windows and doors in the room you're working in if possible and turn on a fan or two to increase air circulation.
2. Take the Dresser Apart
Take the drawers out of the dresser. Remove all hardware using a screwdriver and set the hardware aside.
3. Clean the Dresser Inside and Out
Use a degreaser to clean the outside of the dresser and drawers as well as the inside of the drawers. Rinse off the residue with a clean, damp sponge and then dry with a clean towel. Dust the inside of the dresser using a microfiber towel.
4. Repair and Sand the Dresser
Fill all gouges, holes, and dents with wood filler using a putty knife. Let the putty dry (that usually takes at least two hours) and then sand it with 150-grit sandpaper until it is even with the surrounding area. If there are any scratches or loose or flaking paint or finish on the dresser, get rid of the issues with 150-grit sandpaper and then smooth with 220-grit sandpaper. While furniture and chalk paints will adhere to most dressers without sanding the entire piece of furniture, it is hard for any paint to adhere to high-gloss finishes. If you have a shiny finish on the piece, go over the entire surface with 220-grit sandpaper until the sheen is reduced in order to improve adhesion. Go over the surface of the dresser with a tack cloth to remove all sanding dust.
5. Use Painter's Tape as Needed
Apply painter's tape to protect any areas on your dresser you can't remove but don't want painted, such as hardware, upholstered areas, mirrors, etc.
6. Apply Primer if Necessary
If you need to apply primer, use a spray-on primer, holding the can about a foot away from the surface and moving it in slow, even lines, covering the top of the dresser, then the sides, and then the front of the face, making sure to hit the edges of the front grid as well. Spray the faces and the side edges of the drawer fronts. If you're painting the sides and/or inside of the drawers, apply primer to these areas as well.
You only need one coat if you're going from a darker color to a lighter shade, but when you need to prevent bleed-through, apply two coats, allowing the primer to dry between coats. Allow the primer to dry for 24 hours before painting. Lightly sand any areas where the primer is too thick with 220-grit sandpaper.
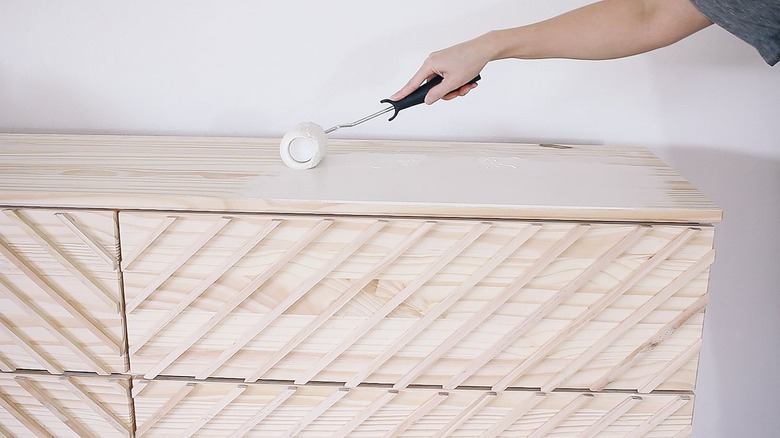
7. Paint With a Brush First
Apply paint with a brush to detailed areas that will be difficult to hit with a roller and use a stippling motion rather than brush strokes. Only use a little paint at a time and reapply as needed — otherwise you may get drips. Work slowly and use your brush to smooth out any drips as they appear. Start with the top of the dresser and then do the sides, then the front, and then hit any detailing on the drawer fronts followed by the corners inside the drawers if you plan to paint inside the drawers.
8. Paint With a Roller
Use a roller on the flat surfaces. This will leave a smooth finish and let you cover the remaining area quickly. Paint the dresser's top, sides, and front, including inside the drawer openings. Then, paint the drawer fronts. You don't need to paint inside the dresser unit. Allow the first coat of paint to dry as directed.
9. Apply a Second Coat
Follow the same painting process to apply a second coat. You may need a third coat of paint if you are covering a darker color and didn't use primer.
10. Apply Sealant if Desired
If you're using a varnish, check the manufacturer's directions for applying it over new paint and find out how long to let the paint dry before sealing. Use a sponge applicator to apply the topcoat to all painted surfaces. The sponge applicator will leave you without the brush strokes or bubbles that you may get from paintbrushes or rollers. Allow varnish to dry and apply a second coat for sufficient protection.
11. Clean Up
Allow the final coat of paint or topcoat to cure at least overnight before reinstalling the hardware and putting the drawers back in. Remove any painter's tape and then carefully move the dresser back to its final location. Be very careful with the dresser for the next few weeks, as it can take up to a month for the paint and topcoat to fully cure, meaning your newly painted dresser will be easy to scratch until that time.