How To Paint Formica Kitchen Cabinets
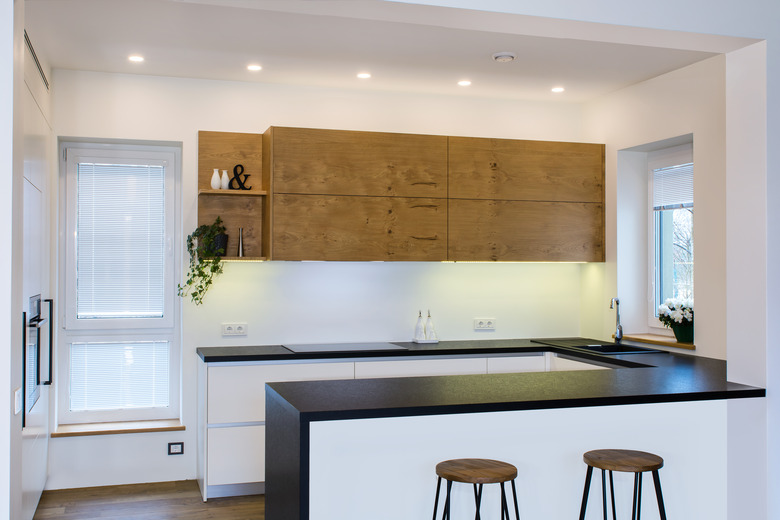
Dealing with outdated Formica cabinets? If a total replacement isn't in the budget, painting veneer cabinets and laminate cabinets is an option for a fresh and budget-friendly new look. Because it's non-porous and smooth, Formica makes it difficult to apply paint evenly, and the paint can peel right off. With proper preparation, you can refresh your cabinets with a smooth, lasting coat of paint.
Things Needed
-
Ammonia
-
Rags
-
Fine sand paper
-
Electric sander (recommended)
-
Primer
-
Paint
-
Painter's tape
-
Brushes
-
Roller
-
Drop cloth
-
Box cutter
-
Spackle (optional)
1. Remove Doors and Hardware
Remove your cabinet doors and all of the hardware. This makes them easier to work with and allows you to paint the cabinet frames easily. If you're planning to replace or change any of the hardware that'll require new holes to be drilled, fill the existing holes with spackle.
2. Clean Formica Kitchen Cabinets
Clean each door thoroughly with a mixture of 1 cup of ammonia and 1 gallon of warm water. Use ammonia very carefully in a well-ventilated room as the fumes are strong and the concentrated chemical can burn the skin. You can also use a degreasing cleaner. This will remove any grease or build-up before painting laminate cabinets with chalk paint or other paint types to help it adhere better. Allow the doors to dry.
3. Sand Surfaces
Put on googles, a breathing mask and gloves to protect yourself from Formica dust before roughing up the surface to help the paint stick. Using an electric sander, begin sanding the doors with fine sand paper. If you don't have an electric sander, you can sand by hand with elbow grease. Sand all the surfaces, including the edges, evenly and thoroughly until it feels slightly rough and grainy. Any spot not sanded well enough won't take paint well, and the paint will easily scratch off with use.
4. Remove Dust
Vacuum the loose dust off of all surfaces of the Formica kitchen cabinets. Wipe down the cabinets thoroughly with a damp rag to remove any remaining dust. If there are any areas on the cabinet that you aren't painting, cover them with painter's tape.
5. Prepare Cabinet Frames
Wash and sand the edges and sides of the cabinet frames that you want to paint as well, the same way you did the doors. Cover any areas around the cabinets that you don't want painted with a painter's tape, such as where it meets the wall or ceiling.
6. Prime Cabinets
Apply two to three coats of a good, thick primer, such as Kilz, to all the surfaces you want to paint. As you're priming, check to see if there are any areas that aren't accepting the primer. These areas will look like the primer is smearing onto a slick surface rather than absorbing into it. This means the spot wasn't sanded well.
7. Resand When Necessary
If you have any spots that require more sanding, wipe away the primer and re-sand them. Clean away the dust and prime them again.
8. Dry Primer
Allow each coat of primer to dry between applications. Allow the final coat to dry for 12 to 24 hours.
9. Paint Cabinets
Apply your paint, which will now adhere to the coats of primer. You will probably need about two coats because much of it will soak into the primer, but this will largely depend on the quality of your paint.
10. Dry Paint
Allow the paint to dry. If you used painter's tape that needs removing, use a razor or box cutter to run along the edges of where the paint is supposed to stop. That way, when you pull the tape off, if any thick drips of paint overlapped it, it won't peel the paint off with it.
11. Attach Hardware and Doors
Replace your hardware, drilling new holes if you need to. Re-attach your cabinet doors.