How To Paint Ikea Furniture
Got a Malm that needs a makeover? Want to paint your Pax? If you don't like the generic colors of your Ikea dresser, wardrobe or any other piece of Ikea furniture, it's easy to bestow character with a coat of paint. Ikea furniture lends itself exceptionally well to repainting, because most of it is made from particle board or softwood, both of which are eminently paintable. You'll find plenty of design ideas online—a plethora of sites devote pages to this undertaking.
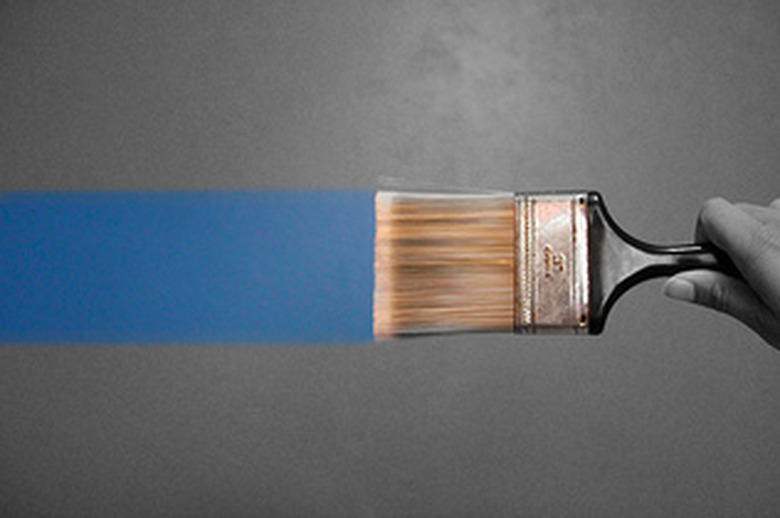
You can paint by brush, roller or spray. The method you choose depends on the desired appearance as well as on the paint material you use. Spraying lacquer or colored polyurethane gives a lustrous new-furniture look, while a brush is the tool of choice for latex or low-VOC enamels. Some people prefer the mottled appearance of a rolled surface, even on furniture. Virtually any type of furniture paint will work, but unless you're staining an unfinished dresser unit, such as Tarva or Rast, you should apply a coat of primer first. Even before you get to the primer, you need to prepare the old finish for what you're about to do, using some cleaning supplies and sandpaper.
The Basic Makeover Procedure

The Basic Makeover Procedure
It's fine to paint Ikea furniture after it has been assembled, but if you're looking for a truly professional makeover on something you just purchased, it's better to paint before you start working through the hieroglyphics in the assembly manual. You'll get better coverage, especially in tight corners, and you'll have more control, which is especially important if you're using more than one color. You're also less likely to have sags and drips.
Unpack the piece and separate the parts that need to be painted from those that don't, such as drawer interiors. The rest of the parts usually have a factory finish on both sides, so you'll need the manual to determine which sides of those parts will be visible.
Things Needed
-
Newspapers or plastic sheeting
-
Trisodium phosphate (TSP)
-
Rubber gloves
-
Bucket
-
Sponges
-
180- and 220-grit sandpaper
-
Clean cloth
1. Preparation
Find a dry, well-ventilated and well-lit place to work. Spread newspapers or plastic sheeting on the floor. Arrange the pieces in a systematic way that allows you to identify each one, either by lining them up against the wall or laying them out on a workbench. If you're painting an already assembled piece, remove the drawers and handles and take off the doors and hinges.
2. Degloss and Clean the Surfaces
Mix about 1/2 cup of trisodium phosphate with a gallon of warm water in a bucket and use this solution to rub down the finish on the pieces you're going to paint. TSP is a de-glossing agent, and it's also a strong detergent that will remove oils and grime from used furniture. Make sure to wear rubber gloves while using it.
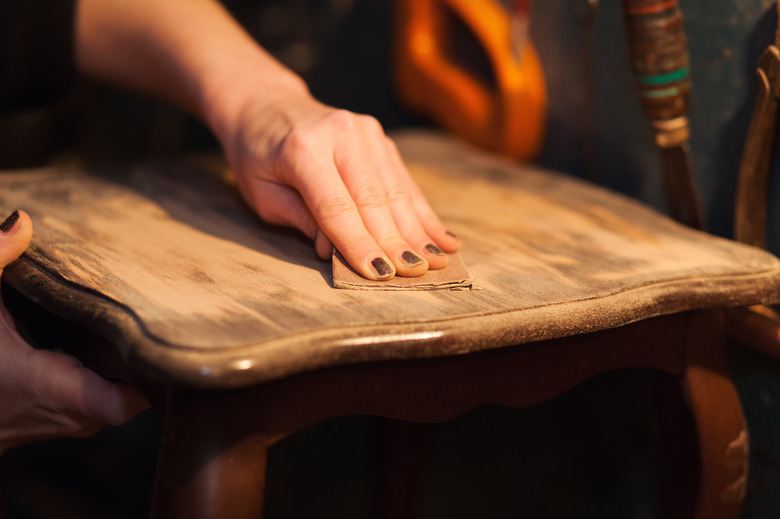
Fill another bucket with clean water and use another sponge to rinse off the TSP. Keep the sponge damp, but not soaking wet. Let everything dry, then lightly scuff the finish with 180- or 220-grit sandpaper. You can do this by hand; no need to use a sander.
3. Apply a Primer
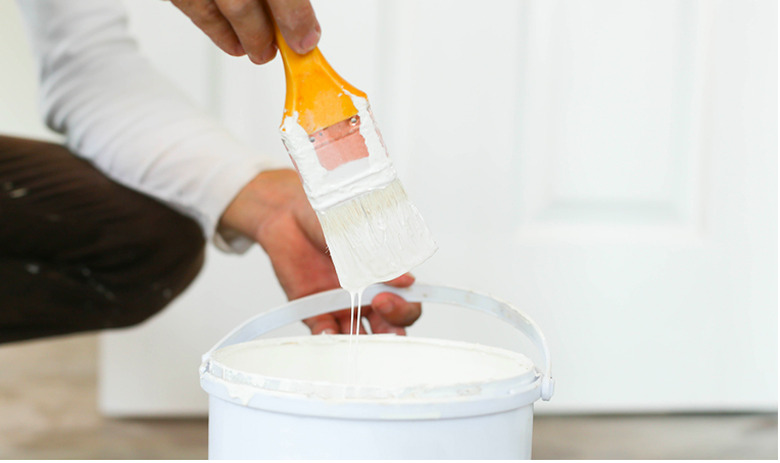
Apply primer to the surfaces with a brush or roller, or spray it from a can. No matter how you apply it, you'll want to make sure the product you use is a high-solids latex or shellac-based primer so it will bond to the finish and allow the new paint to stick to it. One thin coat of primer is all you need.
Use 220-grit sandpaper to lightly scuff the primer after it dries. Scuffing between coats makes the difference between an average finish and a super-smooth one. Tack off the sanding dust with a damp cloth.
 Major Painting
4. Paint, Scuff and Paint Again
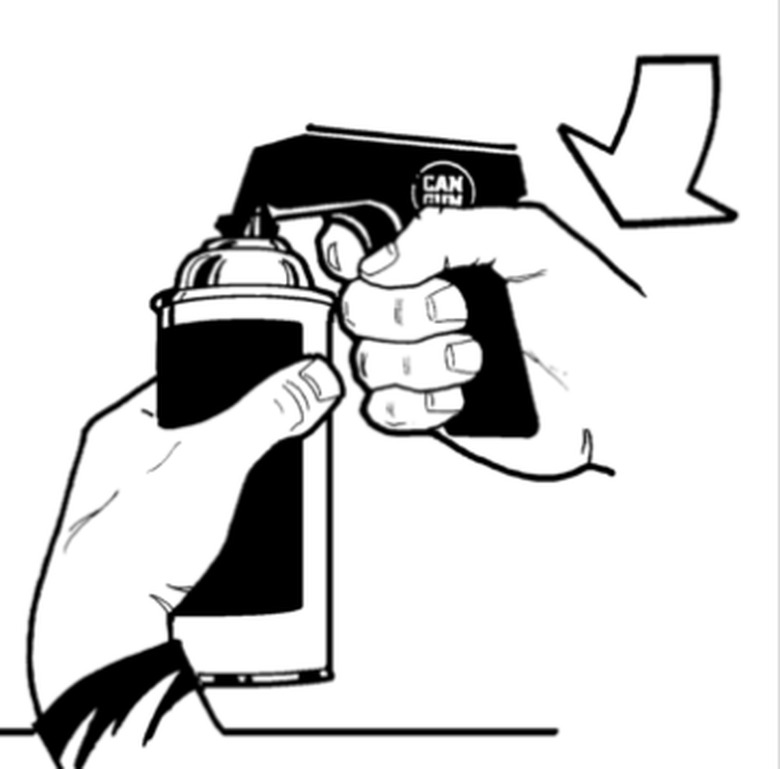 Can Gun 1
Brush, roll or spray the first coat of the color finish. When brushing or rolling, always move the application in the same direction to avoid cross-strokes which will stand out when the finish dries. When spraying, you usually get the best results when you do the same, but if you change directions to fill in a spot you missed, no one will notice. The goal is to leave a full wet coat with no drips or sags, but you can always sand the odd drip or sag with sandpaper before applying the second coat.
When the first coat is dry enough to touch without leaving a fingerprint, lightly scuff the surface with 220-grit sandpaper, wipe the surface with a clean cloth, and apply a second coat of paint. Be extra careful to avoid sags on this application. If any occur, and they are noticeable, you'll have to sand and apply a third coat to get rid of them.
Adding Pop to Your Project
Adding Pop to Your Project
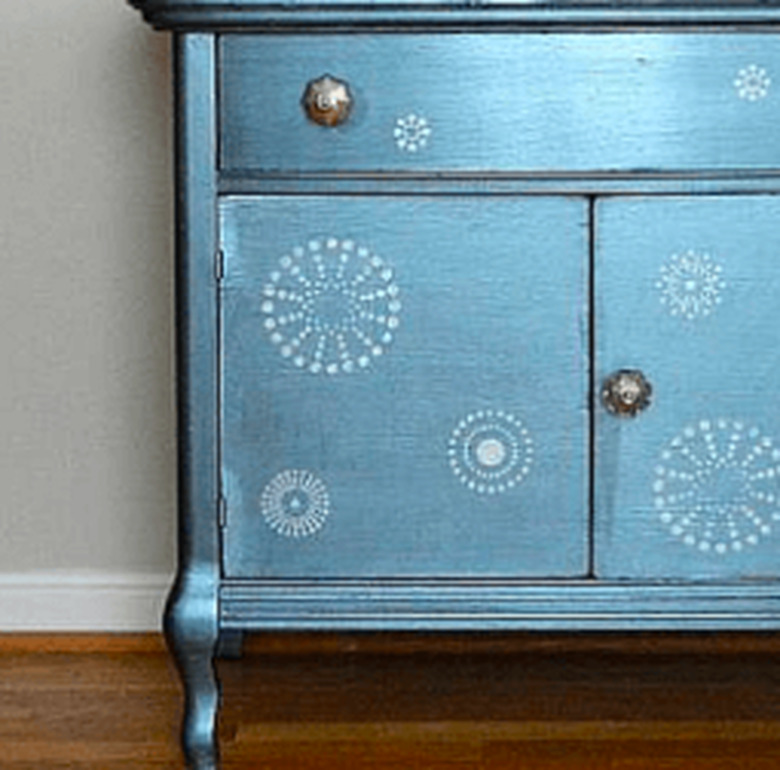
You'll probably be more than satisfied with your updated furniture after completing the basic procedure, but if you have a decorator's spirit, the fun is just starting. The lack of trim or moldings on Ikea dressers and nightstands makes it easy to paint stripes using masking tape, designs using stencils, or freehand musings of your own creation. You can use one of a number of faux finishing techniques to give your furniture a textured appearance that resembles marble, slate or weathered wood, or you can antique it.
If you decide to add a design, purchase a can of spray-on or brushable polyurethane finish to add a protective coat over the design.