The Do's And Don'ts Of Painting Appliances, According To The Experts
We may receive a commission on purchases made from links.
Painted appliances allow you to stop settling for the generic and boring black, white, and stainless steel finishes appliances usually are sold in. With the right supplies and a little DIY effort, you can instead enjoy stoves, microwaves, toasters, refrigerators, dishwashers, and more in crimson red, retro periwinkle, hunter green, or any other hue that suits your current decor. We spoke to experts in a variety of fields to provide you with the know-how you need to learn what to do (and what not to do) when painting appliances.
Do: Paint Appliances for a Budget-Friendly Makeover
Do: Paint Appliances for a Budget-Friendly Makeover
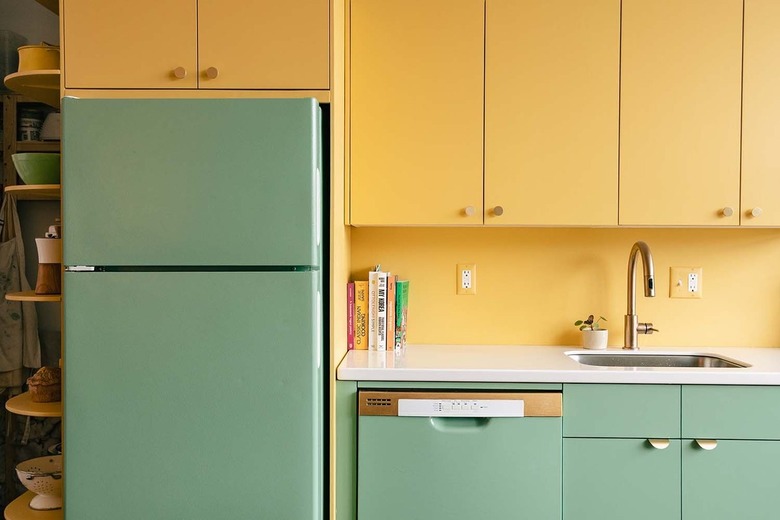
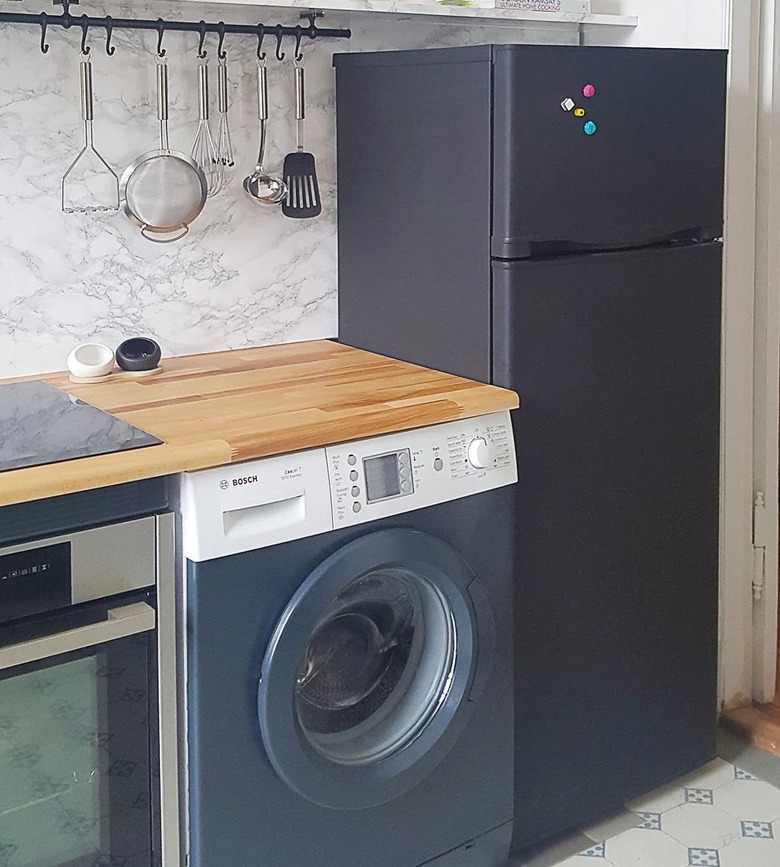
If you're considering appliance painting, we say go for it — just make sure you're following the necessary safety precautions and using appliance paint, which comes in standard formulas for brushing or rolling and in spray cans. If you use the right supplies, you can paint almost any surface. Consider painting the major appliances in your kitchen — like the black painted refrigerator on Little House on the Corner — or paint your washer and dryer to give them a new lease on life (at least looks-wise) while giving your laundry room a makeover. You can paint your appliances a bright color, give them an interesting pattern, or paint them to look like shiny new stainless steel appliances.
Do: Take Safety Precautions
Do: Take Safety Precautions
Always prioritize safety no matter what DIY project you're working on. When it comes to painting, including appliance painting, follow these safety rules:
- Work in a Ventilated Area: Make sure that the room in which you're working has good ventilation. That means opening doors and windows to improve airflow and/or turning on a fan or two. Exposure to high concentrations of paint fumes can cause skin irritation, dizziness, headaches, and nausea. Good ventilation prevents paint fumes from accumulating.
- Wear Personal Protective Equipment: If you get paint on your hands, face, or anywhere on your body for that matter, it may irritate your skin and/or your eyes. That can be unbearably painful, and if left untreated, it can even affect your long-term vision. Prevent this from occurring by wearing protective equipment, like goggles, gloves, long sleeves, long pants, and closed-toe shoes.
- Clean Up and Store Paint Safely: When you're finished with your project (or just done for the day), make sure to pick up and store all the paint and other supplies left over in your workspace, especially if you have kids or pets who may get into them. Some paints contain chemical irritants, while others are flammable. To be safe, store them out of reach and out of direct sunlight or anywhere warm. Store anything that has been exposed to paint, like brushes, outside or in the garage away from direct sunlight and open flames.
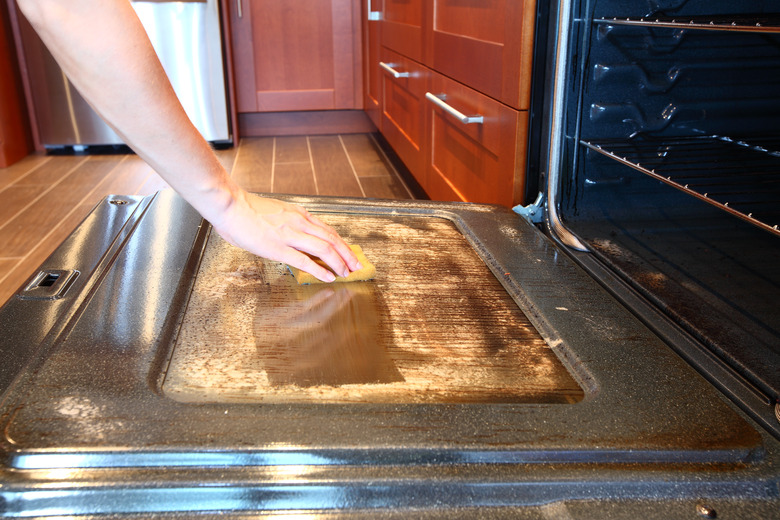
- Don't Paint Appliances That Get Too Hot: While there are specialty high-temperature paints for things like barbecue grills and wood stoves, they don't look ideal on shiny kitchen or laundry appliances. DIY appliance paint is rated only for a maximum of 200 degrees Fahrenheit, so it's not suitable for ovens, stovetops, toasters or toaster ovens, waffle irons, or anything else that gets hot to the touch. If a toaster has plastic parts that stay cool during use, you can probably paint those, but stay away from all metal parts. Likewise, never paint the interior of an oven, microwave, toaster, or other cooking appliance.
Don’t: Use Regular Latex Paint
Don't: Use Regular Latex Paint
To ensure that the paint adheres to the appliance and stays put over time, use appliance paint specifically designed for the material you're painting. Appliance paint has an epoxy formulation that cures to a very hard, durable enamel finish. You need this to withstand all the handling and washing an appliance is subjected to.
Tip
Check the label on the appliance paint you purchase to make sure it's suitable for the appliance you're painting and follow the application instructions to the letter. If you slap on the paint like you would on a wall, you probably won't be happy with the results.
Do: Plan Ahead
Do: Plan Ahead
Appliance painting isn't a DIY project to attempt on a whim; you need to plan in advance to ensure everything goes smoothly. Not only will you need to carve out a few solid hours to paint but you'll also need to plan around not being able to use the appliance for the duration of the project (at least a day).
If it's the refrigerator you're painting, Libby Mills, spokesperson for the Academy of Nutrition and Dietetics and registered dietitian in the Philadelphia area, suggests planning to paint it before stocking it with groceries for the week. She tells Hunker that removing and safely storing the food that's already in your fridge and freezer will prevent it from going bad while you work on your project.
Tip
After you unplug your fridge, give it at least two hours to properly defrost. While it's defrosting, the freezer may leak water as the ice and frost inside melts. Check that the appliance is dry before painting and clean up excess water with towels as needed.
Do: Unplug the Appliance Before Painting
Do: Unplug the Appliance Before Painting
Not only will unplugging your appliance before painting it make it easier for you to paint every side, but it will also keep you (and your home) safe while you work. Unplugging the appliance will allow you to move it to a more ventilated area where you can paint without breathing in hazardous paint fumes. Place a drop cloth over the floor or work surface before you begin to protect your floors against overspray or paint splatters.
Do: Clean and Sand the Appliance Before Painting
Do: Clean and Sand the Appliance Before Painting
As with any painting project, the surface must be clean and smooth before you apply paint to ensure it sticks and looks good. According to Curtis Bull, owner of Five Star Painting, sanding the appliance before painting it will rough up the surface to improve the bond with the paint. After lightly sanding glossy surfaces with 220-grit sandpaper once, Bull suggests checking for imperfections and repeating the process as needed until the appliance is completely clean and smooth.
Don't: Apply Just Any Primer
Don't: Apply Just Any Primer
Appliance paint is designed specifically to paint over a factory appliance coating, meaning you don't need to apply primer before painting. Some products actually recommend against using primer, so check the instructions on your product before using it to get the best results.
If you do end up needing a primer, make sure it's heat-resistant (especially if you're applying it to the outside of your microwave or toaster). Bull recommends choosing an extreme bonding primer to ensure everything adheres well to the surface of the appliance.
Do: Use the Right Tools
Do: Use the Right Tools
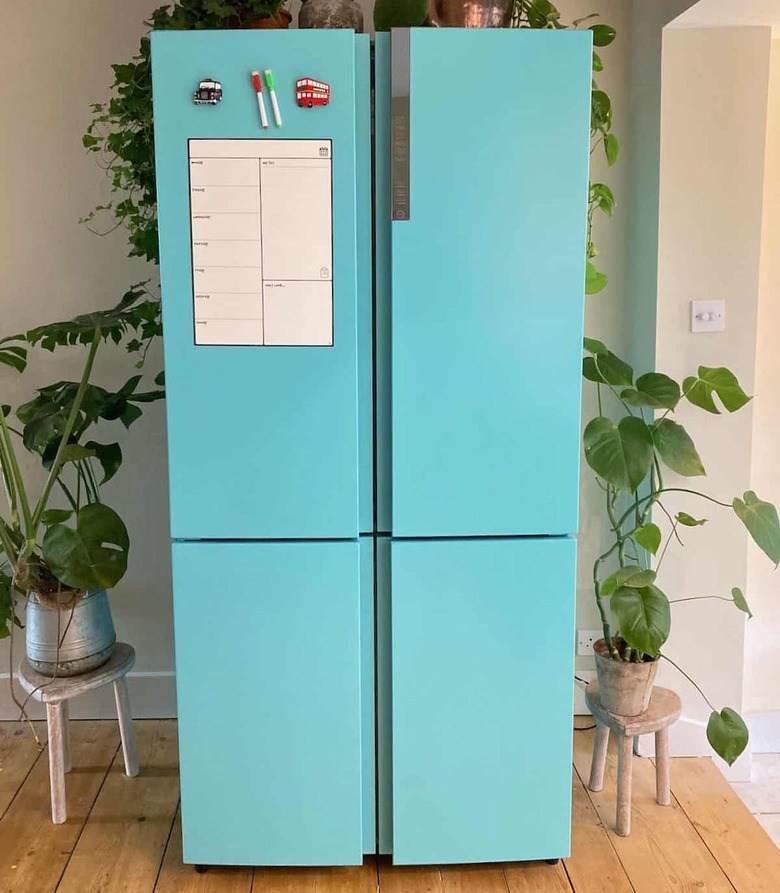
The tools you use to paint your appliance will ultimately depend on the type of paint you use. You can use either traditional appliance paint in cans or appliance spray paint. With regular paint, use a foam paint roller instead of a brush to get the smoothest application without visible brushstrokes (like you see on this fridge from Alpha Foodie). Keep in mind that rollers only work on flat, smooth surfaces, so it's best for painting large appliances, like your fridge.
If you're painting a smaller appliance or one with more hard-to-reach areas that require more finesse, it may be more effective to use spray paint or a small paintbrush to get the job done.
Don’t: Leave Food in the Appliance
Don't: Leave Food in the Appliance
You should clean any appliance that you're painting before beginning the project, but pay extra attention to appliances that may contain food, like refrigerators. Because you'll have to unplug the appliance before painting it, removing food is necessary to preserve it and make sure it's safe.
Mills tells Hunker that removing food from your fridge and freezer is essential for nutritional safety. "If the freezer is half full, the frozen food can keep up to 24 hours, but that is not going to give you the time needed to apply the paint and allow it to fully dry," she says. "Be safe and remove the food and store it in a cooler with block or dry ice."
Do: Remove Hardware
Do: Remove Hardware
The goal (well, at least one of them) of any painting project is to get a quality paint job in as little time as possible. Messes hold you back, so avoiding them helps speed up the process. One of the best ways to avoid a mess or having to touch up shoddy work while painting appliances or furniture is to remove hardware first. Remove knobs, handles, buttons, and any other removable hardware from your appliance before painting it. That way, you won't have to awkwardly maneuver around them while painting, and you'll eliminate the risk of accidentally splattering paint all over them. If the hardware does need painting, you can paint it separately. Reinstall the hardware once everything is fully dry.
Don’t: Forget the Painter’s Tape
Don't: Forget the Painter's Tape
Painter's tape is a great tool to keep in your arsenal for a variety of household DIY projects, especially painting. When painting your appliances, use painter's tape to protect electrical components, trim, and other things, like the blade of your blender, from getting unwanted paint on them. You can also use painter's tape strategically to make fun patterns on your appliance for an even bolder accent piece.
Do: Apply More Than One Coat
Do: Apply More Than One Coat
Applying multiple coats of paint will ensure that the color is consistent and none of the surface underneath shows through, whether that's stainless steel or dingy black or white plastic. Multiple coats of paint will also make sure the appliance is evenly coated and there are no visible blemishes.
Bull recommends applying at least two coats of paint. He says that for a quality paint job, you should let the paint fully dry and check for imperfections between each coat, sanding and cleaning as needed to remove drips and blemishes.
If you're going to use spray paint, be sure to get appliance spray paint that's specifically designed for your project. Spray it from 12 to 16 inches away slowly and evenly and then repeat the process once it dries for a second coat and again for a third coat. For the best results, keep coats of spray paint thin and apply a minimum of three coats.
Tip
Make sure to follow the instructions on your product when applying new coats of paint. Different products have different drying times. If you wait too long between coats, you could mess up the timing of your project. For example, with Rust-Oleum's brush-on appliance paint, you can recoat in one hour or after 24 hours. With its spray paint, if you don't recoat within 30 minutes, you should wait a week before adding the next coat. These specifics are related to the epoxy formulation of the paint and how it cures.
Do: Allow the Paint to Cure
Do: Allow the Paint to Cure
Once you're finished painting your appliance, allow it to dry while still unplugged. The paint you use will have specific instructions on the drying time. In general, you shouldn't handle the appliance for at least five hours (preferably overnight). Wait a few hours longer for paint to dry on heavy appliances, like fridges, because moving them will take a lot of force that could rough up the paint. Once it's fully dry, feel free to carefully put it back in its place and plug it in.
Keep in mind that this doesn't mean the coast is clear. Bull tells Hunker that some high-quality paint takes up to 30 days to properly cure, or fully harden. Bull says that just because the appliance is dry to the touch doesn't necessarily mean it's ready for full use. He suggests handling the painted appliance with care for a month to prevent handprints and residual skin oil from blemishing the paint.
Do: Consider Alternatives
Do: Consider Alternatives
If you want to give your appliances a makeover but painting isn't your thing, there are other ways to go about it.
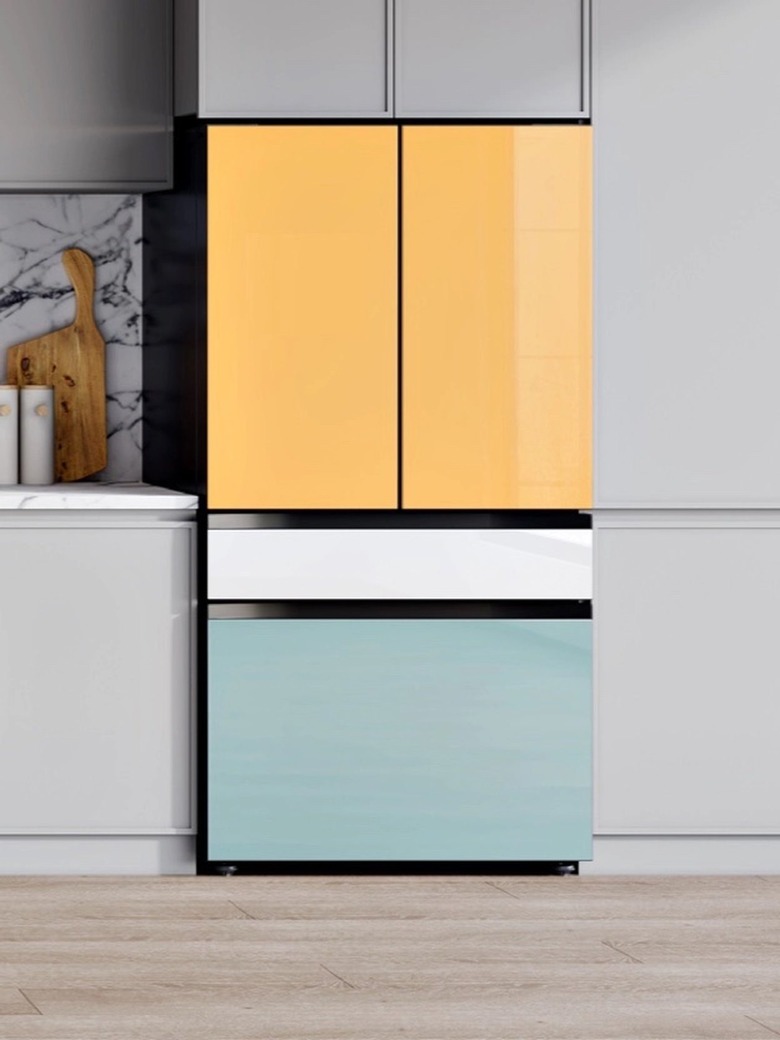
"It doesn't surprise us that people are looking for ways to customize their appliances," says Shane Higby, head of Home Appliance Business, Samsung Electronics America. "In fact, that's one of the reasons Samsung recently introduced its Bespoke line of appliances. Bespoke brings a new level of personalization that people are searching for but has never been offered in home appliances before. With Bespoke, you can select a color and finish — or mix and match colors — for a design that reflects your personal style." The appliances in its Bespoke line come in a variety of colors and finishes, like White Glass, Matte Black Steel, Clementine Glass, and Emerald Steel.
Contact paper is another budget-friendly option to customize your appliance without painting it. Contact paper is available in a wide variety of colors and patterns so you can pick one that looks just right. Many brands of contact paper are easily removable, so you can switch things up if you ever change your mind.