7 Tips For Painting Your DIY Shiplap Project
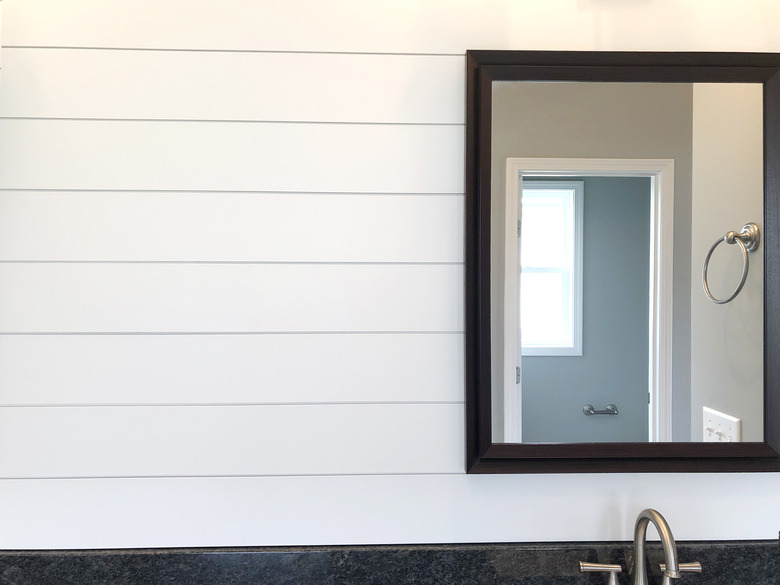
It's simple enough to paint a regular wall yourself, but shiplap is a different story — the grooves that give shiplap its distinctive appearance also make it quite the challenge to paint. It's easiest to start painting shiplap before installing the planks on the wall, but you'll still need to apply at least one coat after installation to cover imperfections, like nail holes and caulking. If your walls are already finished, it's still possible to DIY a high-quality paint job on a shiplap wall; it will just take a little longer and be slightly more of a challenge. These useful tips will help you as you tackle your shiplap project.
1. Prep Boards Prior to Installation
1. Prep Boards Prior to Installation
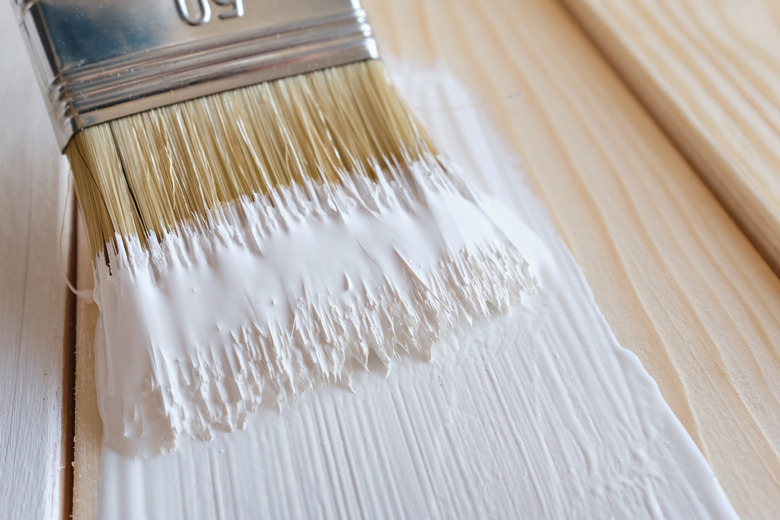
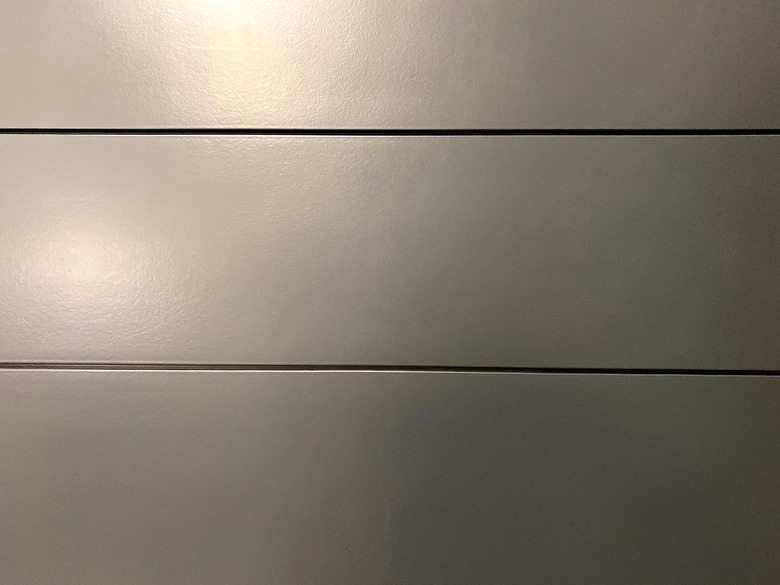
Before installing shiplap, pre-paint the front of the boards as well as the top and the bottom edges. The edges are particularly important, as they reduce the amount of time you'll spend using a small brush to access the gaps between the shiplap grooves. Apply two coats to ensure you get full coverage and a smooth result but keep in mind that you'll need to do some touch-up painting once the boards are installed in order to cover caulk, filler, and scratches.
2. Fill in Nail Holes
2. Fill in Nail Holes
Once you've finished installing the shiplap boards, you will need to fill in all the nail holes with wood filler and use paintable caulk to fill gaps along the corners of the walls (though only along the vertical sides, not along the baseboards or ceiling since you want to keep these horizontal lines for definition). You may choose to fill the vertical joints between adjoining planks with wood filler to create a seamless look, but some people prefer the more traditional appearance of having visible joints where the boards end.
Some homeowners appreciate the rustic look of knots in their real wood shiplap, but if you don't, make sure to fill these with filler as well. To fill the nail holes, joints between the boards, and knots, simply use a putty knife to push wood filler into the gap, smooth it flat, let it dry, and then sand with 220-grit sandpaper. Vacuum the planks to remove dust prior to painting.
3. Paint the Wall Behind Faux Shiplap for a Seamless Look
3. Paint the Wall Behind Faux Shiplap for a Seamless Look
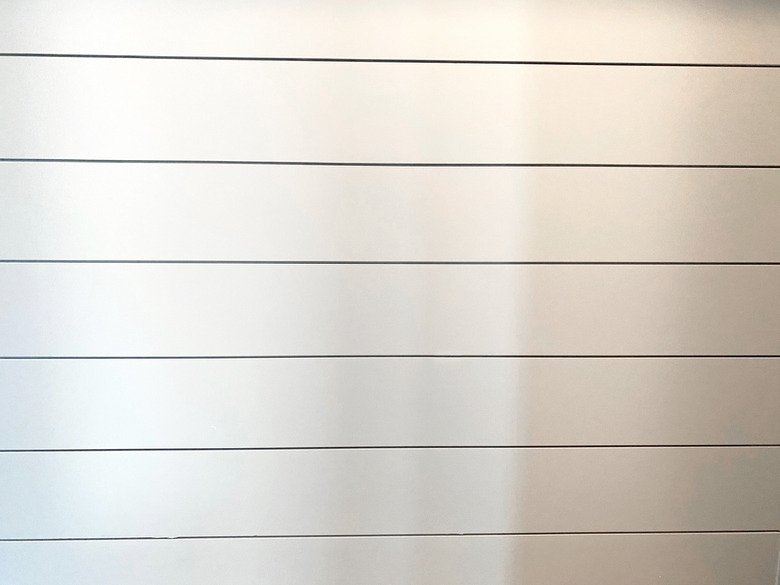
If you are using faux shiplap, the first thing you should do is paint the wall where you will be installing the boards so you don't need to paint the tiny gaps behind them after they are installed. Use the same paint you'll be using on the shiplap. While the project doesn't have to look perfect since it will only be noticeable through the shiplap cracks, you may need to do two coats to ensure you get even coverage, and if you're going from a darker shade to a lighter one, apply a stand-alone primer first.
Tip
Keep in mind that if you are repainting a shiplap wall or need to paint the wall behind your faux shiplap (where the wall will show behind the planks) and are going from a darker color to a lighter color, you should use a stand-alone primer.
4. Use a Combination Paint and Primer on Faux Shiplap
4. Use a Combination Paint and Primer on Faux Shiplap
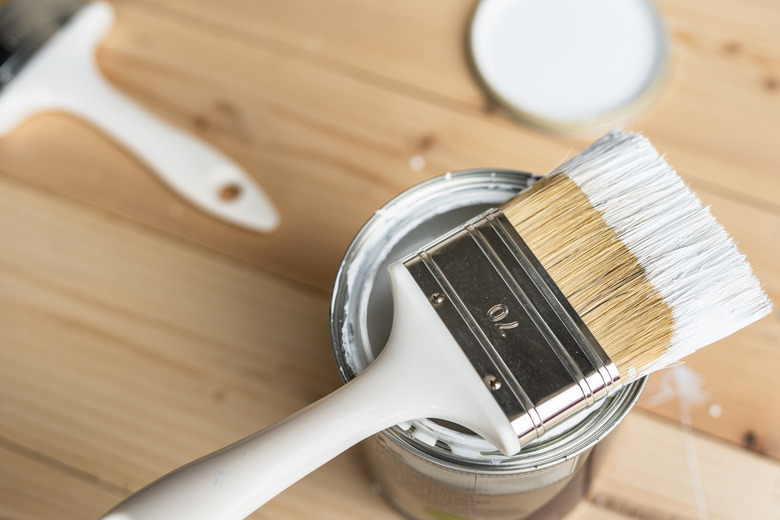
Purchase a high-quality paint that offers paint and primer in one. Even if you plan to use primer on your boards or use pre-primed shiplap boards, a combined paint and primer offers better coverage, meaning you'll need to apply fewer coats of paint, which is always a good thing with something as difficult to paint as shiplap walls.
5. Use a Stain-Blocking Primer on Real Wood Shiplap
5. Use a Stain-Blocking Primer on Real Wood Shiplap
When using real wood shiplap, such as cedar or pine, stand-alone stain-blocking primer should always be applied to prevent tannins from bleeding through and yellowing or browning the paint. It's worth noting that medium-density fiberboard does not need to be pre-primed because there is no risk of bleed-through, although many medium-density fiberboard shiplap panels are sold pre-primed.
6. Select the Perfect Finish
6. Select the Perfect Finish
Color is a matter of personal preference, but when it comes to finish, it usually looks best if you choose a paint sheen that matches either an accent wall or the trim in the room. Beyond that, remember that the shinier the paint, the better it holds up against moisture, stains, scuffs, and scratches. In other words, while you might love the look of matte paint, it's often best to use at least an eggshell because it's easier to clean and less susceptible to damage. Choose a semigloss if the wall is in the bathroom or kitchen. In heavily used rooms, satin can give you a good balance between the velvety look of eggshell and the durability of a semigloss.
7. Apply the Paint Carefully
7. Apply the Paint Carefully
Lay a drop cloth on the floor beside the wall and then use a good-quality painter's tape to protect adjoining walls, ceilings, and baseboards from paint. If the shiplap was already installed, you may need to apply primer prior to painting if you are transitioning to a lighter color. Otherwise, the only difference between painting a new shiplap wall and an already installed one is that if you pre-paint new shiplap planks before installing, you will usually only need to apply one coat after installation, whereas the project otherwise requires at least two coats.
You can apply the paint in a few different ways.
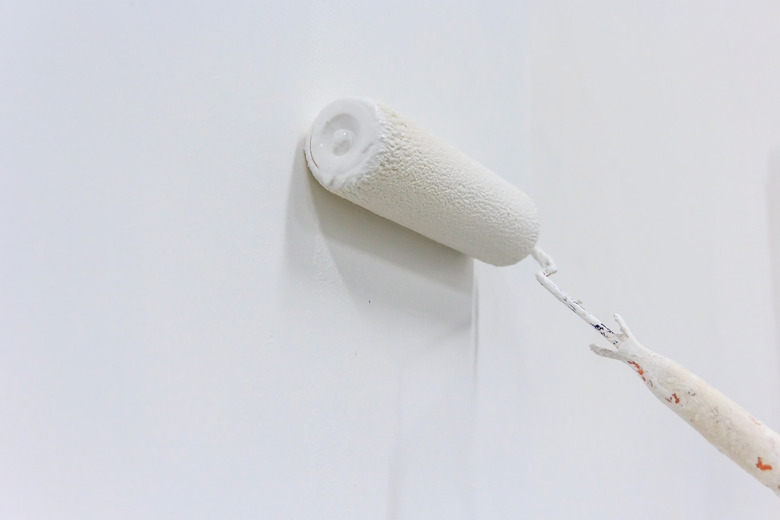
- Use
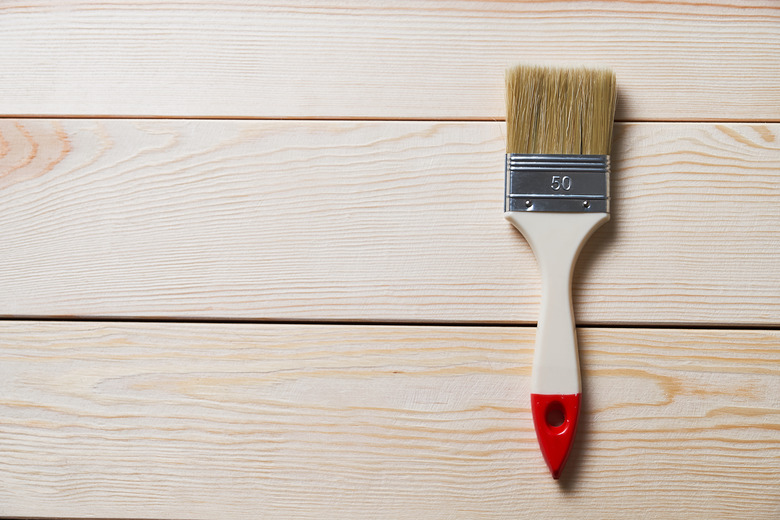
either a paint roller or a large paintbrush to cover the front of the wood paneling and then use a smaller paintbrush between the boards to make sure the gaps are fully painted. If you pre-painted before installation, you won't need to paint much other than to cover the caulk, nail holes, and wood filler used where boards connect, which means you may not need to paint in the gaps at all.
Tip
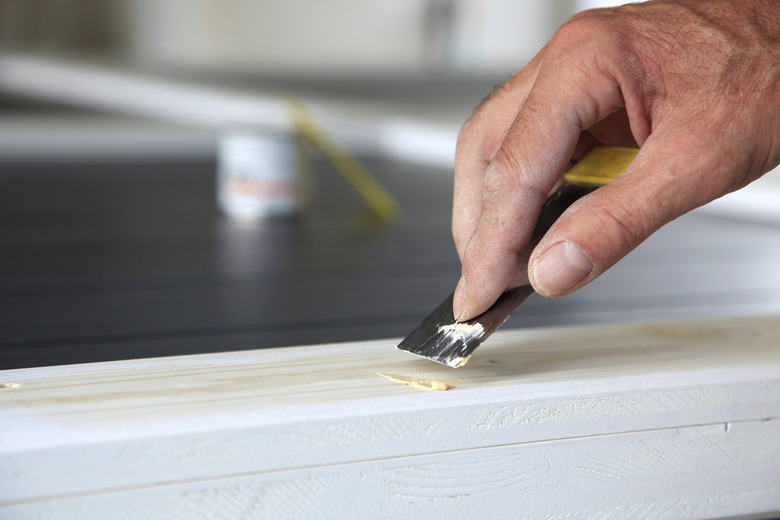
Avoid using too much paint and wipe your brush before applying because it's important to avoid drips that can make your DIY shiplap paint job look shoddy if they dry between the boards. If you see any paint drips in the gaps after applying a coat, use a paint scraping tool to remove them.
- Paint shiplap
with a paint sprayer, which makes getting in the gaps between boards dramatically
easier. That being said, overspraying is easy too, so make sure you cover
everything near the wall with plastic sheeting and painter's tape, or you may end up with splatters along the
adjoining walls, ceiling, flooring, and any nearby furniture or fixtures.