How To Paint A Wall

Get out the ladder, drop cloths, brush and roller — it's time to spruce up your living space with a new coat of paint. But wait ... there's a fair amount to do before you crack open that paint can. Spend a little time planning your strategy, invest a few hours in preparation, and things will go more smoothly when it's actually time to apply the coating. Not only that, the results will be more professional, and the paint will stay put on the walls rather than bubbling or peeling off after a short time. Here are some pointers to help you get the most out of the time you've set aside for painting.
Plan the Job
Plan the Job
Color scheme and paint sheen are two of the most important decisions to make, but once you have the paint in hand, there are still some issues to resolve. For example, what to do with the furniture? It's best to move it out of the room, but when that's impractical, cover it with canvas drop cloths, which provide better protection and stay in place better than plastic ones. Should you paint the trim first? Most pros would say yes. However, if the walls are heavily textured, they might be difficult to mask, and you may want to paint them first and forgo the use of masking tape altogether when doing the trim. Should you remove the lighting fixtures? It usually makes the painting job easier, but it may be impractical to do so for one reason or another.
One of the most important considerations when repainting in an older house is that the existing paint may be lead-based. You can test for this using a home-based test kit, and if the test is positive, you'll have to avoid raising sanding dust or creating airborne paint flecks. Lead paint is toxic, and breathing it is dangerous. If the existing paint is in poor condition, you might want to consider getting the room professionally repainted.
Clean, De-Gloss and Mask
Clean, De-Gloss and Mask
Scraping flaking or bubbled paint is a must before repainting, but it's just as important to clean and de-gloss the paint that's still in good condition. Wash the walls down with a solution consisting of 1 cup of trisodium phosphate per gallon of warm water, which will both clean and de-gloss. Wear gloves and goggles when using this strong detergent. After cleaning, fill holes with spackling compound and scuff flat with 120-grit sandpaper.
Masking is an important part of preparation. Use blue painter's tape rather than regular tan masking tape if you don't want to pull off paint when you remove the tape. Paint tends to seep under masking tape, so if you want a really clean line, try this trick: paint over the edge with the color that's under the tape, and let it dry before painting the other color. The paint forms a natural barrier that prevents paint of the other color from seeping underneath the tape. As an added or alternative technique, score along the edge of the tape with a knife before you pull it off.
To Roll, Perchance to Spray
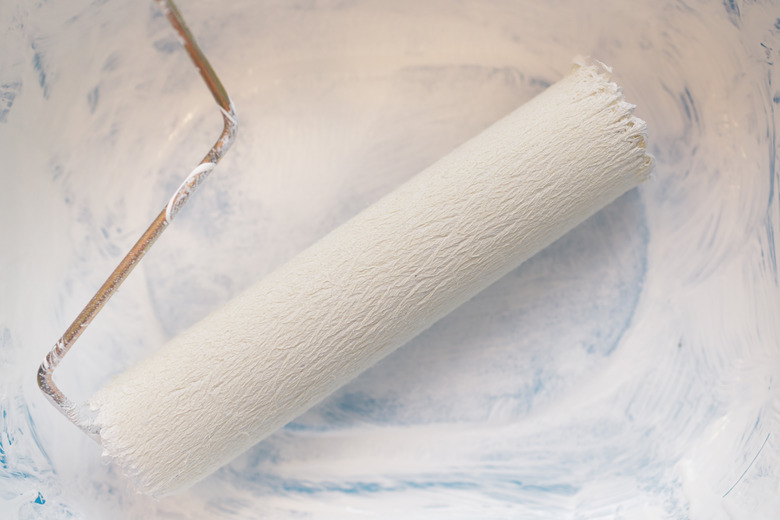
To Roll, Perchance to Spray
Spraying interior walls is the fastest and easiest way to do a great job. Before protesting that you don't want to rent an airless sprayer, consider that you can buy an inexpensive hand-held airless sprayer for about the same as it would cost to rent a larger one. You'll have to fill the smaller sprayer more often, but it does as good a job. If you choose to spray, you'll have to prepare for overspray by reinforcing drop cloth coverage and wearing appropriate clothing, headgear and goggles. You'll easily make up the extra preparation time during application.
If rolling is your game, choose the nap of the roller covers to match the amount of texture you have to cover. Longer naps cover textures better than shorter ones, but they waste paint. Choose a 1/4- to 3/8-inch nap for smooth walls and a 1/2-inch one for textured walls. If you have to paint over popcorn texturing, consider going with a 3/4-inch nap.
A 4-foot roller extension makes rolling walls easier. You'll also need a brush for cutting-in and one for painting trim. A 3-inch, synthetic-bristle sash brush works well for both purposes.
Lay It On
Lay It On
To avoid small differences in shade and hue, mix all the paint you plan to use in a 5-gallon bucket to make a single batch. If you're going to brush and roll, put some in a small bucket for cutting-in and leave the rest in the bucket with a roller grid. This is easier and less messy than transferring paint to a roller tray.
Paint one surface at a time. Start by cutting in, then roll immediately afterward. If you can manage to keep a "wet edge," which means to roll over paint that hasn't dried yet, you'll get a more uniform final result. Avoid streaks and holidays by always rolling in the same direction and overlapping the roller at least half its length. Reload often, but don't overdo it, or you'll waste time fixing drips and sags. It's almost impossible to get full coverage with a single coat, so plan on applying two. Add a little flow-out conditioner to the second coat to get super-smooth results.