How To Clean Paintbrushes To Reuse Your Tools Again And Again
We may receive a commission on purchases made from links.
In addition to basic tools, many homeowners keep a collection of paintbrushes. Knowing how to clean paintbrushes following your painting session is a handy DIY skill that saves time, money, and, of course, materials. Quality doesn't come cheaply in regard to paintbrushes, so it's worthwhile to learn how to keep your painting tools clean while you paint and be ready for your next project without spending money on new equipment. Cleaning your brushes requires several steps but is easy to learn, and the payoff is tremendous. Just a little attention to detail is all you need.
Determine the Correct Cleaning Method
Determine the Correct Cleaning Method
Oil-Based Cleaning
Soap and water
Water-Based Cleaning
Mineral spirits or paint thinner
In general, water- and oil-based paints are standard for use around the home. Water-based paint can also come under the heading of latex or acrylic paint and is common for use on everything from baseboards to cabinets to interior and exterior walls. Some refer to oil-based paint as alkyd paint, which is typically reserved for exteriors and some specialty applications. The cleaning methods for these two types of paint differ in procedure and in the solvent necessary for cleaning.
To determine the correct cleaning method, you'll need to know what kind of paint you're using. That's easy for fresh paint: Simply check the cleaning instructions on the can. The paint is water-based if the directions indicate using soap and water for cleanup. If the directions instruct the use of mineral spirits, paint thinner, or another chemical, the paint is oil-based.
Knowing the kind of dried-on paint that's stuck to your brush is a little trickier. Swab a small amount of rubbing alcohol on the brush with a cotton ball or paper towel. The paint is water-based if color traces of the paint show up on the cotton or paper.
Cleaning Water-Based Paint From Brushes
Cleaning Water-Based Paint From Brushes
You won't need special chemicals or cleaners to keep your synthetic brushes designed for water-based paint performing perfectly from one project to the next — just dish soap, warm water, and a paintbrush comb. Water-based paint is overwhelmingly popular due to its low odor, quick drying time, chemical-free thinning, and easy cleanup. To save water, consider doing the majority of your brush cleaning in a bucket and use running water sparingly.
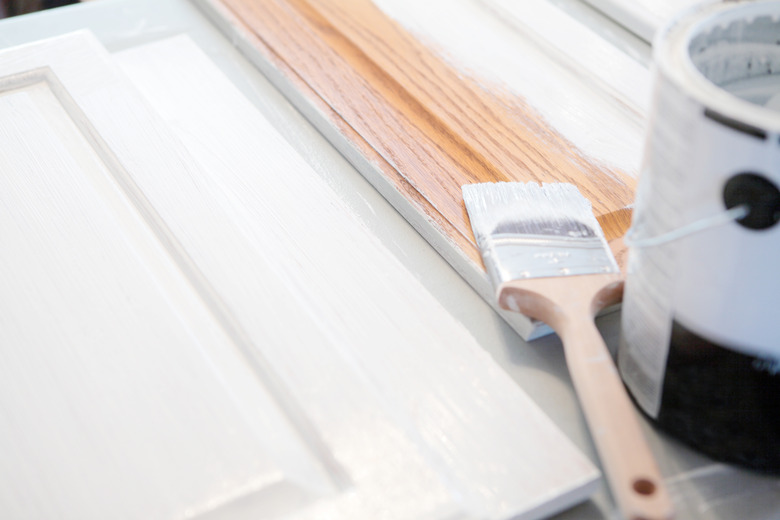
- Remove as much excess paint from the brush as possible by dragging the bristles on the rim of the paint can or paint tray liner.
- Partially fill a bucket with warm water. Submerge the brush bristles into the water and push the brush bristles against the side of the bucket to loosen more paint. You can also do this step under running water in a sink.
- Fill a second bucket with warm water (or empty and reuse the first), and add a few drops of dish soap.
- Submerge the brush bristles and "brush out" any remaining traces of paint with a paintbrush comb.
- Repeat as necessary with soapy water until no paint color comes from the bristles.
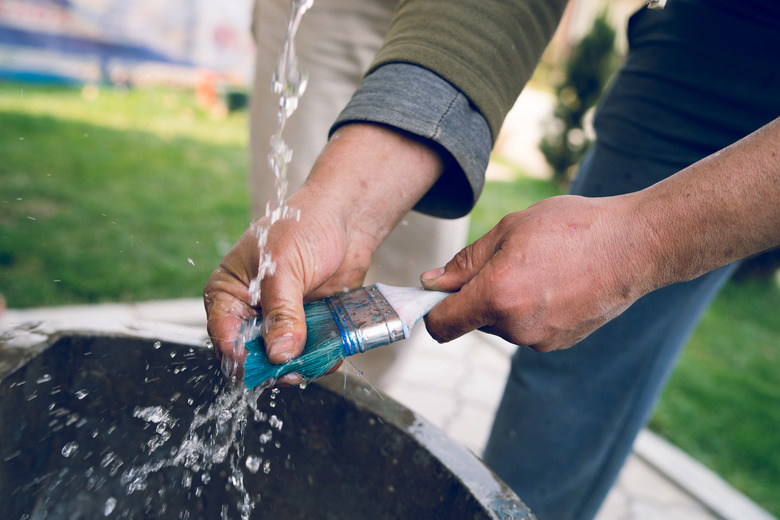
- Rinse the brush under warm running water.
Minneapolis-based professional painter Janelle Frechette, who continues to use her 4-year-old paintbrushes, had this to add about how she cleans her tools. She tells Hunker, "I always try to get as much paint off the brush as possible by sliding it against the paint bucket. The less paint you are left with on a brush, the better it will clean up. I use a plastic small-width pick (brush comb), a toothbrush, and Dawn dish soap. I use my utility sink, as they can spatter paint around when you clean them. Also, unless I have my painting clothes on, I have an apron by my utility sink so my nice clothes don't get paint on them."
Cleaning Oil-Based Paint From Brushes
Cleaning Oil-Based Paint From Brushes
Though the steps are similar to water-based paint cleanup, oil-based paints and clear finishes require chemical solvents to break down the paint on natural-bristle brushes. Depending on the type of oil-based finish, you may need mineral spirits, paint thinner, turpentine, or other chemical solvents for cleaning. Your product's container will provide the best cleaning solution. For cleanup, grab a small bucket or clean paint tray to contain the liquids.
- Partially fill a small bucket or paint tray with the cleaning solution.
- Submerge the brush bristles and work the solution into them by pushing and dragging the brush on the inside of the container.
- When the solution saturates with paint color, empty it into a separate container and refill the bucket or tray.
- Repeat these steps using your brush comb to help reach into the bristles until no color is present in the cleaning solution.
Warning
Pouring oil-based paint, mineral spirits, paint thinner, or any other chemical thinning or cleaning solution down the drain or into a storm sewer is prohibited by law. Considered household hazardous waste by the Environmental Protection Agency, oil-based paint and its cleaning chemicals must be turned in to an approved hazardous household waste collector.
Dry and Store Your Brushes Like a Pro
Dry and Store Your Brushes Like a Pro
Properly drying and storing your paintbrushes is just as crucial to their well-being as proper cleaning. Immediately after cleaning water-based paint from your brush, remove excess water by dabbing the bristles on a paper towel, newspaper, or rag. You can also use a paintbrush spinner to force the bulk of water from the bristles. Prior to storing your brush, spray a few drops of WD-40 onto the bristles after they're dry and gently rub it into the brush with your fingers to help prevent individual bristle strands from sticking to each other.
Hang up the brush by its handle or lay it horizontally on a clean surface and allow it to air dry. Store your brushes horizontally or by hanging them from the handle to keep your bristles straight and ready for use. Dry and store your natural-bristle brushes for oil paints in nearly the same way except avoid using the paintbrush spinner.
How to Clean Roller Covers
How to Clean Roller Covers
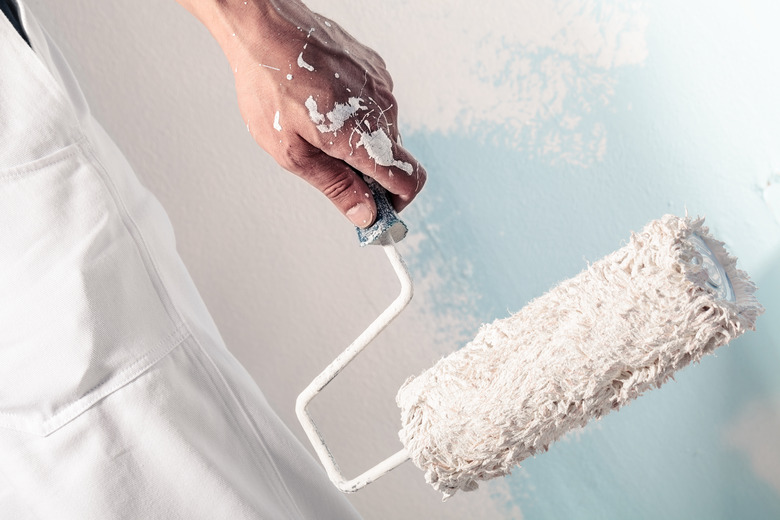
In addition to having clean paintbrushes, cleaning your paint roller covers after use is another money-saving skill to learn. For best results, add a multiuse painter's tool with a roller cover cleaning partition to your collection.
Cleaning Water-Based Paint From Roller Covers
- Remove the roller cover from the roller frame immediately after painting.
- Fill a bucket with warm water and scrape the paint from the cover with the roller cover cleaning part of a multiuse painter's tool or a similar device.
- Empty the dirty water from the bucket; refill it with warm, soapy water; and continue to remove paint with the cleaning tool.
- Repeat as necessary until there are no traces of paint color in the water.
- Rinse the soapy water from the roller cover under the faucet.
- Stand the cover on end and allow it to air dry. To speed up the drying process, you can use a roller spinner to remove excess water.
Cleaning Oil-Based Paint From Roller Covers
- Keep the roller cover on the roller frame.
- Partially fill a paint tray with the proper cleaning solution.
- Roll the cover up and down the paint tray in the solution to remove as much paint as possible.
- Empty the dirty solution into a separate container.
- Refill the tray with cleaning solution and continue rolling the cover in and out of the liquid.
- Repeat until there is no trace of paint color left on the roller cover or in the cleaner.
- Remove the cover from the roller frame and stand it on end to air dry.
How to Store Paintbrushes and Rollers Between Coats
How to Store Paintbrushes and Rollers Between Coats
Two or more coats of paint are often necessary to complete a painting job, but cleaning your painting tools between each coat is cumbersome labor. Also, at the end of a long painting session, it's sometimes nice to put off the big cleanup task until later. Fortunately, there's a solution. Temporarily storing wet brushes and roller covers in plastic with just a little preparation is a convenient and safe way to save time and effort.
To store brushes coated in water-based paint, Frechette says to wrap the bristles tightly in cling wrap and place them in the refrigerator. She tells Hunker, "I've found that the paintbrushes can last if well wrapped for about a month."
Use the same technique for the temporary storage of brushes covered in oil-based paint. Roller covers used with either type of paint can be kept fresh by coating them in paint and wrapping them in plastic wrap or sealing them in a plastic bag.
Removing Dried-On Paint From Brushes
Removing Dried-On Paint From Brushes
All is not lost if you end up with dried paint on your paintbrush. In just a few steps, you can make it look like new with a small bucket, mineral spirits, and some patience.
- Soak the brush bristles by suspending the brush in a container of mineral spirits. (Frechette uses a coffee can with an X cut into the lid to hold the brush's handle and suspend the bristles in the solution so they don't rest on the bottom of the can, which would bend the bristles).
- Allow the brush to soak until the paint softens.
- Clean the brush as you would when cleaning wet paint. Be sure to use the correct cleaning solution for the type of paint on the brush.