Applying Brush-On Clear Finish To Wood
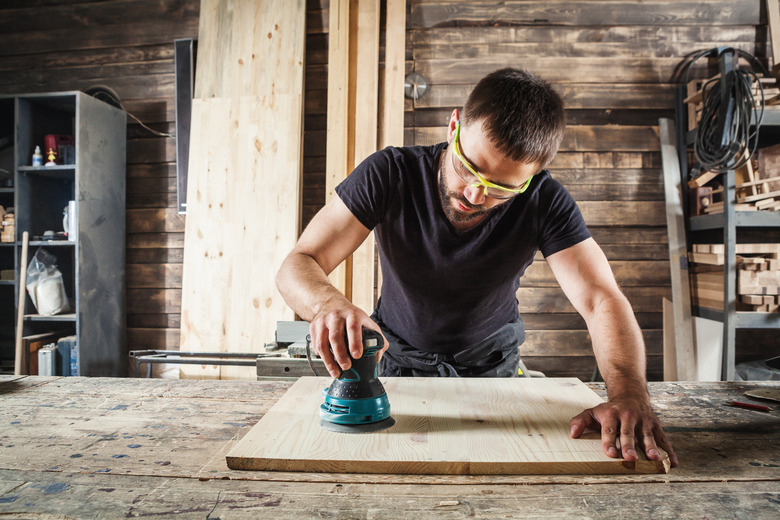
Clear finishes are a bit more finicky than opaque ones such as paint, especially when applying them to interior woodwork, such as furniture, tabletops, and floors. Solvent-based finishes, such as lacquer, dry very quickly, so you usually have to apply them by spraying, unless you use a product that includes a retarder to slow evaporation. Water-based varnishes, for their part, can show streaks and bubbles if you don't use enough care when brushing them on. Products containing oil-based solvents are the easiest clear finishes to brush on, but because they dry more slowly, they are more likely to collect ambient dust while still tacky. No matter which clear finish you use, you'll get the best results by applying multiple coats and sanding in between coats.
How to Apply Brush-On Water-Based Clear Finish
How to Apply Brush-On Water-Based Clear Finish
The chemical composition of water-based finishes is such that most products foam up when you create turbulence with a stir stick or a brush. The trick to getting great results is to keep turbulence to a minimum by stirring and brushing slowly and deliberately. If you do get bubbles, and they dry into the finish, you can usually sand them out, but you'll have to apply another coat to finish the job of hiding them.
While water-based finishes are less "smelly" and produce fewer fumes than solvent-based products, review the product labels carefully and make sure to ventilate your space properly. If the product calls for protective breathing apparatus, make sure to follow this recommendation.
Things Needed
-
Stir stick
-
Breathing protection (if required)
-
Synthetic-bristle brush
-
Sandpaper (220-grit)
-
Tack cloth
1. Open and Stir
Open the can of finish slowly and stir the contents gently with a stir stick. Continue stirring until all the sediment on the bottom of the can has been mixed in and the product is a uniform whitish color.
2. Apply the First Coat
Choose a high-quality synthetic brush to apply the finish. Avoid natural-bristle brushes, which will go limp when brushing water-based products. Check the brush for loose bristles and pull them out before you start. It's always frustrating to find a bristle embedded in the hardened finish. Load the brush so about 1/3 of the bristle are wet with varnish. Apply to the wood surface, brushing parallel to the grain, using even strokes. Avoid over-brushing; simply make sure the section has a thin, full coverage of finish.
As you continue applying finish, begin applying the new brush stroke in a dry area, stroking the brush back into a wet area. This is known as "painting to a wet edge. " End each brush stroke in an already-wet area, lifting the brush smoothly away from the surface at the end of the stroke. Overlap each previous brush stroke by about half a brush width.
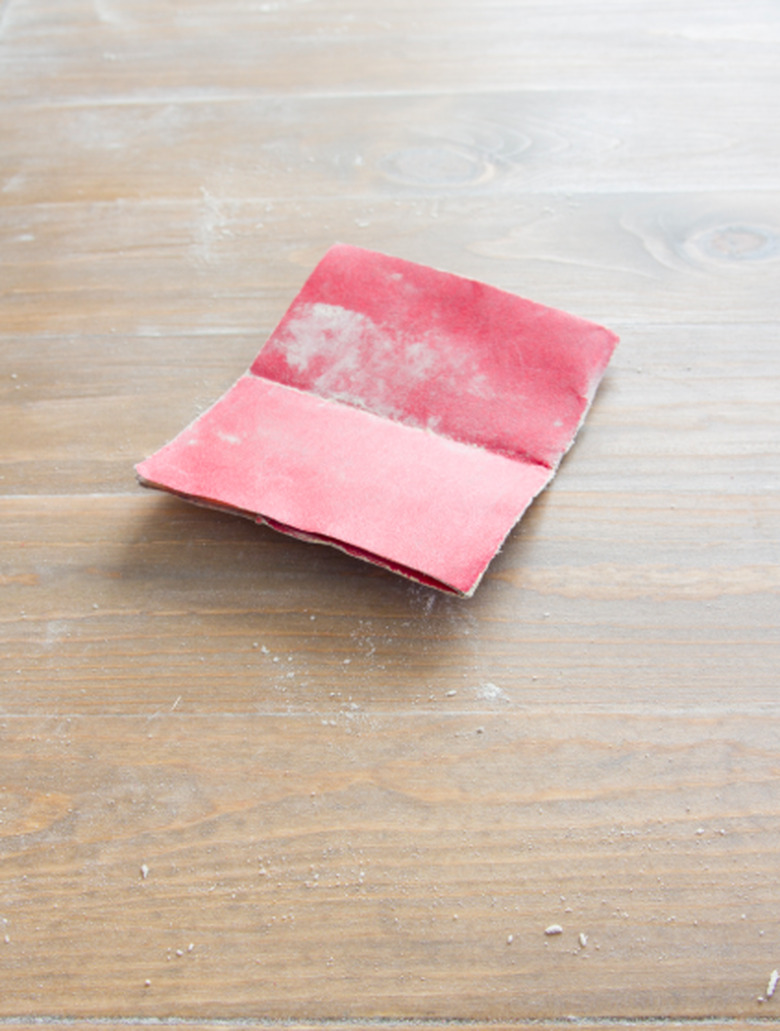
3. Sand Between Coats
Let the finish dry, which usually takes from one to two hours. This can vary depending on weather conditions, so test the finish with your fingers; it is dry when the surface no longer feel tacky to the touch.
When the first coat is dry, scuff the surface lightly with 220-grit sandpaper. Wipe off the sanding dust with a tack cloth.
4. Apply Second Coat
After wiping away sanding dust, apply a second coat of varnish, using the same process as the first coat. Clean up your paintbrush with soap and water.
Tip
Two coats are generally enough when brushing on a water- or solvent-based finish, but nothing stops you from applying more if you want to give the piece extra protection and luster.
If you want to create a glassy finish on a table or countertop, sand the second-to-last coat with moistened 400-grit wet/dry sandpaper, then apply a final coat of varnish. After the final coat has dried for about 24 hours, buff it with wax and very fine steel wool.
 Minwax
How to Apply Brush-On Solvent-Based Clear Finish
How to Apply Brush-On Solvent-Based Clear Finish
In the context of wood finishes, the words "solvent-based" refer to one that is not water-based. The solvent used in these products is usually turpentine or mineral spirits, or it could be a combination of any number of hydrocarbon solvents, such as toluene, hexane or methyl ethyl ketone. It's a paradoxical use of language, given that water is a better solvent than any of these chemicals, but all you need to remember is that water doesn't mix with a solvent-based product, so you'll need to clean up with turpentine or paint thinner after using these varnishes.
Things Needed
-
Breathing protection
-
Stir stick
-
Natural-bristle brush
-
Sandpaper
-
Tack cloth
-
Mineral spirits or turpentine for cleanup
-
Rags
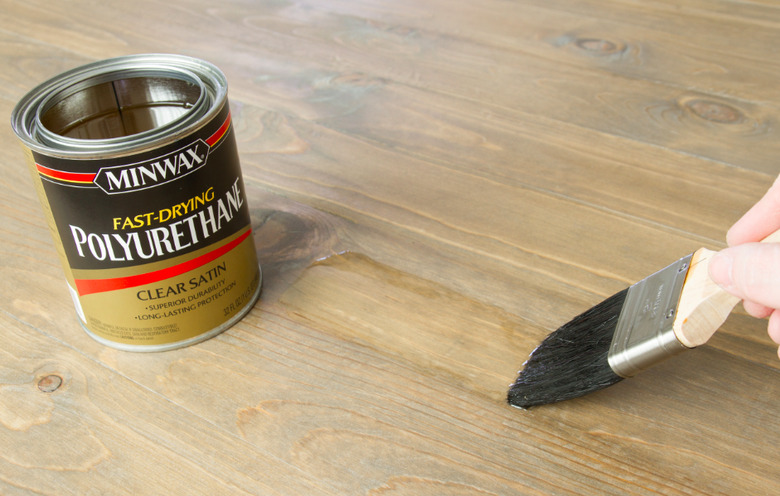
Application of solvent-based varnishes is exactly the same as for water-based finishes (see above) with one exception: with solvent-based varnishes, you can use either synthetic or natural-bristle paintbrushes for application. Most pros prefer to use a high-quality natural-bristle brush with solvent-based finishes.
A solvent-based finish dries more slowly than a water-based one, and this gives it time to flow out and create a smooth surface. This is the reason why woodworking pros typically use solvent-based rather than water-based varnishes. Brush marks tend to disappear, and bubbling is seldom a problem. Because the finish doesn't mix with water, though, any moisture trapped under the finish will turn it cloudy, so it's important to ensure the piece you're finishing is dry and to avoid working in humid weather.
 Minwax
You usually need only two coats of solvent-based varnish to get a good finish, but you can apply as many coats as you want. Let the previous coat dry for 12 to 24 hours before applying a new one. Use a natural-bristle brush with a clean edge to spread solvent-based varnish. It's more flexible than a synthetic-bristle brush, and because you're not exposing it to water, you don't have to worry about flaccidity.
Solvent-based finishes typically have more fumes than water-based products, so make sure to work in well-ventilated conditions, and use whatever breathing apparatus recommended by the varnish manufacturer.
Clean up your paintbrush with mineral spirits or turpentine.
Applying Clear Finish to a Wood Floor

Applying Clear Finish to a Wood Floor
If you're refinishing your floor, applying a coat of varnish is the last step. Many floor finishes designed for DIY use are water-based polyurethane products, and you should take anti-bubble precautions when applying them. Stir slowly and avoid turbulence.
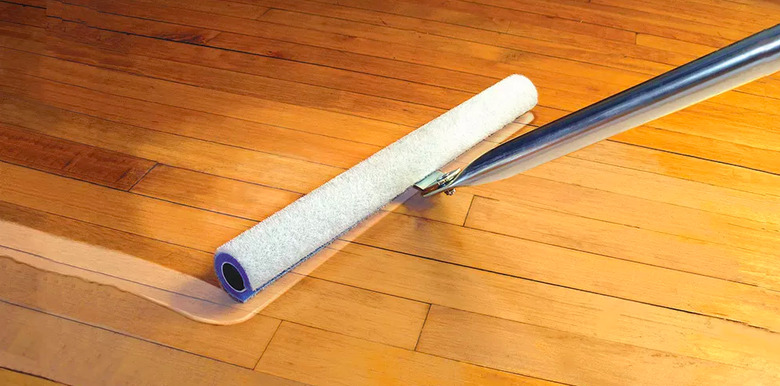
A floor is too large to cover with a paintbrush, except for the edges and corners. A paint pad on the end of a 4-foot extension pole is a better application tool, but if you have a lot of floor space to cover, consider purchasing a T-bar floor finish applicator. It's a weighted foam cylinder attached to a long handle. With this tool, you can cover a typical living room floor in about 30 minutes.
 Greenbuildingsupply.com
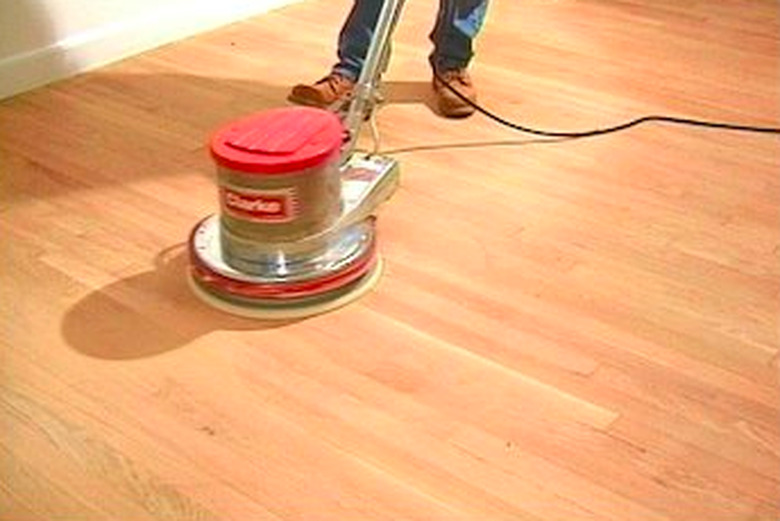
For best results, you will need an upright floor buffer to "screen" the floor between each coat of finish. These tools are available for lease at tool rental centers or home centers. A very small floor could be screened using a smaller orbital sander operated on hands-and-knees, but for most spaces, a rental tool will make the job much easier.
Things Needed
-
Vacuum cleaner
-
Tack cloth
-
Fan
-
Finish applicator
-
Floor buffer
-
120-grit sanding screen
-
Orbital sander with 120-grit sanding screen
The floor is ready for finishing when the sanding has been completed, all the dust has been vacuumed and tacked off the floor, and you've applied any stain being used to color the wood. After the stain has dried, it's a good idea to run a tack cloth over the floor once more to pick up stray dust before applying the clear top finish.
1. Prepare the Space
Before beginning, make sure to plan the job so you don't paint yourself into a corner. Start applying finish on the side of the room farthest from the exit. All finishes, even water-based products, off-gas fumes to a certain degree, so open a window or run an exhaust fan to direct fumes out of living areas.
Turn off the forced-air furnace/air-conditioning system while applying finish. Air blowing from ductwork may carry dust that can settle on the wet finish.
2. Pour Finish Onto the Floor
Begin by pouring a long line of finish on the floor about 6 inches away from the farthest wall that runs parallel to the wood grain. Take care not to allow the finish to splash on woodwork and walls.
3. Spread the Finish
Set the applicator on the floor and draw it slowly through the line of liquid finish, moving parallel to the wall. As the finish pools up behind the applicator, angle the tool slightly to allow the liquid finish to flow away from the wall.
Draw the applicator along the entire length of the floor, then make a U-turn and draw it back through the line of finish to the starting point. Continue in this way, adding more finish as needed, to cover the entire floor.
Tip
If you're spreading water-based finish, avoid bubbles by keeping the applicator firmly on the floor, even when making a turn. Working slowly and deliberately will also prevent bubbles from forming.
4. Screen the Surface
Screen the finish after it dries, using a floor buffer fitted with a 120-grit sanding screen. This procedure is analogous to scuffing a piece of woodwork with sandpaper between coats of finish—it slightly roughens the surface and give it "tooth" so that the second coat of finish can bond better. Take care not to overwork the surface—the goal is merely to roughen the surface, not grind away finish.
In areas where the upright buffer has been unable to reach, you can use a hand-operated orbital sander fitted with a 120-grit sanding screen to roughen the finish. Or, simply hand-sand these areas with a loose piece of sanding screen.
After screening, vacuum the floor thoroughly, then run a tack cloth over the floor to remove any remaining sanding residue.
 Hosking Hardwood
5. Apply Additional Coats of Finish
Apply a second coat of finish in the same manner as the first. Additional coats can be applied as needed. Make sure to screen and clear off the surface before each additional coat of finish. Most professional floor finishers apply three coats of finish. Do not screen the final coat.