Don't Panic: How To Fix A Hole In The Wall No Matter The Size

We may receive a commission on purchases made from links.
Whether you're hanging up pictures, you're doing repairs on systems inside the walls, or there's a doorknob smacking against the wall, practically every home gets holes in the wall at some point. While repairing most holes is a relatively simple DIY project, the process varies based on the size of the damaged area. For a small or medium hole, spackle and drywall repair kits are readily available online and at home improvement stores to make the process as quick as possible.
Spackle for Holes Smaller than 1/2 Inch
Spackle for Holes Smaller than 1/2 Inch
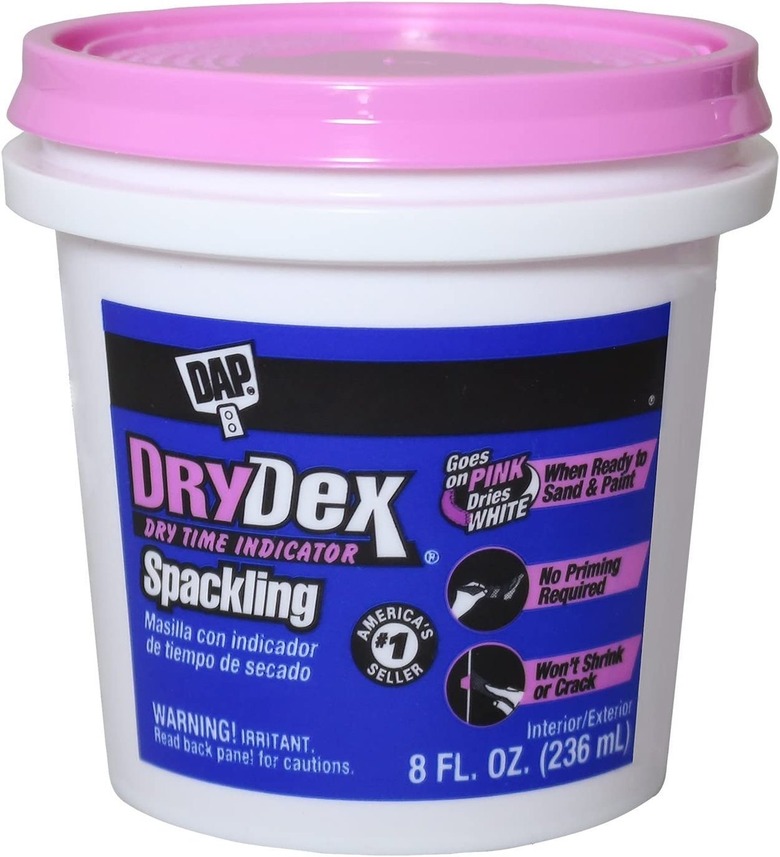
For screw and nail holes or any other small hole under 1/2 inch wide, all you need for the repair is some 220-grit sandpaper, a cloth, a little spackle or drywall joint compound (sometimes called drywall compound or drywall mud), and a putty knife.
Here's how to use spackle to fill in holes:
- Start by lightly sanding the area with sandpaper to remove any loose
debris, flaking paint, or raised edges around the edge of the hole and then wipe
the area with a damp cloth to remove dust. - Allow the surface to dry and then apply
spackle or joint compound with a putty knife. - Allow it to dry (this can take as little as 30 minutes for spackle or several hours for drywall compound) and
then lightly sand with sandpaper until the area is flush with the surrounding
wall.
Drywall Repair Kits for Holes 1/2 to 2 Inches
Drywall Repair Kits for Holes 1/2 to 2 Inches
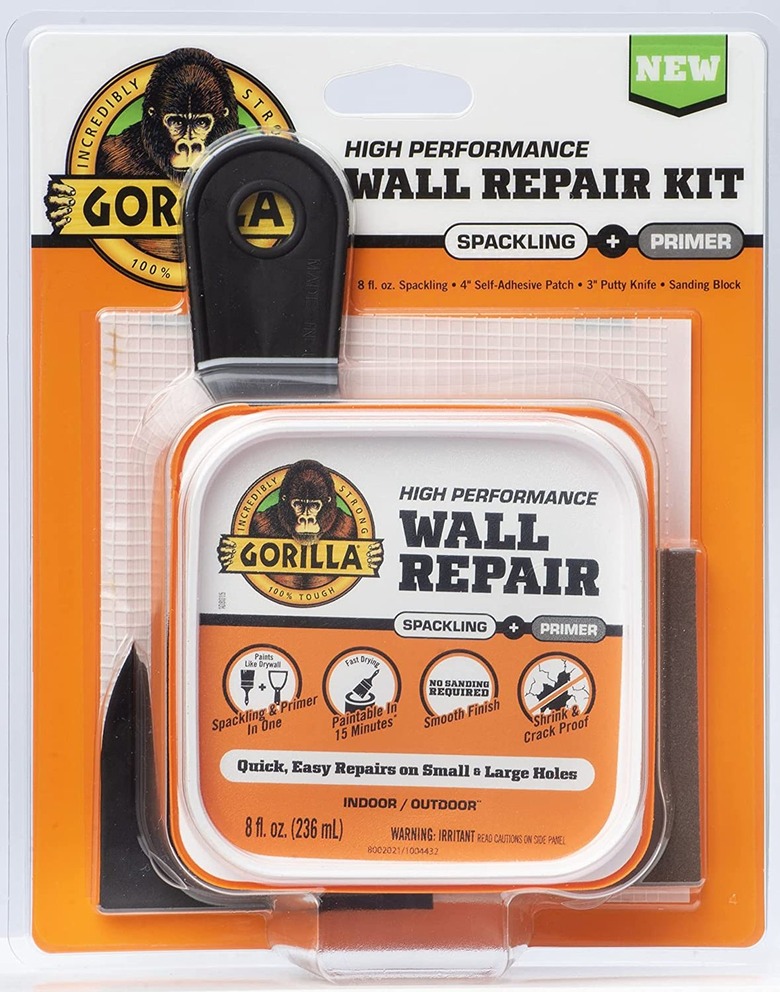
Use a drywall repair kit for large holes between 1/2 and 2 inches wide. These kits typically come with a fiberglass mesh patch, joint compound, sandpaper (or a sanding block), and a putty knife. Here's how to repair a hole in the wall with a drywall repair kit:
- To apply, start by sanding the edges of the hole to
remove any rough areas and then wipe away the dust with a damp cloth. - When the surface
is dry, cut the drywall patch to overlap the hole by at least an inch on each
side. - Peel the paper backing from the mesh and then apply it to the wall over the
damaged area. - Use the putty knife to apply the joint compound over the patch in a
crisscross pattern to help it penetrate through the mesh. - To help make the
patched area blend in, feather the edge by increasing the pressure on your
putty knife as you near the edges of the patch. - If necessary, apply a second
coat of joint compound after letting the first layer dry overnight. - Sand the repaired area until smooth.
Metal Patch Repair for Holes 1 1/2 to 6 Inches
Metal Patch Repair for Holes 1 1/2 to 6 Inches
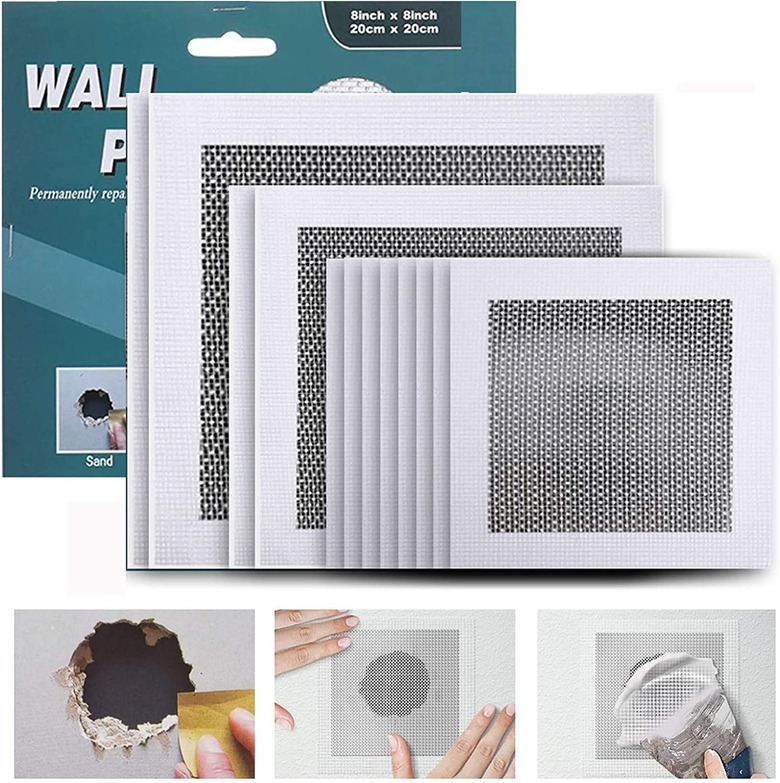
Holes between 1 1/2 and 6 inches require a more sturdy metal patch to repair them correctly. Applying a metal patch is similar to using a fiberglass patch, only you'll often need to buy the supplies separately instead of purchasing a preassembled kit. These patches feature a square of metal mesh from 4 x 4 to 8 x 8 inches wide that is adhered to a fiberglass patch 2 inches larger than the metal piece. Here's how to repair a hole in the wall using a metal patch:
- Sand around the edges of the hole and then
use a damp cloth to wipe away all dust. - Peel away the paper backing from the patch and
place the patch over the hole with the fiberglass adhesive side facing the
wall. - Press firmly to bond the adhesive to the wall.
- Apply three coats of joint compound, allowing each coat to dry before
applying the next coat and taking care to feather the edges so they blend in
with the rest of the wall.
Drywall Patches Holes 6 Inches or More
Drywall Patches Holes 6 Inches or More
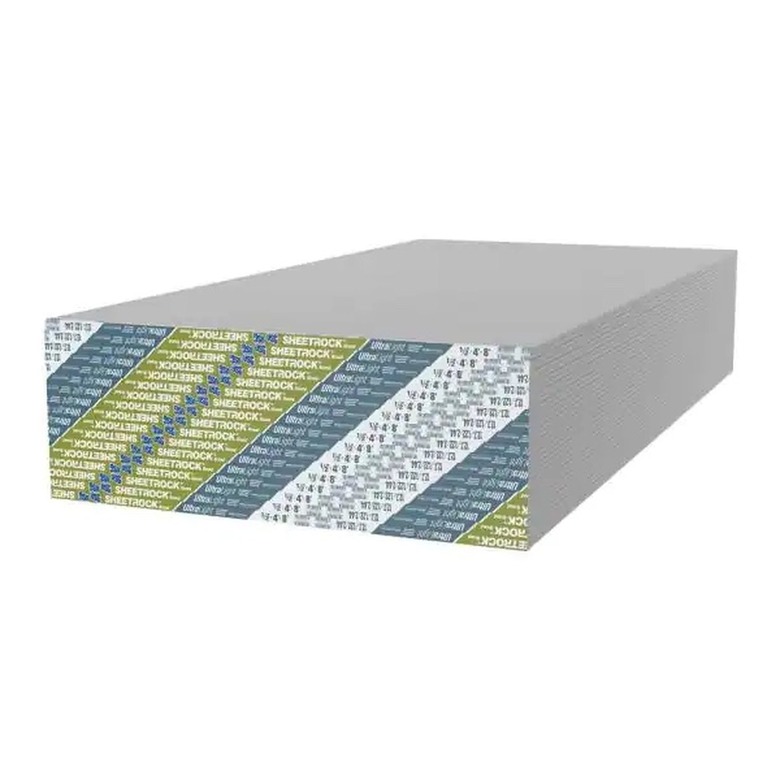
When it comes time to fix a hole in the wall that is over 6 inches wide, things become a bit more challenging. To repair damage this major, you'll need a scrap piece of drywall that's a little bigger than the hole to cover the area as well as two 1x3 boards a few inches bigger than the hole to provide support.
- Start by cutting the hole into a square or rectangle with a drywall saw. This makes it easier to cut a drywall patch to fit.
- Slip one
of the boards inside the hole and position it along one long edge of the hole so about half of the board's width is exposed and its ends extend an equal amount beyond the sides of the hole. - Drive 1 1/4-inch drywall
screws through the front side of the drywall and into the board to secure it. One screw into each end and one or two along the edge should do it. - Install the second board on the opposite
side of the hole in the same manner. - Measure the hole and cut a piece of drywall 4 inches wider and longer than those dimensions. On the back side of the patch, mark a line 2 inches in from each edge.
- Use a utility knife to cut along the lines, working from the back side and being careful to cut only through the gypsum core of the drywall; don't cut through the paper on the front face of the patch.
- Carefully snap the drywall along the lines and then
peel away the core material while leaving the paper attached to the patch. - Apply a 4-inch-wide layer of drywall compound along each side of the hole. Set the drywall patch over the hole and secure it to the boards with drywall screws.
- Press the paper edge of the patch into the compound and smooth them against the wall using a 6-inch drywall knife. Press fairly hard so most of the compound squishes out from behind the paper. Let the compound dry overnight.
- Apply a second coat of joint compound around the patch's
edges, feathering out the compound so it is flush with the surrounding wall. Let the compound dry and then apply a third coat. Allow it to dry and then sand the area smooth with a 150-grit sanding sponge.
Tip
Alternatively, you can cut all the way through the drywall and paper and use drywall tape to cover the gap, extending it out an inch or two past the hole. Use a drywall knife to flatten the tape as much as possible and then put a thick layer of joint compound along the gaps and an inch or so past the tape before smoothing it with your drywall knife. Allow the compound to dry thoroughly and then repeat the process twice more, feathering out the third layer. Sand the area until it is flush and smooth.
Finishing the Repairs
Finishing the Repairs
Part of knowing how to fix a hole in the wall includes finishing the project. While it's good that the repair is smooth and seamless, it should also feature the same texture and paint color as the rest of your wall. Texture matters less with minor repairs under 1/2 inch, but for areas larger than that, purchase a textured spray that matches the rest of your wall and apply it according to manufacturer instructions.
To match the paint, take a picture of your wall in good lighting or bring a small piece of the drywall that you cut away from the hole to your local home improvement store to find a match. Be sure to either purchase paint with primer or apply primer before painting to get a more consistent result, as spackle, joint compound, and drywall may absorb some of the color. While you only need to do touch-ups on small repairs, consider repainting the whole wall for more extensive repairs.