15 Painted Kitchen Cabinet Ideas That Will Quickly Refresh Your Space
If you're looking for a relatively quick, inexpensive, do-it-yourself way to update your kitchen, you might be considering painting your cabinets. After all, they take up a pretty large portion of the visual real estate, so needless to say, updating your built-ins during a remodel will have a tremendous impact on the overall appearance of your culinary space.
In addition to being a fairly quick and easy way to makeover your kitchen, painting the cabinets also offers a lot of flexibility thanks to a myriad of paint colors, finishes, and trends to choose from. Anxious to get started? Scroll on for a handful of kitchen cabinet paint color ideas that will inspire homeowners to pick up a paintbrush stat.
15 Kitchen Cabinet Paint Color Ideas
1. Greige
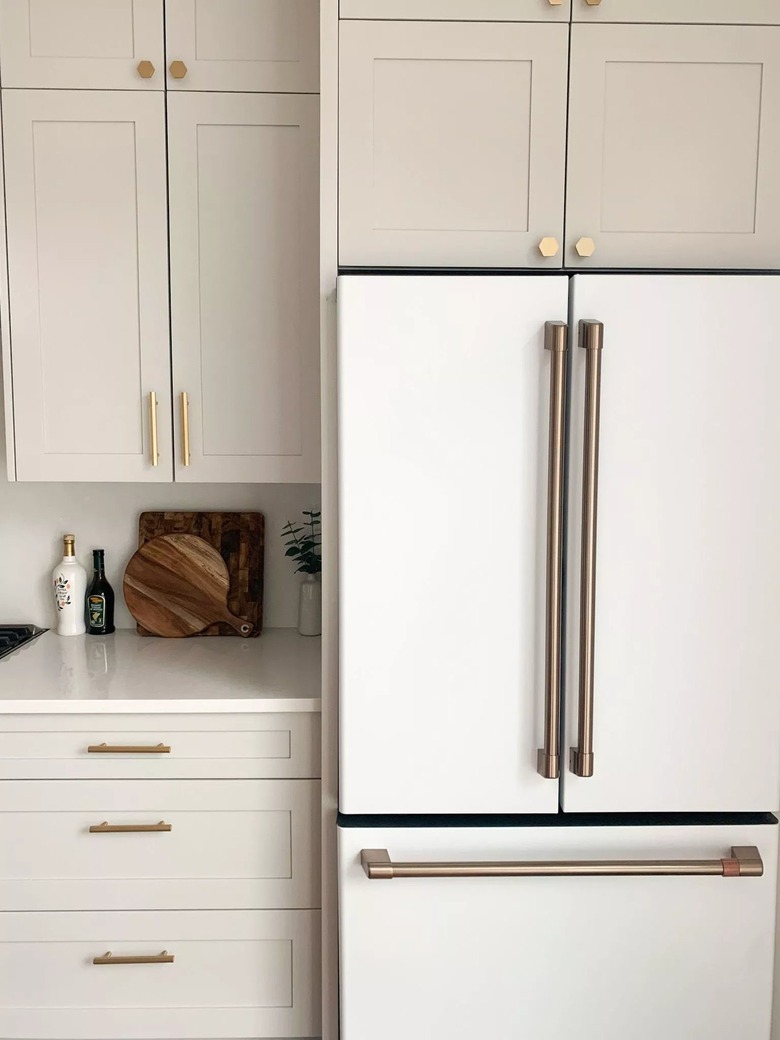
Not-quite-beige and not-quite-gray, the color greige is a lovely in-between shade that acts as the perfect neutral in a wide variety of kitchen styles. It has a soft, warm appearance that is evident when partnered with a white refrigerator, a look finessed by Jen Naye Hermann.
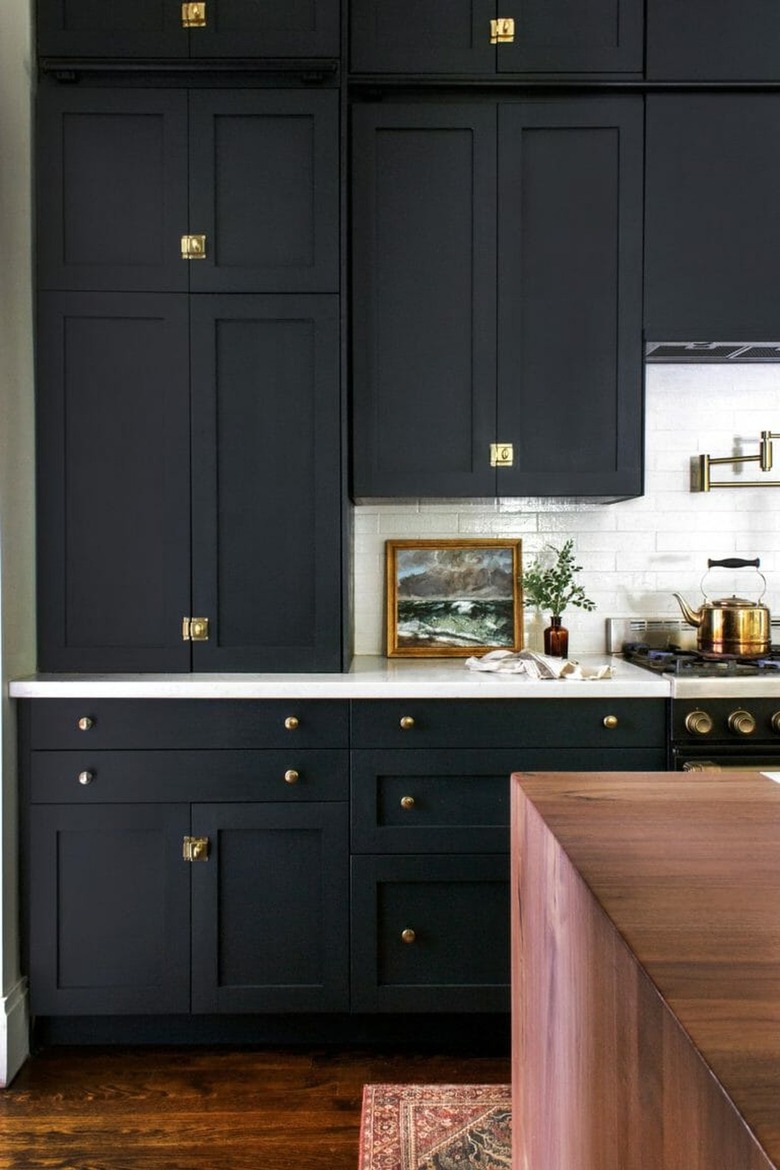
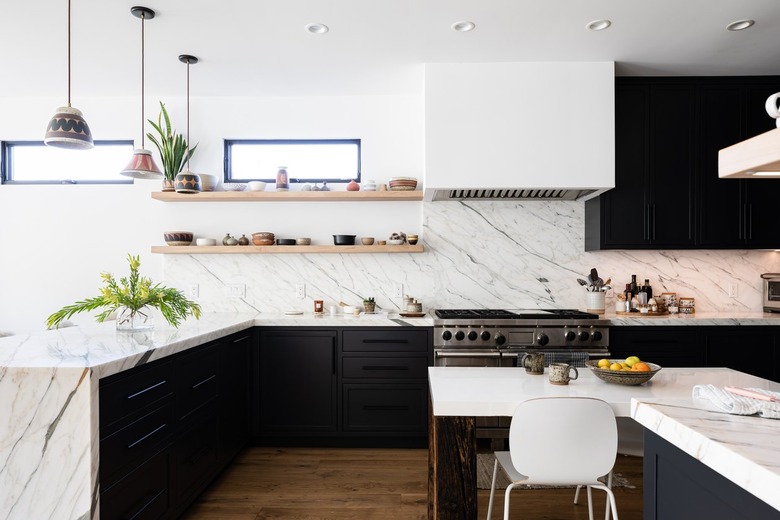
Matte black is the color du jour for stylish kitchens these days, and for good reason. It's a hue that offers tons of drama in any cook space, and it happens to look amazing when paired with brass hardware. Feel free to go big or go home and paint both upper and lower cabinets black, as demonstrated in this kitchen from Catherine and Bryan of Beginning in the Middle.
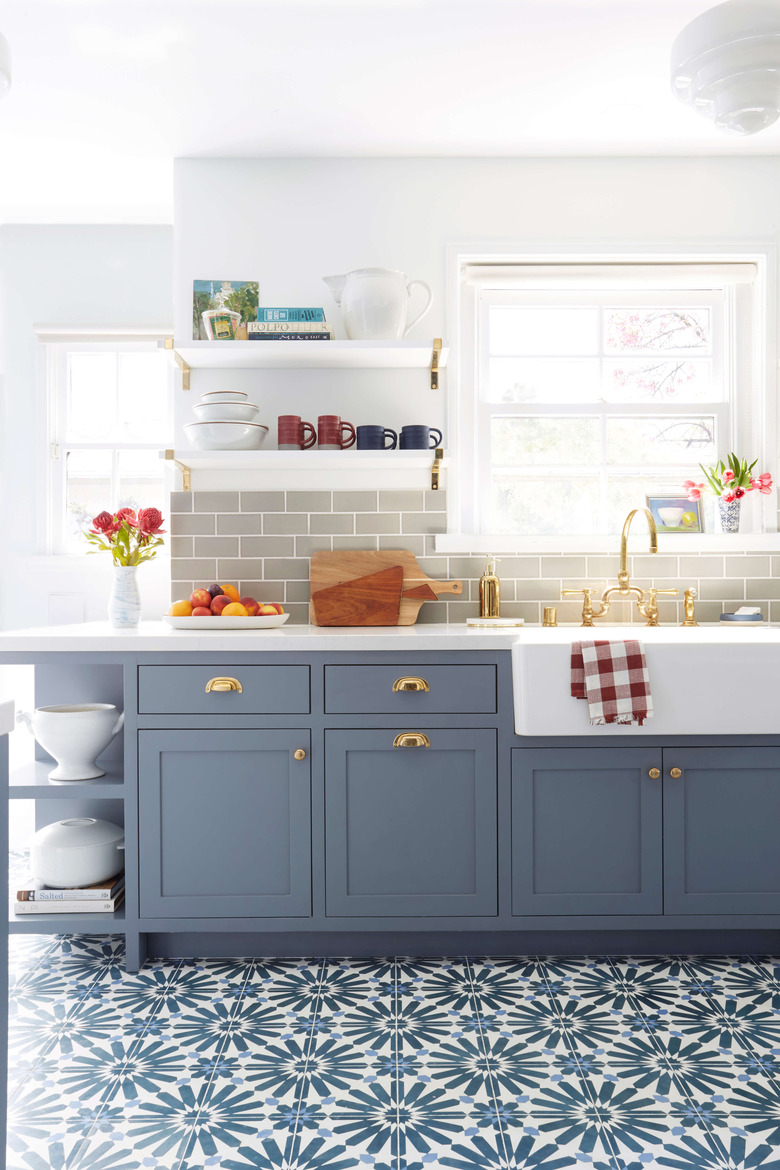
Light blue paint lends a kind of sweet charm to any kitchen remodel. Whether it's a subtle hint or more of a powdery shade, like the hue seen in this kitchen by interior designer Emily Henderson, blue cabinets look even more delightful when they're showcased with a subway tile backsplash.
A white kitchen has remained one of the top home trends over the past few years, and it's not losing steam anytime soon. It's the queen bee among color ideas for painting kitchen cabinets since it goes beautifully with any and all home decor. Plus, white paint won't compete with the visuals seen in the adjacent living room. Take the lead of Jen from City Farmhouse and pair your white cook space with black accents for a timeless finish.
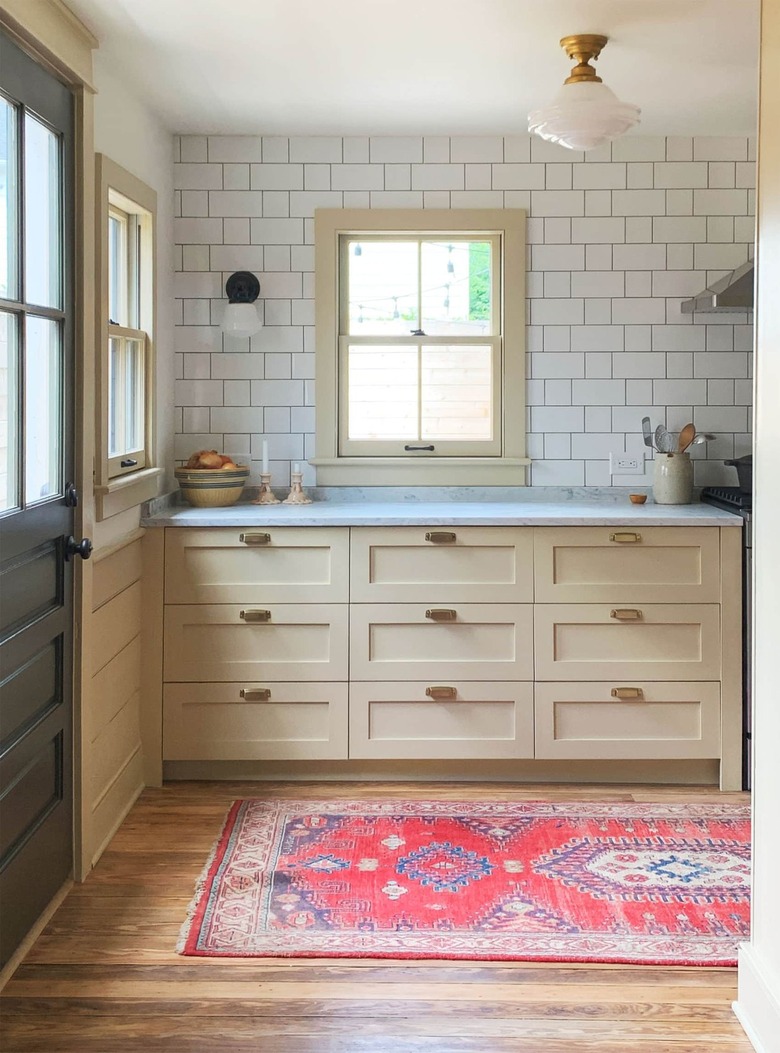
If white kitchen cabinets aren't your thing, allow us to direct you to beige cabinets instead. You'll still be able to enjoy all the benefits of a neutral color palette, with the added perk of a bit more warmth, as evidenced by this kitchen belonging to Daniel Kanter.
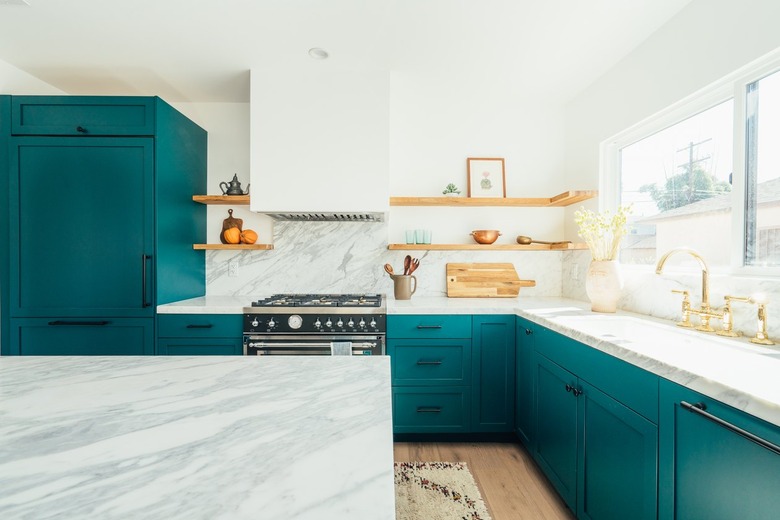
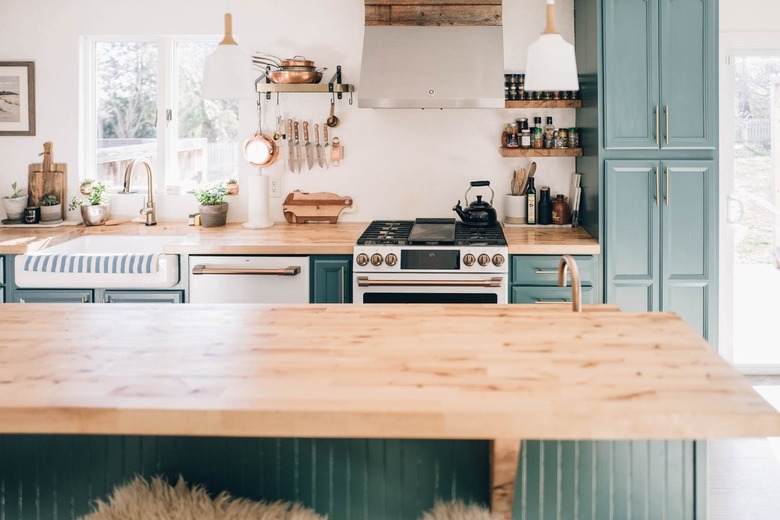
When it comes to kitchens, we definitely love the color teal. It's a bright, eye-catching hue that's not overpowering yet looks good on everything from the kitchen island to the cabinets. It's especially fetching in this small setup styled by Jess Ann Kirby.
For a more saturated shade, give emerald green kitchen cabinets a try. The dramatic color is sure to make any cook space look vibrant and unique, as seen in this design perfected by Michaela of Michaela Noelle Designs.
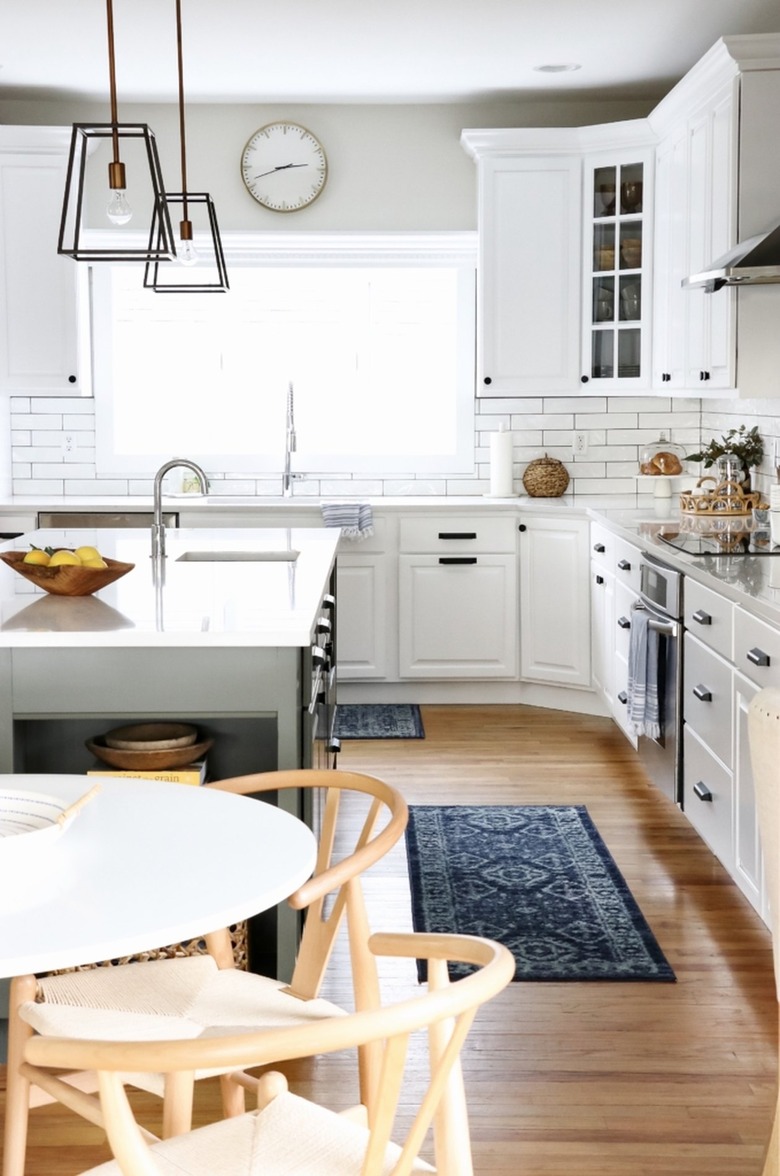
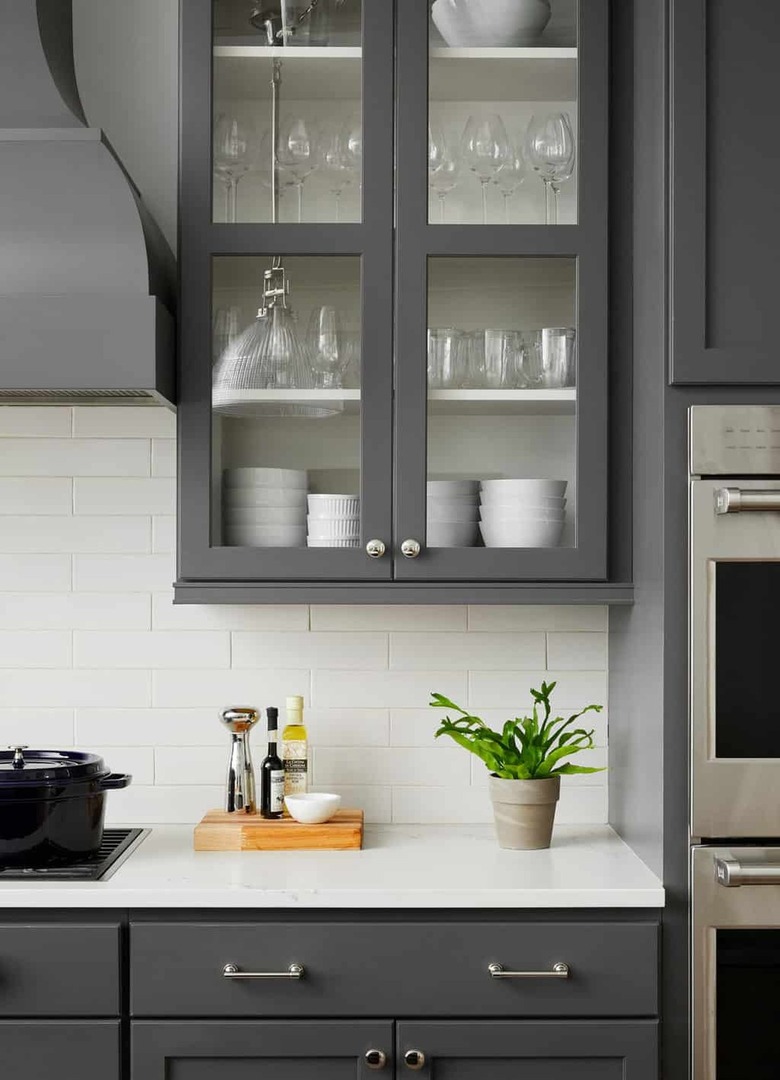
To turn up the dial on the drama just a smidge, look no further than slate gray for your culinary headquarters. Timeless with a touch of edge, these cabinets look gorgeous next to the white backsplash and countertop that Claire of Centered by Design chose for this kitchen.
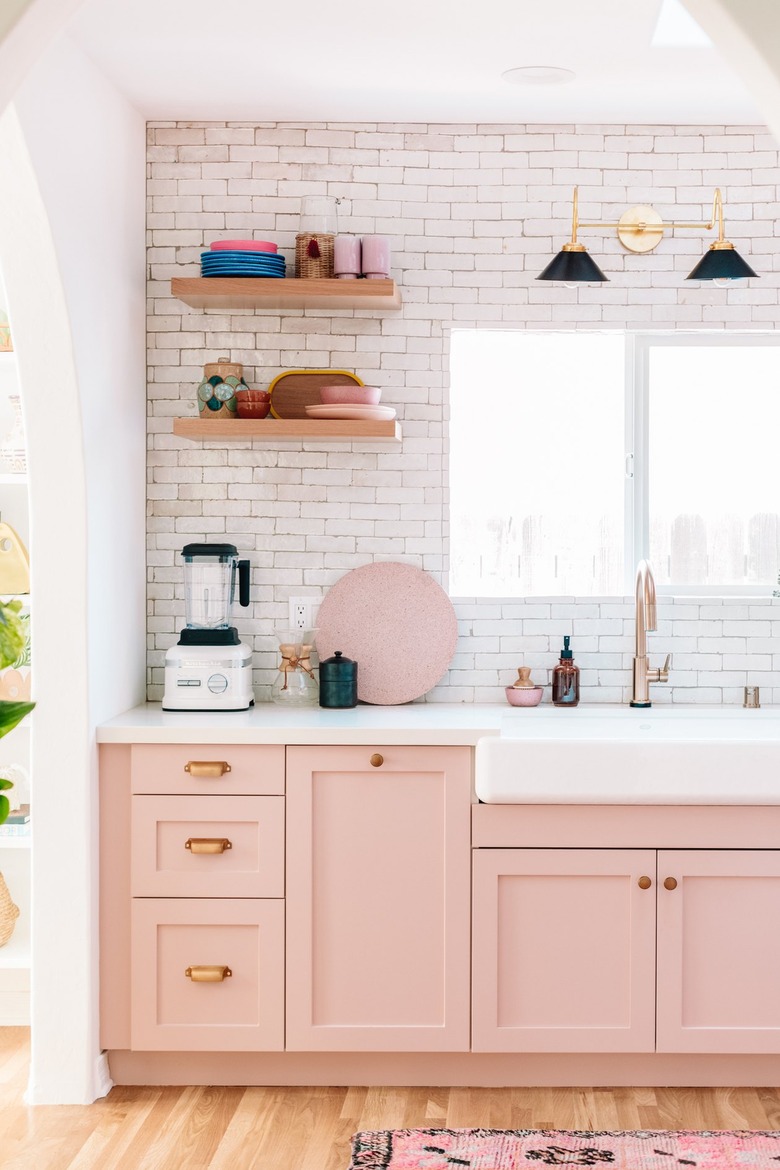
There's one shade that truly stands out among all color ideas: and that's pink. It's a hue that certainly isn't for the faint of heart, but if you'd like to bring an air of light, playful charm to your kitchen, by all means. Kelly of Studio DIY shows us how it's done with the help of this stunning (and fun!) space.
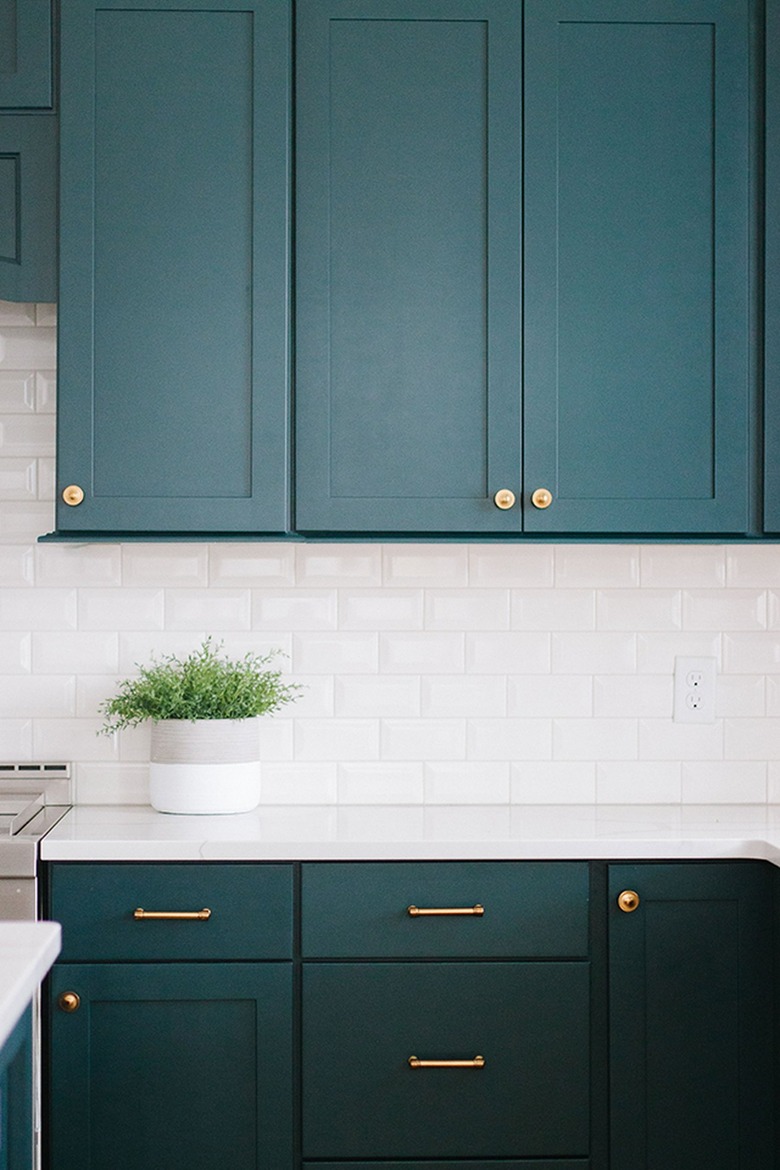
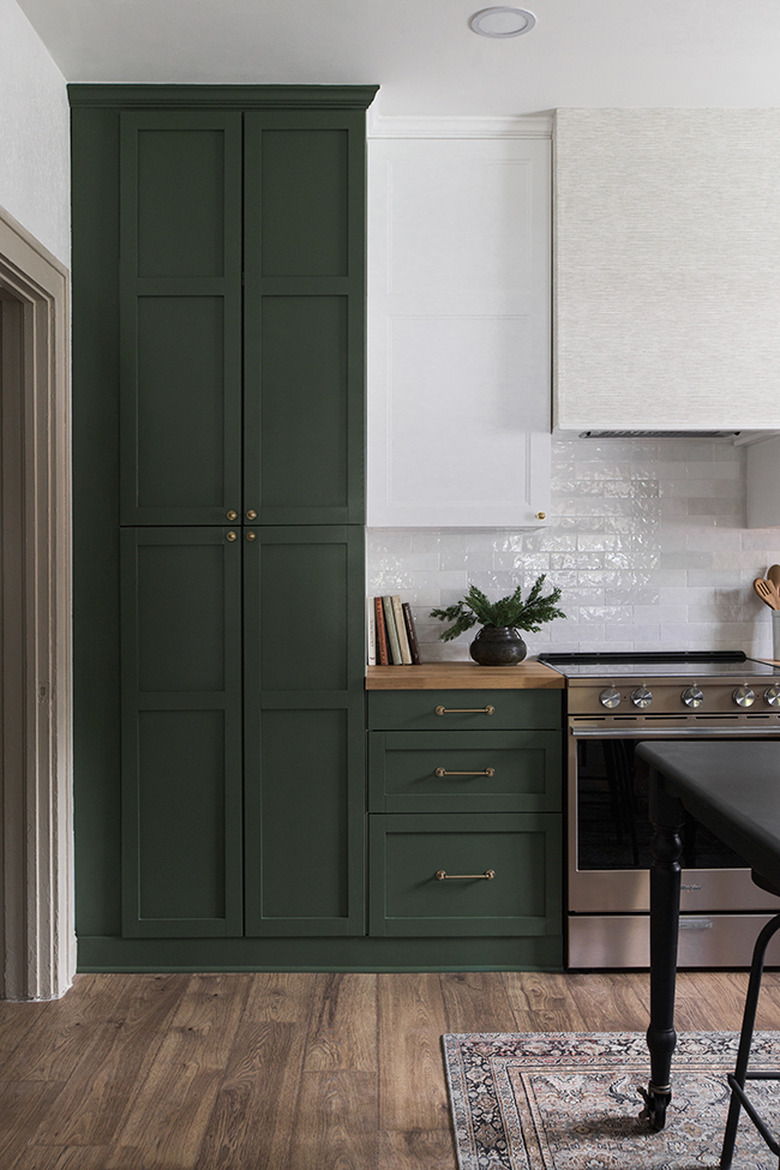
Maybe you're drawn to moody hues, but black and dark gray don't do anything for you. In that case, consider forest green. It's a color that's great for building a dramatic color scheme, similar to the green, black, and white palette showcased in this kitchen by Jenna Sue Design Co.
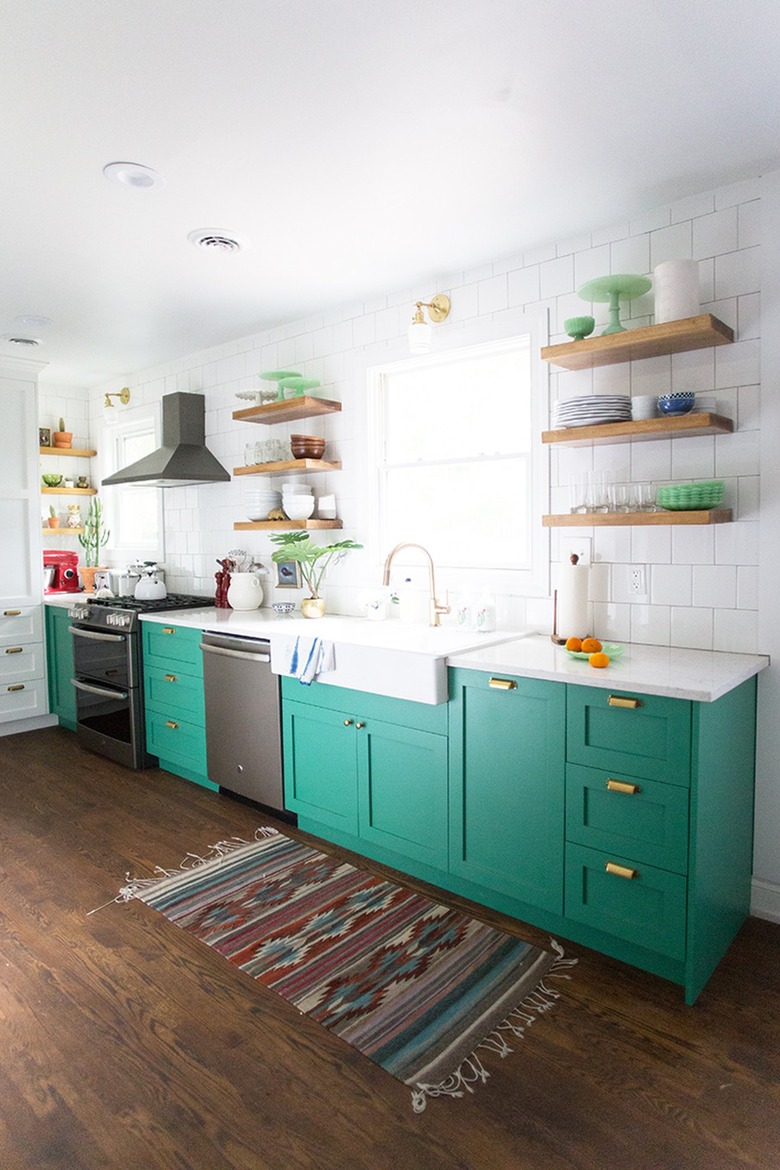
Perhaps your new kitchen design is desperately calling for a jolt of bold color. Well, then it might be time to ponder one of the bravest shades around: bright Kelly green. Miranda of Live Free Creative Co. made this pick for her culinary headquarters, and it looks fabulous paired with pops of vintage decor.
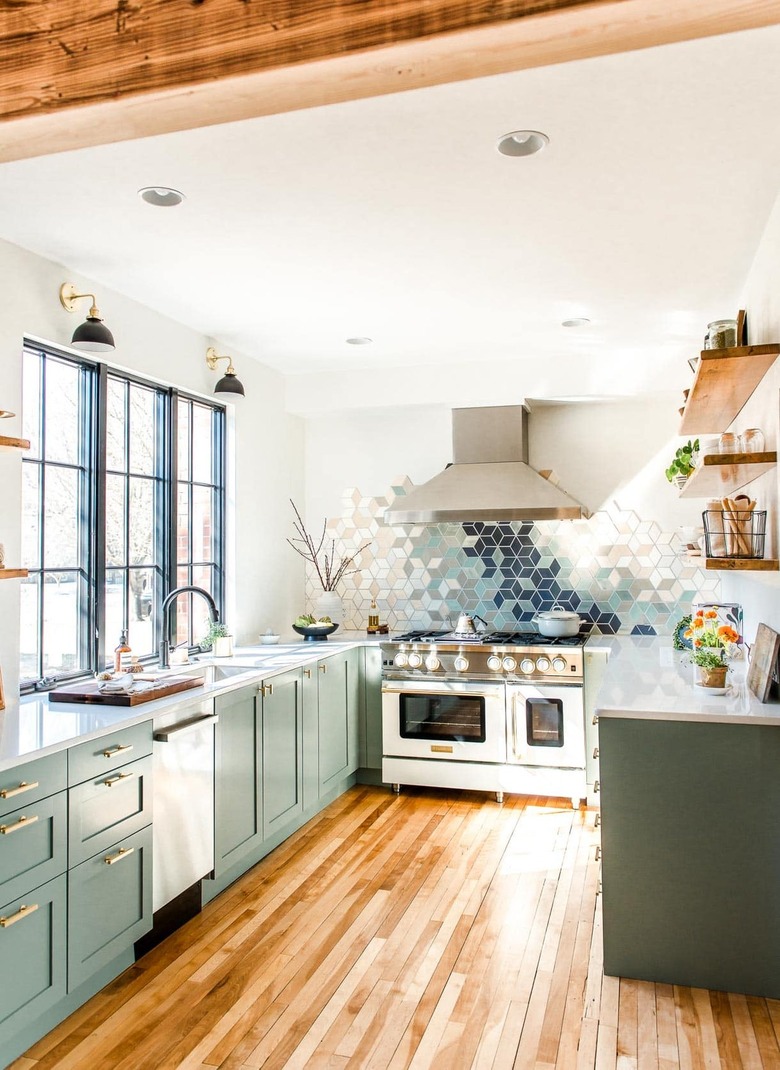
Sage has been another green hue that's taken the world of interior design by storm in recent years, since it's almost neutral and won't overwhelm the kitchen. It's a shade that really goes with just about anything, even a modern, geometric backsplash like the one seen in Amanda from Heartbeet Kitchen's cook space.
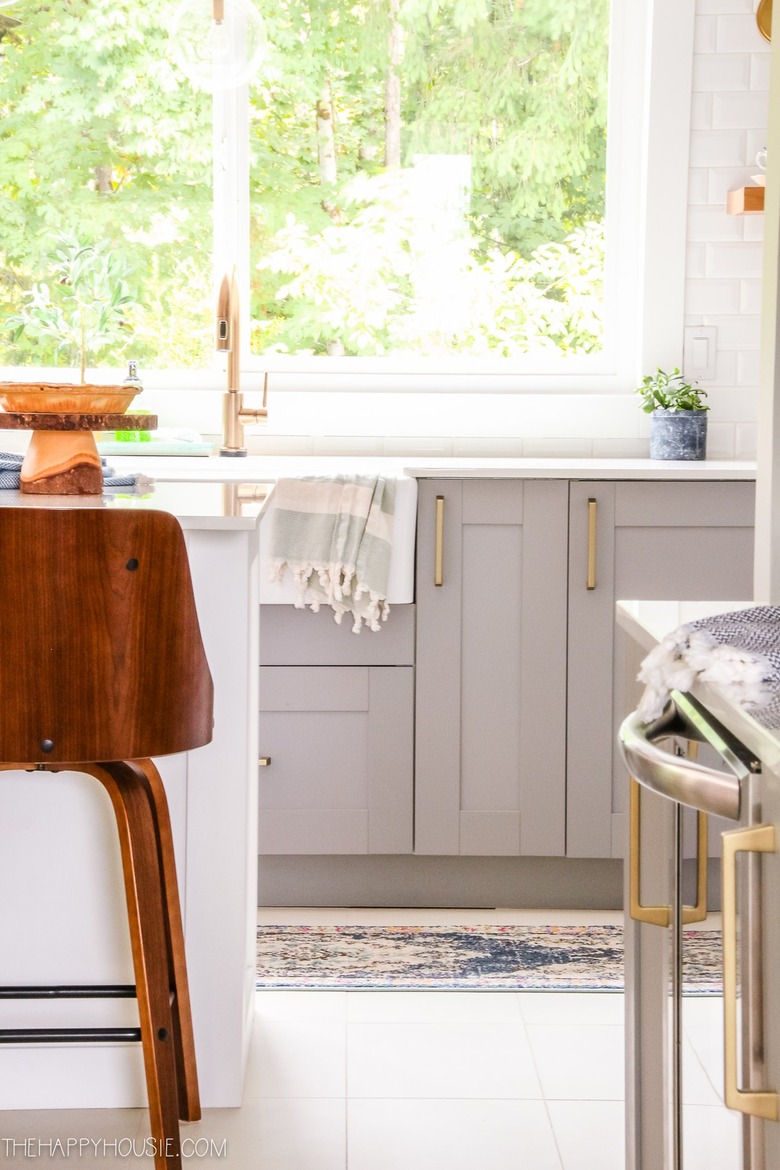
Do you want to love your kitchen color scheme for years and years to come? Then it's best to go with a trend-proof shade that won't go out of style anytime soon, like light gray. The dreamy cabinets, in this kitchen created by Krista of The Happy Housie, look even lovelier with brass pulls.
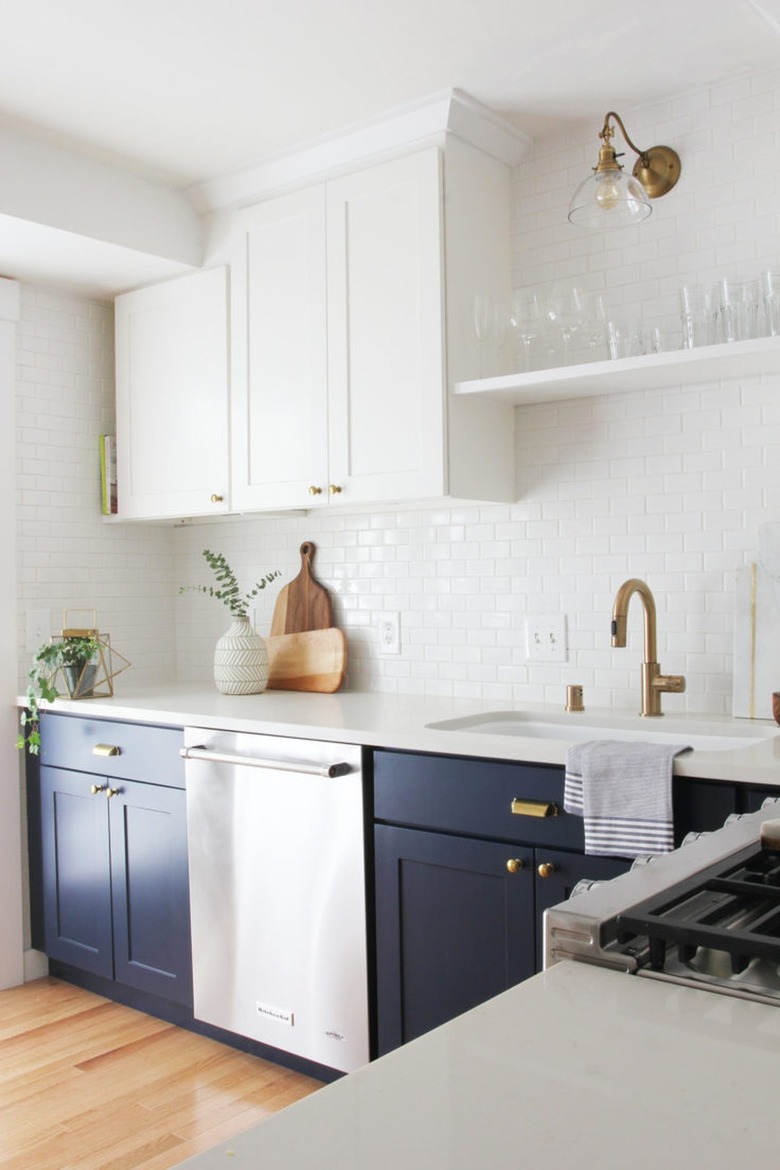
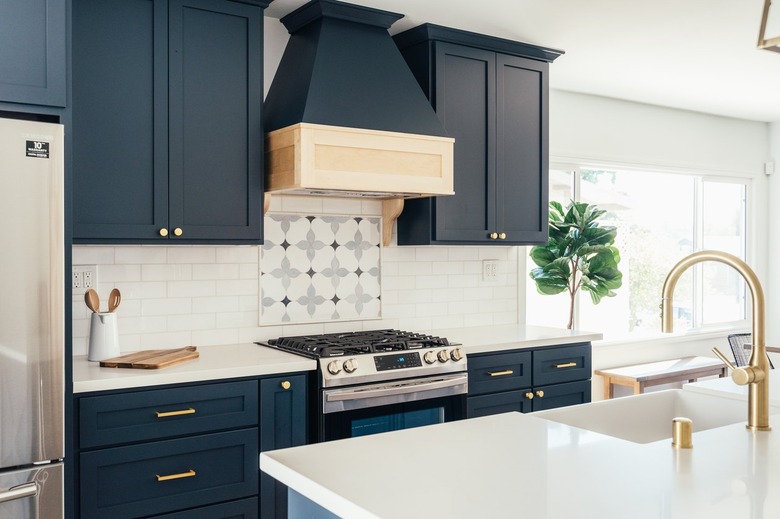
A navy blue kitchen has been a designer and homeowner favorite as of late. Whether you go all out with the hue or limit it to one area, the pop of color is guaranteed to make a lasting impression. This modern kitchen design by Garrett and Cathy of The Grit and Polish looks spot-on with two-tone cabinets.
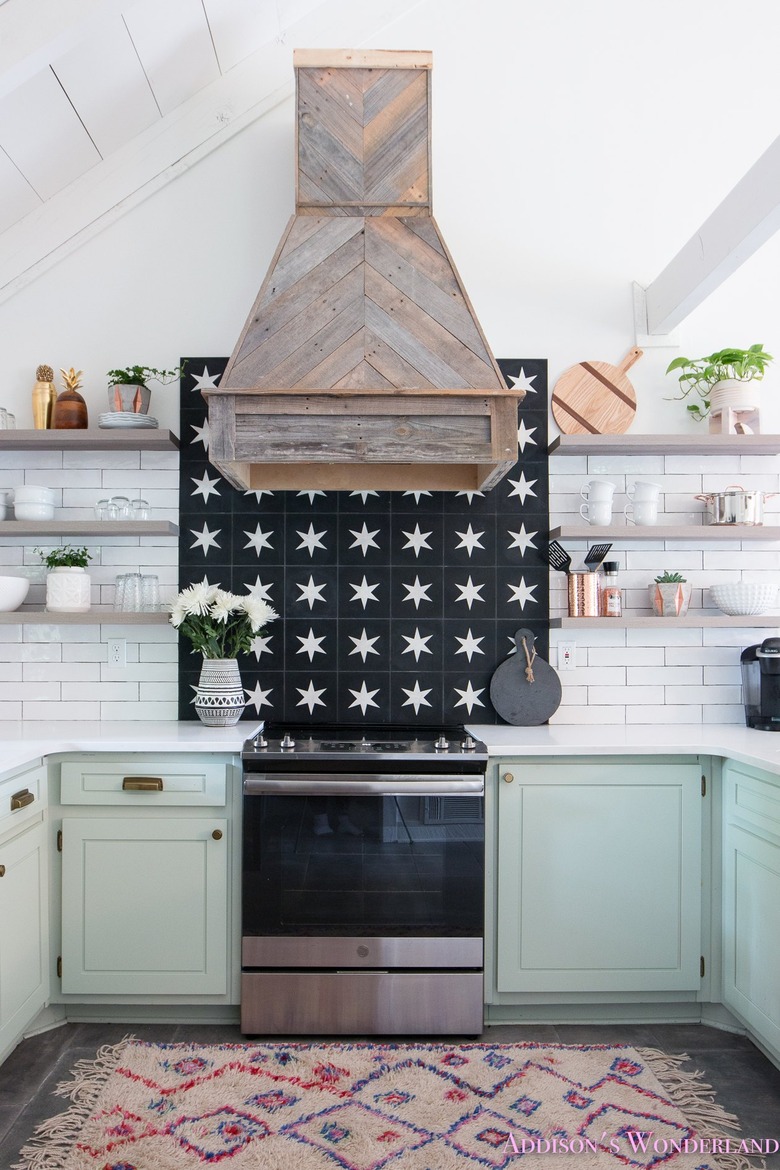
For a little whimsy in your kitchen, consider a pastel shade like mint. The hue is fresh and pretty, but it also happens to go well with a black-and-white backsplash and colorful rug, as proven by this kitchen belonging to Brittany of Addison's Wonderland.
Painting Safety Basics
Whenever you are painting kitchen cabinets, ensuring adequate ventilation is essential. Different paints vary in their chemical composition, but certain types are extremely toxic if inhaled over a long period of time. If you will be painting your cabinets in place, open any doors and windows that you can and use fans whenever possible. If you're planning to remove cabinet doors from their hinges and paint them elsewhere, be sure you are not in an area with poor airflow.
Cabinet Painting Prep Work
Regardless of the painting method you choose, you will need to remove cabinet hardware before getting started. Set it aside in a storage container or sealed plastic bags to avoid losing any pieces. If you'll be removing the cabinet doors to paint them elsewhere, lay down drop cloths or newspapers to protect the edges of your floor from paint.
However, if you plan on painting the cabinets on-site, tape off the edges of the cabinets to protect the wall beyond from getting painted. In addition, cover your countertops and tape the edges to keep them from getting splattered with paint.
Painting Kitchen Cabinets
If you will be completing your kitchen cabinet makeover using traditional paint, you might wish to select an oil-based option for your kitchen. Latex paints can peel over time if a chip or scratch is started, and this is more likely in a heavily trafficked area like the kitchen.
Sand the cabinets before you get started to rough up the surface. This is especially important if you are working with a polished or shiny surface. Next, you'll need to thoroughly wipe down the cabinets with a tack cloth to remove any and all dust. Apply an oil-based primer using a brush or roller (or both, if you wish to roll the center of the cabinet door's surface and cut in on the edges with a brush).
Last but not least, it's time to paint the cabinets. Again, the choice of using a roller or brush is yours. Brush strokes may be more apparent on cabinet doors that you come into close contact with on a regular basis than on walls you don't see up close very often. However, rolling paint on small surfaces can be tricky at times.
Alternatives to Paint
You can choose several other ways to coat your cabinet doors. For instance, you can use a gel stain to easily cover your cabinets. You may wish to wear a respirator mask for this project, as well as rubber gloves. The actual gel application is very similar to painting, with a second coat of paint likely required 24 hours later.
Alternatively, crackle painting is a very popular technique, especially when you want more of a distressed finish. For this technique, you'll first paint the cabinets, then apply a crackle glaze over the top. Note: You should apply the glaze in the direction of the wood grain.
