
DIY in a Day brings you step-by-step instructions for easy projects that will spruce up your space — within 24 hours (or less!).
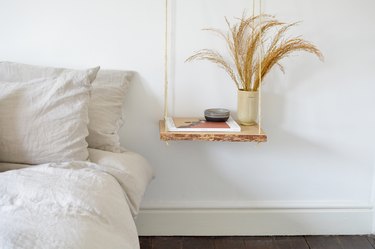
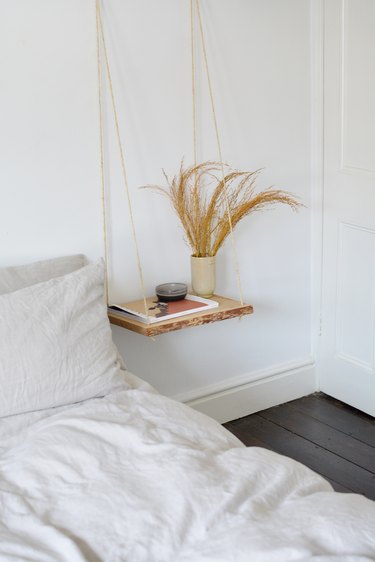
If you're looking to spruce up your bedroom, this stylish nightstand is a great DIY for beginners. We wholeheartedly believe that a good nightstand is a bedroom essential. Where else would we put down our books and cups of tea at night? A hanging nightstand will free up valuable floor space, making it a perfect solution for smaller spaces. Plus, it's also a great way to update your decor on a budget.
You'll only need a few items and an hour or so to recreate this project. Let's get started!
Video of the Day
Video of the Day
Things You'll Need
Step 1
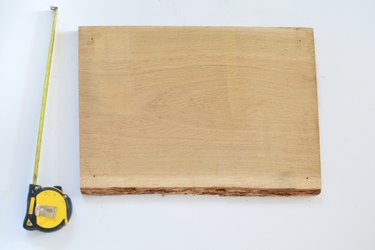
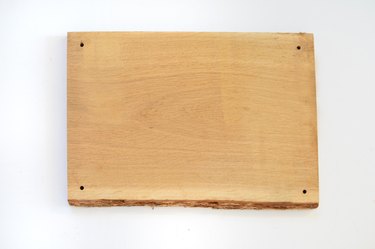
We've used a 16 1/2-inch-by-11 1/2-inch section of hardwood for our nightstand, but you can have yours cut to any size that suits. You're going to drill a hole at each of the four corners of the wood, so mark a drill point approximately one inch in from each corner.
Step 2
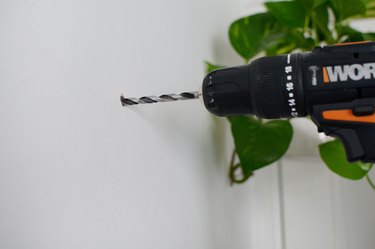
You'll need to drill holes that are wider than the thickness of the rope, so make sure the drill bit is wider than the rope you're intending to use.

Step 3
Place some scrap wood underneath before drilling.
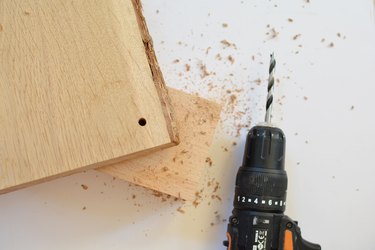
Drill at each corner.
Step 4
Take a tape measure and measure the distance between the two back holes.

Step 5
To hang the nightstand (using wall hooks), take the measurement from the previous step and mark two points on the wall that measure the same distance apart. For this project, we've chosen to hang the nightstand from the wall (about 2/3 of the way up from the floor), but you could also hang the nightstand from your ceiling.

Step 6
Drill two holes for the hooks at the two points marked. (We're drilling into solid brick so we're using a masonry drill bit and wall plugs.)
Step 7
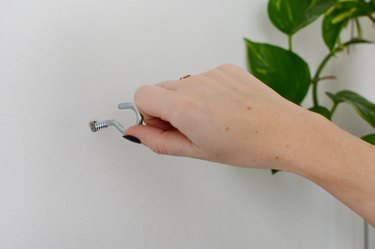
Use simple screw hooks to hang the nightstand.
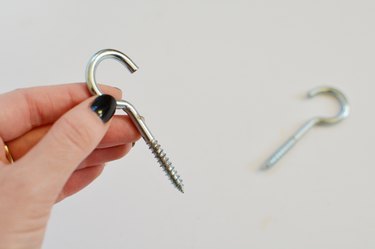
Place wall plugs into the holes and then twist in your hooks.
Step 8
Next, you'll thread the rope through the holes in the wood. How much rope you use will depend on the height of your nightstand. Measure from the wall hooks to the point on the wall where you want the shelf to sit. Take this measurement and double it — this equals the length of rope you'll need for one side.
Cut a second piece of rope measuring the same size so that you have two identical lengths of rope. (This nightstand hangs three feet below the hooks, so we cut two pieces of 6-foot-long rope.)

Step 9
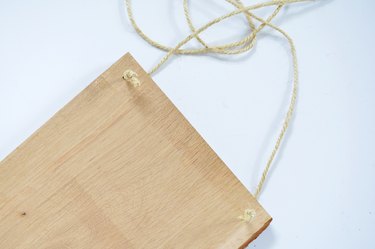
Take one section of rope and thread one end through the front corner, and tie underneath with a knot to secure. Take the other end of the rope and thread it through the back corner on the same side, and then tie with a knot to secure.
Repeat this process on the opposite side of the wood with the remaining length of rope to finish.
Step 10
Hang the nightstand from the wall hooks by slipping the rope over each hook. Put a spirit level onto the nightstand to check its level. It may need some slight adjustment. To do this, simply untie one of the knots and retie it slightly higher/lower to address any issue with the level.)

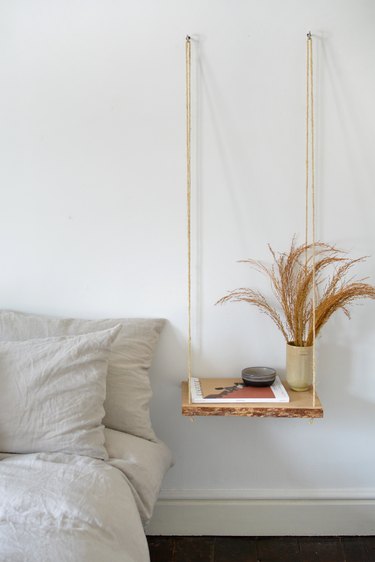
Your nightstand is ready to use!
