6 DIY Bathroom Makeover Ideas
A bathroom remodel doesn't have to involve hiring an expensive contractor, tearing out the tub or installing a new sink and flooring. Instead, opt for a DIY bathroom makeover, targeting one area at a time to make it a manageable project. Consider your options for each project thoroughly before you begin to ensure you have the time and resources to finish things in a reasonable amount of time.
1. Simple Paint Perk-Ups
1. Simple Paint Perk-Ups
One of the easiest and least expensive ways to make over a bathroom is to change some or all of the paint colors in the space or to embellish what you already have. There's no need to stick with solid colors either; feel free to experiment with patterns, ombre fades or even murals. Whichever option you choose, skip flat or matte paints and opt for something with at least a satin sheen, as it's easier to clean and holds up better to the moisture inherent in a bathroom, according to Consumer Reports.
- Use painters' tape to lay out patterns such as stripes. For a more eclectic look, use tape several inches wide and tear irregular wavy edges down both sides to create wavy stripes. Painters' tape also comes in handy for plotting out geometric designs such as chevrons.
- Stencils allow you to create complex patterns on the wall or even atop plain wall tile for a luxe look similar to a high-end wallpaper. Some, such as those offered by Royal Design Studio Stencils, are truly beautiful and are available in a vast array of styles.
- While not a wall, the ceiling is also a paintable surface. Consider painting the ceiling a soft blue color for a white bathroom or pick up on a color that's already on the wall or floor tiles. Soft earth, sky and sea tones can give the bathroom a spa-like vibe.
2. DIY Bathroom Mirror Makeover
2. DIY Bathroom Mirror Makeover
Is your bathroom mirror one of those frameless mirror slabs left over from another century? It doesn't have to stay that way. Make your own mirror frame, whether wood or mosaic tile, for a more finished look.
- Frame the mirror with wood trim or molding strips painted or stained to match your bathroom decor plan. The style options are limitless, from reclaimed barn board to picture-frame-style mitered wood. Secure them in place with a clear epoxy or other adhesive that works well on both wood and glass. Use painters' tape to hold the boards up as the adhesive sets.
- Make a mosaic-style mirror frame with small glass or ceramic tiles in any colors you like. Translucent glass in blues and greens adds a seaside vibe. Tile sheets held together with backing paper or a mesh are easier with which to work and ensure even spacing. An adhesive tile mat is a great way to hold the tiles up around the mirror instead of thinset. It's sturdy enough to hold the tile while grouting too.
- Jute roping is a great way to hide an old wood mirror frame and to give a mirror a nautical look. Start gluing the jute in one inside corner using the adhesive for a few rows of rope. Tiny tacks or brads can be used once the first few rows are secured.
- Use your choice of framing materials to jazz up an old mirror-fronted medicine cabinet as well. The process is much the same as adding a frame to a wall mirror.
3. Make a Small Splash With a New Backsplash
3. Make a Small Splash With a New Backsplash
A backsplash behind the sink is a perfect addition to a DIY bathroom makeover, as it adds a lot of character without a lot of work. This option looks great above a sink installed in a basic vanity. For a cohesive look, in many cases, the width of the backsplash should match the width of the vanity or countertop.
Check the selection of small glass or ceramic tiles at your local home improvement center, especially the tiles sold with mesh backing, as these are easiest to install. Use adhesive tile mat cut to size to hold the tiles on the wall and then apply grout following the curing and cleanup instructions on the grout packaging.
This same technique can be used to add a tile border on the wall to give the room a fresh new look.
4. Revamp an Old Bathroom Vanity
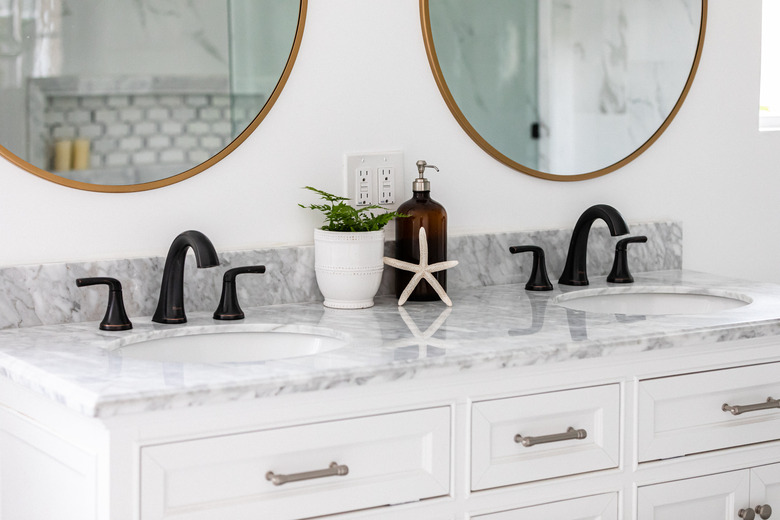
4. Revamp an Old Bathroom Vanity
If the vanity cabinet beneath the bathroom sink is boring and basic but just the right size for the space, it's the ideal candidate for part of your DIY bathroom makeover.
- Swap out the old hardware for something more stylish and better suited to your new vision for the bathroom.
- If the hardware is stylish enough but the color looks a bit dated, remove it and spray paint it outdoors before putting it back on the vanity.
- Paint the vanity a new color, such as a deep espresso or even robin-egg blue.
5. Make a New Vanity
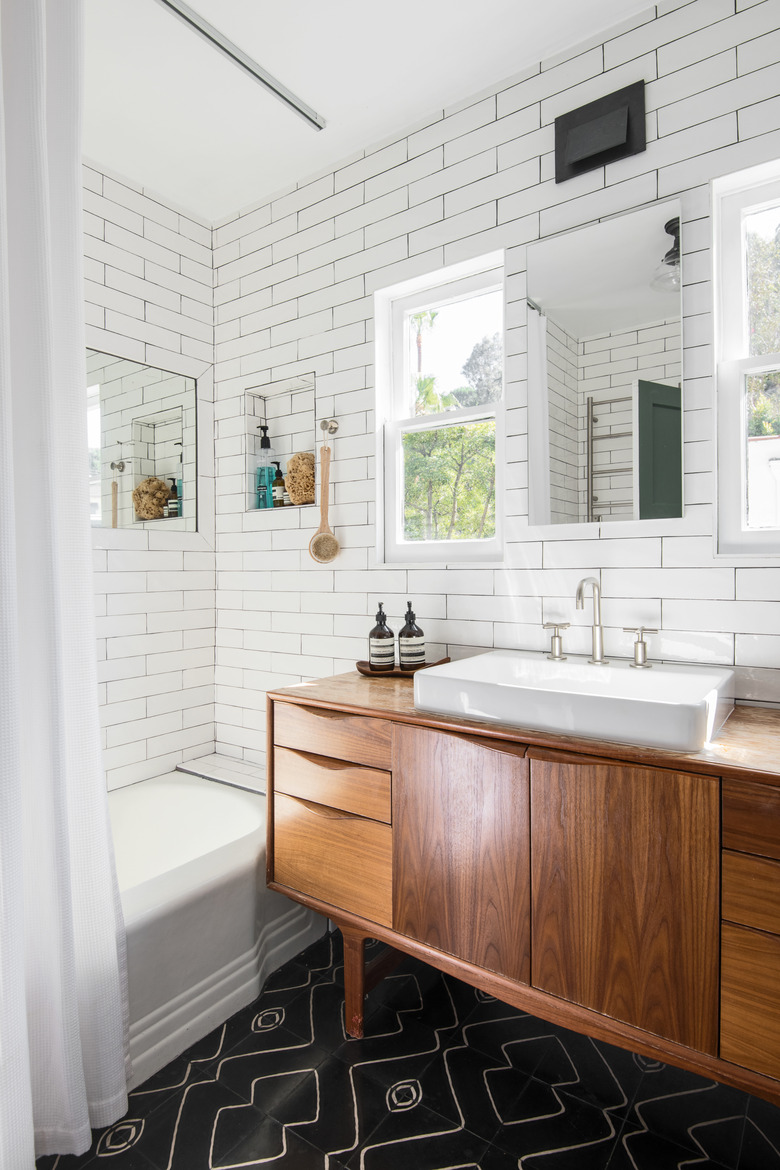
5. Make a New Vanity
Instead of going the all-new route or revamping what you have, turn a thrifted sideboard, dresser or buffet table into a one-of-a-kind bathroom vanity. Choose a piece that's durable with a sturdy top since the top will hold the weight of the sink. Paint the outside of the piece as desired — for instance, a dark base with a faux granite top. Choose a semigloss or high-gloss paint to help repel moisture or even seal the top with a clear coat to give it added protection.
You'll have to cut an opening for the sink in the top of the piece depending on the style and dimensions of the sink. The back and inner workings will also need modifications to allow for the sink plumbing. If the furniture has drawers that are in the way, one option is to take the drawers apart and glue the drawer's front panels to the front of the piece to emulate the look of a closed drawer. Ideally, the furniture has some doors that still open for easier access to plumbing and for at least some storage space.
6. Super Simple Bathroom Updates
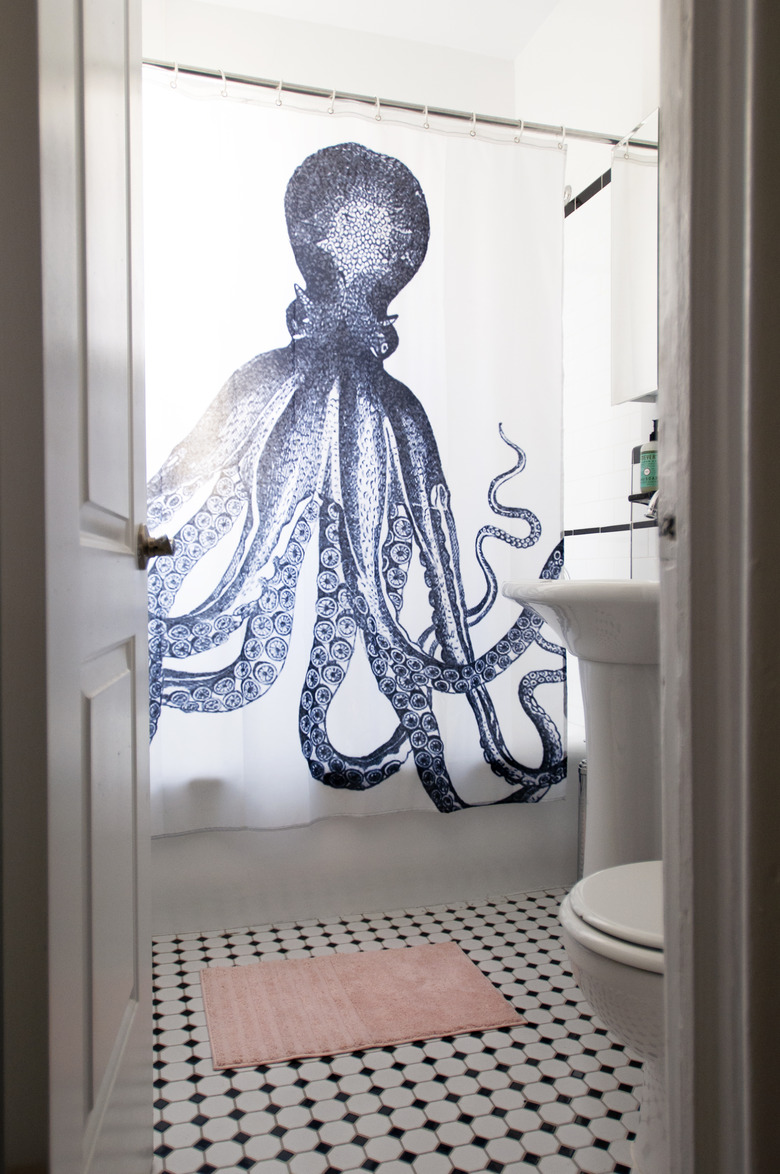
6. Super Simple Bathroom Updates
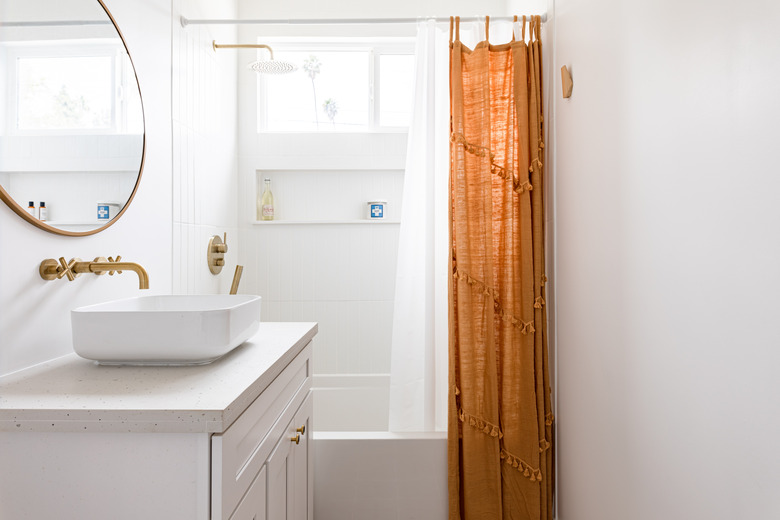
Small accents can have a big impact on the look of the room as well. For instance, for a seaside cottage vibe, choose a shower curtain and window coverings in sea and sand colors or decorated with nautical designs. Outfit the room with natural fiber baskets and place a few shells, pieces of driftwood or sea glass on nearby shelves. Add a sand-colored bath mat to round out the look.
Another easy way to update the space is to apply wall decals on select areas. Choose decals to display a message or to feature graphics that go along with the bathroom's theme. For something a little more complex, add beadboard wainscoting around the lower half of the walls for a classic look. Look for cellular PVC wainscoting that holds up a little better than wood in humid bathroom environments.
Swapping out light fixtures for something a little more suited to the new bathroom style is yet another way to enhance the space. This project involves shutting off the electricity, disconnecting the old fixture's wires and reconnecting the house wiring to the new fixture. Make sure the power to all wires is off first by testing each wire with a noncontact voltage tester.
References
- Consumer Reports: How to Paint Your Bathroom for Lasting Appeal
- Royal Design Studio Stencils: How to Makeover Your Bathroom With Wall Stencils
- AquaBlu Mosaics: Diy Custom Bathroom Mirror With Glass Tile Frame
- HGTV: Make a Beachy Rope Mirror
- In My Own Style: How to Repurpose a Sideboard into a Sink Vanity