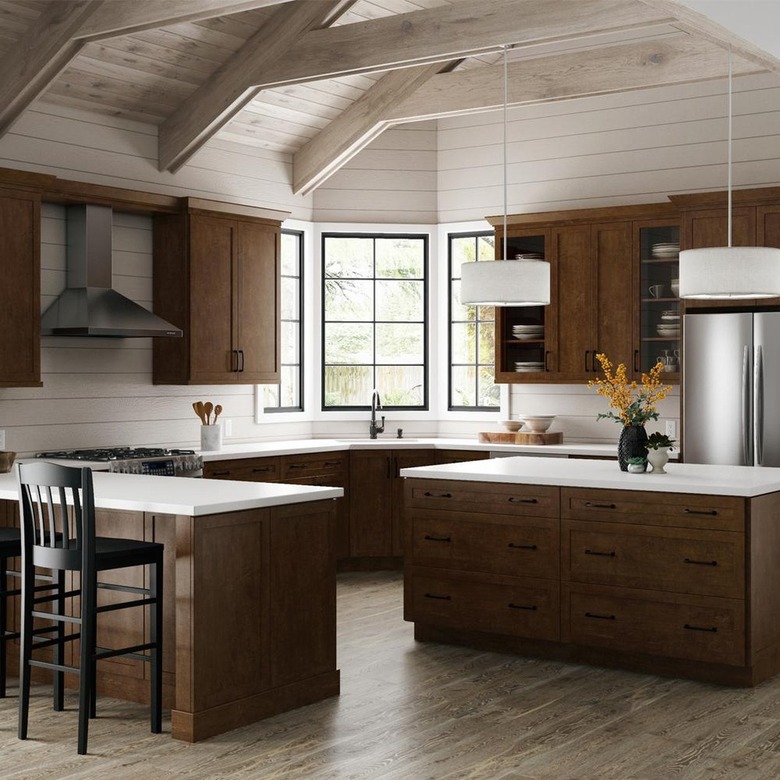
How To Install Crown Molding On Cabinets Following These Simple Steps
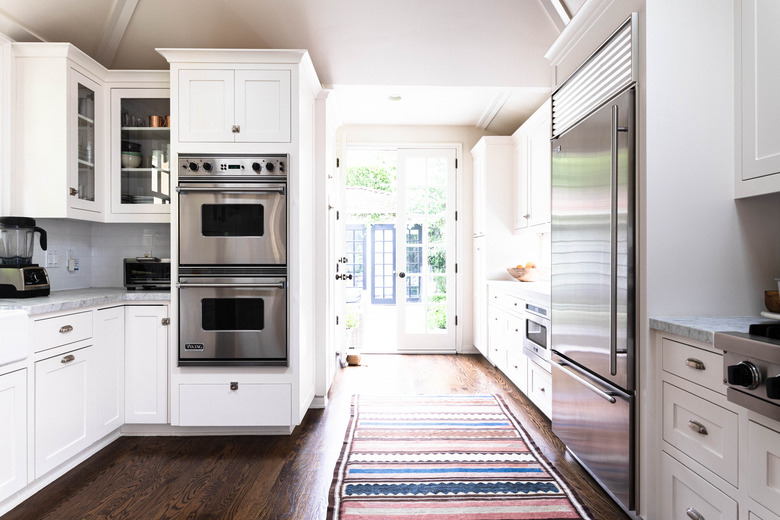
Crown molding adds a special touch to kitchen cabinets, giving even the most basic millwork a custom-crafted, luxe look. The molding also comes in handy for closing the gap between the top of the cabinets and the ceiling and for homeowners who want to create a sleek, finished look in their cook space. If you're planning on installing the trim yourself as a DIY project, keep this important tip in mind: Always purchase a little more molding than you'll need in case you don't measure or cut the angles correctly the first time. Your remodel will thank you.
Things Needed
-
Crown molding
-
Miter saw
-
18-gauge finish nail gun
-
Ladder
-
Tape Measure
-
Caulk gun
-
Caulk, wood putty, and filler
-
Wood clamps
-
Drywall hole-filling putty
-
Fine-grit sandpaper
-
Safety gear
The skill level required for this project is intermediate to advanced depending on the kitchen space. Installing molding typically takes anywhere from two to three days, but this may also vary according to room size. Costs can range significantly but expect to spend anywhere between $200 and $600 per room.
Choosing Crown Molding

Choosing Crown Molding
Crown molding comes in a vast array of styles and sizes, so picking an option that's ideal for your kitchen may seem tricky at first. Before you shop, measure the span of your wall cabinets, including any exposed sides as well as the space between the top of them and the ceiling. If there's a 3-inch gap, for instance, you don't want to buy trim that's 6-inches high.
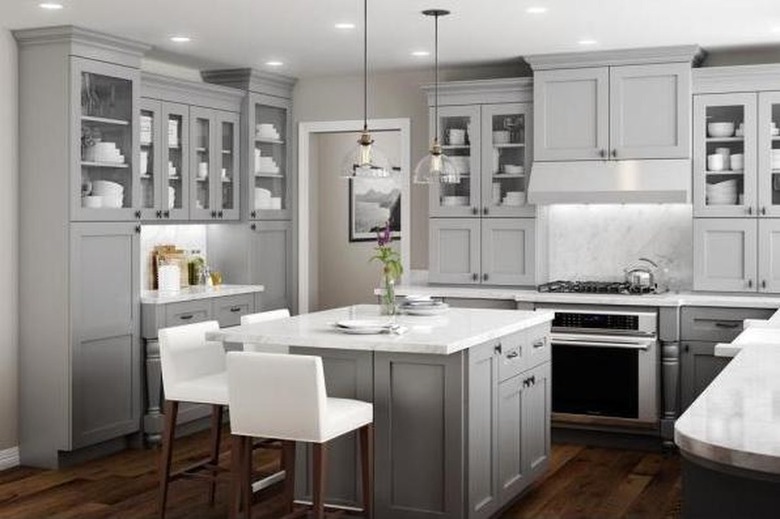
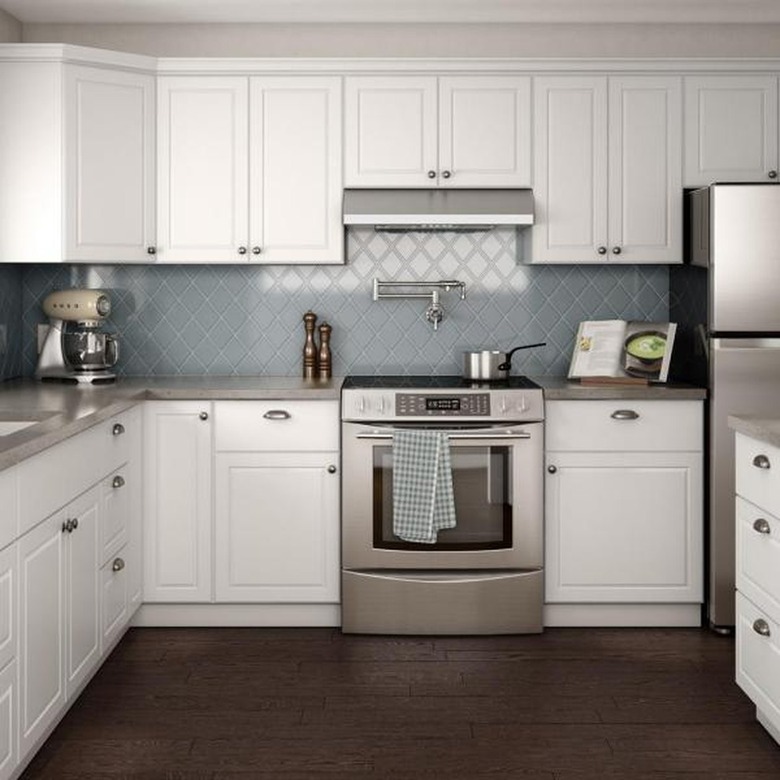
Some molding can be stacked for a more elaborate look. But generally speaking, the simpler the cabinet door looks, the simpler the crown molding installation should be. Likewise, highly detailed cabinetry calls for elaborate trim. Proportion and scale are important aspects to consider as well, according to Dura Supreme Cabinetry. Tall cupboards with ample space above them look best with high crown moldings in a room with a high ceiling, while compact cabinets in a kitchen with a low ceiling look best with smaller crown moldings.
Additionally, crown molding is usually sprung, which means only the angled edges near the top and bottom actually touch the cabinet or ceiling — the space between the trim and the top edges of your walls remains empty. While you're perusing the selections at your nearest home improvement store, consider buying a piece or two in several different styles and heights to test in your space before mounting. This way, you can see what looks best. Keep the receipt, and you can always return what you don't use.
How to Install Crown Molding on Cabinets
How to Install Crown Molding on Cabinets
Since this DIY project requires lots of nailing, an 18-gauge finish nailer makes the process a lot quicker and less tiring while helping to prevent bent nails or inaccurate application. Instead of attaching the molding to the top of the cabinet face, use extra strips of wood mounted on the cabinet to create a nailing surface.
- Cut strips of 3/4-inch by 1 1/2-inch wood to the length of the top of the full run of cabinets as well as another piece cut to size for each exposed side-cabinet view that requires crown molding.
- Use wood glue and nail or screw the wood strips on the cabinet, flush with the visible edge. The narrowest portion of the wood should be the vertical part.
- Before nailing the kitchen cabinet crown molding pieces in place, test fit them to make sure the angles line up along corners.
- Install each pre-cut crown molding into the top strips of wood using a finish nailer, inserting one nail every foot or so along the bottom edge of the molding that rests flush against the wood strip.
- Fill the nail holes and gaps along the corners with a drywall hole-filling putty. Sand it with fine-grit sandpaper once everything is dry.
- Use a caulk gun to cover any large gaps in the joint between pieces of molding.
Building a Frame
 Home Depot
For yet another approach, you can build a frame-style cap that fits on top of the cabinets and sits flush with the front and exposed sides. Attach the crown molding with a cordless driver using 1 1/4-inch screws attached through the back of the cap and into the rear edge of the molding. This also eliminates the need to fill nail holes. Once the molding is in place, enlist a friend's help and slide the cap on the cabinets. Use screws to attach the cap, inserting them upward from the roof of the cabinets.
Making a Molding Jig
 Home Depot
If you plan to top multiple cabinets with trim, a jig makes it far easier to make accurate cuts on a miter saw and avoid crown molding mistakes. Crafting the jig is relatively simple: Screw or nail two boards together to form an "L" and create a 90-degree angle, emulating the 90-degree corner where the top of the cabinet and ceiling would meet if the vertical cabinet face reached the ceiling.
The bottom board on the jig emulates the ceiling, while the vertical board nailed to the back of it emulates the cabinet face. Each jig board should be the same length, generally 3- to 4-feet long or a length that's convenient for your workspace when cutting the molding. Keep the nails or screws away from the center area of the jig, which is where the saw blade cuts.
Place a piece of sprung crown molding into the jig upside down, so that the part meant to rest close to the ceiling sits on the bottom board and the part designed to touch the top of the cabinet rests along the perpendicular board. The design or visible face of the molding should face you. Clamp the molding to the perpendicular board in several places, mark a line where the molding ends on the bottom board of the jig and then screw a wood strip in place along this line to serve as a stop for the molding.
Once assembled, every piece of molding you plan to cut will fit easily in the jig, whether for straight or angled cuts. This ensures accuracy when cutting and lining up the pieces for the cabinets. Your first few cuts of molding may slice through parts of your jig, but that's okay.
Measuring Angles for Corners
 Home Depot
The trickiest part about installing crown molding is measuring and cutting the angles properly so the pieces line up as they should on top of the cabinets. Remember: When cutting, the molding always fits vertically and upside down with the visible face closest to you. Also note that the true bottom edge should match the length of the cabinet to which it attaches. The top part will likely be a bit longer due to the angles involved.
When cutting outside corners, set the miter at 45 degrees to the left to cut the piece that fits on the left side of the cabinet. After, install the piece on the right. To cut the board for the right part of the outside edge, set the miter 45 degrees to the right. Pressed together, these two pieces will make a perfect 90-degree corner. Then, save and install the piece to the left of the cut.
For inside corners, cut the left piece of wood by setting the saw 45 degrees to the right, saving the right side of the cut for installation. For the right-side piece of wood on an inside corner, set the saw 45 degrees to the left, and preserve the piece to the left of the cut. Getting this perfect can take some work. Practice with some extra or scrap molding to make sure your pieces line up as they should.