Stainless Steel Backsplash: What You Should Know
Stainless steel is one of those materials that looks good in just about any kitchen, whether it's on appliances or serving as part of the decor, such as on your kitchen backsplash. A stainless steel backsplash is no exception. This material looks great with virtually any type of countertop, wall color and appliance color, plus it's easy to clean, especially when it isn't textured. A stainless steel backsplash is also relatively easy to install yourself, whether in the form of one large metal sheet or a series of metal tiles.
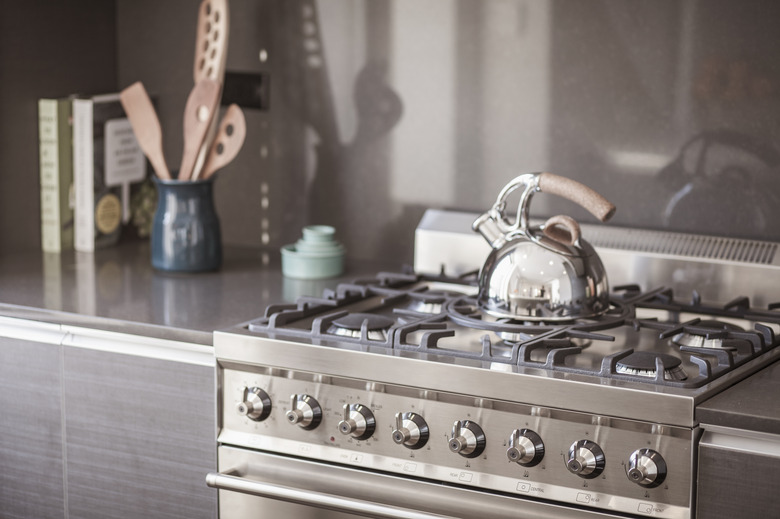
Stainless Steel Backsplash Options
Stainless Steel Backsplash Options
A stainless steel backsplash isn't always just a large sheet of metal, so it's easy to plot out a specific look that suits the style of your kitchen. Individual tiles or sheets of tile allow you to create patterns with the metal, as you might do with ceramic or tin tiles. Stainless steel tiles also weigh a lot less than ceramic tiles of the same size.
In single-tile form, stainless steel tiles are typically square or rectangular and may be sold individually or in packs that cover approximately 1 square foot. In many cases, the tiles have cork or another type of backing material. Some are peel-and-stick tiles that you can apply to the wall without added adhesives. Some retailers offer embossed or textured tiles for added detail. Keep in mind that any type of texture will be harder to clean than a smooth surface.
Tile sheets make it easier to create common patterns, such as a herringbone design. In some cases, the tiles in the sheets may be hexagons or even curved rectangles arranged in a "wavy" basketweave design that adds a dimensional element to the design. In most cases, stainless tile sheets are sold in a brushed finish, which helps hide fingerprints. Whether in sheet form or as individual tiles, expect to pay $12 to $20 per square foot for stainless steel.
 Hill Street Studios/DigitalVision/GettyImages
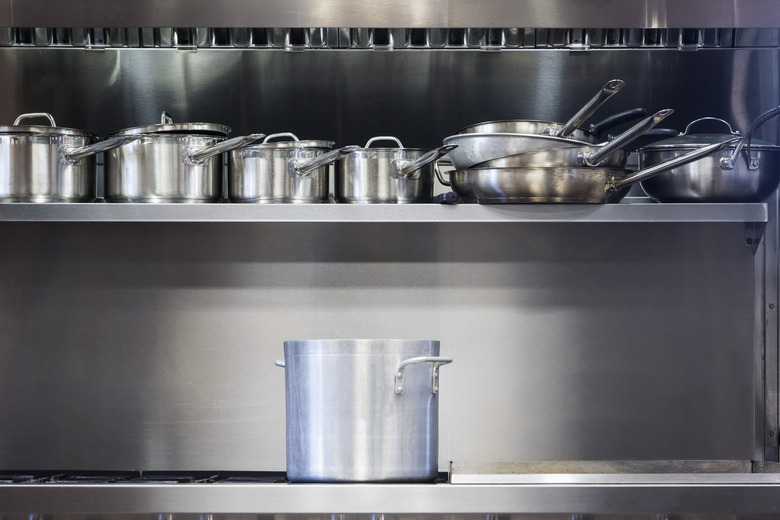
Purchasing Stainless Steel Sheets
Purchasing Stainless Steel Sheets
A single, smooth sheet of stainless steel is an excellent backsplash choice, as there are no seams or embossed details that may attract dirt and debris. A sheet-metal shop can cut a piece to size for your backsplash, which comes in handy if you don't have the tools or desire to cut it yourself. The shop can also smooth the edges and corners, which helps prevent injury if you accidentally handle the metal without gloves.
Ask for brushed stainless if you have stainless steel appliances in the kitchen, as these usually have a brushed finish. Brushed finishes are also better at hiding fingerprints than shiny, polished surfaces.
If you aren't sure what type of finish you prefer, look at a few sample options offered by the metal supplier or shop. Shops usually offer the metal in several gauges or thicknesses as well, and 20 or 22 gauge works well for a kitchen backsplash, according to Industrial Metal Supply.
Be sure to ask about pricing for various finishes and gauges up front, as these affect the cost per square foot. Having a sheet of metal cut to a custom size could be a bit more expensive than buying metal tiles or tile sheets. It could cost more than $50 per square foot depending on the options and company you choose.
If your kitchen backsplash involves multiple cuts and cutouts to accommodate for cabinets, light switches and outlets, make a paper template for the metal shop showing the exact locations. Remove the outlet and switch covers. Place a large sheet of kraft paper on the wall, holding it up with tape and then marking the areas to cut or cut out. Cut the shape of the paper to size, including the spots for the electrical boxes. This way, you won't have to cut the metal backsplash yourself.
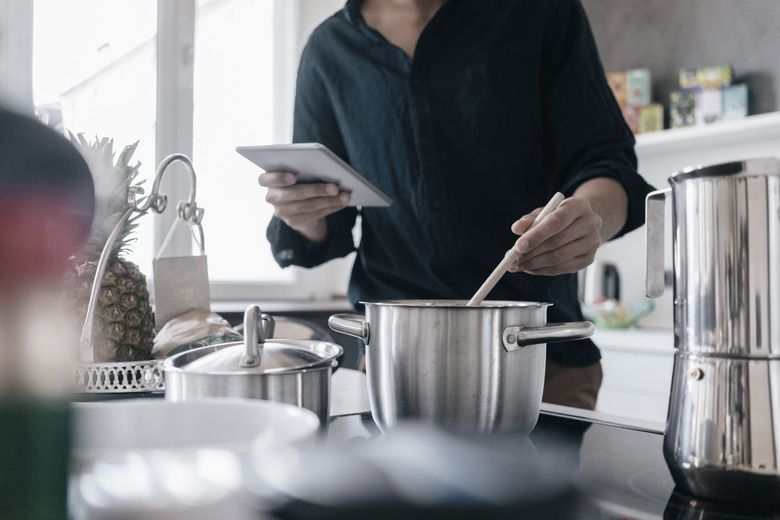
Installing Stainless Steel Backsplash Sheets
Installing Stainless Steel Backsplash Sheets
Whether you're installing one metal sheet or one per wall, it's best to test-fit the stainless backsplash on the wall before applying adhesive. If outlets or light switches are in the area to be covered with the stainless backsplash, turn off the power to the outlet and switch circuits at your home's breaker box. Remove the outlet and switch covers and tape over the outlet faces with painters' tape.
While wearing thick work gloves, test-fit the stainless sheet to make sure you have aligned it properly. Make sure the cutouts for the outlet and switch boxes are accurate; the kitchen backsplash should not cover any of the box openings.
- Once you're sure of the fit, clean the wall with an appropriate degreasing cleaner, allowing the wall time to dry.
- Apply a line of construction adhesive every couple inches across the back of the backsplash.
- Smooth out the adhesive with a putty knife to spread it into a thin, consistent layer.
- Set the backsplash in place and hold it while a friend tapes it in place with painters' tape. Leave the tape on until the adhesive cures for as long as recommended on the adhesive label.
- Smooth the entire backsplash by rubbing it with a soft cloth. This helps remove air bubbles and ensures a good adhesive grip with the wall.
For a large, heavy backsplash that doesn't have a countertop or ledge on which to rest, temporarily screw a strip of wood to the wall to provide a ledge for the backsplash to rest while the adhesive cures.
 Westend61/Westend61/GettyImages
Installing Stainless Steel Tiles
Installing Stainless Steel Tiles
Peel-and-stick metal tiles, available in a brushed stainless finish, offer the look of stainless steel, but they may be made of another material, such as aluminum. These tiles often have a backing of cork or another material along with an adhesive that requires a clean surface, otherwise the tiles may come loose.
Whether working with peel-and-stick tiles or tiles that require an additional adhesive, plot out your pattern on the wall first, holding up the tiles with painters' tape. Once you are happy with the layout, either peel off the adhesive backing and press the tile in place or use the type of adhesive recommended by the tile manufacturer. In either case, smooth the tiles onto the wall with your hands to press out any air bubbles and to ensure the adhesive reaches the wall in all areas.
These tiles are generally easier to cut than sheet metal. Check the packaging for tool recommendations; in general, a rotary tool or even a utility knife may be used to trim these tiles if the metal is thin. A miter saw or jigsaw will also work.
References
- Modernize: Versatility With Stainless Steel Backsplashes
- Countertop Specialty: Stainless Steel Backspash Guide
- Aspect Peel & Stick Tiles: 3x6 Metal Tile Installation
- Aspect Peel & Stick Tiles: Matted Metal Tile Installation
- ImproveNet: How Much Does a Stainless Steel Backsplash Cost?
- Industrial Metal Supply Co.: DIY: Making a Stainless Steel Kitchen Back-Splash