How To Install A Glass Tile Backsplash
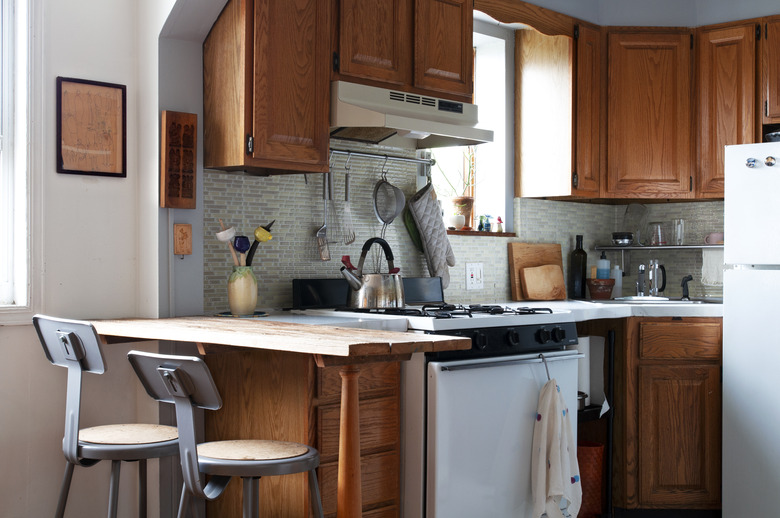
Tile backsplashes look great and are low maintenance, and glass tile is one of the most attractive, versatile and easiest-to-clean backsplash materials out there. With multicolored, small mosaic tile, you can capture the look of an upscale spa in your kitchen, or you can have a more classic tiled-backsplash look with square subway tiles. While installing tile backsplash is an easy-enough DIY home-improvement project, it's important to recognize that there are some unique challenges when it comes to installing glass tiles.
Choose the Right Supplies
Choose the Right Supplies
Unlike other types of tile, glass tile is often translucent. This can make installation more challenging, particularly when it comes to choosing the right adhesive to attach the tile to your wall. Additionally, glass has a very smooth, nonporous surface. With this in mind, About Glass Tile says to never use mastic, as it will never fully dry under glass tile, resulting in both poor adhesion and visible mildew.
Because you don't want to change the color of your tile, you'll want to use a white thinset. It's also important to follow the manufacturer recommendations for the proper adhesive for that specific type of glass tile. The Ceramic Tile Education Foundation warns that failing to follow manufacturer instructions can result in the tile not sticking all the way or the protective coating on the back of the tile warping and looking like crumpled tin foil. Generally speaking, you'll need a high-performance thinset mortar with a high polymer content.
Similarly, when choosing the right grout, look for something that will not scratch the surface of the tile. This means avoiding sanded grout and checking the packaging to ensure the grout is nonscratch. Many people have a lot of success with nonporous, urethane-based grouts, as these do not require sealer. Any color of grout is fine as long as it complements your tile. Since you'll need to caulk the perimeter of your backsplash area, be sure to get a caulk that looks good with both your tiles and your grout — most people choose white since it pairs well with most color schemes.
How to Install Glass-Tile Backsplash
1. Preparing to Install
Clean your walls with a degreaser. Next, make sure that the surface is even and free from holes. If not, be sure to sand down bumps and use a drywall compound to fill in dents and repair any cracks. If you are using translucent tile and have colorful paint on the wall, apply a sealer primer so the color will not bleed through your mortar.
 artursfoto/iStock/GettyImages
Turn off the power to any outlets or switches in the installation area and remove the switch and outlet cover plates as well as the switches and outlets themselves. Sand the wall surface using 80-grit sandpaper. Wipe the wall with a moist sponge to remove any dust from the sanding.
Place cardboard down on your counters to protect the surface from damage and to provide an expansion gap between the counter and the bottom row of tiles. Then, remove your range.
Measure the space between the counters where the range was and cut a board this width. The board will serve as a ledger to provide support and layout guidance for the bottom row of tiles. Screw the ledger to the wall studs so its top edge is perfectly flush with the cardboard on the two adjacent countertop surfaces.
2. Lay Out Your Tile
Choose a focal point for the tiles that people will first see when looking at the backsplash area. This is where you will start your layout. This is usually the area above the range. Measure the length of the general focal-point area and then divide it in half to find the exact center. Mark this point on the ledger or counter with painters' tape so it's easy to see as you work.
Cut out a piece of butcher paper measured and cut to match the size of your installation area. Lay it on the ground near your installation area and then measure and mark the area where your focal center point will be on the wall. Use this to create a dry layout.
Start just above the center point and work in rows of either individual tiles or tiling sheets. Leave an 1/8-inch expansion gap along every edge and use spacers if using full-size tiles. When you get to the ends, move the row to the left or right as needed to minimize the number of cuts if possible and to ensure no tiles are cut too narrow. After finalizing your layout, mark the back of the center tile or tile sheet right where it lines up on the focal center point.
3. Install the Backsplash
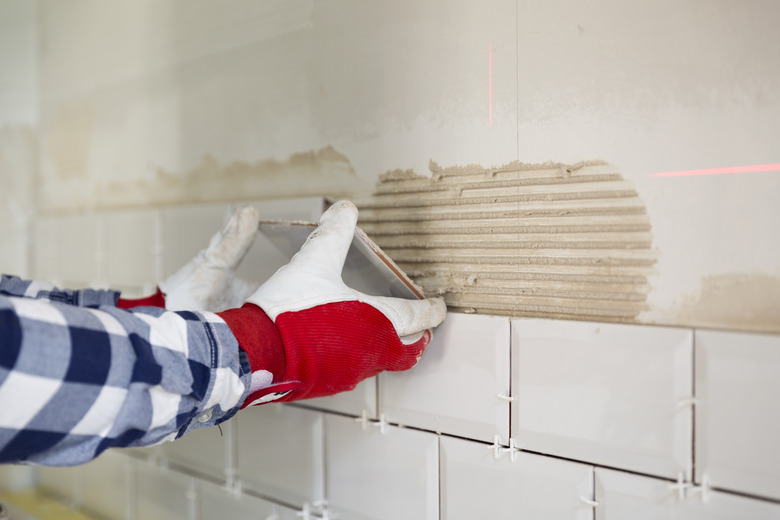
Mix thinset in a bucket and use the flat edge of a 3/16-inch V-notched trowel to spread a small amount of thinset starting above the center focal point. Spread out the mortar until it is even and about 1/4-inch deep. Use the notched side of the trowel to comb the mortar and then smooth down the thinset until it is around 1/8-inch thick. Because gaps in the mortar will show through translucent glass tile, be sure the mortar is even and smooth. Work in small sections at a time and if the thinset starts to cure, scrape it off and apply a new coat.
 John Rensten/Photodisc/GettyImages
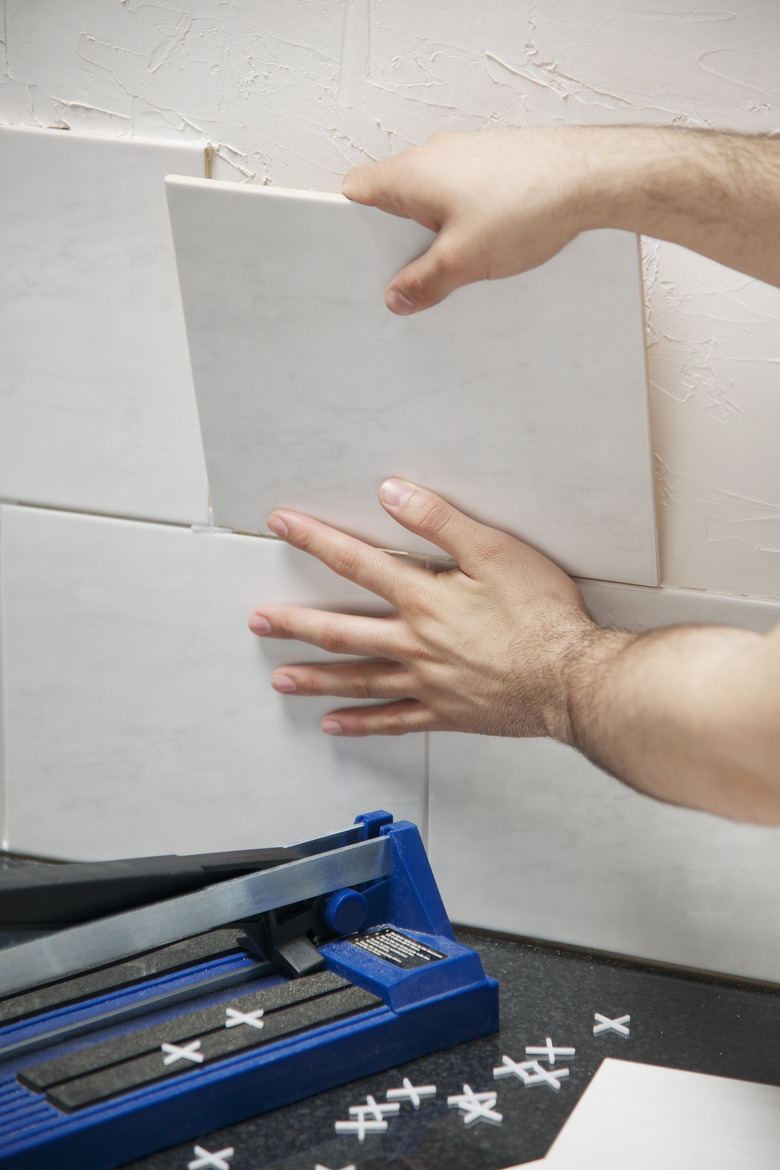
Line up your first tile or tile sheet with the center focal point and then set it into the mortar. Remember to leave a 1/8-inch expansion gap at the bottom. Beat the tile into the mortar using a block of wood wrapped in cloth and a mallet or grout float so there are no spaces behind the tile that will show through the translucent surface. If working with tiles rather than tile sheets, add spacers. Install the next sheet or tile, finishing the bottom row before moving up to the next row.
When you get to an electrical outlet or edge, mark the tiles with a wax pencil where they'll need to be cut. There are multiple ways to cut glass tile, but the most effective for both tiles and tile sheets is to use a wet saw. Individual tiles from tile sheets can also be cut with glass nippers. For detailed cuts, it is often easiest to separate individual mosaic tiles from their backing and cut each piece with nippers. Install the cut pieces with a little bit of thinset.
4. Spread Your Grout
Let the mortar cure according to the manufacturer's instructions, usually between 24 and 48 hours. Then, use a wet sponge and nylon scrub brush to remove thinset residue from the tile faces and grout lines.
Stir the grout until the texture is uniform and then let it sit for a few minutes to let air bubbles escape. Working in small sections, use a wet sponge to slick the surface of your tiles. Then, use an epoxy grout float to force grout into the joints between the tiles. When the joints are full, move the float diagonally across the tiles to scrape off excess grout and then wipe the tiles with a wet sponge to even out the grout.
Finally, clean the tile faces by rubbing a new, clean sponge diagonally over the tiles. Repeat this process, moving section by section until all the tiles are grouted and cleaned.
5. Apply Caulk and Finish
Apply caulk along the edges of the backsplash, including the corners between two sections of backsplash. Wet your finger and use it to smooth the caulk until it is even.
Remove the ledger between the two counters and put your range back in place. Reinstall the outlets and switches as well as their cover plates. Depending on the tile thickness, you may need to add electrical-box extenders to bring the boxes flush with the tile surface and to ensure that there is no gap between the outlets and switches and the cover plates.