12 Inexpensive Kitchen Backsplash Ideas On A Budget
Whether you're a homeowner or a renter, when it comes to DIY projects in a kitchen makeover, the costs start to add up pretty quickly. So we don't blame you for seeking out budget-friendly options whenever possible. One of the major dollar drainers? The kitchen backsplash. However, instead of spending a large sum on a natural stone or glass tile backsplash area, you can update your existing backsplash with a low-cost, high-impact, and easy DIY. From cork to steel sheets, just about any durable material can pull double-duty as both backsplash and decor for the heart of the home. But how will you choose the kitchen backsplash materials? These DIY kitchen backsplash ideas on a budget will help you out.
1. Keep it simple with ceramic tile.
1. Keep it simple with ceramic tile.
Don't get us wrong, a ceramic tile backsplash can be an expensive option, but you can't go wrong with a minimalist white square or subway tile, and these tend to be substantially cheaper especially in a small kitchen that has existing drywall in good condition. The average cost for low-range tiles is around $1 to $8 per square foot. Of course, you'll likely need to consider labor on top of this, but if you're only tiling a small area, you might want to try installing a tile backsplash yourself. You could even opt for colored grout if you wanted to bring a little more personality.
Get the look: Restore Ceramic Bright White Subway Tile, $1.20/ sq. ft.
2. Marvel with metal.
2. Marvel with metal.
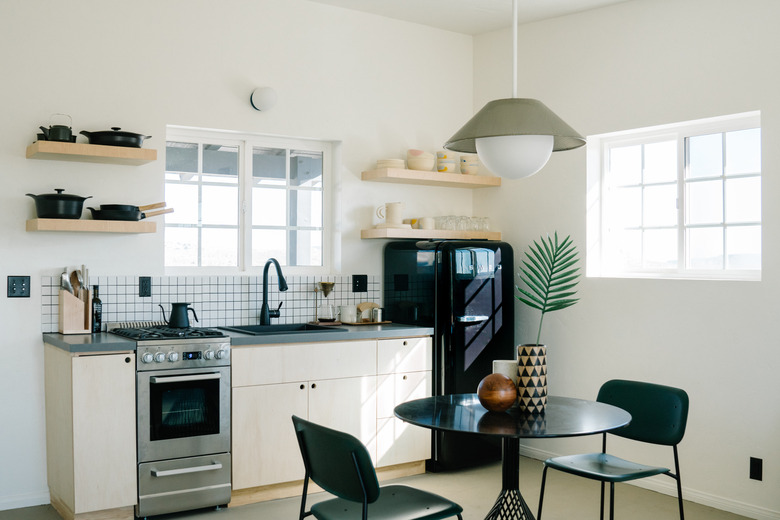
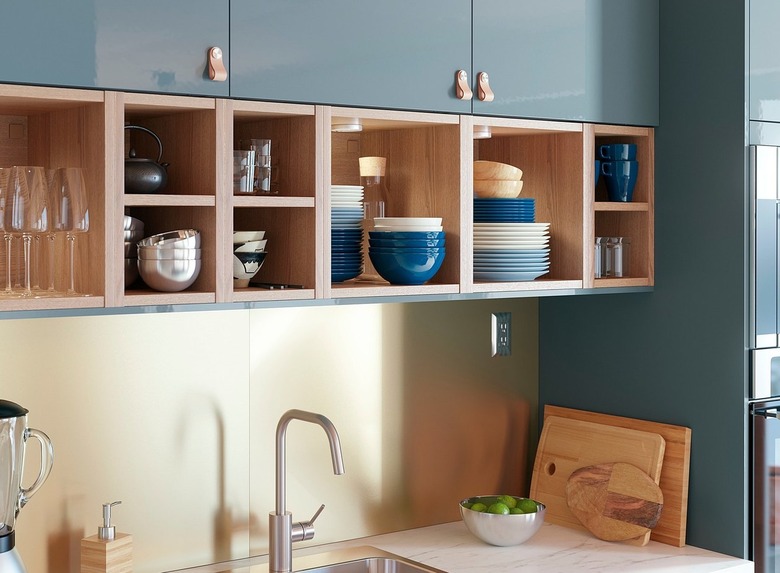
Why not give your kitchen design a modern, magnetic twist with a metal backsplash? Thin sheets of flashing or duct material offer a similar look to brushed stainless steel, while corrugated metal provides a slightly more rustic or industrial look. Some stores such as IKEA offer these readily made.
Additionally, a magnetic backsplash offers an ideal way to secure spice tins, recipes, and more. Real or faux tin tiles could also be an option for a textural touch. Simply mount the chosen metal to a sheet of plywood or hardboard instead of directly on the wall for a removable solution; it will be ideal even for a rental home.
Get the look: IKEA Stainless Steel Kitchen Panel, $49.99
3. Get savvy with surplus material.
3. Get savvy with surplus material.
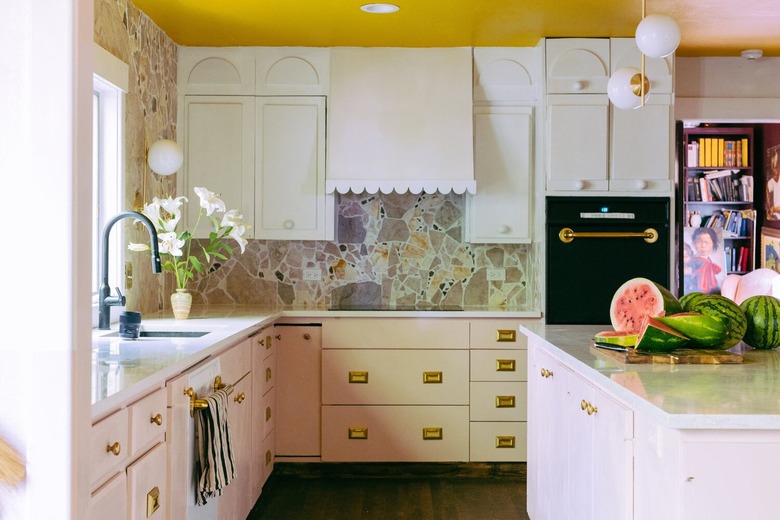
Build a mosaic backsplash design like Katie Saro did in her kitchen by using inexpensive finds such as sea glass, broken marble, rocks, bottle caps, flattened metal spoons, or even bolts and washers. As an added bonus, it's a cheap and sustainable option that you could without professional help.
Use latex-modified thin-set or tile mastic to adhere the materials to the wall. Wait several hours; then grout between the objects. To plot out patterns, adhere the front-facing portion of each item to the sticky side of contact paper, so the finished layout is visible. Finally, press the exposed backside of each piece into the thin-set or mastic. You can peel the contact paper away once everything is fully dry.
Get the look: Dorado Pebbles Textured Marble Mosaic Tiles, $107.90/case
4. Craft your own with cork.
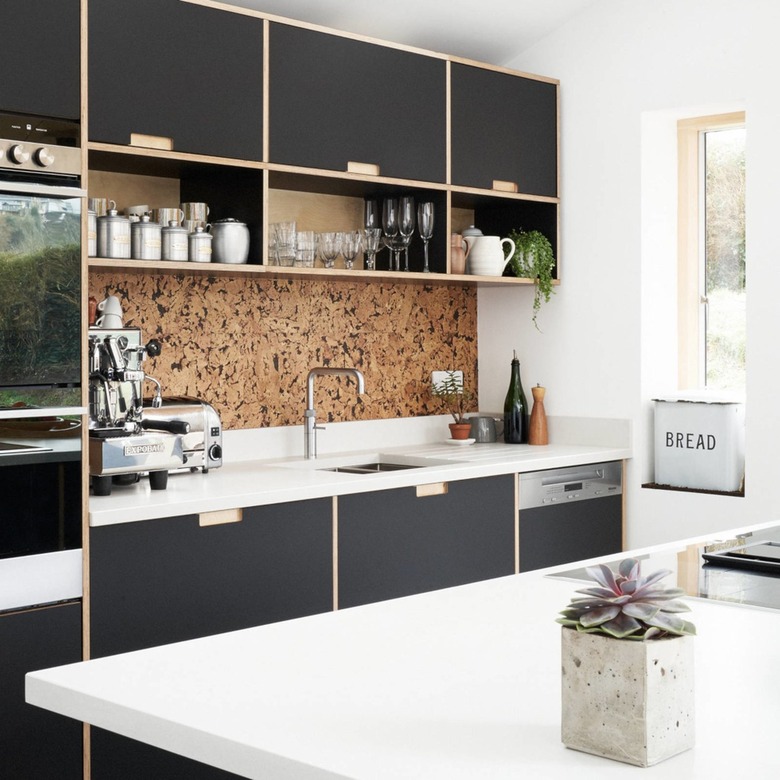
4. Craft your own with cork.
Cork backsplashes can look absolutely beautiful in the right setting, and there's a number of ways to achieve the look. Plus, the material is naturally fire-resistant, so it's a viable option even near the stove
For the avid wine drinker, a DIY wine-cork backsplash will complement the kitchen perfectly and also make for a wonderful craft project. To achieve the look, cut the corks in half vertically or horizontally before gluing them to the wall side-by-side with a suitable craft or construction adhesive. Want another more modern approach? Try cork craft sheets. Typically used to make bulletin boards, these sheets look seamless when placed together and can even be used as a place to display postcards or memos.
Get the look: Heritage Mill Natural Tuft Cork Plank $5.21/sq.ft.
5. Beadboard it up.
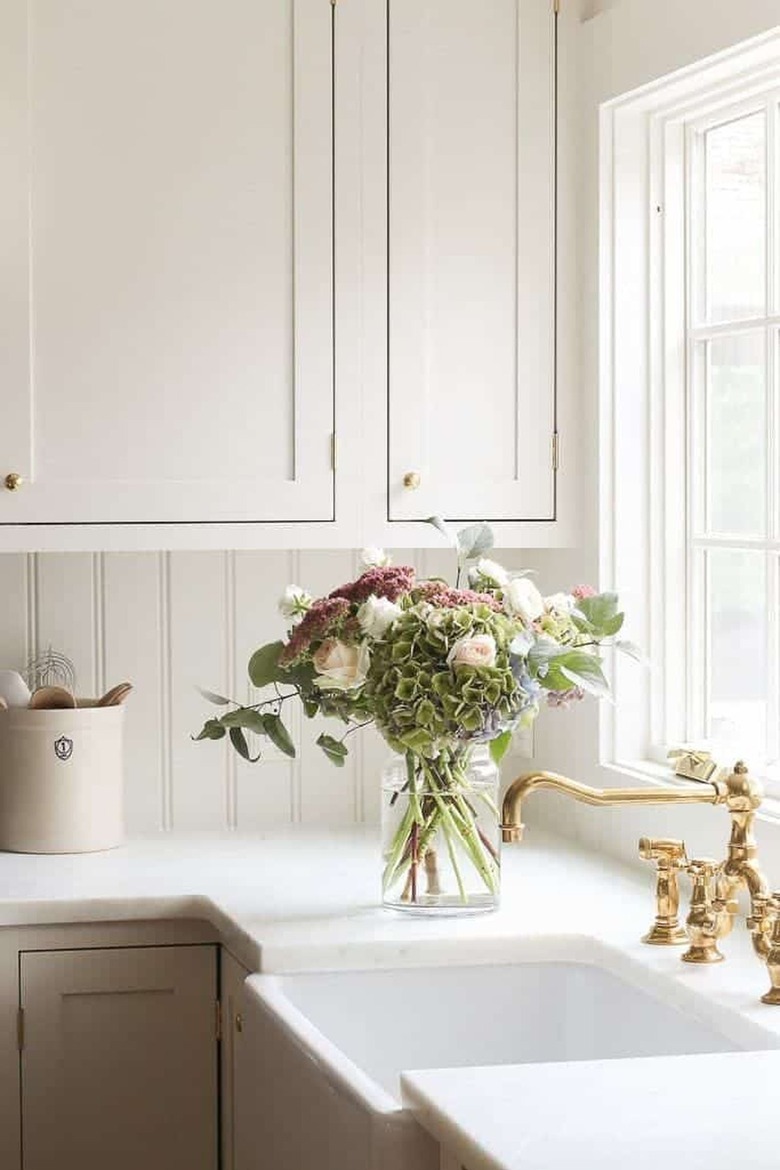
5. Beadboard it up.
Installing a wood backsplash is relatively simple to do on your own, and there are a number of DIYs to prove it. Beadboard or wainscoting panels can be mounted directly on the walls, and you can do this yourself to save costs. We recommend precutting the sheets, applying them with construction adhesive, then finishing with nails to hold everything in place while the adhesive sets. If you want to avoid the use of nails or add the wood over the existing tile, you can keep the panels in place with 2x4 braces instead.
Get the look: Equatex Country Cottage White Wainscott Wall Panel, $21/board
6. Paint your own.
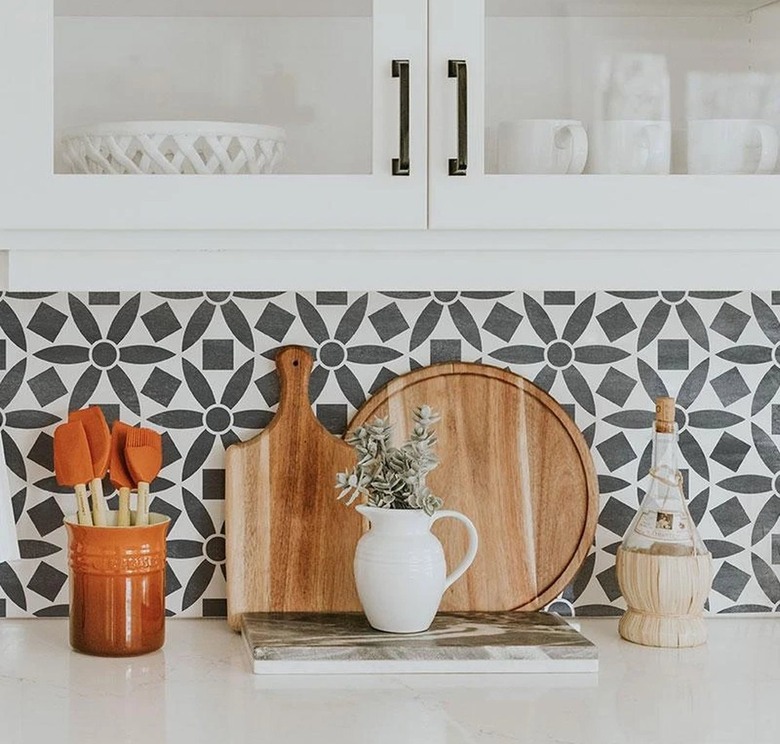
6. Paint your own.
If you're looking for a weekend project that will make a serious style difference, get out a paintbrush and create your own bespoke kitchen backsplash. For supplies, you'll need paint (a sample pot may work depending on how much area you want to cover), a paintbrush, and potentially a wood panel if you don't want to ruin the surface underneath. And don't worry, there are stencils out there if you're not an expert in freehand designs.
Get the look: Royal Design Studio Ranae Geometric Floral Stencil, $49.95
7. Get peel-and-stick wallpaper.
7. Get peel-and-stick wallpaper.
We love a wallpaper kitchen backsplash, and the peel-and-stick varieties are usually super affordable. In fact, the cost of many vinyl options is as low as $1 per square foot. They're are also quite simple to install yourself, and vinyl is thicker and less fragile than regular wallcoverings. For installation, you will need a level to make sure everything is straight along with vinyl paste adhesive and a brush for application. The wallpaper can be cut with either scissors or a razor knife. Here's everything you need to know about wallpaper backsplashes if you're still unsure.
Get the look: Murals Wallpaper Allure, $4.40/sq.ft
8. Try chalkboard paint.
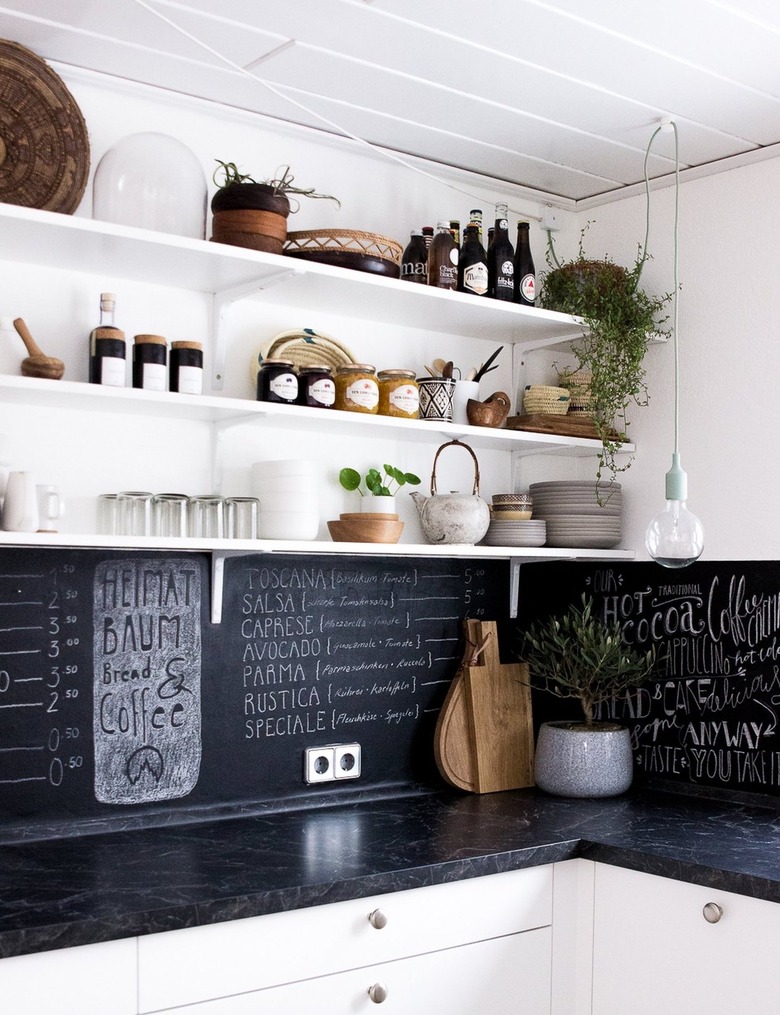
8. Try chalkboard paint.
Chalkboard paint is great for an inexpensive kitchen backsplash upcycle, and it adds a personal touch. Who doesn't want to write reminders to themselves or notes to their loved ones on the kitchen walls? You could even make your own chalkboard paint recipe at home! Pro tip: Apply the paint to a wood panel and attach that to the wall, so you can remove the backsplash as you please.
Get the look: Rustoleum Chalkboard Paint, $21.13
9. Use laminate.

9. Use laminate.
While laminate may be considered old-fashioned because it was a popular choice for bathroom walls in the 1960s and 1970s, what is old sometimes becomes new again in home decor. Plus, it is a popular choice for those on a tight budget who aren't afraid to do the work themselves. The cost of laminate can be as low as $2 per square foot. It usually comes in eight-foot or 10-foot sheets and can be found at most home improvement stores. Follow our guide on how to install a laminate backsplash for further DIY assistance.
Get the look: IKEA Lysekil Wall Panel, $39.99
10. Play with plywood.
10. Play with plywood.
Plywood makes for a beautiful backsplash, even if left in its raw state. So if you want to achieve a very minimal or industrial look, this could be the right choice. Want to add color? Paint or stain your wood before applying sealant. (We like Osmo TopOil — a water repellent oil and wax sealant that has a matte finish.)
Get the look: Sheathing Plywood $50.35/board
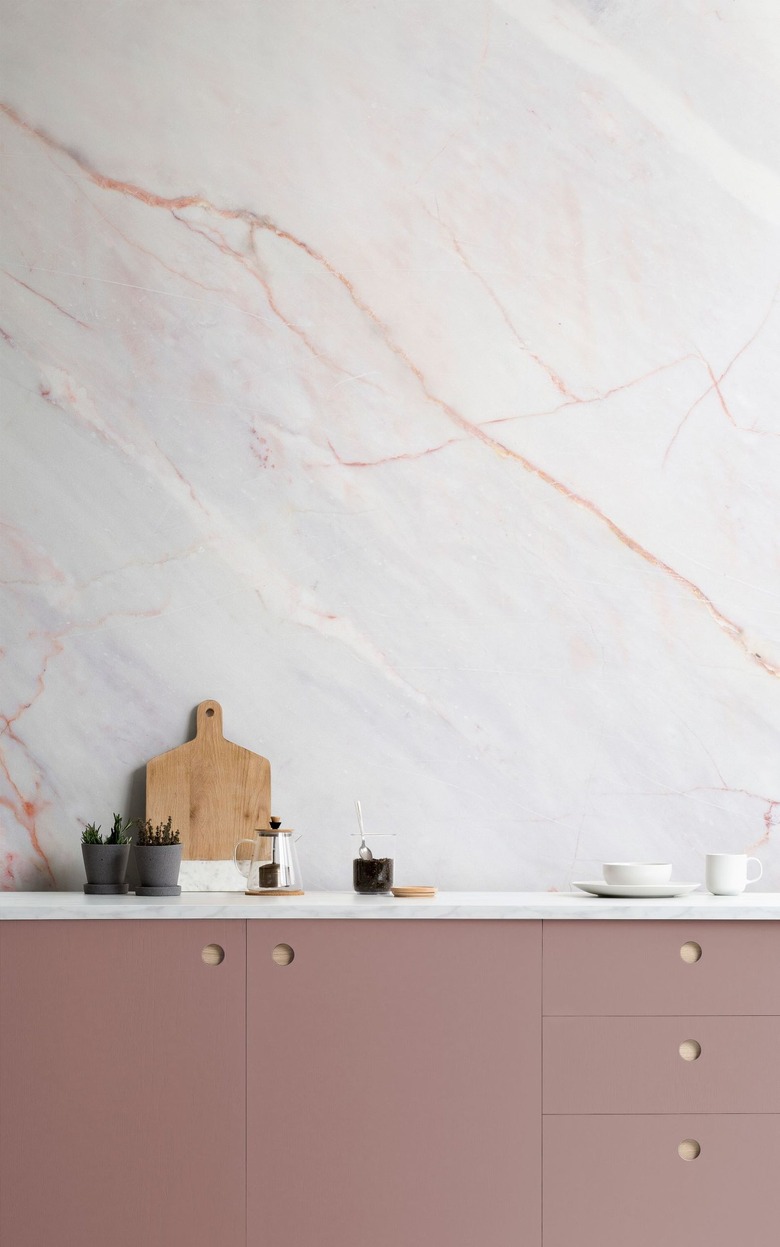
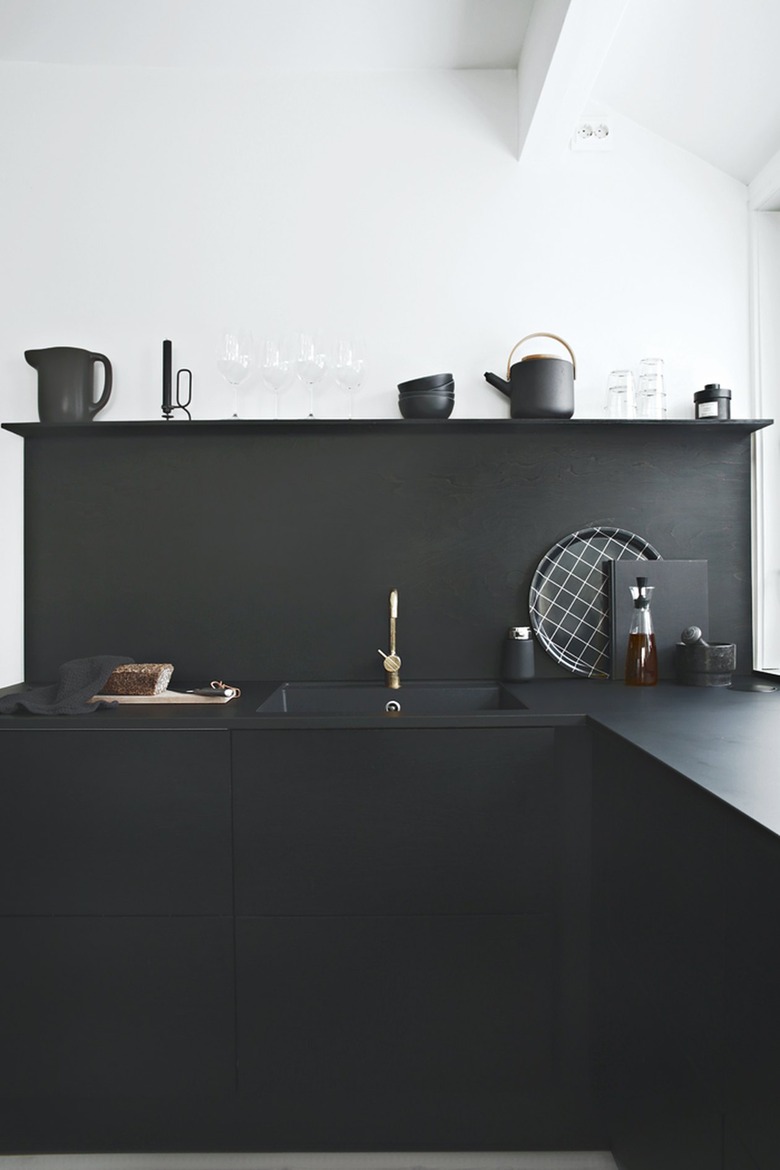
11. Experiment with microcement.
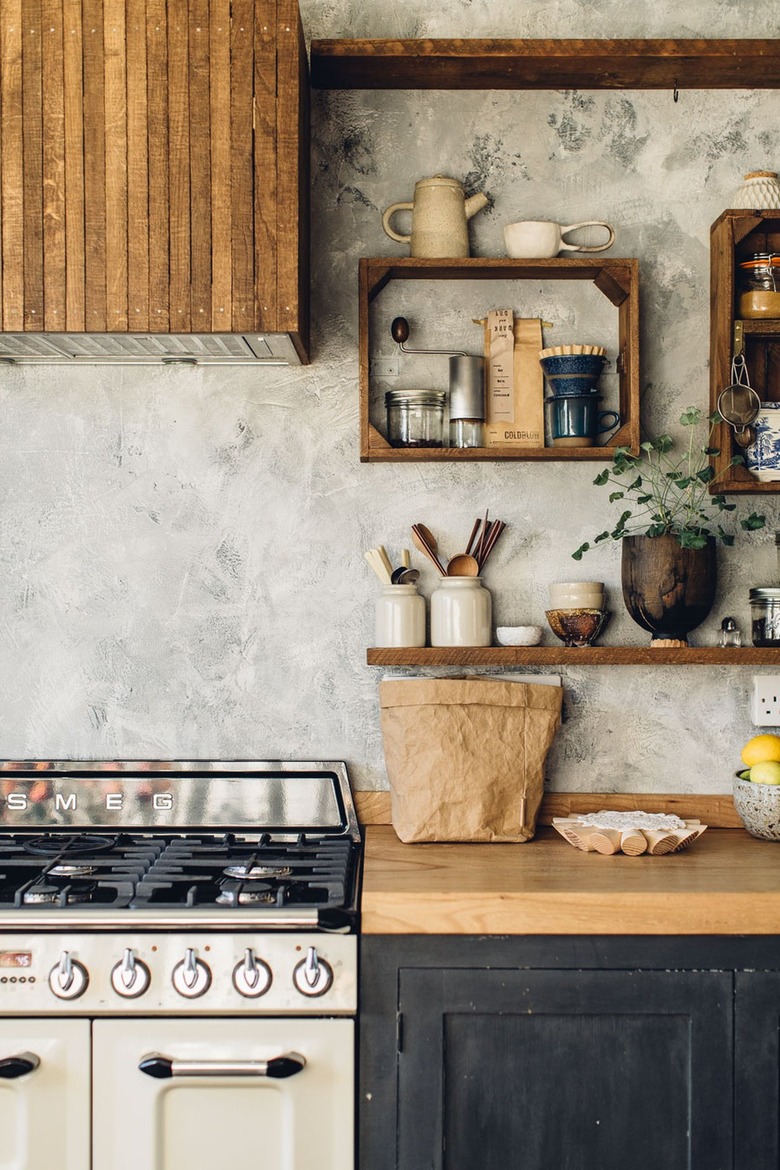
11. Experiment with microcement.
Polished concrete and cement surfaces are all the rage in contemporary and industrial homes, so it comes as no surprise that companies are creating more affordable ways for consumers to get the look. Microcement is one of those affordable solutions and can be topped with a water-resistant sealant, making it ideal for a backsplash. Although the aesthetic finish may appear similar to polished concrete, it is not the same. Microcement goes on faster and easier and has multiple color options. Plus, there's no additional machinery required for the application, and the cost is significantly lower.
Get the look: Imperia Italia Micro Cement Starter Kit, $66.59
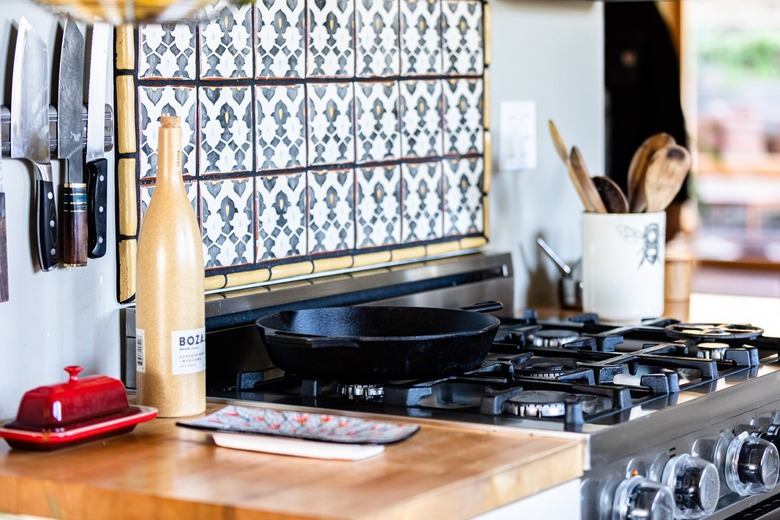
12. Section it out.
12. Section it out.
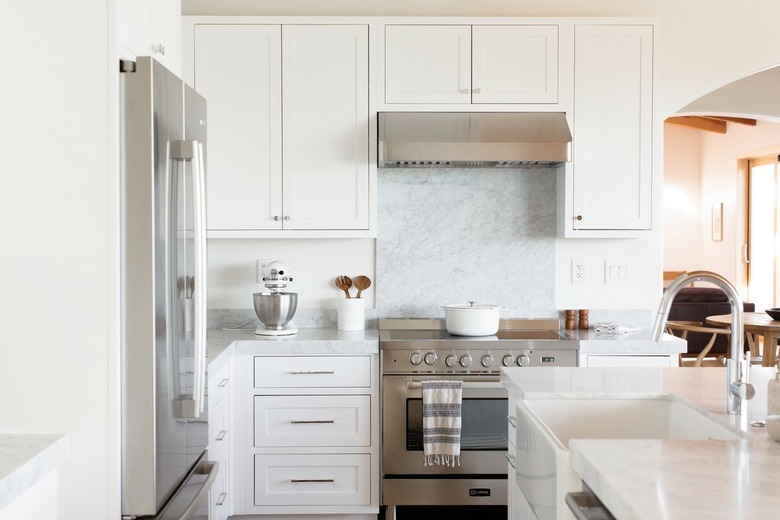
Instead of tiling or using a backsplash on the entire wall above the kitchen counter, consider the cost-effective strategy of using tiles or stone only where you most need them — above the sink and stove. This could allow you to spend a little more on the material without having to worry about the overall cost impact.
Get the look: Sahara Carrara Brick Marble Mosaic, $12.99/sq.ft.
Final Things to Remember About Your Budget Kitchen Backsplash
Final Things to Remember About Your Budget Kitchen Backsplash
We've pretty much established that you can DIY your own kitchen backsplash on a budget, you just need to get creative. As long as there's a way of sealing your design — with some kind of grout or sealant — or covering it with a material such as glass, the world is your oyster. However, you have to also think practically and ask the right questions. Where in your cook space is the backsplash most necessary? Do you really need to go all the way up the wall? And are there some projects that require professional skills (like electrical wiring or plumbing) you just don't possess? If so, you have to know when to call in the experts.