How To Install A Wood Backsplash
Unless your breakfast room is the site of frequent food fights, your kitchen backsplash is more of a design feature than it is a functional necessity, and it's a great place to get creative. The ostensible purpose of a backsplash is to protect the wall behind the stove and sink from splashing liquids, but its placement in the most visible part of the kitchen makes it a focal point with a huge influence on the overall design. Most people choose a tile backsplash, but there's no reason why you need to do so, especially when there are so many options, including metal, stone and wood.
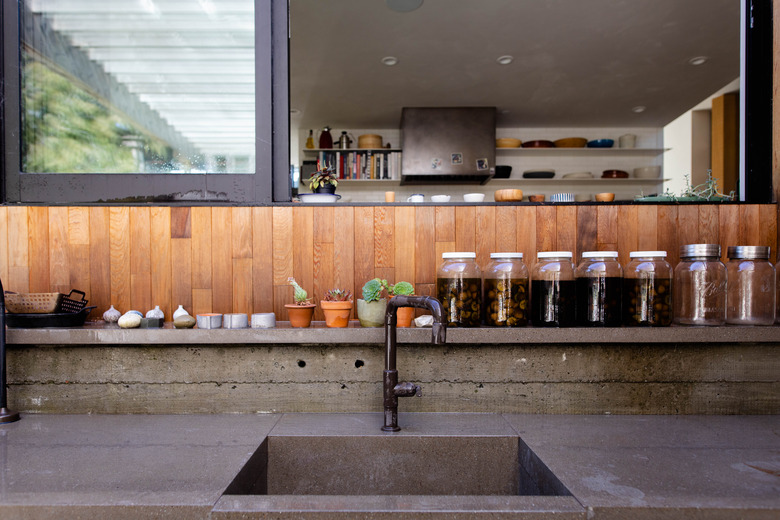
A wood backsplash can bring warmth to a kitchen filled with metal appliances, stone or solid-surface countertops and light walls, and it can even look good in a kitchen that already has its share of wood on the floors and the countertops. Options range from beadboard and shiplap planks to spare flooring boards, reclaimed wood, barn wood and pallet wood.
Unlike tile and stone, wood is easy to work with, and installing a wood backsplash is one of the friendliest DIY projects you're likely to contemplate. The project doesn't call for advanced carpentry skills; all you really need to be able to do to fabricate and install a wood backsplash is wield a saw with confidence and make straight cuts. If your skill level is intermediate or above, you should be able to complete the entire job in a day.
Wood Backsplash Options
Wood Backsplash Options
DIY wood backsplash ideas are legion and so are the available materials. You can choose from plywood panels, shiplap planks, tongue-and-groove paneling or flooring and parquet tiles. You can also use newly milled, nonconnecting planks or make a reclaimed wood backsplash from recycled ones, such as pallet boards or barn boards. The methods for installing them vary somewhat:
- Beadboard or wainscoting panels can be the easiest installation option or the most difficult depending on how carefully you measure and cut. You precut the sheets and hang them with construction adhesive using finish nails to hold them in place while the adhesive sets. If you want to avoid the use of nails, you can hold the panels in place with 2x4 braces instead.
- Shiplap boards can go on the wall horizontally or vertically. They should also be set in adhesive, but fasteners such as finish nails are recommended to prevent the planks, which are often wide, from curling up at the edges. Kiln-dried planks are an exception because they are less likely to warp. When installing planks horizontally, you can nail them into the wall studs, but for a vertical installation, you may have to remove the drywall and install horizontal blocking.
- Tongue-and-groove paneling and flooring boards are designed for blind-nailing, so you can install them without adhesive by nailing them to the wall studs. However, because it's insurance against warping, adhesive is still recommended.
- Installing parquet tiles is similar to ceramic tiles but without the grout. You glue them to the wall, which must be flatter than for other wood backsplash installations, using tile mastic or construction adhesive.
- Reclaimed wood comes in many forms and qualities, but it typically consists of lumber planks, and unless you're using reclaimed flooring or siding, it doesn't have any overlap or tongue and groove. You use adhesive to hold the planks to the wall, and fasteners may or may not be needed depending on the straightness of the planks and the degree of warpage.
One Disadvantage of Wood
One Disadvantage of Wood
Wood has many things going for it, but one problem is that it's flammable, which makes it a less-than-ideal material to use behind a stove. Follow the advice of Dream-Kitchen-Backsplash.com and check with your local building department for minimum allowable clearances for combustible materials behind stoves. If no other regulation applies, the fire code always does, and it requires a minimum of 18 inches from the back burner to the backsplash.
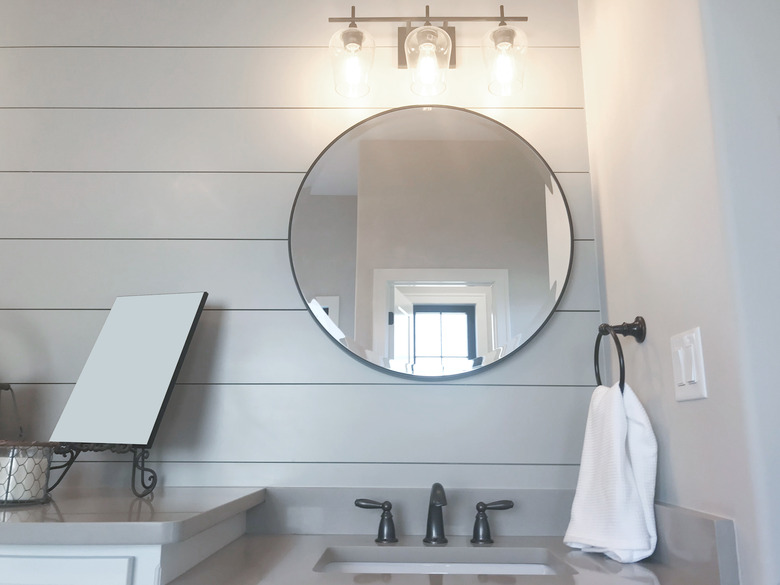 TriggerPhoto/iStock/GettyImages
If you can't maintain the required distance between the cooktop burners and the backsplash, you don't have to give up on the wood look entirely. You can use it for the parts of the backsplash that are far enough away from the stove to be safe and use a noncombustible material such as stone, tile or metal directly behind the stove.
How to Install a Wood Backsplash
How to Install a Wood Backsplash
If your kitchen makeover calls for a wood backsplash, you may have some lumber on hand that you've already earmarked for the project, or you may prefer to purchase the material to fit with a particular design idea. If it is the latter, the countertop is one of the main influences, and the wood should complement it. A wood backsplash makes the most sense if the countertop is constructed with a nongrainy material such as stone, solid surface, monochrome tile or solid-color laminate, which won't clash with the wood grain.
1. Lay Out the Backsplash Area and Measure It
The backsplash area usually includes only the area between the countertops and upper cabinets, but it may extend beyond. For example, you may extend it all the way to the ceiling if there's a break in the cabinets, and you may extend it beyond the countertops to line up the edge with a window or some other feature. Outline areas that aren't defined by the cabinets or countertop using a tape measure, level and pencil.
Once you have the backsplash area marked, measure the length and width of each section, multiply these numbers to calculate the total area and then add the areas of all the sections to get the square footage of the backsplash. When purchasing lumber, add 10 percent to this number to allow for cutting mistakes and other waste.
2. Remove Switch and Outlet Cover Plates
Turn off the breakers that control the switches and outlets in the backsplash area and then unscrew and remove the cover plate from each device. Unscrew the device from the electrical box, pull it out and leave it hanging. This makes it easier to cut the backsplash around the electrical box and allows you to set the device on the surface of the backsplash instead of making the amateur mistake of recessing it behind the wood.
3. Prepare the Wall
While the wall doesn't need as much preparation as it does for a tile backsplash, it does need to be flat, and if you're going to use glue, it needs to be clean and deglossed so the glue will stick. If you need to flatten the wall, you do it with drywall joint compound, and that won't stick to a glossy surface either.
Wash down the wall with a solution of 1/2-cup trisodium phosphate (TSP) and water to clean off grease and cut down a glossy finish, being sure to wear gloves and goggles when using this caustic detergent. If the wall is still noticeably glossy when it dries, scuff it with 120-grit sandpaper and then skim coat drywall joint compound over depressions using a 6-inch drywall knife.
4. Make Necessary Cutouts and Notches
When installing a beadboard panel, you have to make all the outlet cutouts before you hang the panel, but when you're installing planks and tiles, you can make the cutouts as you go. In most cases, a jigsaw is the best tool for the job. Measure the location and size of each cutout, mark it on the back of the panel or plank and cut from the back to minimize chip-out on the side of the wood that shows.
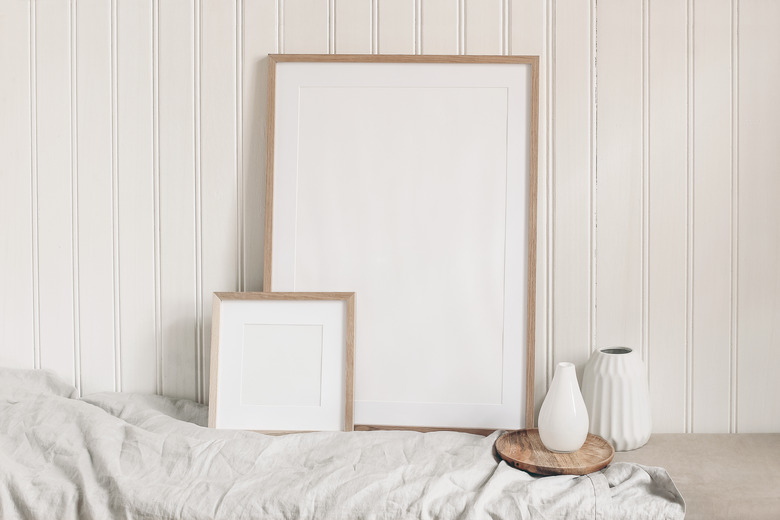 Tabitazn/iStock/GettyImages
Cutouts for electrical boxes in wood planks and panels should be the same size as the boxes. To satisfy code, you have to install electrical-box extenders on all the boxes, and they won't fit if the holes are too small. Don't oversize the holes either, or you may see gaps at the edges of the cover plates, which is another amateur mistake.
5. Seal the Wood
Apply a coat of sealer to both sides of unfinished panels and planks before you hang them. Use varnish, lacquer or wood oil if natural-wood planks fit best with your home décor scheme, or use stain-blocking primer if you plan to paint the wood. Let the sealer dry.
6. Apply Adhesive to the Wood
Construction adhesive such as Liquid Nails comes in tubes, and you apply it with a caulk gun. Spread it in S-shaped beads across the back of the panel or plank you're about to hang, being careful to get it close to the edges but not close enough for it to ooze out. If you're using mastic, apply it to the back of each panel or plank with a notched trowel or, if you prefer, spread it on the wall.
7. Hang the Wood
The procedure for hanging the wood depends on the type you're using. No matter which type of wood you use, it's important to allow a 1/8-inch expansion gap around the perimeter of the backsplash to allow the wood to move.
If you're installing beadboard panels, they should be precut to allow for the expansion gap around the perimeter. Place the bottom of the panel against the wall and then tilt the top toward the wall, feeding the outlets and switches through the precut holes. Secure the panel with finish nails or brace them against the wall until the adhesive sets.
When installing tongue-and-groove floorboards or panel boards horizontally, set the bottom row first, allowing for the expansion gap and using a level to make sure each board is level. You can nail it through the tongue with finish nails because they will be hidden; predrilling the holes with an 1/8-inch bit is recommended. Build the backsplash upward in rows, tapping boards together and nailing them into the wall studs before moving on to the next row.
Install the bottom row of shiplap boards using a level to make sure they're straight. If you want to avoid fasteners, wait for the glue to set before installing more rows. The bottom row will provide a stable base for the rest of the structure. If you use fasteners, drive them through both boards into the wall studs at every overlap.
If you're making a reclaimed wood backsplash with dimensioned lumber, place the boards in whatever way makes sense. Use ring-shank nails in conjunction with adhesive to fasten the boards to the wall if they are made of softwood and are likely to warp. Drive all nails into wall studs.
8. Scuff and Finish
Lightly sand the surface of the backsplash with 220-grit sandpaper. Wipe off the sanding dust and then apply one or two finish coats of varnish, penetrating oil, lacquer or paint. A gloss finish is recommended because it's easier to clean, so if you use penetrating oil, consider adding a coat of wax and buffing it with a cloth.
9. Replace the Outlet Cover Plates
The electrical code requires electrical wiring to be completely contained inside approved electrical boxes, but the existing boxes are now recessed, leaving a wood edge that could catch fire. The solution is to install electrical-box extenders, which are made of the same plastic as the existing boxes and fit inside them. Slip an extender over the outlet or switch, fit it against the front edge of the box and fasten it in place. Screw the outlet or switch to the extender and then install the cover plate.
10. Trim Exposed Edges of the Backsplash
Cover the exposed edges of the backsplash with corner bead or some other type of trim or molding. You can glue the trim to the backsplash, affix it with finish nails or both. Seal it before you install it and apply a finish afterward.